Pages

Tuesday, December 18, 2018

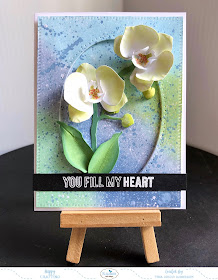
Elizabeth Craft Designs December Challenge Garden Notes Frame It

Hi Everyone,
Welcome back to the last Elizabeth Craft Designs Challenge for 2018. The DT challenge this month is to use the Garden Notes - Frame It Stitched nested dies on a card or project.

But before we start for a chance to win a $20 gift certificate answer this question here in the comments section. Which of the Garden Notes - Frame It Stitched Dieset would you use on a project and how would you use it?  Below you will find the steps to replicate this card.


Step 1 - Trim White Soft Finish cardstock to 8 1/2" x 5 1/2", score at 4 1/4" and fold in half for a vertical side fold card. (A2)

Step 2 - Trim White Soft Finish cardstock to 4 1/4" x 5 1/2". Spray Distress Resist to the cardstock. Let dry. Apply Distress Oxide directly to cardstock using an ink applicator. I used Faded Jeans, Broken China and Cracked Pistachio.

Step 3 - Diecut Garden Notes Frame It Stitched Rectangles using the background created from Step 2. Adhere the outer diecut using foam tape and the inner using Kids Choice Glue.

Step 4 - Using an ink applicator color White Soft Finish Cardstock using Distress Oxide Ink Bundled Sage. Diecut Garden Notes Phalanopsis (Moth Orchid) using White Soft Finish Cardstock for the flowers and the Green created for the leaves and stem. Using PanPastel use the yellow/green color to highlight the flowers. Using a fine tip marker in order at dots to the center of the flower. Assemble the flowers, leaves and stem using Susan's Garden 4pcs all metal tool set and Kid's Choice Glue. Once assembled adhere to the inside frame using Kid's Choice Glue.

Step 5 - Stamp Love Sentiment using Versamark on black Cardstock. Sprinkle White Embossing Powder and heat set it with a heat tool. Trim the sentiment and adhere to card using 3mm Clear Double Sided Adhesive Tape.


I hope you enjoyed the last DT Challenge for 2018. This card can be used for any occasion by changing the colors, flowers and sentiment. Be sure to check out the Elizabeth Crafts Designs Blog to see what the rest of the Design Team created. Below is a link to all the products used. Thank you for stopping by and have a wonderful day! See you again in 2019 for the next DT Challenge.

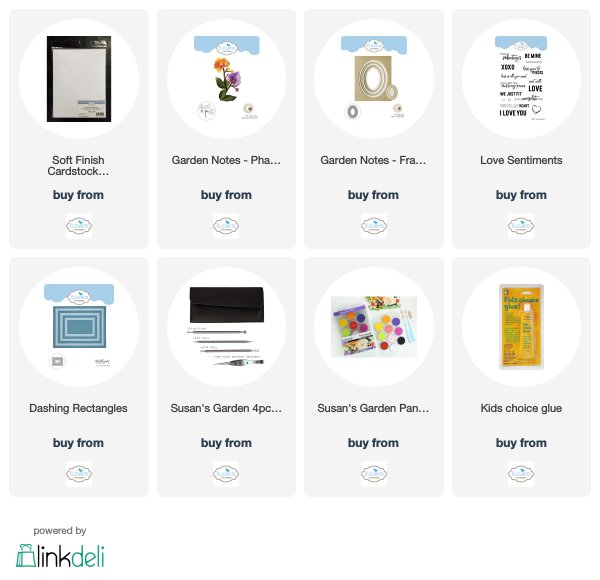
Products Used:
Friday, December 7, 2018

Kat Scrappiness Blog Hop For Coffee Oasis

Hi Everyone,
Today is a special Blog Hop hosted by Kat Scrappiness to help The Coffee Oasis. It is an organization for the Homeless Youth. Kat Scrappiness will be donating 15% of all sales proceeds to Coffee Oasis. During the hop there will be 15% off everything in the store (use code: COFFEEOASIS at checkout). There will also be 4 gift packages each valued at $25 or more. There will also be a Hero Arts giveaway. On top of that there is a ton of sponsors and each will have their own prizes. The blog hop starts here.


Of course you can always donate directly to The Coffee Oasis by going here. You can donate $1, $5 or more, every bit counts. To learn more about The Coffee Oasis go here.

Card #1

Step 1 - Trim White Cardstock to 8 1/2" x 5 1/2", score at 4 1/4" and fold in half for a vertical side fold card (A2).

Step 2 - Create a Distress Oxide Background by applying Distress Oxide Stormy Sky and Tumbled Glass onto a craft mat. Spray with water and dip White Cardstock into the ink. Heat set and repeat until you reach the desired effect. For added interest mix White Acrylic Paint and water and spray on top of the background to create a snow effect. Let Dry.

Step 3 - Diecut Double Stitched Ovals using the Background created from Step 2. Adhere the outside diecut to the front of the card using foam tape. Diecut Tree Line Hill using the center diecut (you will use the top part and save the bottom part for the 2nd card. Diecut Tree Line Hill using White Cardstock. Adhere the Distress Top part and White bottom part to card using Nuvo Deluxe Adhesive Glue.

Step 4 - Diecut Snowflake Kisses sentiment using Glitter Cardstcok and White cardstock 2 times. Layer the diecut by adhering the 2 white diecuts and then the Glitter diecut on top using Collage Medium. Adhere to card using Collage Medium.

Step 5 - Optional - Diecut Snowflake Kisses snowflake multiple times using Glitter Cardstock. Adhere to card using Collage Medium.

Card #2

Step 1 - Trim White Cardstock to 8 1/2" x 5 1/2", score at 4 1/4" and fold in half for a vertical side fold card (A2).

Step 2 - Diecut Double Stitched Ovals using White Cardstock and Red Glitter Cardstock. Adhere the White outside Diecut to the front of card using Nuvo Deluxe Adhesive Glue. Diecut Tree Line Hill using the center part of the Red Glitter. Adhere the top Red Glitter to the card and the bottom Distress diecut left over from first card using Nuvo Deluxe Adhesive Glue.

Step 3 - Diecut Happy Holidays sentiment using Red Glitter Cardstock. Adhere to card using Collage Medium.

Step 4 - For added sparkle adhere Red Jewels using a Crystal Katana with collage medium.


Here is the link for the Blog Hop sign up.

Below is a link to all the products used. After the link you will find the links for the list of sponsors and giveaways. Thank you for joining the hop and have a wonderful day.

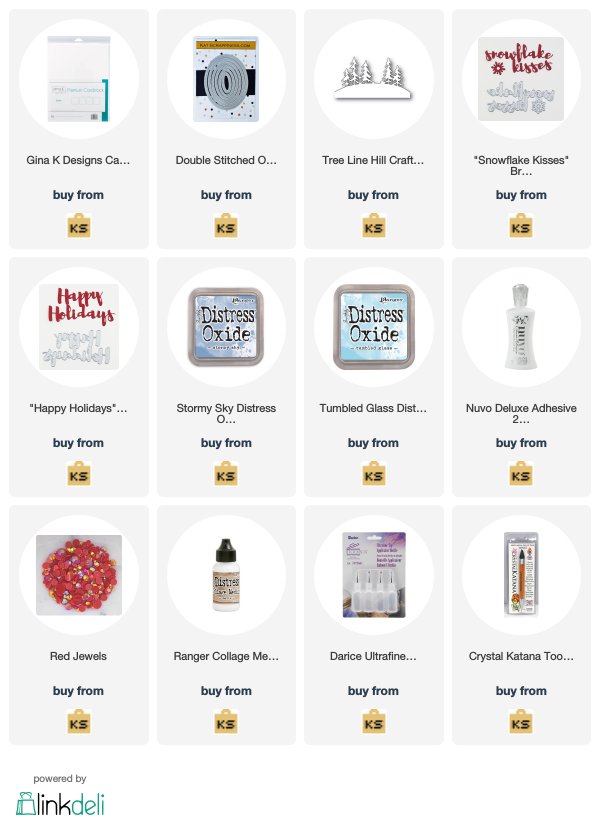
Products Used:

Here are a list of all the Sponsors and Giveaways.

Kat Scrappiness is offering 15% off EVERYTHING IN THE STORE and is donating 15% of all sales during this blog hop to Coffee Oasis! Use coupon code: COFFEEOASIS to save! We are also giving away gift packages!
Kat Scrappiness

Jessica Lynn Original is donating 8% of all sales during the blog hop to Coffee Oasis!
Jessica Lynn Stamps

PRIZE SPONSORS
The following sponsors have generously donated prizes to give away to our hoppers and visitors!
Blog Hop Sponsors  
Prizes being donated by our sponsors: