Pages

Monday, April 12, 2021

It’s Your Birthday Mini Slimline


Hi everyone,

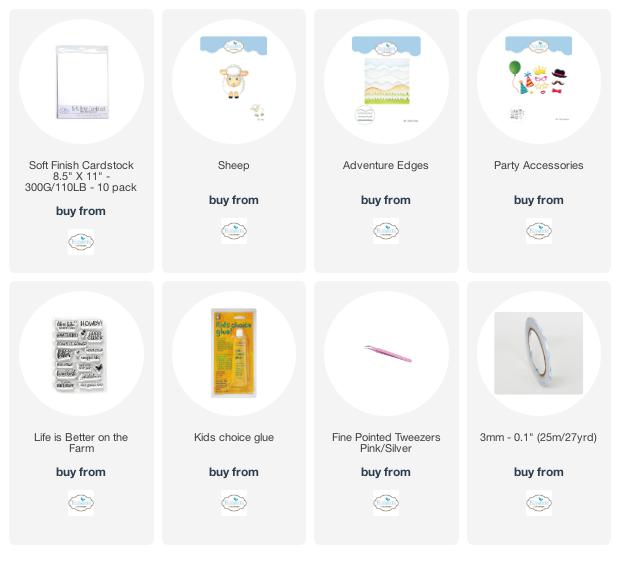
Welcome to the Elizabeth Craft Designs April Group Post. Joset Designs Farm Release is the theme this month. It is packed with farm animals character dies, a barn and sentiment stamps. I used the super adorable Sheep, Adventure Edges, Party Accessories and Life Is Better On The Farm Stamp Set to create this sweet It's Your Birthday Mini Slimline Card. Below is the steps to create your own card. 


Step 1 - Trim White Soft Finish Cardstock to 7" x 6", score at 3 1/2" and fold in half for a vertical side fold card. (Mini Slimline)

Step 2 - Trim White Finish Cardstock to 3 1/4" x 5 3/4". Add Distress Oxide Inks onto a Gel Press. I used Mermaid Lagoon and Cracked Pistachio and spread it out with a Brayer. Place the trimmed Cardstock on top and using a brayer to press the ink onto the Cardstock. Once dry adhere to the card front using 3mm Clear Double Sided Adhesive Tape.

Step 3 - Diecut Adventure Edges (grass) using Green Cardstock. Adhere to card using Kids Choice Glue.

Step 4 - Diecut Sheep using various colors of Cardstock. Assemble using Kids Choice Glue. Adhere to card using Foam Tape.

Step 5 - Diecut Party Accessories in various colors of Cardstock. Adhere balloons and string and assembled party hat using Kids Choice Glue.

Step 6 - Stamp Life Is Better On The Farm using Versafine Onyx Black Ink to the card front.


To add some fun to the card you can substitute the Sheep eyes with Googly Eyes. Below is a link to all the products used. Thank you for stopping by and Happy Crafting!

Products Used:

Sunday, April 4, 2021

Happy Easter Mini Slimline Card

Hi everyone,

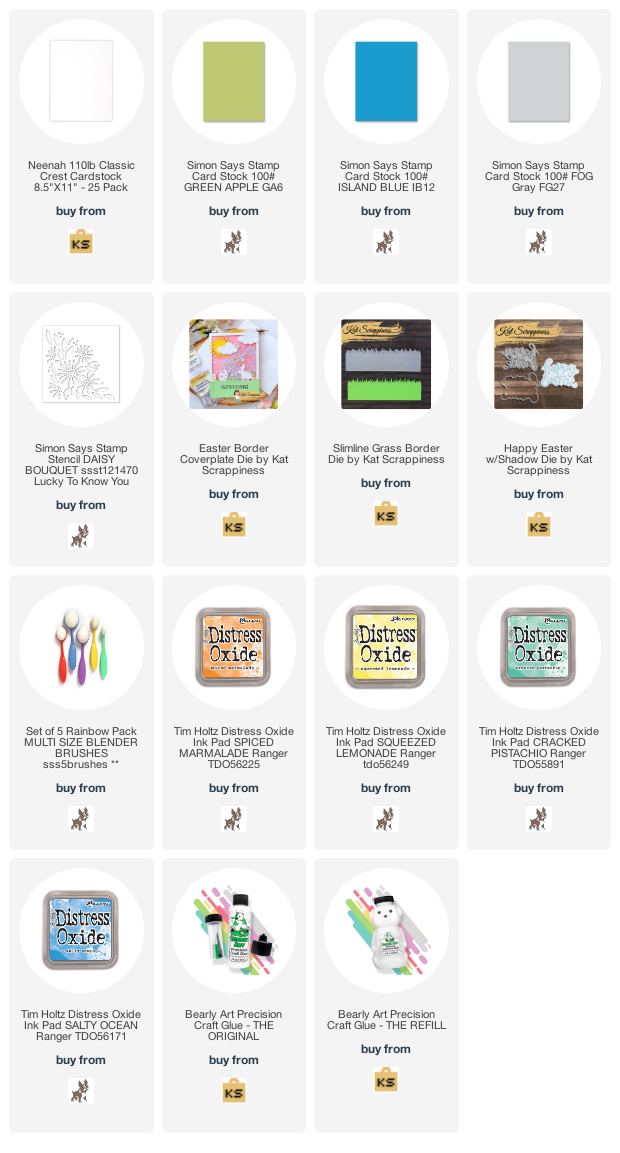
Happy Easter to all who celebrate! I wanted to get one last Easter card before it’s time to pack up all Easter themes product. Right now Kat Scrappiness has an awesome 15% sale for all Easter and Spring Products until April 7. All you have to do is enter EASTER2021 at checkout. Below you will find the easy steps to create your own card.


Step 1 - Trim White Cardstock to 7” x 6”, score at 3 1/2” and fold in half for a vertical side fold card. (Mini Slimline)

Step 2 - Trim White Cardstock to 3 1/4” x 5 3/4”. Place Daisy Bouquet Stencil on top and using a Blending Brush apply Distress Oxide Inks starting with Spiced Marmalade, Squeezed Lemonade, Cracked Pistachio, Salty Ocean making sure to blend between the colors. Adhere to card base using Bearly Art Precision Glue.

Step 3 - Diecut Easter Border Coverplate in Green Cardstock. Trim to 3 1/2” width and adhere to card front using Bearly Art Precision Glue. Diecut just the rabbit in Fog Cardstock and large egg in Island Cardstock. Trim out the shapes and adhere on top of the same shape.

Step 4 - Diecut Slimline Grass Border using Green Cardstock. Trim to 3 1/2” width and adhere to card front using Bearly Art Precision Glue.

Step 5 - Diecut Happy Easter With Shadow die (only the words) using White Cardstock and adhere to card using Bearly Art Precision Glue.


I love how this card came together by adding the colors of Spring to the Daisy Bouquet Stencil and the pairing it with the Easter Border Coverplate. Below is a link to all the products used. Thank you for stopping by and Happy Crafting!

Products Used:

Thursday, April 1, 2021

i-Crafter April 1st Release

Hi everyone,

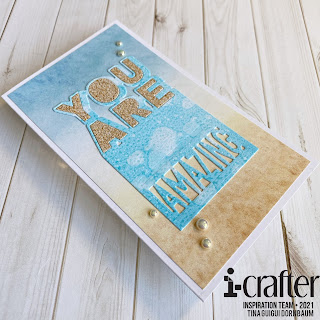
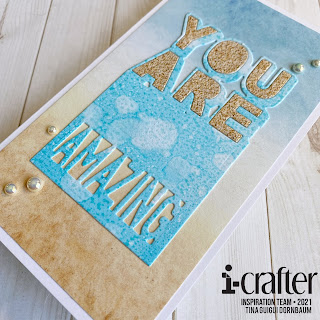
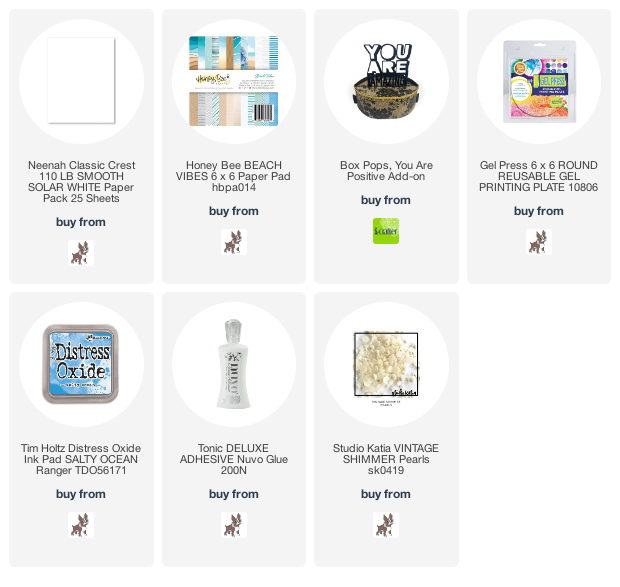
It’s Release time at i-Crafter and you won’t be disappointed. I chose the Box Pops You Are Positive Add On and used it as a sentiment to be the main focus. Below you will find the steps to create your own card.


Step 1 - Trim White Cardstock to 7” x 6”, score at 3 1/2” and fold in half for a vertical side fold card. (Mini Slimline)

Step 2 - Trim Patterned Paper to 3 1/4” x 5 3/4” and adhere to card using Nuvo Deluxe Adhesive. (I used Honey Bee Stamps Beach Vibes 6”x 6” paper pad.)

Step 3 - Create a DIY Background. I used a Gel Press with Distress Oxide Salty Ocean and sprayed it with water. I added the Cardstock on top and pressed it to transfer the ink onto the cardstock. 

Step 4 - Diecut Box Pop You Are Positive Add On using the panel created from Step 3. Be sure to add one of the words. I chose Amazing. Adhere to card front using Nuvo Deluxe Adhesive. You could leave it alone but I diecut it again and created an inlay with the same Patterned Paper I used in Step 2.

Step 5 - For added interest I randomly adhered Pearls using a Pick Up Tool and Nuvo Deluxe Adhesive.


This card can be used for many occasions by changing the sentiment. You can also use this on a scrapbook page or a DIY Notebook Cover. Below you will find the link to the products used. Thank you for stopping by and Happy Crafting!

Products Used: