Hi everyone,
I have a super cute card to share using some of my favourite companies. I love mixing companies to create a new look. Below you will find the steps to create your own card.
Step 1 - Trim Neenah Classic Crest 110lb Solar White to 4 1/4” x 11”, score at 5 1/2” and fold in half for a vertical side fold card. (A2)
Step 2 - Trim Neenah Classic Crest 110lb Solar White to 4 1/4” x 5 1/2. Dry emboss it with Simon Says Stamp Embossing Folder Soft Snowfall. Adhere to card front using Bearly Art Glue.
Step 3 - Diecut Waffle Flower Snowcapped Tree using Neenah Classic Crest 110lb Solar White 2 times for each tree. Color 1st layer using your medium of choice. I used Copics YG13 and YG17 on the left side until the embossed area stops. Trim the 2nd layer removing the area that was colored on the 1st layer. Assemble and adhere to card front. The large tree on the left side and small tree on the right side.
Step 4 - Diecut Waffle Flower Gifting Snowmen using Neenah Classic Crest 110lb Solar White (main body) and various colors of Cardstock for the accessories. Assemble using Bearly Art Glue and adhere to card front using Foam Tape.
Step 5 - Stamp Simon Says Stamp Big Holiday Words using Versamark on Neenah Classic Crest 110lb Solar White. Sprinkle Brutus Monroe Gilded Embossing Powder. Remove the excess and heat set it with a Heat Tool. Diecut with the matching die 2 times to add dimension. One time with the sentiment and a second time on plain Cardstock. Assemble and adhere to card front using Bearly Art Glue.
Step 6 - Optional - Randomly adhere Clear Dew Drops.
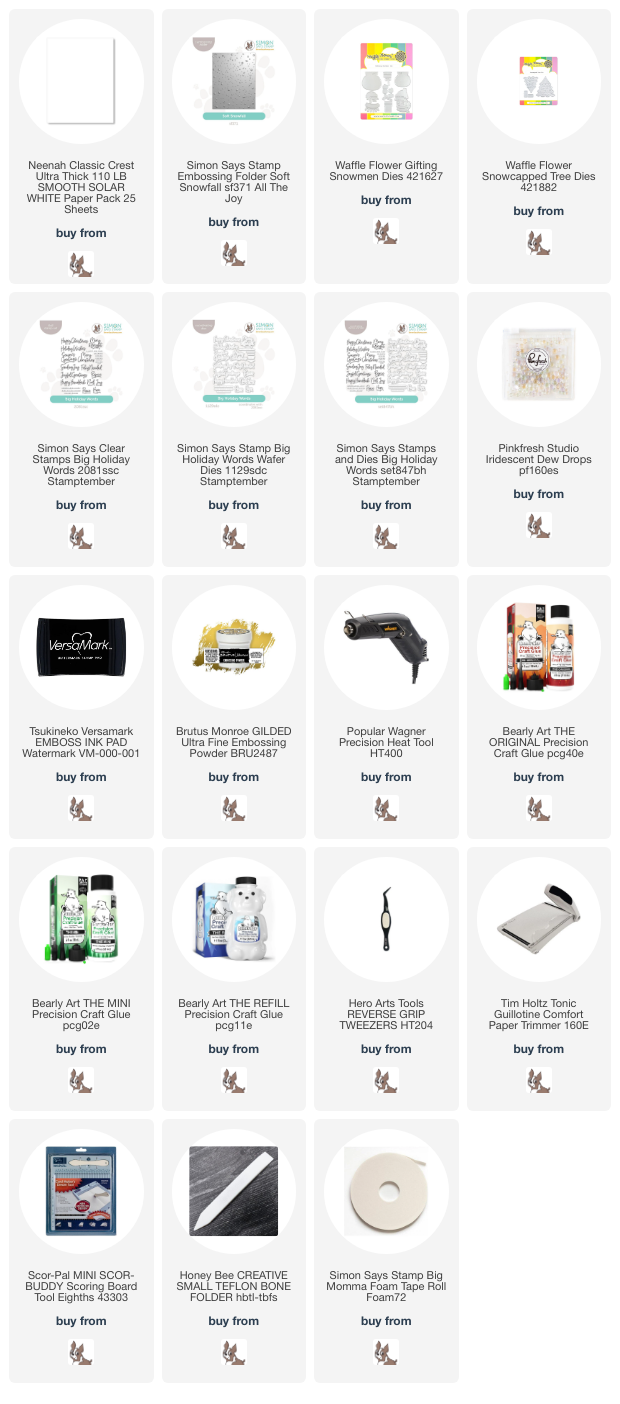
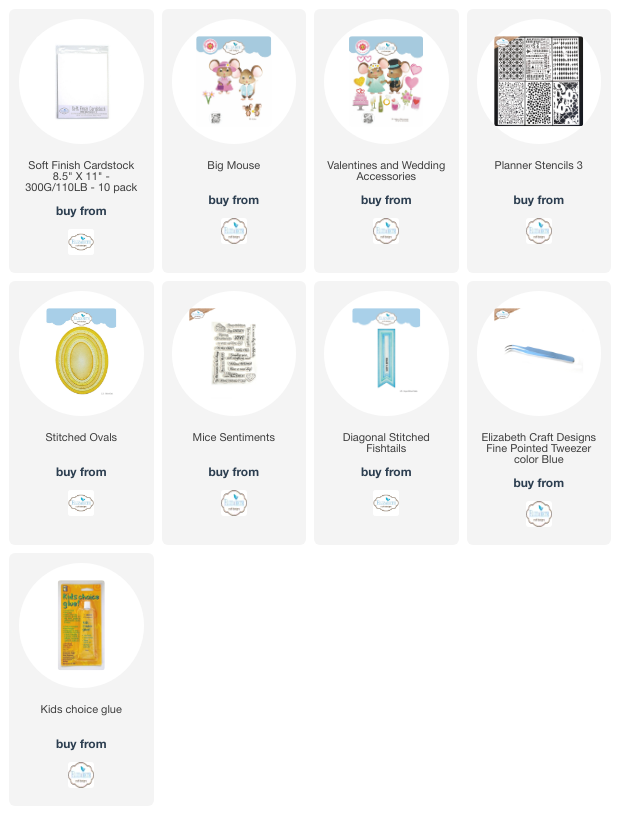
This card can be used as a holiday card but it can also be for other occasions by changing the sentiment. Below is a link to all the products used. Thank you for stopping by and Happy Crafting!
Products Used:


