Happy New Year! I wish you a wonderful year ahead and may 2018 bring you lots of creativity!
I can't seem to put away my holiday craft supplies. There is something special about the mystical feel of the holiday. Before I store them away I wanted to share 2 cards I made. Both are identical except for the colors. Below you will find the easy steps to replicate this card.


- Step 1 - Trim White Soft Finish Cardstock to 5 1/2" x 8 1/2" and fold in half for a 4 1/4" x 5 1/2" folded card.
- Step 2 - Trim White Soft Finish Cardstock to 4" x 5 1/4". Stamp snowflakes with Embossing Ink all over the top half. Sprinkle Clear Embossing Powder, remove excess and heat set with a heat gun. Spray Sheer Shimmer Sparkle Spritz. Let dry. See photo below for visual.

- Step 3 - Using 3 different inks with the same color family begin to ink the lightest color about an inch from the bottom and working up to the darkest color.
- Step 4 - Stamp sentiment on bottom left side with Embossing Ink. For the pink card I sprinkled Silver Embossing Powder and for the blue card I used Silver Metallic Sparkle Embossing Powder. Heat set it with a heat gun. Adhere the panel to the front card base using 3mm Clear Double Sided Adhesive Tape.
- Step 5 - Diecut Beautiful Baubles (top die with White Soft Finish Cardstock and bottom die with White Soft Finish Cardstock with a Clear Double Sided Adhesive on the top). For bottom diecut remove the release sheet from the adhesive and place the top diecut on top. Sprinkle Silk Microfine Glitter, remove excess with a brush and using your fingertip gently in a circular motion work the glitter into the adhesive. This will bring out the shine and set the glitter more securely. For the pink card I used Bright Cranberry and Vintage Pink. For the blue card I used Speckled Indigo and Faded Denim.
- Step 6 - Diecut Beautiful Baubles with Shimmer Sheetz with Clear Double Sided Adhesive Tape on the backside. (the dies are the ornament string and holder). Assemble the string to the ornament and use a brad to hold together. Adhere center ornament with 3mm Clear Double Sided Adhesive Tape and a foam tape for the ornament on the right.


I hope you enjoyed this card tutorial. This card can be used for any occasion by changing the stamps to hearts or flowers and changing the ornaments to flowers or hearts as well as changing the sentiment. The possibilities are endless. Be sure to come back as I will be having a Giveaway.
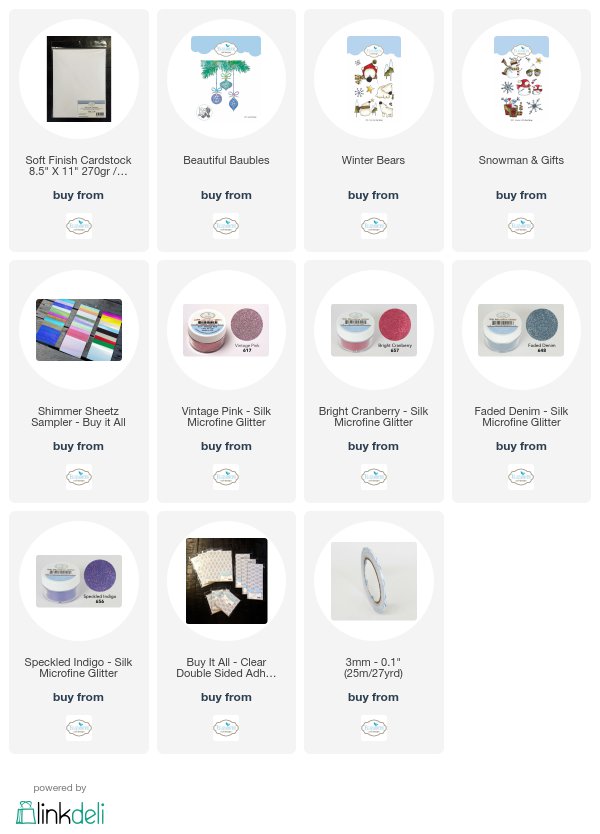
Below are links to the Products Used for your easy convenience. Thanks for stopping by.


These cards are absolutely stunning! Love the soft tones and design.
ReplyDelete