I had so many people writing to me about my last Eclipse card that I decided to make another one. Below you will find two more examples of an Eclipse card. One with the entire background filled and the second one clean with bursts of color. The two examples are using the same stamps in the same position but different coloring for different effects. Neither are wrong.
Before we get started I have a Blog Giveaway going on. Click Follow my blog for a chance to win this awesome die from Elizabeth Craft Designs. The Lace Corner Die. The deadline is Friday January 26. The winner will be announced on Saturday January 27.
Lace Corner Die
Here are the two cards


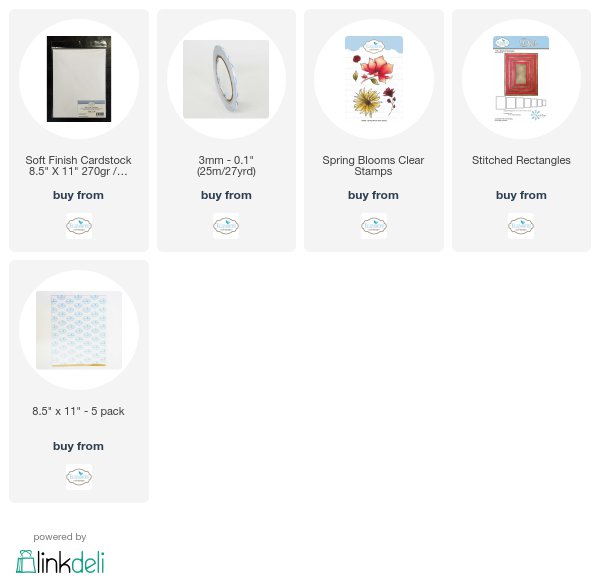
- Step 1 - For both cards Trim White Soft Finish Cardstock to 5 1/2" x 8 1/2", fold in half for a Horizontal Fold Card. Folded card measures 4 1/4" x 5 1/2".
- Step 2 - For first card Trim White Soft Finish Cardstock to 4 1/4" x 5 1/2". On a kraft mat randomly apply Distress Oxide Inks in several colors. Spray with water to activate the inks. Dip the trimmed cardstock into the ink. Repeat several times until you achieve the desired effect. Let dry.
- Step 3 - Diecut Stitched Rectangles for the Distress Oxide Background, for second card diecut a watercolor paper (I used Strathmore Bristol Smooth).
- Step 4 - For both backgrounds stamp images from Spring Blooms Clear Stamps. On the distress background use a Black Pigment Ink. Using a White Uniball Signo Pen randomly add white around the images. On the watercolor background use an Embossing Ink. Sprinkle Black Embossing Powder then heat set with a heat tool. Using a watercolor medium color in the images (I used Zig Clean Color Real Brush Markers with a water brush).
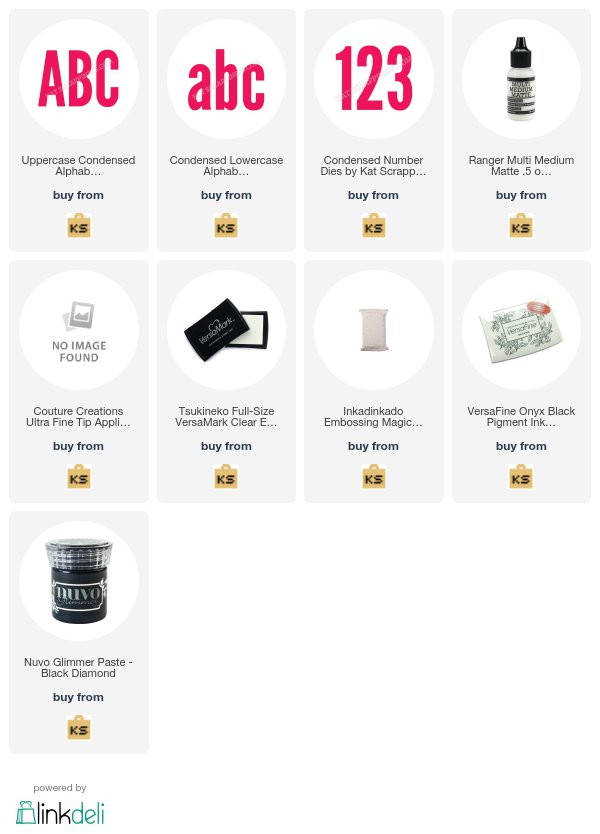
- Step 5 - Diecut backgrounds with Alphabet dies in word of your choice. I used my ScanNCut to cut out the word HAPPY. The font is Swis721 BlkCn BT.
- Step 6 - Adhere background to center front of card using 3mm Clear Double Sided Adhesive Tape, including the center pieces of the letters. In this case for the word HAPPY it was the center for A and both P's. For the alphabet pieces adhere using foam tape to raise the letters for an Eclipse effect.
- Step 7 - Optional - Stamp sentiment using Black Ink above the word HAPPY.


I hope you enjoyed how the same stamped images can have different effects using different techniques. I have listed the products I used for these cards below for your easy convenience. Thanks for stopping by.
Kat Scrappiness Alpha Dies
 Elizabeth Craft Designs Products Used
Other Products Used
Strathmore Bristol Smooth Paper
Heat Tool
Zig Clean Color Real Brush Markers
Distress Oxide Inks
Uniball Signo Pen White
ScanNCut


Tina, these are gorgeous! I am amazed how completely different they are and both are beautiful for different reasons. TFS!
ReplyDeleteStunning cards, thanks for the tutorial....
ReplyDeleteI love both of these cards. Really awesome. I am going to try this. BTW. I tried to follow you on your Blog but it will not let me. I don't even konow why but it keeps saying Safari will not open. Strange...
ReplyDelete