Pages

Wednesday, June 27, 2018

Stitched Scallop Frame Shaker Card

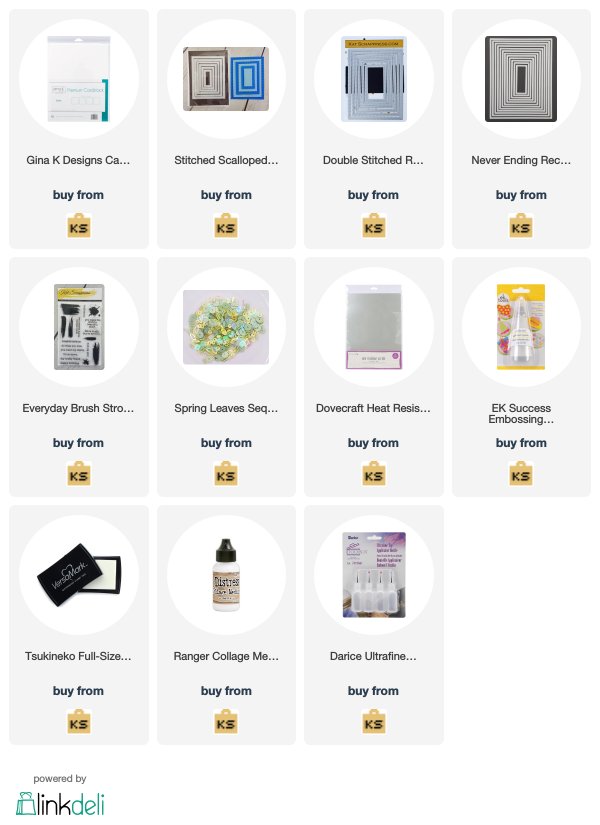
Hi Everyone! I have a fun shaker card video to share with you using the new Stitched Scallop Rectangles Die along with the Double Stitched Rectangles Die and Never Ending Rectangles Die from Kat Scrappiness. The shaker card is using the Spring Leaves Sequins Mix. Below is a Process Video to show you how.


Watch video here or open in YouTube


I hope you enjoyed today's Process Video Showcasing the new Stitched Scallop Rectangles Die and the Spring Leaves Sequins Mix. This card can be used for any occasion by changing the sentiment and patterned paper. Below are links to the products used.  To receive 10% off your order at Kat Scrappiness use code: TINA10 at checkout.  Thanks for stopping by and have a wonderful day!

Kat Scrappiness Products Used:

Tuesday, June 19, 2018

Elizabeth Craft Designs June Challenge Hexagon Inspiration

Hi Everyone,
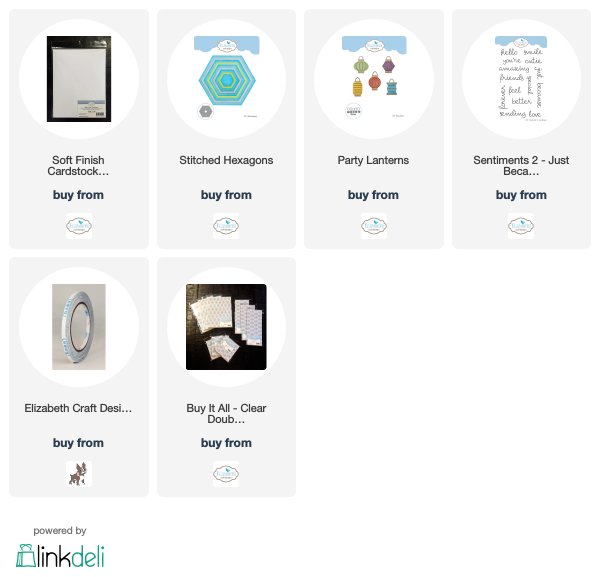
Today is the June Challenge at Elizabeth Craft Designs. The Challenge this month is Hexagons Inspiration. For a chance to win a $20 gift certificate answer this question. What is your favorite way to use Elizabeth Craft Designs Stitched Hexagons or Fitted Hexagons Dies. Go here and answer the question in the comments section. Below you will find the links to all products used along with the steps to replicate this Hexagon Card.

  • Step 1 - Trim White Soft Finish Cardstock to 8 1/2" x 5 1/2", score and fold in half. Diecut largest Stitched Hexagons to the folded cardstock but raise the die past the fold line so it doesn't diecut at the fold line. Now you have a Hexagon shaped card.
  • Step 2 - Create a background (or use Patterned Paper). I created my background using Distress Oxide Inks on White Soft Finish Cardstock. I applied the ink directly on the cardstock an ink applicator and covered the entire cardstock. I sprayed water onto a craft mat and dipped the cardstock. I then used a paintbrush and flicked some water. Look out for my YouTube video this week on how to create a background using Distress Oxide Inks. Let dry before going to the next step.
  • Step 3 - Diecut Fitted Hexagon using the Distress Oxide Background.
  • Step 4 - Stamp Sentiments 2 - Just Because (You're Amazing) using Versamark Ink. Sprinkle White Embossing Powder then heat set it with a heat tool.
  • Step 5 - Diecut Party Lanterns using a DIY background or Patterned Paper. This is the solid Lanterns Die. Diecut Party Lanterns top piece and holder using White Soft Finish Cardstock with Clear Double Sided Adhesive on the backside. Assemble the lanterns. Adhere the lanterns to the background using foam tape.
  • Step 6 - Thread yarn through the top of the lanterns and adhere to the back of the background using tape.
  • Step 7 - Adhere the background to the front of the card using 3mm Clear Double Sided Adhesive Tape.


This card can be used for any occasion by changing the color, sentiments and/or images. Below are links to the Elizabeth Craft Designs products used. Thank you for stopping by and have a wonderful day. Don't forget to answer the question for a chance to win a $20 gift certificate. (See above).

Elizabeth Craft Designs Products Used:

Sunday, June 17, 2018

How To Create A Distress Oxide Background

Hi Everyone,
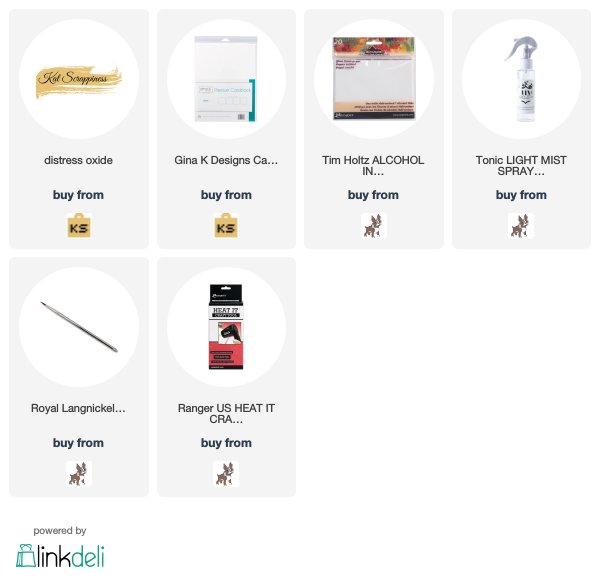
Today I have a video to share with you on how to create a Distress Oxide Background. A big thank you for those of you who requested I do this. I was touched as there are many videos out there. This is my first voiceover since I started recording videos and I would like to give a big thanks to Kat Scrappiness and the team for helping me out. Below is a link with all the products used in this video.

You can watch the video here or open in YouTube!


If you are inspired to try out the Distress Oxide Inks then head on over to Kat Scrappiness. To receive 10% off your order use code: TINA10 at checkout.

Stay tuned as I will be posting videos on how to create Susan's Garden Flowers from Elizabeth Craft Designs. Thank you for stopping by and have a wonderful day!

Products Used:

Thursday, June 14, 2018

Guest Designer for Case This Sketch 276

Hello Everyone!
I am super excited to be a Guest Designer for Case This Sketch this week. Since I was introduced to Case This Sketch I found a love with Clean and Simple Cards and helped me think outside my comfort zone. Clean and Simple has lots of negative space which draws the eyes immediately to the subject. Here is my take on this weeks challenge.

Case This Sketch #276


Finished card measures 4 1/4" x 5 1/2" folded


  • Step 1 - Cut Sunflower Soft Finish Cardstock to 8 1/2" x 5 1/2". Score and fold in half to form a horizontal side-fold card base. Finished size: 4 1/4" x 5 1/2" (A2)
  • Step 2 - Diecut Honeycomb using scrap cardstock. This will be used as a stencil. Trim Bristol Smooth Surface to 3 7/8" x 5 1/8". Place the Honeycomb diecut on top of the Bristol paper. Use painter's tape to hold the stencil in place. Color in the honeycomb with Zig Clean Color Real Brush (or any watercolor medium). I used Yellow 050 and Bright Yellow 052. I added a thin line using Bright Yellow, then blended a little of Yellow, then using a waterbrush to blend it upwards using little water. If you don't want to paint directly using the stencil you can use a pencil and lightly trace the honeycomb pattern and then watercolor. Just remember to erase the pencil lines when you are done. The watercolor must be completely dry before you erase.

  • Step 3 - Stamp Bees sentiment using Black Pigment Ink.
  • Step 4 - Trim Black Sot Finish Cardstock to 4" x 5 1/4". Adhere the Honeycomb background to the Black Cardstock using 3mm Clear Double Sided Adhesive. Adhere the whole panel to the front of the card using 3mm Clear Double Sided Adhesive.
  • Step 5 - Stamp Bugs & Butterflies using White Soft Finish Cardstock in Memento Black Ink. Color the bee using an Alcohol Marker. I used Winsor & Newton Promarker. Add Crystal Nuvo Drops Morning Dew to the Wings. Set aside to dry thoroughly before adhering to the card. I used foam tape (pop-ups) to add dimension.
  • Step 6 - Adhere sequins using Kid's Choice Glue. The glue goes on white but dries clear.


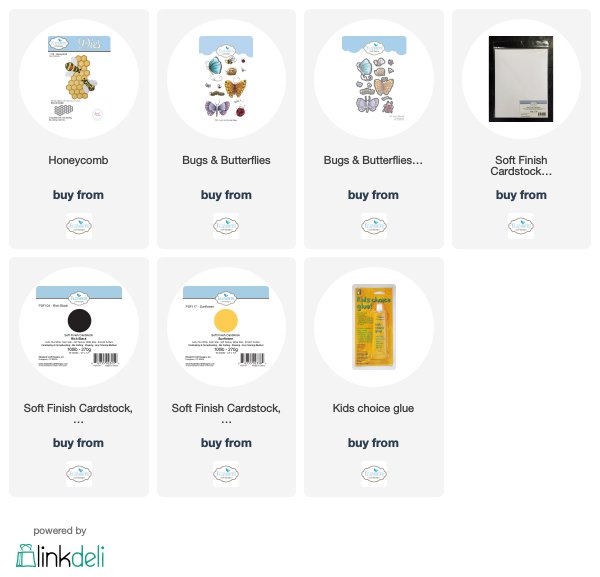
Below is a link for all products used for your easy convenience. Thanks for stopping by.

Elizabeth Craft Designs Product Used

Wednesday, June 13, 2018

Birthday Wishes and Winner Announced

Hi Everyone,
It’s not often I get to play with my stash because of DT responsibilities. So when I found myself ahead of schedule I decided to play. Today I am sharing a card with a fun background I made. Below you will find the steps and links to products used.

But first things first. The winner for my Blog Giveaway last month is Cynthia Simpson. Congratulations! Please email me your address so I can send you the Lantern Box Die.


  • Step 1 - Trim White Cardstock to 8 1/2” x 5 1/2”, score at 4 1/4” and fold in half for a vertical side fold card. 
  • Step 2 - Trim Black Cardstock to 4 1/4” x 5 1/2”. Stamp Diagonal Stripes using Versamark Ink. Sprinkle Silver Embossing Powder and heat set it with a heat tool. Adhere to front of card using Clear Double Sided Adhesive Tape.
  • Step 3 - Create a background - Adhere Watercolor Paper trimmed to 4 1/4" x 5 1/2" on a flat surface using painter's tape. Using a wide paint brush apply water to the entire panel. With a smaller brush add paint drops randomly on top of the panel. I used Gansai Pearl Colors. Let dry. For faster drying process dry it with a heat tool. The panel must be completely dry before moving onto the next step.

  • Step 4 - Diecut Double Stitched Rectangles to the Watercolor Panel.
  • Step 5 - Stamp Even More Flowers on Watercolor paper using Versamark Ink. Sprinkle White Embossing Powder and heat set it with a heat tool. Color using any watercolor medium. I used Zig Clean Color Real Brush. Diecut the flowers with matching dies. Place your flowers on the background created to find out where to stamp the sentiment. 
  • Step 6 - Stamp sentiment using Versafine Onyx Black Ink on the watercolor background. Adhere to card using Clear Double Sided Adhesive Tape. 
  • Step 7 - Adhere the Diecut Flowers using Foam Tape. 
  • Step 8 - Optional - Add random Morning Dew Crystal Nuvo Drops.


This card can be used for any occasion by changing the colors, stamp image and sentiment.

To receive $5 off your order at Simon Says Stamp use code: FWR528 at checkout.

Thanks for stopping by and have a wonderful day!

Products Used:

Saturday, June 9, 2018

Embossing Your Condensed Uppercase Alpha Dies

Hi Everyone,
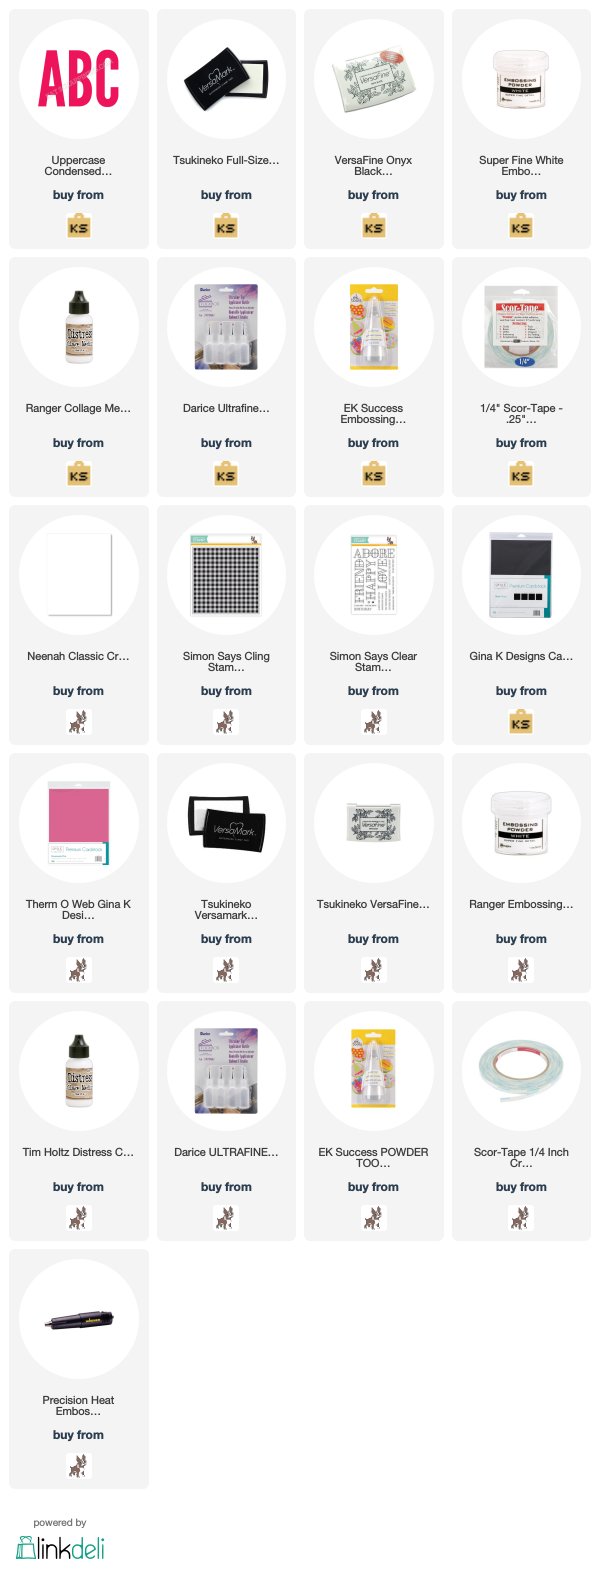
I have been having so much fun with the Condensed Uppercase Alpha Dies from Kat Scrappiness. I have shown you many ways how to use them and just when I thought I used up all possible ways I thought well what about embossing. I am happy to say that it worked. I just love the results. Below are the steps to replicate this card.


  • Step 1 - Trim White Cardstock to 8 1/2" x 5 1/2", score at 4 1/4" and fold in half for a vertical side fold card. (A2)
  • Step 2 - Stamp Gingham using Pink Cardstock with Versafine Onyx Black Ink. Trim to 4" x 5 1/4". Adhere to card using Clear Double Sided Adhesive Tape.
  • Step 3 - Trim Black Cardstock to 4" x 2 3/4". Adhere to card using Clear Double Sided Adhesive Tape.
  • Step 4 - Emboss Condensed Uppercase Alpha Dies (HUGS) onto White Cardstock in your diecutting machine as you would an embossing folder.  Trim to 4 1/4" x 2 5/8". Adhere to card using Clear Double Sided Adhesive Tape over the Black Cardstock.
  • Step 5 - Stamp Stained Glass Love Sentiment using Versamark on Black Cardstock. Sprinkle White Embossing Powder and heat set it with a Heat Tool. (I recommend the Wagner Heat Tool - it heats up super fast). Trim sentiment and adhere to card using Clear Double Sided Adhesive Tape.
  • Step 6 - Adhere Flowers and Leaves using Collage Medium Glue to the bottom part of card. 


I hope you enjoyed yet another way to utilize your Condensed Uppercase Alpha Dies. This card can be used for any occasion by changing the sentiment, word, flowers and/or color.

To receive 10% off your order at Kat Scrappiness use code: TINA10 at checkout.
To receive 5$ off your order at Simon Says Stamp use code: FWR528 at checkout.

Below are links to all products used. Thanks for stopping by and have a wonderful day!

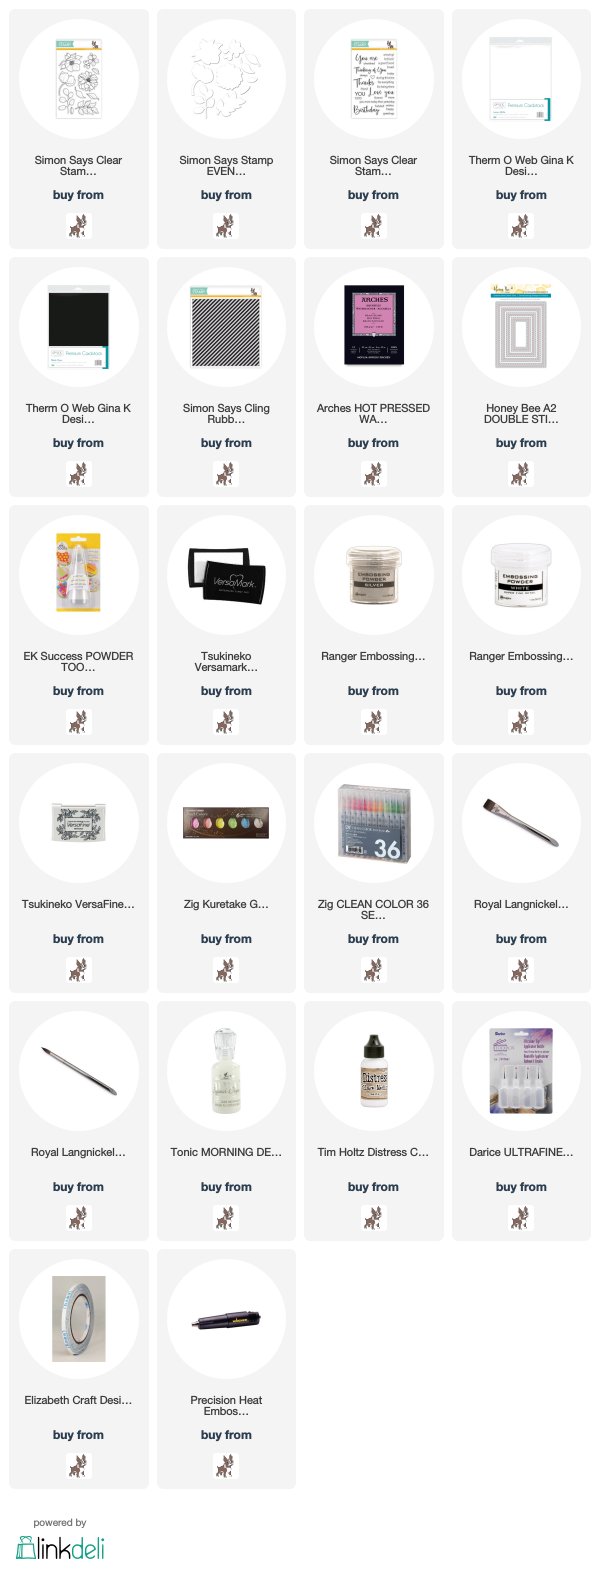
All Products Used:
Tuesday, June 5, 2018

5 Minute Card With Process Video

Hi Everyone,
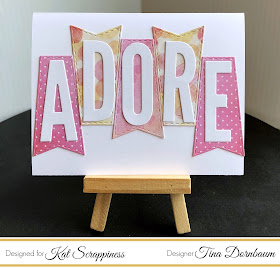
Today I have a video to share with you using the new Stitched Flags and Condensed Uppercase Alpha Dies from Kat Scrappiness to make a super easy fast card. We all need those last minute cards and this video will show you how to make a card under 5 minutes and still have the cute factor.


You can view the video here or open it with YouTube


I hope you enjoyed today's video. You can use this card for any occasion by changing the word, color and patterned paper. Below is a list for all products used excluding the patterned paper.

To receive 10% off your order at Kat Scrappiness use code: TINA10 at checkout.

Thanks for stopping by and have a wonderful day!

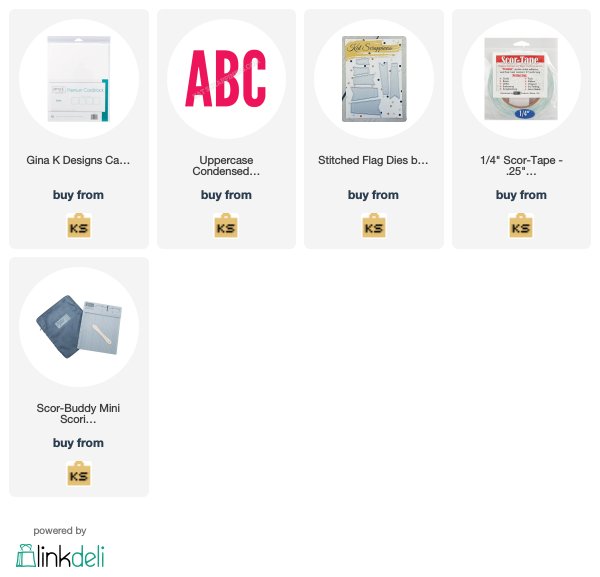
Kat Scrappiness Products Used:

Elizabeth Craft Design New Release A Way With Words

Hi Everyone,
Today is Focus Day at Elizabeth Craft Designs for A Way With Words by Suzanne Cannon. To see the full release go here. I used the RSVP script Die which makes any kind of invitation elegant and sophisticated. Whether it is for a wedding or children’s party this Die is a must have. My card is using the RSVP as an Inlay. It is a fun technique and creates a flat card. Below are the easy steps to replicate this card.


  • Step 1 - Trim White Soft Finish cardstock to 8 1/2” x 5 1/2”, score at 4 1/4”, fold in half for a horizontal side fold card (A2)
  • Step 2 - Diecut Stitched Rectangles Die using ModaScrap patterned paper Simply Love Adhere to base of card using 3mm Clear Double Sided Adhesive Tape.
  • Step 3 - Diecut Dotted Scallop Ovals Die using ModaScrap patterned paper Simply Love. 
  • Step 4 - Before diecutting the following add Clear Double Sided Adhesive Sheet to the backside of ModaScrap patterned paper and White Soft Finish Cardstock. Diecut RSVP Die to the center of the Dotted Scallop Ovals Diecut. Carefully remove all the pieces. You will be using all of them except the actual RSVP. Diecut RSVP Die using White Soft Finish cardstock. This time you will keep only the RSVP Diecut. 
  • Step 5 - Adhere the Dotted Scallop Oval Diecut to the center of the card front using 3mm Clear Double Sided Adhesive Tape. To create the inlay effect remove the release sheet from from the white RSVP. Adhere to card. Now remove the release sheet from the center pieces of the patterned paper and begin filling in the areas like a puzzle. See below photo. 


This card can be for any invitation by simply changing the colors and/or patterned paper. Below is a link to all Elizabeth Craft Designs Product Used. Thanks for stopping by and have a wonderful day!

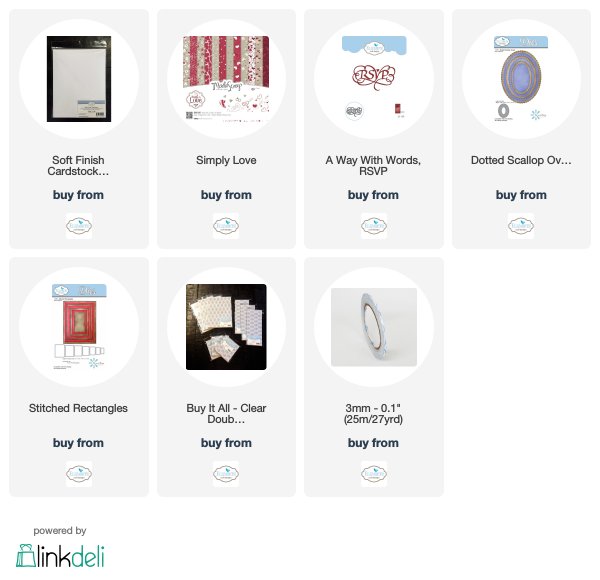
Elizabeth Craft Designs Products Used: