Pages

Thursday, August 23, 2018

Two Backgrounds Using One Stencil Plus A Blog Giveaway

Hi Everyone,
I have two cards to share with you using My Favorite Things Stencil Radiating Rays. Distress Oxide Inks are great for creating a second imprint from one inking. After I inked my first cardstock I used the Distress Sprayer and sprayed the stencil with water. While wet I placed it on a second cardstock. Below are the results.

Before we get started I have a Blog Giveaway. The winner will win the fabulous 3-D Texture Fades Botanical Embossing Folder. All you have to do is Follow My Blog and Subscribe to my YouTube Channel. The contest will run until September 15. The winner will be randomly selected and announced September 16.


  • Step 1 - Trim White Cardstock to 8 1/2” x 5 1/2”, score at 4 1/4” and fold in half for a vertical side fold card (A2).
  • Step 2 - Place Radiating Rays Stencil on front card base using Painters Tape. Starting at the middle apply Distress Oxide Ink Squeezed Lemonade using an ink applicator. Follow by Wild Honey and end with Abandoned Coral. Carefully remove the stencil. Now spray the stencil with water and place it on a 4 1/4” x 5 1/2” white cardstock. Press gently and remove the stencil. You now have a background for a second card. Put it aside to dry. 
  • Step 3 - Stamp Mandy’s Flowers using Versafine Onyx Black Ink. Color in the flowers using any Color medium of your choice. I used Winsor and Newton Promarkers which are alcohol based for easy blending. Adhere to card using Foam Tape. 
  • Step 4 - Stamp Mandy’s Flowers sentiment using Versamark Ink on Black Cardstock. Sprinkle White embossing powder and heat set with a heat tool. Diecut Stitched Fishtail Banners with the sentiment. Adhere to card using Foam Tape at the ends and Clear Double Sided Adhesive Tape in the center. 
  • Step 5 - Using the Crystal Katana place sequins randomly and adhere with Collage Medium. 
  • Step 6 - Optional - Add some shimmer to the flowers using Nuvo Shimmer Pen. 
  • Step 1 - Trim White Cardstock to 8 1/2” x 5 1/2”, score at 4 1/4” and fold in half for a vertical side fold card (A2).
  • Step 2 - Diecut Double Stitched Rectangles using the background created from the first card. Adhere to card front using Clear Double Sided Adhesive Tape. 
  • Step 3 - Stamp Thoughtful Messages sentiment to bottom of the background using Versafine Onyx Black Ink. 
  • Step 4 - Stamp Spring Flowers using Versafine Onyx Black Ink. Color in the flowers using any Color medium of your choice. I used Distress Oxide Inks with a Waterbrush. I used Squeezed Lemonade, Wild Honey, Abandoned Coral. Diecut Spring Flowers to making images. Adhere to card using Foam Tape. 
  • Step 5 - Using the Crystal Katana place prepared Crystal Nuvo Drops Morning Dew randomly and adhere with Collage Medium. 


These cards can be used for any occasion by changing the images, colors and/or sentiments. Below is a link to all Products Used. 

To receive 5$ off your order at Simon Says Stamp use code: SVE954 at checkout.

To receive 10% off your order at Kat Scrappiness use code: TINA10 at checkout.

Thank you for stopping by and have a wonderful day.

Products Used:

Tuesday, August 21, 2018

Elizabeth Craft Designs August Challenge Using Character Dies

Hi Everyone,
Today is the August Challenge at Elizabeth Craft Designs. The Challenge this month is Christmas Fun With Character Dies. There are 4 new Character Dies which was released this month. For a chance to win a $20 gift certicate answer this question. Which of the Characters from the new Joset Designs collection is your favorite? Go here to answer the question in the comments section. Below you will find the steps to replicate this card.


  • Step 1 - Trim White Soft Finish Cardstock to 8 1/2" x 5 1/2", score at 4 1/4" and fold in half for a horizontal side fold card. (A2)
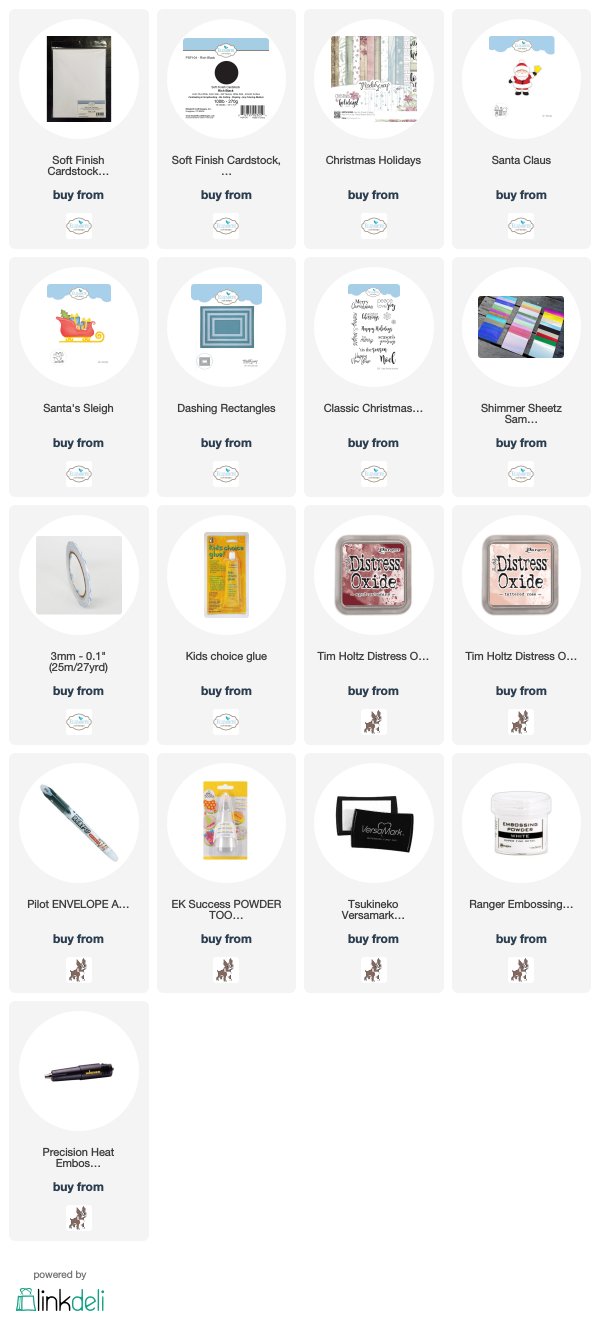
  • Step 2 - Diecut Dashing Rectangles using ModaScrap Christmas Holidays Patterned Paper. Adhere to card front using 3mm Clear Double Sided Adhesive.
  • Step 3 - Diecut Santa's Sleigh as follows: ModaScrap Christmas Holidays Patterned Paper for the upper part of sleigh and presents. Shimmer Sheetz for ribbon/bow and lower part of sleigh. Assemble all pieces using Kid's Choice Glue.
  • Step 4 - Stamp Classic Christmas Sentiment on the sleigh using Versamark Ink. Sprinkle White Embossing Powder and heat set with a heat tool. Adhere all of the pieces created from Step 3 to the card front using Kid's Choice Glue.
  • Step 5 - Diecut Santa Claus as follows: White Soft Finish Cardstock for Beard, PomPom, lower part of hat, coat cuffs, bottom of coat and upper part of boots. Black Cardstock for buttons, gloves and boots. Shimmer Sheetz for bell. Color White Soft Finish Cardstock using Distress Oxide Tattered Rose for face and nose and Distress Oxide Aged Mahogany for hat and Santa's Suit. Assemble all the pieces using Kid's Choice Glue and adhere to card again using Kid's Choice Glue. Don't forget to add the eyes using a fine tip marker.


The new Character dies, Igloo and Santa's Sleigh brings such a fun element to a holiday card. Below you will find the links to all Products Used. Thank you for stopping by and have a wonderful day.

Products Used:

Monday, August 13, 2018

Elizabeth Craft Designs Focus Release Winter/Holiday from Joset's Designs

Hi Everyone,
Today is Elizabeth Craft Designs Focus Release Winter/Holiday from Joset's Designs. Boy oh boy is this an awesome release with 4 new Character Dies along with some classic dies and 2 beautiful stamp sentiments and more. I have a lot of fun cards to share in the upcoming days and it was super hard to choose which one to share first. I decided to share an elegant card using the new Snowflakes Die. Go here to see the Elizabeth Craft Designs Blog Post. Below are the steps to replicate this card.

  • Step 1 - Trim White Soft Finish Cardstock to 8 1/2" x 5 1/2", score at 4 1/4" and fold in half for a vertical side fold card. (A2)
  • Step 2 - Trim ModaScrap Christmas Holidays Patterned Paper to 4 1/4" x 5 1/2" and adhere to card front using 3mm Clear Double Sided Adhesive Tape.
  • Step 3 - Diecut Garden Notes Frame It Rectangles to the center front of card. 
  • Step 4 - Trim ModaScrap Christmas Holidays Patterned Paper to 4 1/4" x 5 1/2" and adhere to card inside front using 3mm Clear Double Sided Adhesive Tape.
  • Step 5 - Stamp sentiment using ink of your choice. (I used Distress Oxide Salty Ocean).
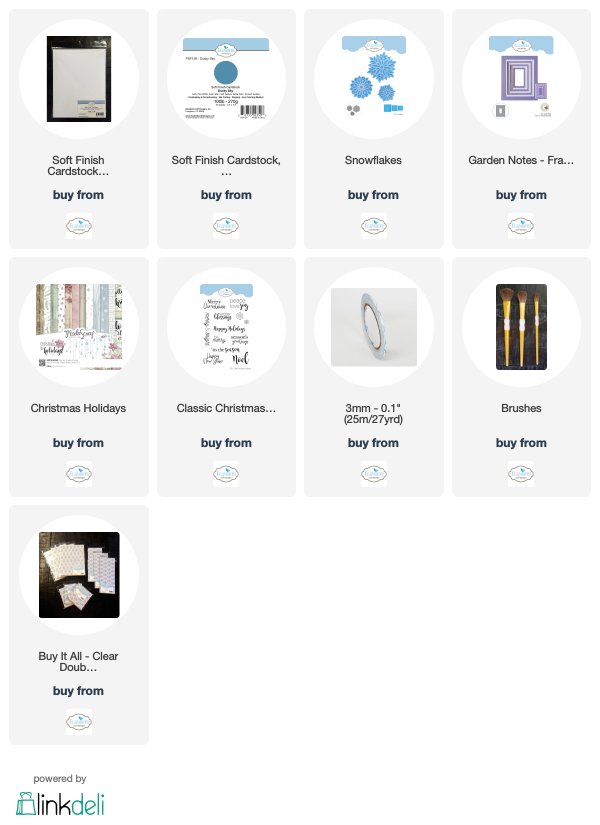
  • Step 6 - Diecut Snowflakes outline (largest size) using Teal Blue Cardstock. Set aside. Diecut Snowflakes detail (largest size) on White Soft Finish Cardstock with Clear Double Sided Adhesive Sheet on the topside. Carefully remove the release sheet and sprinkle Silk Microfine Glitter (I used Teal Blue #649). Carefully remove excess using a wide brush. Using your fingertip in a circular motion gently bring out the shine of the glitter. Adhere to the snowflake solid piece using Kid's Choice Glue. Adhere the whole snowflake to the center of the card using Kid's Choice Glue.


This card can be used as a Holiday card or a Winter Card by changing the sentiment. Below is a link with all Products Used. Thank you for stopping by and have a wonderful day.

Elizabeth Craft Designs Products Used:

Thursday, August 2, 2018

Elizabeth Craft Designs New Christmas Release from Joset Designs

Hi Everyone,
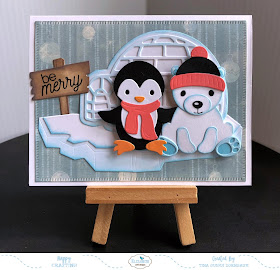
Today Elizabeth Craft Designs has launched the New Christmas Release by Joset Designs. If you remember earlier in the year there was a Character Bunny dieset and it was super cute and super easy to assemble. Now there are 4 new Character Dies. Penguin, Polar Bear, Santa and a Moose. These are so adorable and will certainly made wonderful Christmas projects. For my card I used the Penguin, Polar Bear and Igloo dies along with the new Classic Christmas Sentiments. Below you will find the steps to replicate this card.


  • Step 1 - Trim White Soft Finish Cardstock to 8 1/2" x 5 1/2", score at 4 1/4" and fold in half for a horizontal side fold card. (A2)
  • Step 2 - Diecut Dashing Rectangles using ModaScrap Christmas Holidays patterned paper. Adhere to front of card using 3mm Clear Double Sided Adhesive Tape.
  • Step 3 - Diecut Igloo using White Soft Finish Cardstock (all pieces except for the sign). Ink the edges with Distress Ink (I used Tumbled Glass). Adhere the ice blocks and igloo to the card using 3mm Clear Double Sided Adhesive Tape except for the top layer of the igloo. Use Kids Choice Glue.
  • Step 4 - On a scrap piece of White Soft Finish Cardstock softly ink using Distress Oxide ink (I used Walnut Stain). Diecut The sign and post from the Igloo dieset. Distress the edges with more Distress Oxide Ink Walnut Stain. Stamp sentiment using Versafine Onyz Black Ink on the post. Adhere to the card using 3mm Clear Double Sided Adhesive Tape.
  • Step 5 - Diecut Penguin (black cardstock for main body, white for face and orange for nose and feet, and your color of choice for the scarf). Assemble. Diecut Polar Bear (white cardstock for face, body and front paws, black for the eyes and nose (you will need to use a fine tip black marker to add some detail for the lips and area leading to the nose), soft blue for back paws and your color of choice for the hat). Assemble. Adhere both Penguin and Polar Bear to the card using foam tape.
  • Step 6 - Optional - Add some shimmer to the snowflakes on the patterned paper using Nuvo Glitter Aqua Shimmer Pen


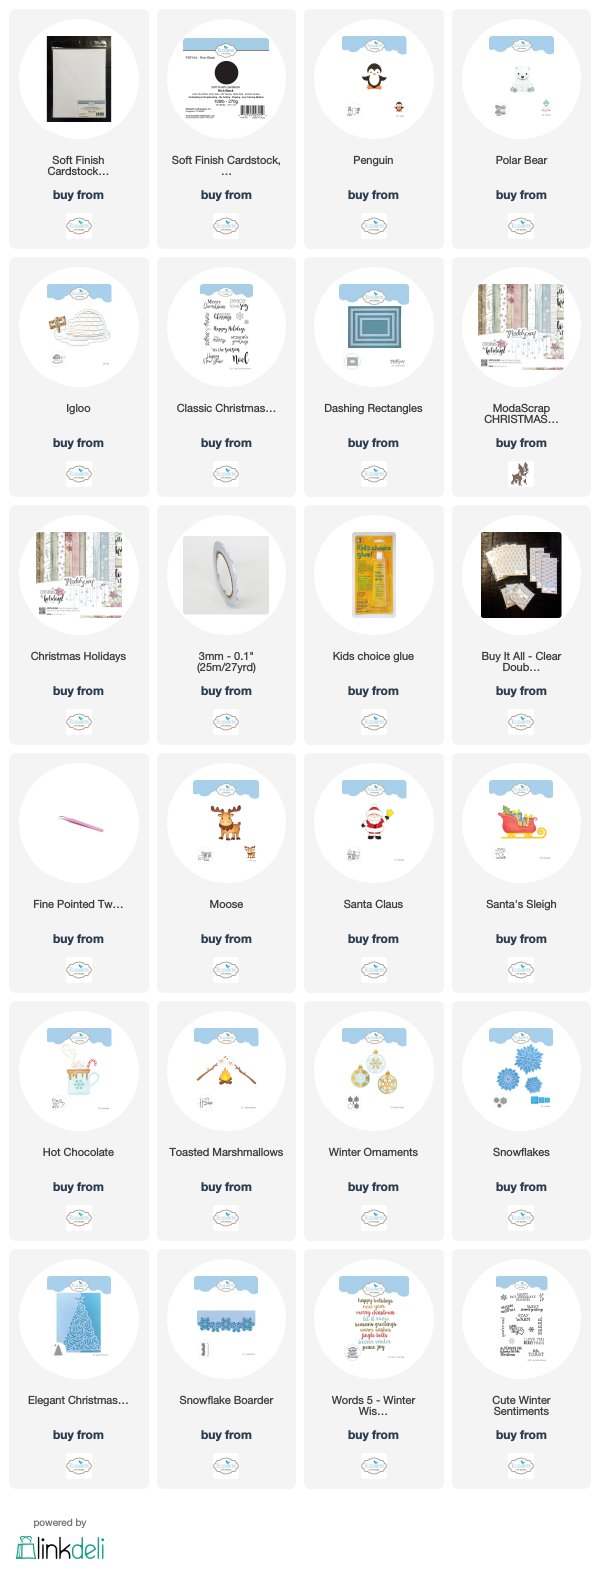
I hope you enjoyed a sample of the new release. Below is a link to all the product used along with the new release. Thank you for stopping by and have a wonderful day!

Elizabeth Craft Designs Products Used and New Release:

Wednesday, August 1, 2018

Two Backgrounds Two Cards and Case This Sketch 282

Hi Everyone,
I had a floral background I made which has been sitting on my desk for a while so when I saw this weeks challenge at Case This Sketch I knew it would be perfect. I used this weeks Sketch 282 to create the following 2 cards.Case This Sketch is a fabulous challenge site that offers lots of inspiration. Below are the steps to replicate this card.


  • Step 1 - Trim White Cardstock to 8 1/2" x 5 1/2", score at 4 1/4" and fold in half for a vertical side fold card. (2 times)
  • Step 2 - Create 2 Backgrounds - First Background - Trim White Cardstock to 4 1/4" x 5 1/2". Stamp Everything Together flowers, leaves and dots in several Distress Oxide Ink Colors (I used Broken China, Wild Honey, Fossilized Amber & Peeled Paint). Second Background - Trim White Cardstock to 4 1/4" x 5 1/2". Stamp Diagonl Stripes using Distress Oxide Ink. (I used Broken China).
  • Step 3 - Diecut Double Stitched Rectangle to both backgrounds. On both trim 1 3/8" from the bottom and then 1". You will now have 3 panels for both background. Card 1 - Adhere using 3mm Clear Double Sided Adhesive Tape to large floral panel, smallest stripe and then mid size floral. Card 2 - Adhere using 3mm Clear Double Sided Adhesive Tape to large stripe panel, smallest floral and then mid size stripe. Apply Distress Oxide Ink Wild Honey to a scrap piece of White Cardstock. Trim 1/4" strips (4 times) For both cards adhere the strips using 3mm Clear Double Sided Adhesive Tape in between each panel. See below for visual.
  • Step 4 - Apply Distress Oxide Ink Peeled Paint to a scrap piece of White Cardstock. Use an anti-static powder tool over the strip. Stamp Sentiment using versamark. Sprinkle White Embossing Powder and heat set with a heat tool. (2 times)
  • Step 5 - Diecut Stitched Fishtail Banners to the embossed sentiment. (2 times). Adhere to each card using foam tape.


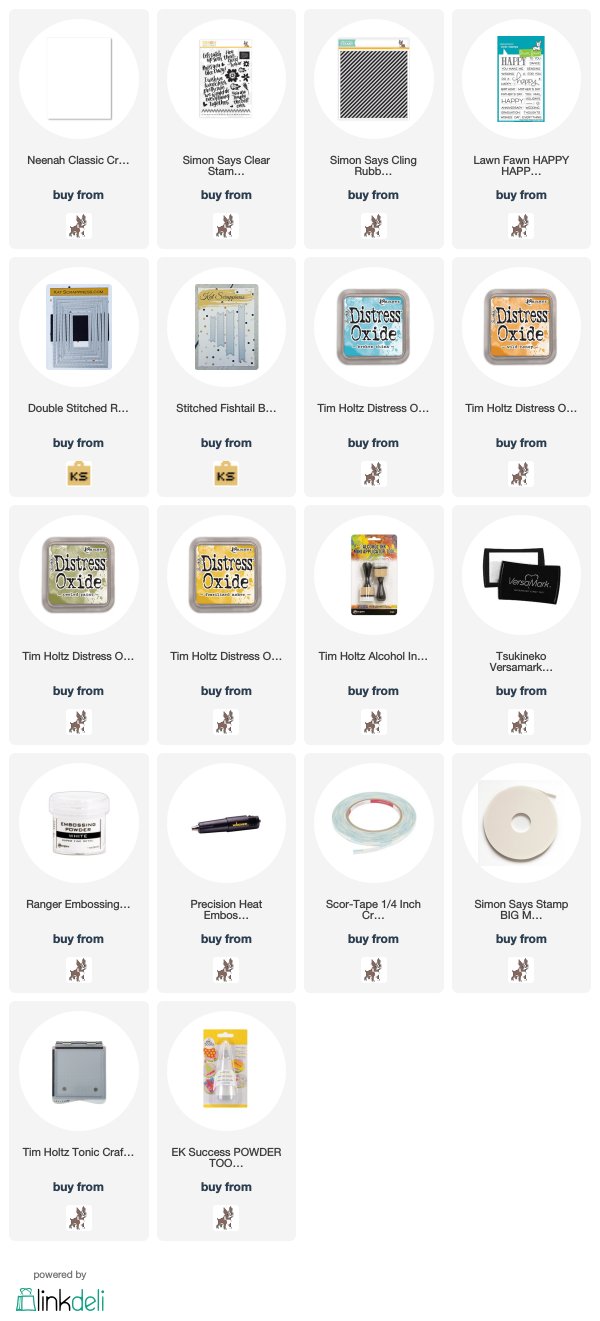
I hope you enjoyed today's cards. It's a fun technique using 2 backgrounds to create 2 cards. These cards can be used for any occasion by changing the colors, images and/or stamps. Below is a link to all the products used. Thanks for stopping and have a wonderful day.

Products Used: