I have two cards to share with you using My Favorite Things Stencil Radiating Rays. Distress Oxide Inks are great for creating a second imprint from one inking. After I inked my first cardstock I used the Distress Sprayer and sprayed the stencil with water. While wet I placed it on a second cardstock. Below are the results.
Before we get started I have a Blog Giveaway. The winner will win the fabulous 3-D Texture Fades Botanical Embossing Folder. All you have to do is Follow My Blog and Subscribe to my YouTube Channel. The contest will run until September 15. The winner will be randomly selected and announced September 16.


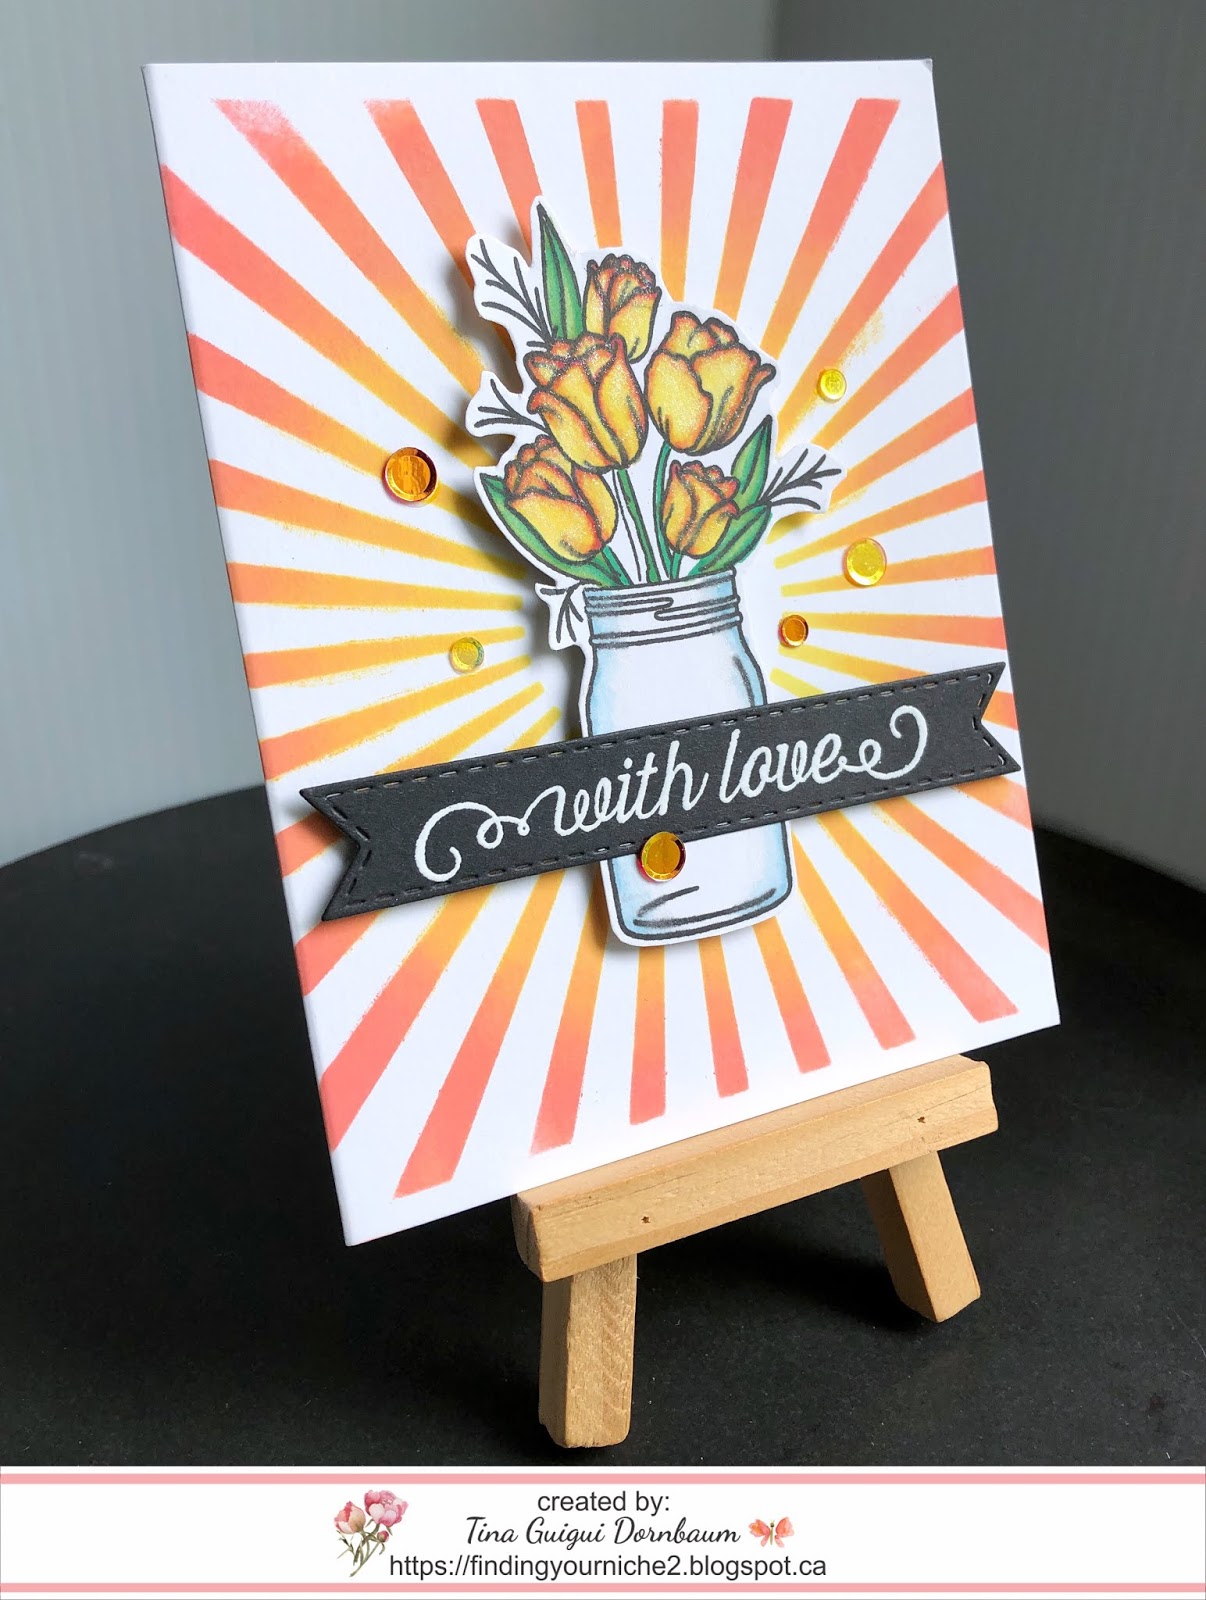
- Step 1 - Trim White Cardstock to 8 1/2” x 5 1/2”, score at 4 1/4” and fold in half for a vertical side fold card (A2).
- Step 2 - Place Radiating Rays Stencil on front card base using Painters Tape. Starting at the middle apply Distress Oxide Ink Squeezed Lemonade using an ink applicator. Follow by Wild Honey and end with Abandoned Coral. Carefully remove the stencil. Now spray the stencil with water and place it on a 4 1/4” x 5 1/2” white cardstock. Press gently and remove the stencil. You now have a background for a second card. Put it aside to dry.
- Step 3 - Stamp Mandy’s Flowers using Versafine Onyx Black Ink. Color in the flowers using any Color medium of your choice. I used Winsor and Newton Promarkers which are alcohol based for easy blending. Adhere to card using Foam Tape.
- Step 4 - Stamp Mandy’s Flowers sentiment using Versamark Ink on Black Cardstock. Sprinkle White embossing powder and heat set with a heat tool. Diecut Stitched Fishtail Banners with the sentiment. Adhere to card using Foam Tape at the ends and Clear Double Sided Adhesive Tape in the center.
- Step 5 - Using the Crystal Katana place sequins randomly and adhere with Collage Medium.
- Step 6 - Optional - Add some shimmer to the flowers using Nuvo Shimmer Pen.

- Step 1 - Trim White Cardstock to 8 1/2” x 5 1/2”, score at 4 1/4” and fold in half for a vertical side fold card (A2).
- Step 2 - Diecut Double Stitched Rectangles using the background created from the first card. Adhere to card front using Clear Double Sided Adhesive Tape.
- Step 3 - Stamp Thoughtful Messages sentiment to bottom of the background using Versafine Onyx Black Ink.
- Step 4 - Stamp Spring Flowers using Versafine Onyx Black Ink. Color in the flowers using any Color medium of your choice. I used Distress Oxide Inks with a Waterbrush. I used Squeezed Lemonade, Wild Honey, Abandoned Coral. Diecut Spring Flowers to making images. Adhere to card using Foam Tape.
- Step 5 - Using the Crystal Katana place prepared Crystal Nuvo Drops Morning Dew randomly and adhere with Collage Medium.


These cards can be used for any occasion by changing the images, colors and/or sentiments. Below is a link to all Products Used.
To receive 5$ off your order at Simon Says Stamp use code: SVE954 at checkout.
To receive 10% off your order at Kat Scrappiness use code: TINA10 at checkout.
Thank you for stopping by and have a wonderful day.
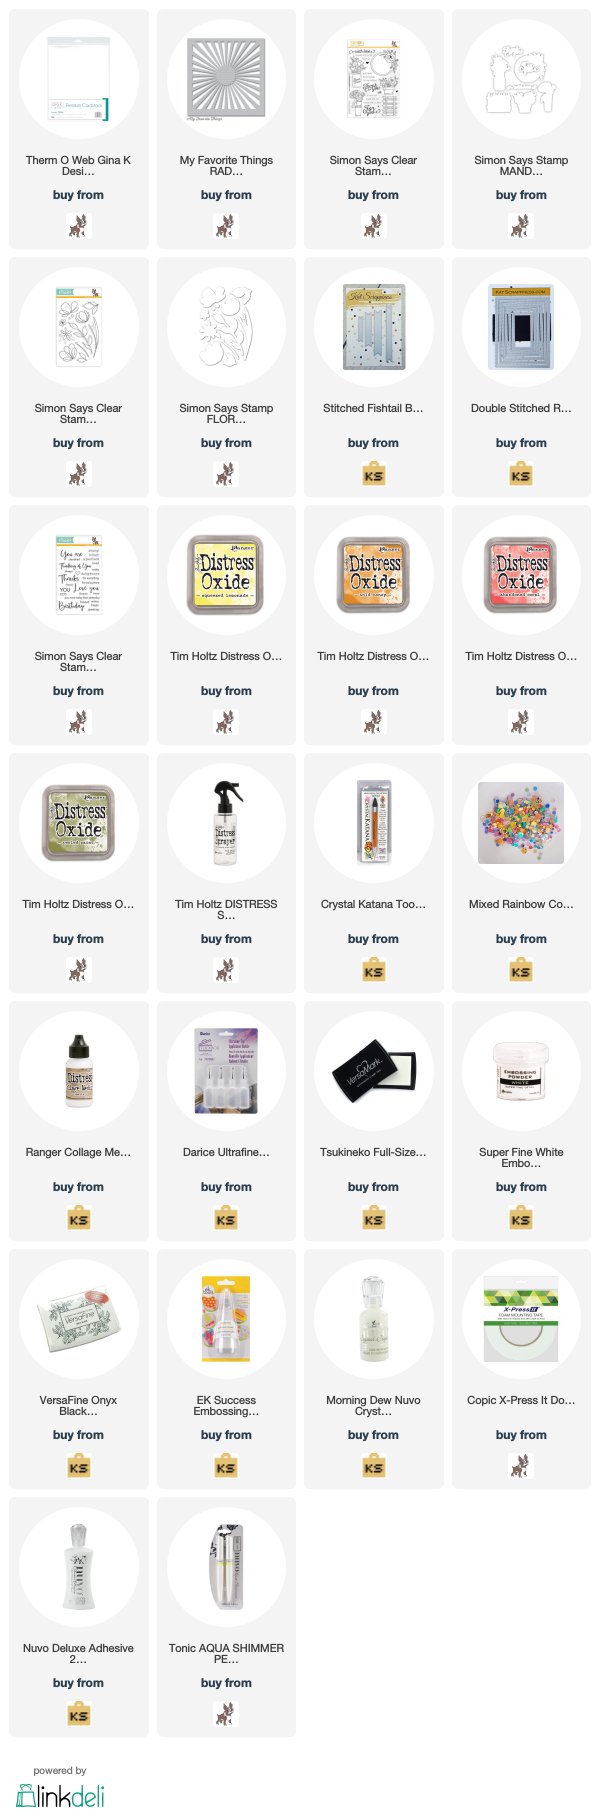
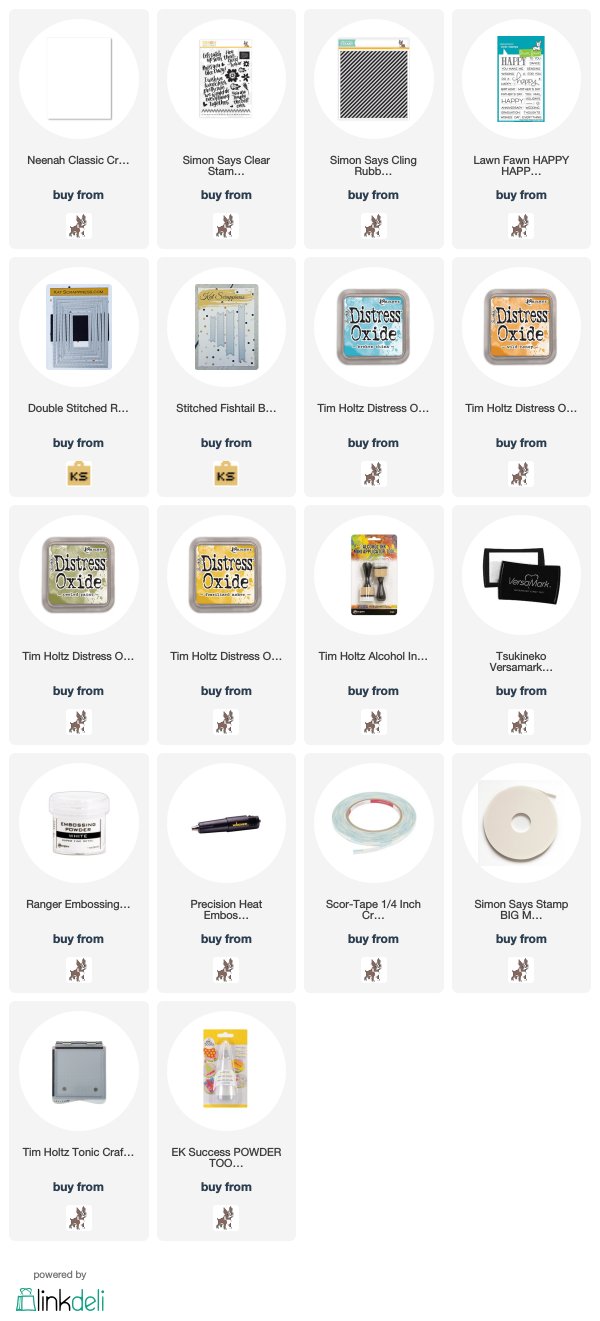
Products Used: