Monday, September 30, 2019

Spectember 30 Over The Rainbow Using Tri-Blends From Spectrum Noir

Hi Everyone,
Welcome to the last day of Spectember for Spectum Noir. Today's Prompt is Over The Raindow. Below you will see another use for the Tri-Blends as well as the steps to create your own Over The Rainbow card.


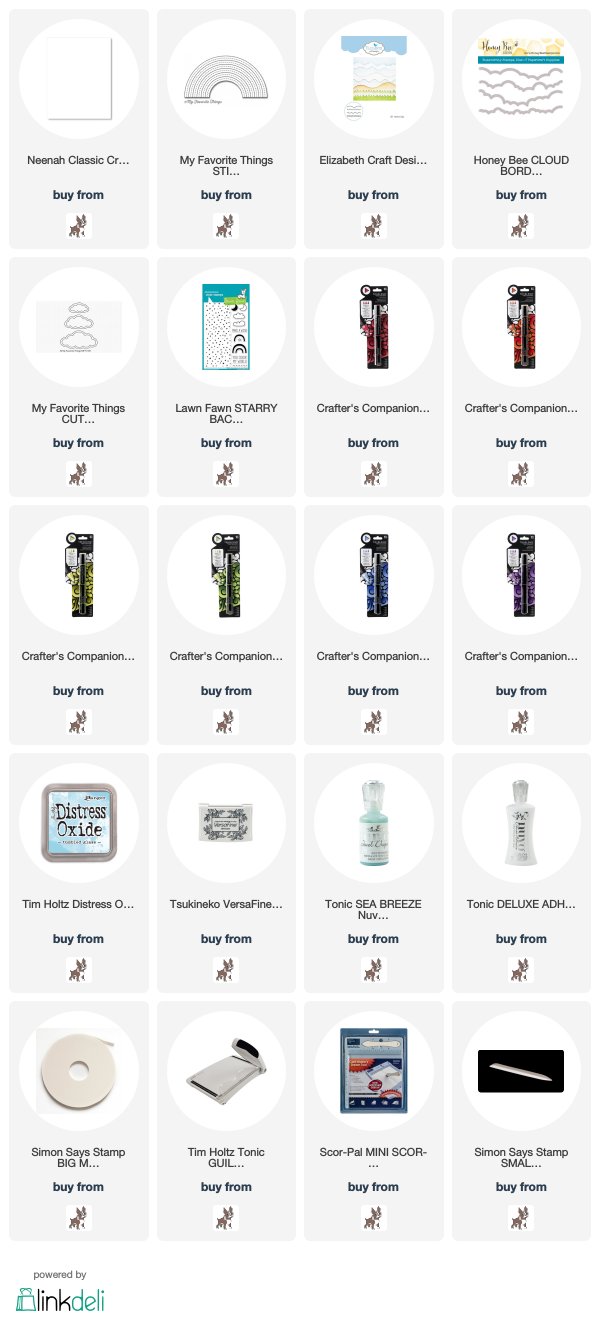
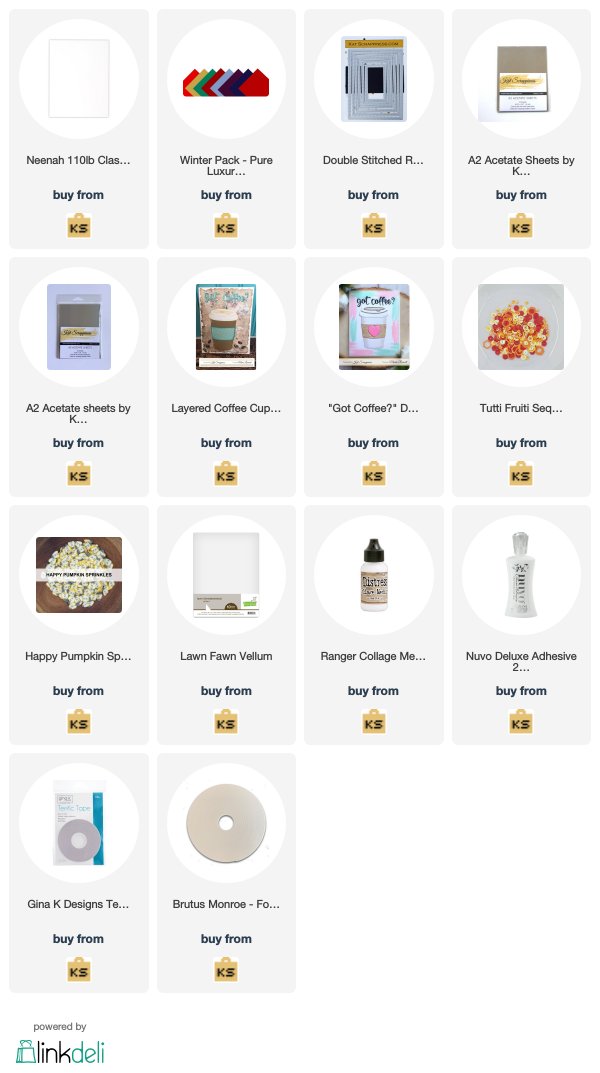
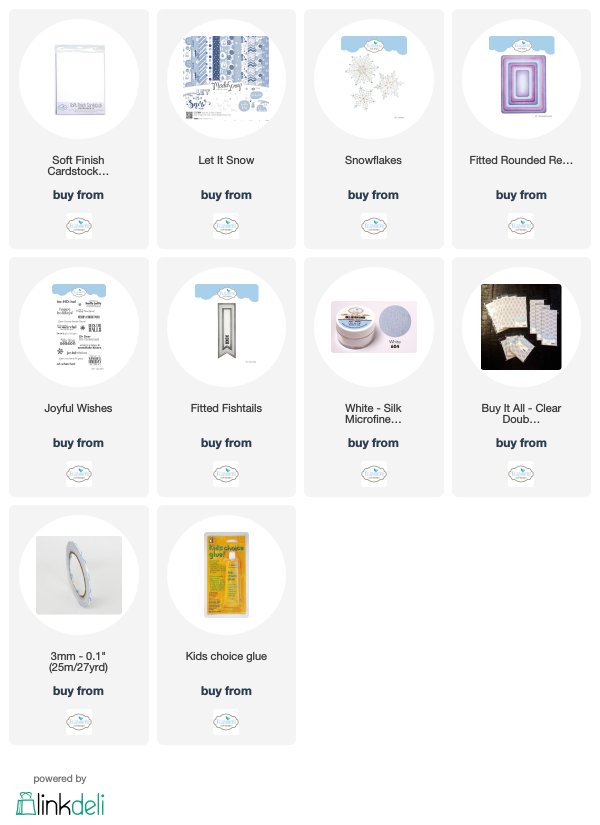
Step 1 - Trim White Cardstock to 8 1/2" x 5 1/2", score at 4 1/4" and fold in half for a vertical side fold card.

Step 2 - Trim White Cardstock to 5 1/2" x 4 1/4". Apply Distress Oxide Tumbled Glass using an Ink Applicator. Spray some water to activate the ink. Adhere to card using Nuvo Deluxe Adhesive.

Step 3 - Diecut Stitched Rainbow using White Cardstock. Color in each strip using Tri-Blends from Spectrum Noir. I used Dark Red, Orange, Citrus, Light Green, True Blue and Purple.

Step 4 - Diecut Cute Cloud Outlines and Cloud Border using White Cardstock. Adhere the first Cloud Border with the Rainbow on the right side behind the cloud and the left side in front of the cloud. Adhere 2nd layer Cloud Border. Adhere cloud small one on the left. All pieces were attached using Nuvo Deluxe Adhesive.

Step 5 - Stamp You Color My World using Versafine Onyx Black Ink using the large diecut Cloud. Adhere to card using Foam Tape.

Step 6 - Optional - For added interest and shine add Nuvo Jewel Drops Sea Breeze. Let Dry.


Today's card can be used for many occasions by changing the sentiment. You can get the Tri-Blends here or in the link below. Below is a link to all the products used. Some of the product I used is out of stock so I linked an alternative option. Thank you for stopping by and have a wonderful day.

Products Used:

Sunday, September 29, 2019

National Coffee Day Blog Hop With Kat Scrappiness

Hi Everyone,
Today is National Coffee Day and Kat Scrappiness is celebrating in a BIG WAY! Grab a mug or a pot of coffee and join us for all the fun. There will be a fabulous SALE and BLOG HOP for you today with tons of PRIZES. There will be 20% off the ENTIRE Coffee Category for TODAY only using code: COFFEE2019 at checkout.

TWO GRAND PRIZES:
#2: Coffee Lover's Surprise Package

THREE AWESOME PRIZES:


HOP ALONG:
1) Click on the wonderful coffee creations from the Design Team created for you using all Kat Scrapiness coffee products.
2) Comment on each blog and then go back here and comment what is your FAVORITE Kat Scrappiness Coffee Product!
3) You have from September 29th - October 5th to comment.
4) Kat Scrappiness will be randomly choosing winners from any of the blogs, any of the comments and announcing them on October 6th  in a new post (see PRIZES below)

Before we begin if you didn't come from Dawn's Blog then you can start at the beginning here.

Here is my card


Below you will find the steps to create your own Pumpkin Spice Coffee Card.

Step 1 - Trim White cardstock to 8 1/2" x 5 1/2", score at 4 1/4 and fold in half for a vertical side fold card. (A2).

Step 2 - Diecut Double Stitched Rectangle to Patterned Paper. Adhere to front of card.

Step 3 - Diecut Double Stitched Rectangle and Layered Coffee Cup using Patterned Paper.This is the cover for the shaker. Adhere an acetate window to the inside using Clear Double Sided Tape. Add 2 layers of Foam Tape on the outside edge of the Coffee Cup. Trim a piece of Patterned Paper to seal the shaker and create the inside background. See photo.


Step 4 - Add Tutti Fruiti Sequins Mix and Happy Pumpkin Sprinkles on the background. Make sure it is centered when you place the cover on top. Before adding the cover apply some anti static powder to the inside edges. This will help prevent the sequins from sticking to the sides. Remove the release sheets and adhere to the background. Adhere the shaker to the front of the card.

Step 5 - Diecut Layered Coffee Cup (the cover pieces) and assemble and adhere to card using Nuvo Deluxe Adhesive.

Step 6 - Optional - Diecut Double Stitched Rectangles using Red Cardstock. Trim the edge so you have a 1/8" border. Adhere to card.

Step 7 - If you have a Xyron Sticker Maker then run it through with a small piece of Vellum. Diecut Layered Coffee Cup (the center piece) using Vellum. Remove the release sheet and adhere to card. If you don't have a Xyron then add the sentiments from Step 8 first and then adhere the vellum placing collage medium where the sentiments are so you don't see the adhesive.

Step 8 - Diecut Got Coffee? (only the word coffee) using Red Cardstock. Adhere on top of the vellum using Collage Medium. Stamp or print Pumpkin Spice on Patterned Paper. Trim and adhere to card below Coffee using Nuvo Deluxe Adhesive.

I hope you are enjoying the blog hop. You are almost finished. Below is a link to all the products used. Thank you for stopping by and good luck.

Your next stop is Adam.

Products Used:

Tuesday, September 3, 2019

Winter Wishes And Snowflake Kisses Featuring Joset Designs Snowflakes

Hi Everyone,
Today I have an elegant Holiday Card to share with you using the new Snowflakes Die and Joyful Wishes Sentiments Stamps from Joset Designs. Below you will find the steps to create your own Holiday card.


Step 1 - Trim White Soft Finish Cardstock to 8 1/2" x 5 1/2", score at 4 1/4" and fold in half for a vertical side fold card. (A2 size)

Step 2 - Diecut Fitted Rounded Rectangles Die using Let It Snow ModaScrap Paper. Adhere to card using 3mm Clear Double sided Tape.

Step 3 - Adhere Clear Double Sided Adhesive Tape on top of a scrap piece of White Soft Finish Cardstock. Diecut Snowflake and remove the release sheet. Sprinkle White Silk Microfine Glitter and remove the access. Using your index finger rub in a circular motion the glitter to bring out the shine. Adhere to the card front using Kid's Choice Glue. I off set it and trimmed off the excess.

Step 4 - Stamp Joyful Wishes sentiment using Versafine Onyx Black Ink on Let It Snow ModaScrap Paper. 

Step 5 - Diecut Fitted Fishtails using the sentiment created from Step 5. To get the diecut on the other end flip the die secure it with purple tape and diecut again. Adhere to card using foam tape.


This card is simple to make yet it is an elegant holiday card. All the products used are listed below. Thank you for stopping by and have a wonderful day.

Products Used: