Sunday, February 18, 2018

Hugs and Kisses Card With Case This Sketch 259

Hi Everyone!
Today I am showing you a card I made using Sketch #259 from Case This Sketch. Case This Sketch is a weekly Sketch Challenge for Clean and Simple cards. Below you will find the steps to replicate this card. But first it's time for a Blog Giveaway.

One lucky winner will receive five die sets. Spellbinders Labels Four, Foliage & Ribbon Banner and Die-namites Wet Tulips & Tulip Garden. The contest is easy. Click on follow my blog. How easy is that! If you are already following me you are automatically entered into the drawing. The contest ends on Friday March 9 and the winner will be announced on Saturday March 10. Good luck everyone!

Here is the prize

Case This Sketch #259

Finished card measures 4 1/4” x 5 1/2” folded
  • Step 1 - Cut White Soft Finish Cardstock to 8 1/2" x 5 1/2". Score and fold in half to form a horizontal side-fold card base. Finished size: 4 1/4" x 5 1/2" (A2)
  • Step 2 - Trim White Soft Finish Cardstock to 3 7/8” x 5 1/8”. Using an ink applicator lightly apply Distress Oxide Inks in small areas towards the mid section. Spray water to create droplets. Let dry. 
  • Step 3 - Trim Black Soft Finish Cardstock to 4” x 5 1/4”. Adhere the Distress Oxide panel to the black panel using 3mm Clear Double Sided Adhesive Tape. Adhere the whole panel to the front of the card using 3mm Clear Double Sided Adhesive Tape. 
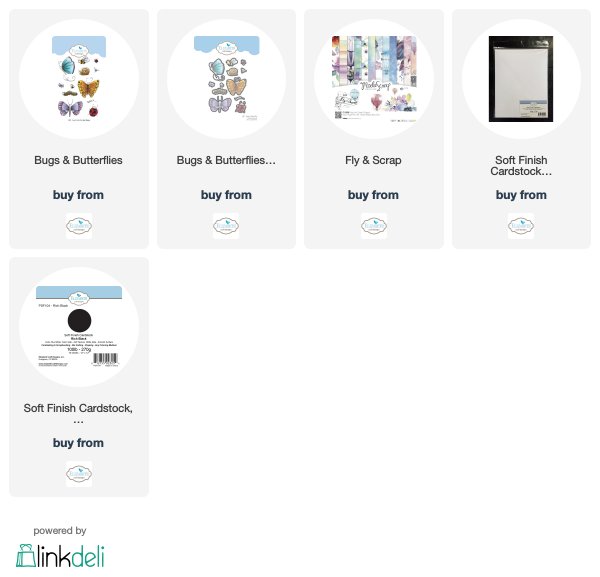
  • Step 4 - Stamp Bugs & Butterflies using Black Ink on patterned paper from ModaScrap Fly & Scrap. Diecut the image with the matching Bugs & Butterflies die set. Adhere to card using Foam Tape in the center. Shape the wings upwards to add dimension. 
  • Step 5 - Diecut the sentiment using Black Soft Finish Cardstock. Using an embossing ink pad apply directly on the Diecut sentiment.  Sprinkle Black Embossing Powder and heat set with a heat tool. Repeat this 3 times for even coverage. Adhere to card using Multi Medium Glue. Stamp sentiment in Black Ink beneath the Embossed sentiment.
  • Step 6 - Adhere sequins to card using Multi Medium Glue. 


This card can be used for any occasion. Below is a link to all Elizabeth Craft Designs Products used for your easy convenience. Thanks for stopping by.

Elizabeth Craft Designs Products Used

Other Products Used
Versafine Onyx Black
Ink Applicator
Distress Oxide Inks (Broken China, Salty Ocean & Faded Jeans)
Tim Holtz Distress Sprayer
Avery Elle Sentimental Die
Versamark Embossing Ink Pad
Ranger Embossing Powder Black
Multi Medium Glue
Sequins

Friday, February 9, 2018

Be Mine Card And A Blog Giveaway

Hi Everyone,
Today I have a fun Valentine's Day card for you. The main focus of the card is using a die in a non traditional way. Below you will find the easy steps to replicate this card. But first it's time for a Blog Giveaway.

One lucky winner will receive five die sets. Spellbinders Labels Four, Foliage & Ribbon Banner and Die-namites Wet Tulips & Tulip Garden. The contest is easy. Click on follow my blog. How easy is that! If you are already following me you are automatically entered into the drawing. The contest ends on Friday Feb.23 and the winner will be announced on Saturday Feb.24. Good luck everyone!

Here is the prize

Finished card measures 4 1/4” x 5 1/2” folded
  • Step 1 - Cut White Soft Finish Cardstock to 8 1/2" x 5 1/2". Score and fold in half to form a horizontal side-fold card base. Finished size: 4 1/4" x 5 1/2" (A2)
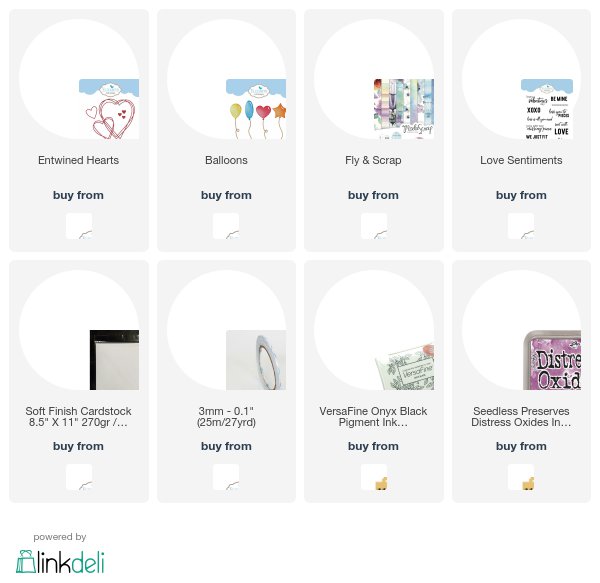
  • Step 2 - Trim White Soft Finish Cardstock to 4” x 5 1/4”. Ink the edges with Distress Oxide Seedless Preserves. Emboss Large Entwined Heart. To do this you will need to use an embossing matte in the diecutting machine as you would emboss a folder. Remember to offset the die.
  • Step 3 - Diecut Large Entwined Heart using ModaScrap patterned paper Fly & Scrap. Adhere the center part to the center of the embossed heart using 3mm Clear Double Sided Adhesive..
  • Step 4 - Diecut Balloons (the Heart) using ModaScrap patterned paper Fly & Scrap. Adhere to card using 3mm Clear Double Sided Adhesive.
  • Step 5 - Diecut Small Entwined Heart using ModaScrap patterned paper Fly & Scrap and adhere to card using 3mm Clear Double Sided Adhesive.
  • Step 6 - Stamp Love Sentiment using Black Ink. 
  • Step 7 - Randonly adhere some sequins in pink and white. 


Below you will find the links for all products used for your easy convenience. Thanks for stopping by! Remember to follow my blog to be entered in my blog giveaway. 

Products Used

Monday, February 5, 2018

Bloom Card

Hello Everyone,
Today I am sharing a card I made from the latest inspiration sketch over at Case This Sketch and the new stamps from Krista Schneider from Elizabeth Craft Designs. Below is the easy steps to replicate this card.


Finished card measures 4 1/4” x 5 1/2” folded
  • Step 1 - Trim White Soft Finish cardstock 5 1/2” x 8 1/2”, score and fold in half for a vertical side fold card. 
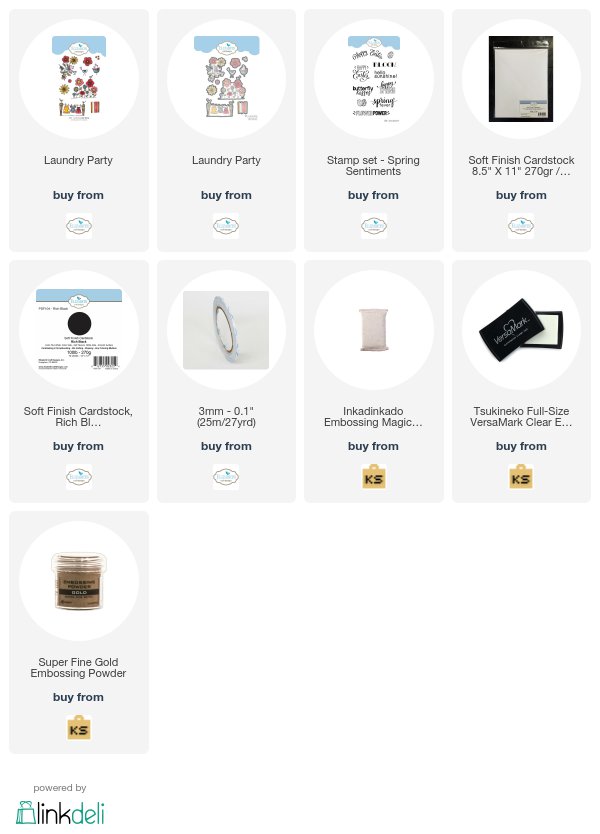
  • Step 2 - Trim Black Soft Finish cardstock 4” x 5 1/4”. Use an embossing magic pad. Stamp Laundry Party twice in embossing ink. Sprinkle Gold Embossing Powder, heat set it with a heat gun. Color using coloured pencils. I used Staedtler Ergo Soft. 
  • Step 3 - Stamp Spring Sentiments in embossing ink. Sprinkle Gold Embossing Powder, heat set it with a heat gun. Adhere to the front of the card using 3mm Clear Double Sided Adhesive Tape.


This card can be used for any occasion by simply changing the sentiment. Below are links to the products used for this card for your easy convenience. Thank you for stopping by.

Products Used