Monday, April 30, 2018

Happiness Card and Blog Giveaway

Happy Monday Everyone! Today’s card is about Happiness. Nothing makes me happier than Sunflowers. Garden Notes collection from Elizabeth Craft Designs has the most realistic flowers and foliage. They are super easy to make and Susan makes YouTube videos to show how to assemble her flowers.

Before we get started I have new Blog Giveaway. The contest will run until May 31 and the winner will be announced June 1. All you have to do is Follow My Blog and Subscribe to my YouTube Channel. Don’t forget to click on the bell after you subscribe to get notifications. People who already follow me will automatically be entered. The prize is Lantern Box Die from Elizabeth Craft Designs.


Finished card measures 4 1/4" x 5 1/2" folded

  • Step 1 - Trim White Soft Finish Cardstock 5 1/2" x 8 1/2", score in half for a vertical side fold card (A2)
  • Step 2 - Trim Sunflower Soft Finish Cardstock to 4" x 5 1/4", adhere to front card base using 3mm Clear Double Sided Adhesive Tape.
  • Step 3 - Trim White Soft Finish Cardstock to 3 3/4" x 5". Create a Distress Oxide background by applying directly on White Soft Finish Cardstock using an Ink Applicator. I used colors Faded Jeans, Broken China and Cracked Pistachio. Starting darkest at the top to the lightest going down leaving the bottom white. I sprayed some water to create droplets. Once dry adhere to card using 3mm Clear Double Sided Adhesive Tape.
  • Step 4 - Stamp Dream sentiment (Happiness) using Versamark Ink, sprinkle White Embossing Powder, heat set it with a heat tool.
  • Step 5 - Diecut Garden Notes - Sunflowers 2 (yellow for the flower petals and green for the leaves and stem). You can use White Soft finish Cardstock and color using medium of your choice. Assemble the Sunflower using Susan's Garden 4pc All Metal Tool Set and Kids Choice Glue. For the center I used Prills instead of the diecut pieces. Adhere to the card using Kids Choice Glue. If you need help for the assembly of the flower visit Susan on YouTube, she has a video using the Garden Notes - Sunflower 1.


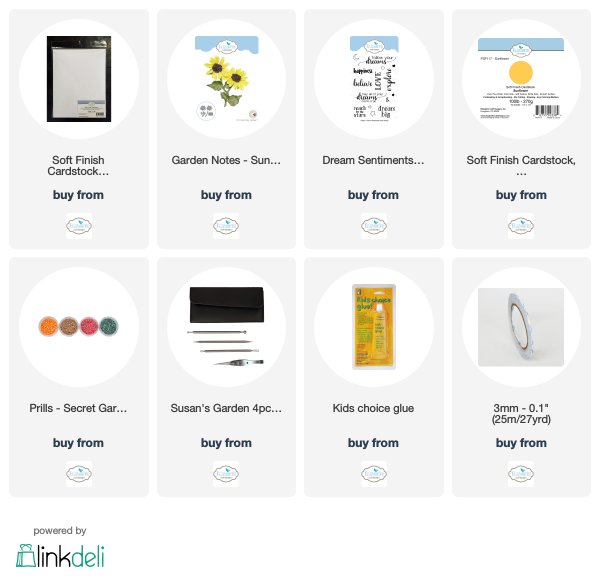
This card is so Cheery it can be used for many occasions, simply change the flower (colors) and/or the sentiment. Below is a link for all Elizabeth Craft Designs Products Used for this card. Thanks for stopping by and have a wonderful day!

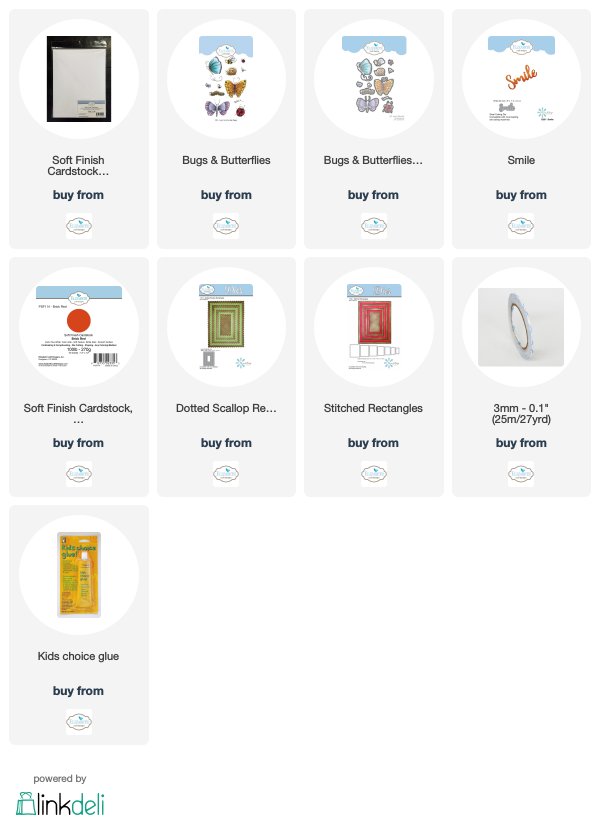
Elizabeth Craft Designs Product Used:
Sunday, April 29, 2018

Smile Card, Winners Announced and Another Blog Giveaway

Hi Everyone,
Today's Post I have 3 things going on. A new card to share, winners to my Blog Giveaway and a new Blog Giveaway. Phew....let's get started with the winners.

The winners are:
Debbie Hight - You have won the Distress Edge Rectangles Dieset
Sarah Biswabic - You have won the Tulip Garden Die and Distress Oxide Inks
Congratulations!!! Please email me your address at samtina1111@gmail.com or click on my facebook and send me a PM.

Now for the new Blog Giveaway. The contest will run until May 31 and the winner will be announced June 1. All you have to do is Follow My Blog and Subscribe to my YouTube Channel. Don’t forget to click on the bell after you subscribe to get notifications. People who already follow me will automatically be entered. The prize is Lantern Box Die from Elizabeth Craft Designs.


Finished card measures 4 1/4" x 5 1/2" folded


  • Step 1 - Trim White Soft Finish Cardstock 5 1/2" x 8 1/2", score in half for a vertical side fold card (A2)
  • Step 2 - Diecut Dotted Scallop Rectangles using Brick Red Soft Finish Cardstock, adhere to front of card using 3mm Clear Double Sided Adhesive Tape.
  • Step 3 - Emboss Folder of your choice then diecut Stitched Rectangles, adhere to front of card using 3mm Clear Double Sided Adhesive Tape.
  • Step 4 - Stamp Bugs & Butterflies image (ladybug) using Versafine Onyx Black Ink. Color using medium of your choice. I used Winsor & Newton Promarkers. Diecut Bugs & Butterflies (ladybug). Adhere to card using foam tape.
  • Step 5 - Diecut Smile sentiment 3 times using Brick Red Soft Finish Cardstock. Stamp Versamark Ink to top layer, sprinkle Clear Embossing Powder and heat set it with a Heat Tool. Repeat this step 2 more times. Adhere all pieces using Kids Choice Glue with the heat embossed layer on top. Adhere to card using Kids Choice Glue.


This card can be used for any occasion by changing the image, color or sentiment. Below is a link for all Elizabeth Craft Designs Products Used for this card. Thanks for stopping by and have a wonderful day!

Elizabeth Craft Designs Product Used:

Friday, April 27, 2018

Hello My Crafty Friend Card

Hi Everyone,
Today's card is featuring the Hello My Crafty Friend die from Kat Scrappiness along with the Double Stitched Rectangles Die, Trix Mix II Sequins and Crystal Nuvo Drops.

Before I start a reminder that I have not 1 but 2 Blog Giveaways going on. There will be 2 winners! Both contests end today at midnight and the winners will be announced on May 5 NSD. For both contests all you have to do is Follow My Blog and Subscribe to my YouTube Channel. Don’t forget to click on the bell after you subscribe to get notifications. Here are the prizes.

Prize #1


Prize #2


Finished card measures 4 1/4" x 5 1/2" folded

  • Step 1 - Trim White cardstock to 5 1/2" x 8 1/2", score in half for a vertical side fold card.
  • Step 2 - Apply Distress Oxide ink onto a kraft mat and spray with water. On Bristol Smooth Finish cardstock using a waterbrush apply water where you want the pattern. Dip the waterbrush into the Distress Oxide ink and apply over the wet areas. Let Dry. Diecut Double Stitched Rectangles using the background you created. Adhere to the front of card using Clear Double Sided adhesive Tape.
  • Step 3 - Apply Distress Oxide Ink directly on White cardstock using an ink applicator. Diecut Hello My Crafty Friend to the inked cardstock. Adhere to card using Multi Medium.
  • Step 4 - Randomly adhere sequins using Multi Medium.
  • Step 5 - Randonly apply Crystal Nuvo Drops.


What crafty friend wouldn't love to receive a colorful rainbow card with sequins and drops. This card can be used for any occasion by changing the colors and/or sentiment. Below is a link for all Kat Scrappiness Products Used. Thank you for stopping by and have a wonderful day!

To receive 10% off at www.katscrappiness.com use code: TINA10 at checkout!

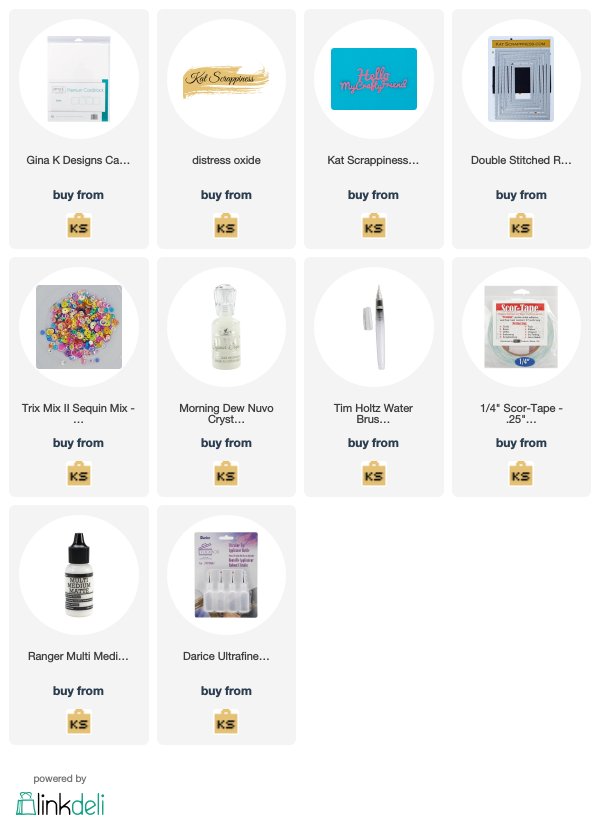
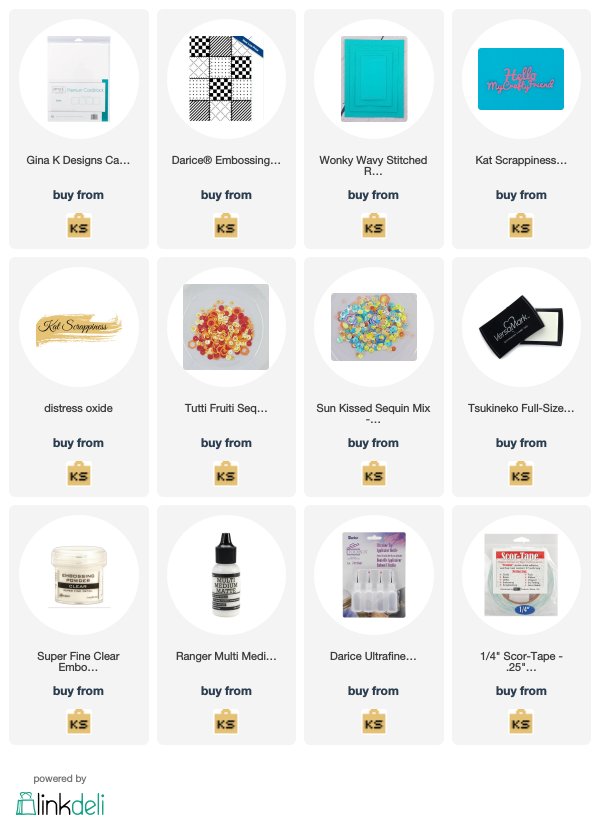
Kat Scrappiness Products Used:

Thursday, April 26, 2018

How To Create Color Swatch Cards Video

Hi Everyone,
The new Swatches stamps released this month from Kat Scrappiness makes it super easy to create color swatch cards. I've been busy making them for my Distress Oxides. I have a video below showing you how to make them. This is a wonderful project to do on a rainy day or if you are in a creative slump.

Before I start a reminder that I have not 1 but 2 Blog Giveaways going on. There will be 2 winners! Both contests end May 4 and the winners will be announced on May 5. For both contests all you have to do is Follow My Blog and Subscribe to my YouTube Channel. Don’t forget to click on the bell after you subscribe to get notifications. Here are the prizes.

Prize #1

Prize #2


Below is a full video tutorial showing you how to create color swatch cards. You can watch below or on YouTube.


I hope you enjoyed today's video showcasing color swatch cards. Below for a link of all Kat Scrappiness products used.

To receive 10% off at www.katscrappiness.com use code: TINA10

Have a great day everyone!

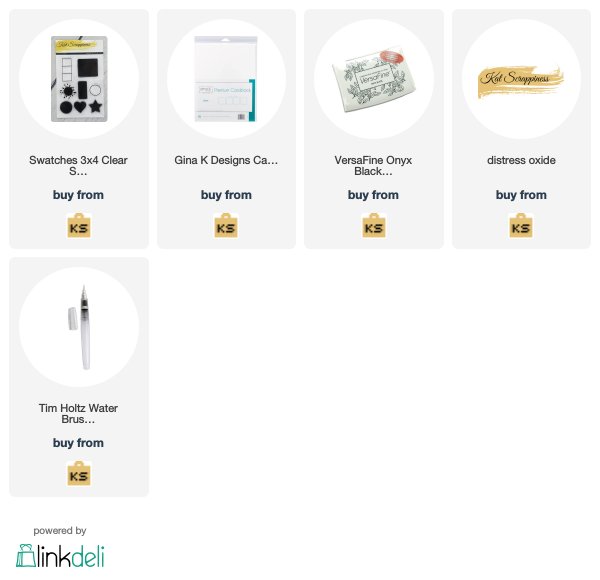
Kat Scrappiness Product Used:

Wednesday, April 25, 2018

Make A Wish Card

Hi everyone,
Today’s card is using white with a burst of colors for a simple yet elegant card. Below are the steps to replicate this card. The Balloons die from Elizabeth Craft Designs is a fun dieset and works perfectly with the Banner Sentiments Stamp and Die.

Before I start a reminder that I have not 1 but 2 Blog Giveaways going on. There will be 2 winners! Both contests end May 4 and the winners will be announced on May 5. For both contests all you have to do is Follow My Blog and Subscribe to my YouTube Channel. Don’t forget to click on the bell after you subscribe to get notifications. Here are the prizes.

Prize #1


Prize #2


Finished card measures 4 1/4" x 5 1/2" folded


  • Step 1 - Trim White Soft Finish Cardstock to 5 1/2" x 8 1/2", score in half for a 4 1/4" x 5 1/2" vertical side fold card.
  • Step 2 - Apply Distress Oxide Ink Seedless Preserves directly on White Soft Finish Cardstock trimmed to 4" x 5 1/4" using an ink applicator. Spray some water to create an oxidized look. Spray Shimmer Spritz to create some sparkle. Once dry apply to front base of card using Clear Double Sided Adhesive Tape.
  • Step 3 - Diecut Stitched Rectangles Die using White Soft Finish Cardstock. Emboss with any embossing folder of your choice. Trim the left side and top side to offset it the adhere to card using Clear Double Sided Adhesive Tape.
  • Step 4 - Apply Distress Oxide Ink Seedless Preserves and Picked Raspberry directly on a scrap piece of White Soft Finish Cardstock using an ink applicator. Spray some water to create an oxidized look. Spray Shimmer Spritz to create some sparkle. Once dry adhere Clear Double Sided Adhesive Sheet to the backside and Diecut Balloons Die and accessories. Adhere the balloons and string to base of card.
  • Step 5 - On the same scrap used to create the balloons stamp Make a Wish Sentiment using Versafine Onyx Black Ink. Diecut sentiment with coordinating Banner Die. Fold on the score lines to create the banner. Adhere the edges only using Clear Double Sided Adhesive Tape.


I hope you enjoyed today's card. This card can be used for any occasion by changing the sentiment and/or colors. Below is a link for all Elizabeth Craft Designs Products Used. Thanks for stopping by and have a wonderful day!

Other Products Used:
Distress Oxide Inks (Seedless Preserves, Picked Raspberry)
Shimmer Spritz Spray
Embossing Folder (We R Memory Keepers Next Level Bouquet)

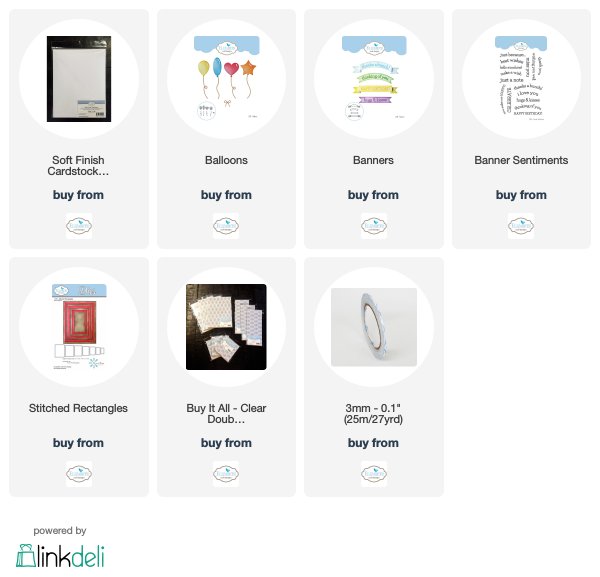
Elizabeth Craft Designs Products Used:

Tuesday, April 24, 2018

Thinking Of You Eclipse Card


Hi Everyone,
Today I am showing a card I made using the Eclipse technique. However I had a little accident with my diecutting and figured a way out of it. I truly love the results. Below is a link to a video I made showing how to make an Eclipse card for those of you new to the technique.

Before I start a reminder that I have not 1 but 2 Blog Giveaways going on. There will be 2 winners! Both contests end May 4 and the winners will be announced on May 5. For both contests all you have to do is Follow My Blog and Subscribe to my YouTube Channel. Don’t forget to click on the bell after you subscribe to get notifications. Here are the prizes.

Prize #1


Prize #2


Finished card measures 4 1/4" x 5 1/2" folded

The 1st step is to create a background. I used the 3 colors below in the photo using Distress Oxide Inks. I applied the Inks directly on a kraft mat, sprayed some water to activate the Inks. I dipped my white cardstock into the Inks and dried it using a heat tool. I repeated this step several times until I reached the desired effect.


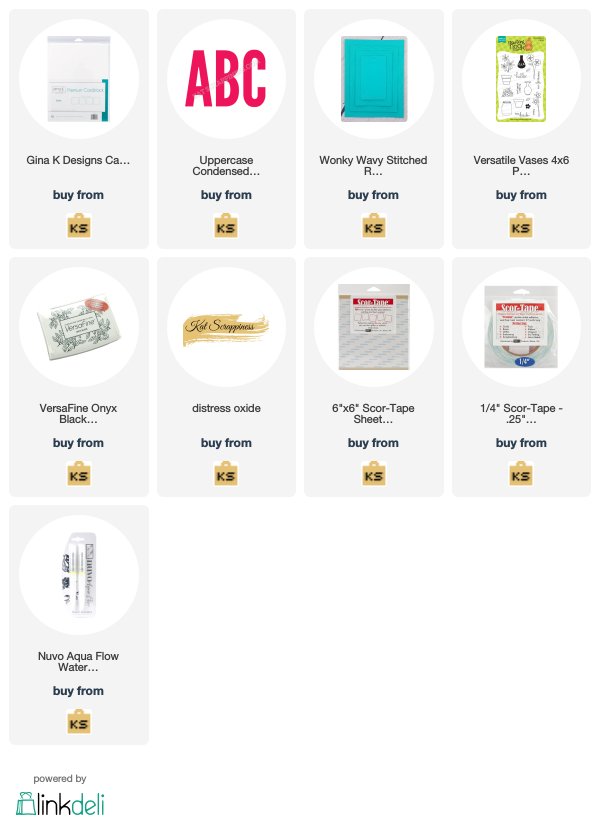
I Diecut the background with the Wonky Wavy Stitched Rectangles Die. Then I Diecut the word YOU using the Uppercase Condensed Alpha Dies. Here is where it went wrong. My plate for my Diecut machine was bent where the Y was placed and I had to pass it through again but it had moved. Now I had an odd shaped Y. I didn’t want to do another background so after some thought I was able to work around it. Using white cardstock I Diecut the word YOU. I placed the white Diecut letters into my Distress Oxide Background and stamped the Versatile Vases using only the Flowers with versafine onyx black ink. Then I coloured in the flowers using the same Distress Oxide colors used for the background. Good things come from mistakes. I stamped the sentiment with Versafine ink then adhered the letters using Foam Tape. For the finishing touch I added some sequins. 


Below is a link how to make an Eclipse card.


I hope you enjoyed today’s card. This card can be used for any occasion by simply changing the colors, images and sentiment. You could Diecut the name of someone to give it a personalized effect. Below is a link to all products Used from Kat Scrappiness. Thanks for stopping by and have a wonderful day!

To receive 10% off at www.katscrappiness.com use code TINA10 at checkout.
Kat Scrappiness Products Used:

Monday, April 23, 2018

Hello Friend Card

Hi Everyone,
Today's card is a Distress Oxide Background with a simple stamp and sentiment. Some added accents are a diagonal stripe strip and Crystal Nuvo drops.

Before I start a reminder that I have not 1 but 2 Blog Giveaways going on. There will be 2 winners! Both contests end May 4 and the winners will be announced on May 5. For both contests all you have to do is Follow My Blog and Subscribe to my YouTube Channel. Don’t forget to click on the bell after you subscribe to get notifications. Here are the prizes.

Prize #1

Prize #2

Finished card measures 4 1/4” x 5 1/2” folded

A while back I created some Distress Oxide backgrounds. Below are a few examples of what I created. I used the bottom left for today’s card. 


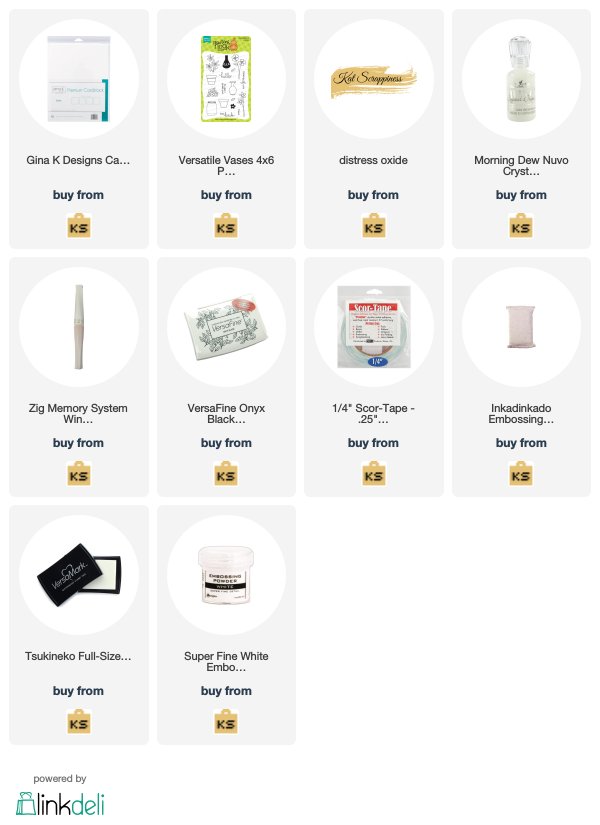
I trimmed 5/8” off the right side to the top fold card base. I stamped the diagonal stripe using versamark ink on a strip of black cardstock, then sprinkled white embossing powder and heat set it. I trimmed it to 5/8” wide and adhered it to the inside of the card on the right side using Clear Double Sided Adhesive Tape. I stamped the flower, vase and sentiment using versafine onyx black ink. I coloured the flower using Windsor & Newton Promarkers. You can use any Color medium you prefer. I added some Wink of Stella to the flowers for some sparkle then topped it off with some Crystal Nuvo Drops Morning Dew randomly to create droplets.


I hope you enjoyed today’s card. This card can be used for any occasion by simply changing the colors, image and sentiment. Don’t forget if ever you are in a creative slump just create some backgrounds. You will always need those backgrounds some day. Below is a link for all products used. Thanks for stopping by and have a wonderful day!

Kat Scrappiness Products Used:

Sunday, April 22, 2018

Embossed Quilt Block Card

Hi Everyone,
I have a super fun card to share with you today using an embossing folder in a unique way to create a colorful pattern. When I saw it at www.katscrappiness.com I knew I wanted it. Before I start a reminder that I have not 1 but 2 Blog Giveaways going on. There will be 2 winners! Both contests end May 4 and the winners will be announced on May 5. For both contests all you have to do is Follow My Blog and Subscribe to my YouTube Channel. Don’t forget to click on the bell after you subscribe to get notifications. Here are the prizes.

Prize #1


Prize #2


Finished card measures 4 1/4" x 5 1/2" folded


To create this card I embossed the Darice Quilt Block with white cardstock. I cut out the 12 blocks and colored them individually with Distress Oxides (Picked Raspberry, Spiced Marmalade, Twisted Citron, Salty Ocean). I reassembled them using tape on the backside.


I trimmed white cardstock to 1/8" strips and adhered it in between the blocks. I matted it to a pink cardstock and adhered the entire panel to the card using clear double sided adhesive tape. I diecut Wonky Wavy Stitched Rectangles Die using white cardstock and adhered to the center bottom of the card using foam tape. For the sentiment I colored a scrap piece of white cardstack using Distress Oxide Picked Raspberry. I diecut it using the Hello My Crafty Friends sentiment die (using only the Hello). I stamped it with Versamark, sprinkled clear embossing powder on top and heat set it. I repeated this step 2 more times. I adhered the sentiment using multi medium and added a few sequins.


I hope you enjoyed this fun and unique way to use an embossing folder with a pattern. This card can be used for any occasion by changing the sentiment and/or colors. Below is a link to all products used from www.katscrappiness.com. To get 10% off your order at use code TINA10 at checkout. Thanks for stopping by and have a wonderful day!

Kat Scrappiness Products Used: