Can you believe the Holidays are around the corner?!? Today I have some quick and easy Holiday cards to share with you. I will show you some fast ways to mass produce quick and easy cards without losing quality. Simon Says Stamp's new Winter Floral Layering Stencil Set and the Concord & 9th Holly Berry Turnabout Stamp Set are fabulous for mass producing. Below you will find the easy steps to create your own cards.
Card #1
Step 1 - Trim White Cardstock to 4 1/4" x 11", score at 5 1/2" and fold in half for a top folding card. (A2)
Step 2 - Place Winter Floral Layering Stencil directly on the card front and apply ink of your choice. There are 4 stencils. You can use a different color for each. I used Distress Oxide Inks in colours Candied Apple, Aged Mahogany, Mowed Lawn and Pine Needles. You can ink softly or heavy it's up to you. I went with a heavy hand for a bold design.
Step 3 - Stamp Holiday Greetings Mix 1 on White Cardstock using Ink of your choice. I used Distress Oxide Candied Apple. Trim to the length of the card (4 1/4") and a sliver from the sentiment. Adhere to card using Nuvo Deluxe Adhesive.
Step 4 - Trim Flourishing Green Mirror Cardstock into fine strips. About 1/8" x 4 1/4". Adhere to card above and below the sentiment using Nuvo Deluxe Adhesive. This will help to ground the sentiment.
Step 5 - Optional - Use gems, sequins or drops for added interest.
Card #2
Cards #2
Step 1 - Trim White Cardstock to 8 1/2" x 5 1/2", score at 4 1/4" and fold in half for a vertical side fold card. (A2)
Step 2 - Trim White Cardstock to 5 1/2" x 4 1/4". You will need a Stamping Tool and the Turnabout Jig for the next step.
Step 3 - Stamp Holly Berry onto the cardstock from Step 2. In order to align everything use the coordinating acetate from the Holly Berry Stamp Set and align it with the Turnabout Jig in your stamping tool. Place the stamp on top and close the lid of your stamping tool. For each stamped image you will need to rotate the jig with cardstock. I used temporary adhesive to adhere the cardstock to the jig. For the berries I used Distress Oxides Worn Lipstick, Abandoned Coral, Candied Apple and Barn Door. For the leaves I used Shabby Shutters, Bundled Sage, Mowed Lawn and Pine Needles. You can use one color for each turn or use one for all. It's your choice.
Step 4 - Diecut Notched Rectangles using the pattern created from Step 3. Optional - adhere Baker's Twine 3 times then adhere panel to card front using Nuvo Deluxe Adhesive.
Step 5 - Stamp Holiday Greetings Mix 1 sentiment onto coloured cardstock using Versamark. Sprinkle Gold embossing Powder and remove the excess. Heat set it with a heat Tool. If you don't have coloured cardstock you can ink with colour of your choice onto White Cardstock. I used Distress Oxide Mowed Lawn on White Cardstock. Let dry before heat embossing.
Cards #1
Card #2
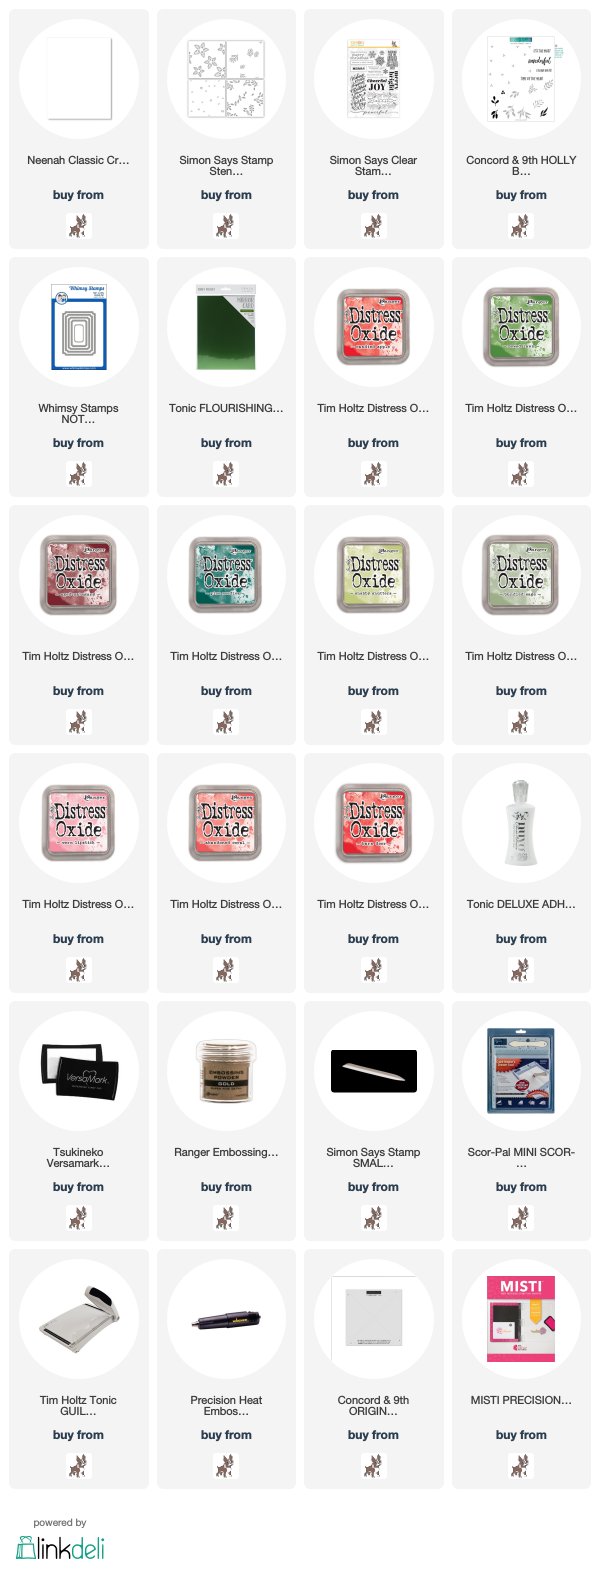
Products Used:


Gorgeous cards! Jo x
ReplyDelete