Hi everyone,
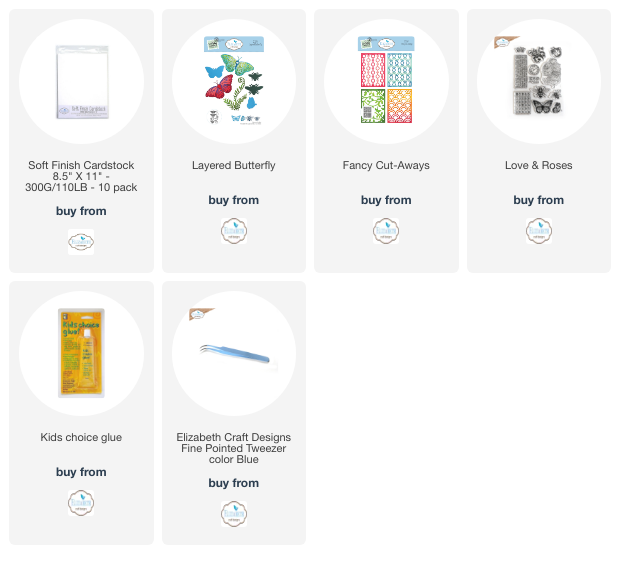
I have a card to share with you using the Everyday Elements from Elizabeth Craft Designs. I used a leftover panel I had used for ink blending from a previous card with the Layered Butterfly Dies, I also used Fancy Cut-Aways Dies and the Love & Roses Stamps. Below are the steps to create your own card.
Step 1 - Trim White Soft Finish Card Stock to 4 1/4” x 11”, score at 5 1/2” and fold in half for a horizontal top fold card. (A2)
Step 2 - Optional for some added sparkle splatter some Gilded Aqua Pigment using a small brush to the card front. Let Dry.
Step 3 - I had a left over panel I used as a stencil for an earlier card. To do this panel diecut Fancy Cut-Aways using White Soft Finish Card Stock. Apply ink using a Blender Brush in colours of the rainbow. Adhere to card front using Kids Choice Glue on an angle.
Step 4 - Diecut Layered Butterfly (leaf swirl) using Teal Card Stock. Adhere to card using Kid’s Choice Glue.
Step 5 - Stamp Love & Roses (butterfly image) using Memento Ink (for alcohol ink colouring). Colour using your favourite alcohol inks. I used Copics. Diecut Layered Butterfly (matching butterfly) and adhere to card using Kids Choice Glue.
Step 6 - Stamp Love & Roses (sentiment) directly to card front using Versafine Onyx Black Ink.
One key take away is when you are doing ink blending on a paper stencil. Never throw it out. It can always be used on another card. This card can be used for many occasions by simply changing the sentiment. Below are the links to the products used. Thank you for stopping by and Happy Crafting!
Products Used:


No comments:
Post a Comment