Can you believe tomorrow is February?!?! That means Valentine's Day is nearly here. I have a fun card to share with you today to help you out. This card brings a great technique to make your own glitter paste. Below you will find the easy steps to replicate this card.

- Step 1 - Base of card, Trim White Soft Finish Cardstock to 5 1/2" x 8 1/2", fold in half for a Vertical Fold Card. Folded card measures 4 1/4" x 5 1/2".
- Step 2 - Diecut Heart Background 2 times (one of scrap cardstock and one using White Soft Finish Cardstock with Clear Double Sided Adhesive Sheet on the backside). Trim Black Soft Finish Cardstock to 4" x 5 1/4" 2 times. Take a small amount of Texture Paste Transparent Gloss and add Silk Microfine Glitter. You only need a small amount of Silk Microfine Glitter. I created two colors. One using the Vintage Pink and one using the Bright Cranberry. Place Heart Background stencil (the scrap one) on top of the trimmed Black Soft Finish Cardstock using a Palette Knife. I used the Bright Cranberry mixture. Set aside to dry. On the other trimmed Black cardstock using a floral stencil (I used Tim Holtz Mini Stencil #14) apply both colors randomly. I had to do in two steps because my stencil was too small. If you have a larger stencil you only need to do this one time. Set aside to dry. See photo below for visual.

- Step 4 - Peel off the release sheet from the backside of the Heart Background and adhere to the top of the Heart Glitter paste background making sure to align it properly. Adhere the whole panel to the front of the card using 3mm Clear Double Sided Adhesive Tape.
- Step 5 - Diecut Solid Heart from Heart Cutouts using the Floral Glitter paste background. Diecut Solid Heart from Puzzle Heart using White Soft Finish Cardstock. Adhere the Floral Heart on top of the White Heart. Adhere it to the front of card in an angle using 3mm Clear Double Sided Adhesive Tape. See photo for visual.
- Step 6 - Diecut Stitched Fishtail Banner (smallest one) using White Soft Finish Cardstock.
- Step 7 - Stamp Love sentiment on top of the Stitched Fishtail Banner diecut using Black Pigment Ink. Adhere to card using foam tape.


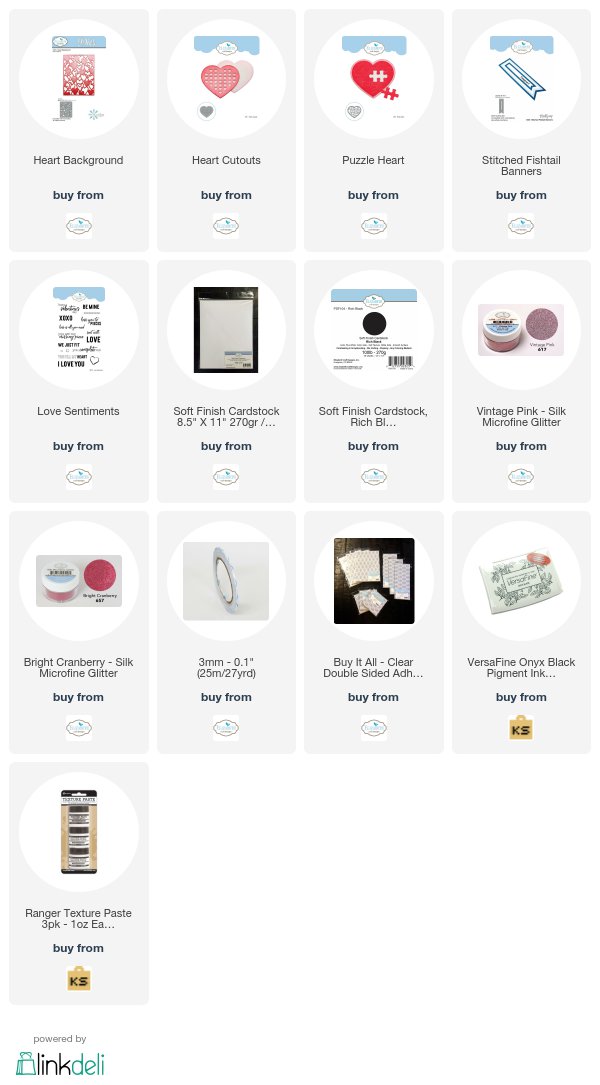
I hoped you enjoyed this fun technique creating your own colored Glitter Paste. Elizabeth Craft Designs has a wide variety of colors for this super easy technique. Elizabeth Craft Designs has a YouTube Channel Technique Friday with Els using this technique that you may want to check out. While you are there be sure to subscribe to the channel to see new techniques every friday from Els. Below you will find links to all the products used for your easy convenience. Thanks for stopping by.
Products Used


Your card is gorgeous! Such a super fun technique. Thanks for sharing!
ReplyDelete