Before I get started with the card below I want to announce the winner of the Lace Corner Die from Elizabeth Craft Designs. Congrats B. Bercu!!! Please send me an email with your full name and address. I will be having another Blog Giveaway starting Feb.1 so be sure to come back. There will be Nuvo Crystal Drops, some embellishments and a few other goodies.
A few days ago I posted two ways to use the Heart Background die from Elizabeth Craft Designs. One was to diecut and the other to emboss. This card I am showing a third way to use the die. This time it is used as a stencil. One die many possibilities. Below you will find the easy steps to replicate this card.
Finished card measures 4 1/4" x 5 1/2" folded

- Step 1 - Base of card, Trim Black Soft Finish Cardstock to 5 1/2" x 8 1/2", fold in half for a Vertical Fold Card. Folded card measures 4 1/4" x 5 1/2".
- Step 2 - Diecut Heart Background using scrap Cardstock. The diecut will become your stencil.
- Step 3 - Diecut Stitched Rectangles using White Soft Finish Cardstock. Ink directly on the cardstock using Distress Oxides in colors of your choice. I used Candied Apple, Picked Raspberry, Worn Lipstick, Abandoned Coral. Place the Heart Background Stencil on on top of inked cardstock and ink using Distress Oxides Black Soot. This will give an illusion that it is inked black cardstock. See picture below for visual.

- Step 4 - Spray Sheer Shimmer Sparkle Spritz to the inked background. This step is optional. The spray will soften the color a bit and add a shine. If you do add the spray set aside to dry before doing the next step.
- Step 5 - Diecut Stitched Ovals using the background.
- Step 6 - Diecut Dotted Scallop Ovals (one die bigger than the Stitched Oval) using Black Soft Finish Cardstock. Adhere the diecut Stitched Oval (background) on top of the diecut Dotted Scallop Oval (black cardstock) using 3mm Clear Double Sided Adhesive Tape. Adhere it to the card using foam tape making sure to keep the position inline with the background.
- Step 7 - Diecut Balloons (the heart 2 times) using Black Soft Finish Cardstock as well as the string and ribbon die. Assemble the pieces and adhere to the card using Distress Collage Medium.
- Step 8 - Stamp sentiment using Black Soft Finish Cardstock with an embossing ink. Sprinkle embossing powder Metallic Silver. Heat set with a heat tool.
- Step 9 - Diecut Stitched Fishtails Banner for the embossed sentiment. Adhere to card using foam tape.


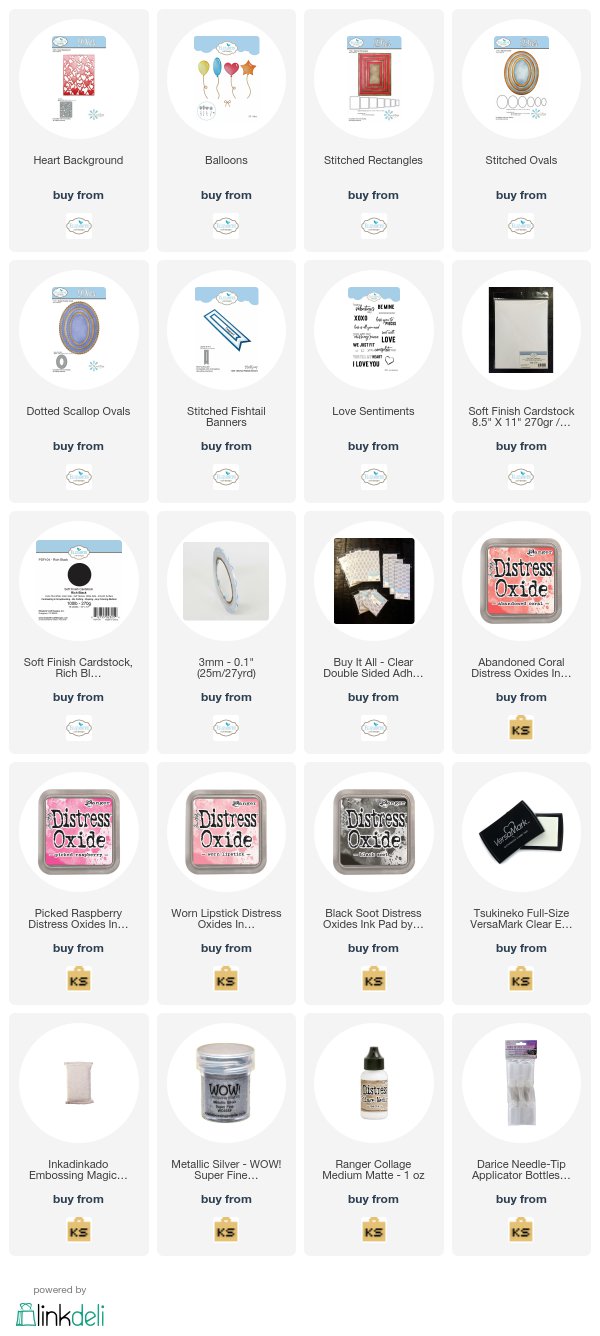
This card can be used for any occasion by changing the colored background, using other diecut shapes and changing the sentiment. Below is a link of all products used for your easy convenience. Thanks for stopping by.
Products Used


Thank you! I can't believe I won. I am sending you my info. This card is truly stunning. I love all your details!
ReplyDelete