With all the holidays we had and still to come I realized I needed some birthday cards. The beautiful Layered Butterfly Dies from the Everyday Elements from Elizabeth Craft Designs is a quick and easy die to use to create a card for several occasions. Below you will find the steps to create your own card.
Step 1 - Trim White Soft Finish to 4 1/4” x 11”, score at 5 1/2” and fold in half for a vertical side fold card. (A2)
Step 2 - Diecut Card Maker Special Kit (Scallop Frame) using White Soft Finish x2. If you don’t have this die you can use something similar in your stash. Adhere to card front using 3mm Clear Double Sided Adhesive Tape stacking both diecuts.
Step 3 - Trim White Soft Finish slightly bigger than the Layered Butterfly Solid Die. Using a blender brush apply inks in rainbow order. Adhere to card front center using Kids Choice Glue.
Step 4 - Trim White Soft Finish to 4 1/2” x 3 1/4”. Diecut Layered Butterfly (Solid Butterfly) in the center of the panel. Adhere to card front using 3mm Clear Double Sided Adhesive Tape.
Step 5 - Diecut Layered Butterfly (detail) using White Soft Finish Cardstock. Adhere to card using Kids Choice Glue.
Step 6 - Stamp All Occasion Sentiments (Happy and mask Birthday, before stamping remove the mask) using Versafine Onyx Black Ink. Trim and adhere to card front using Kids Choice Glue.
Step 7 - Diecut Everyday Words (birthday) using White Cardstock for the word and Black Cardstock for the shadow. Assemble and adhere to card front using Kids Choice Glue.
Step 8 - Optional - randomly adhere dew drops.
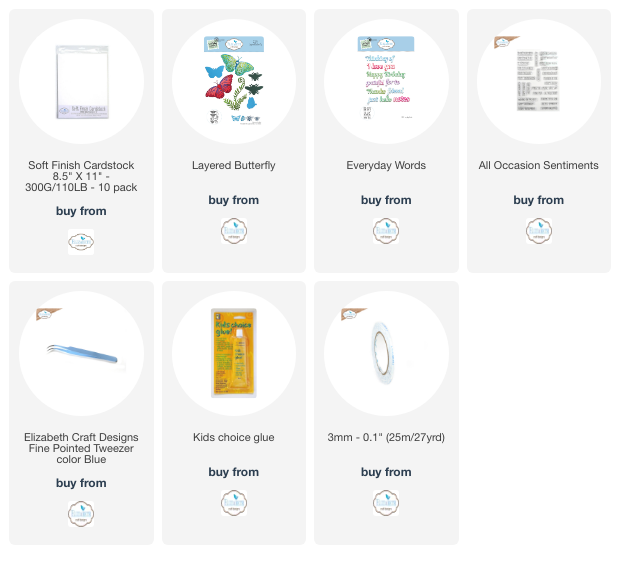
This card can be used for several occasions by simply changing the colors and/or sentiment. Below is a link to all the products used. Thank you for stopping by and Happy Crafting!
Products Used:


No comments:
Post a Comment