Hi everyone,
I was able to receive some packages right before Canada Post went on strike. I used some of the stamps and dies from the Kristina Werner line at Concord and 9th. Below you will find the steps to create your own card.
Step 1 - Trim Neenah Classic Crest 110lbs Solar White to 4 1/4” x 11”, score at 5 1/2” and fold in half for a horizontal top fold card. (A2)
Step 2 - Trim Altenew Tide Blue Cardstock to 3 5/8” x 4 7/8”. Adhere to card front using Bearly Art Glue.
Step 3 - Diecut Stitched Rectangle using Neenah Classic Crest 110lbs Solar White. Using a Blender Brush apply Pawsitively Satured Ink Sky in a circular motion to the top left, middle right, and bottom left. Adhere to card front using Bearly Art Glue.
Step 4 - Diecut Snow Flurries using Matte Silver Cardstock. Adhere each snowflake in the center of the ink blending created from Step 3.
Step 5 - Diecut Love and Light (Holidays) using Altenew Tide Blue Cardstock for the shadow and Neenah Classic Crest 110lbs Solar White for the word. Stack it and adhere to card using Bearly Art Glue. Stamp Love and Light (may your & be filled with joy) using Versafine Onyx Black Ink. Trim and adhere to card front using Foam Tape.
Step 6 - Optional - Diecut Snow Flurries little twinkles using Silver Glitter cardstock. Adhere to card using Bearly Art Glue.
Step 7 - Optional - Randomly adhere Pawsitively Dazzling Gems in Pastel Tones.
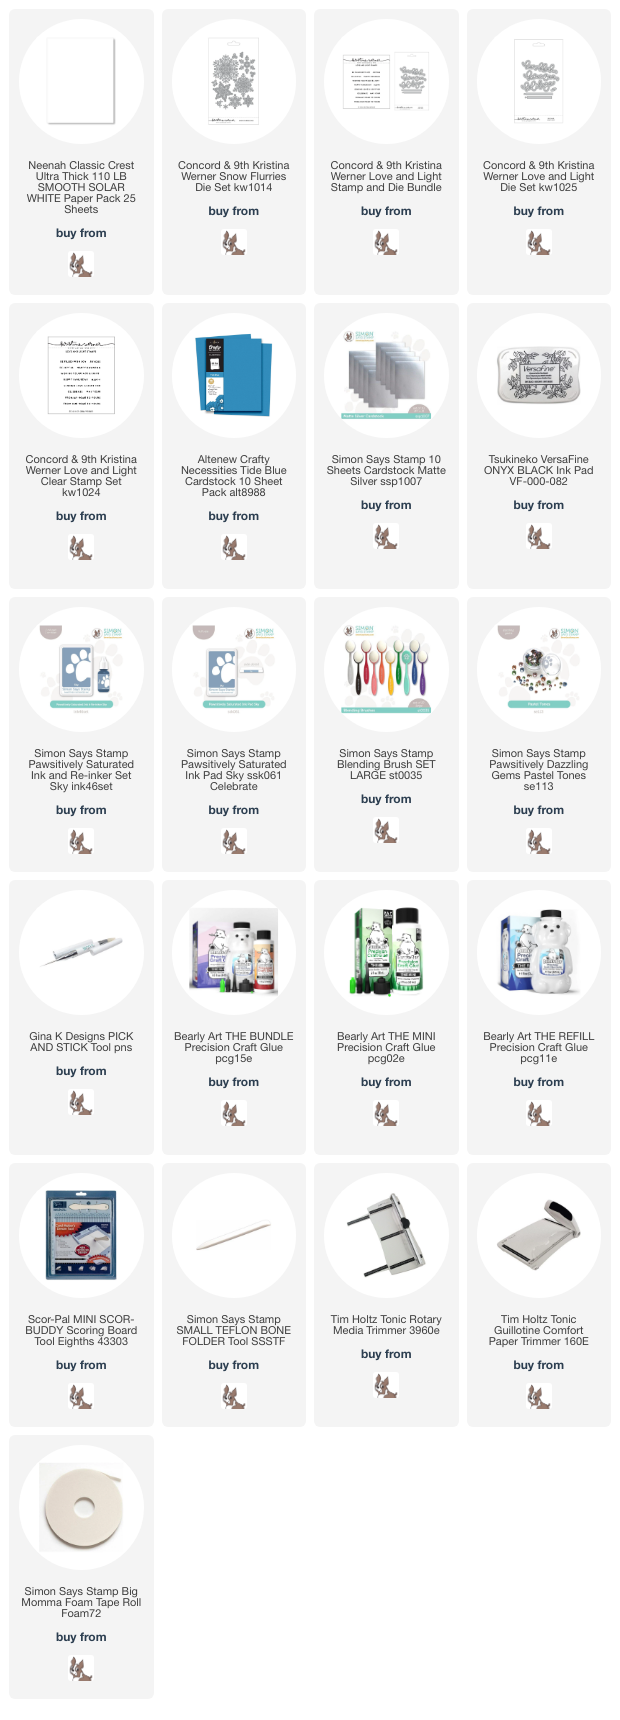
This card can be turned into a Birthday card for those celebrating in the winter by changing the sentiment. You can also change the colors for the recipient you are sending it to so that it is using their favourite colors. Below is a link to all the products used. Thank you for stopping by and Happy Crafting!
Products Used:


No comments:
Post a Comment