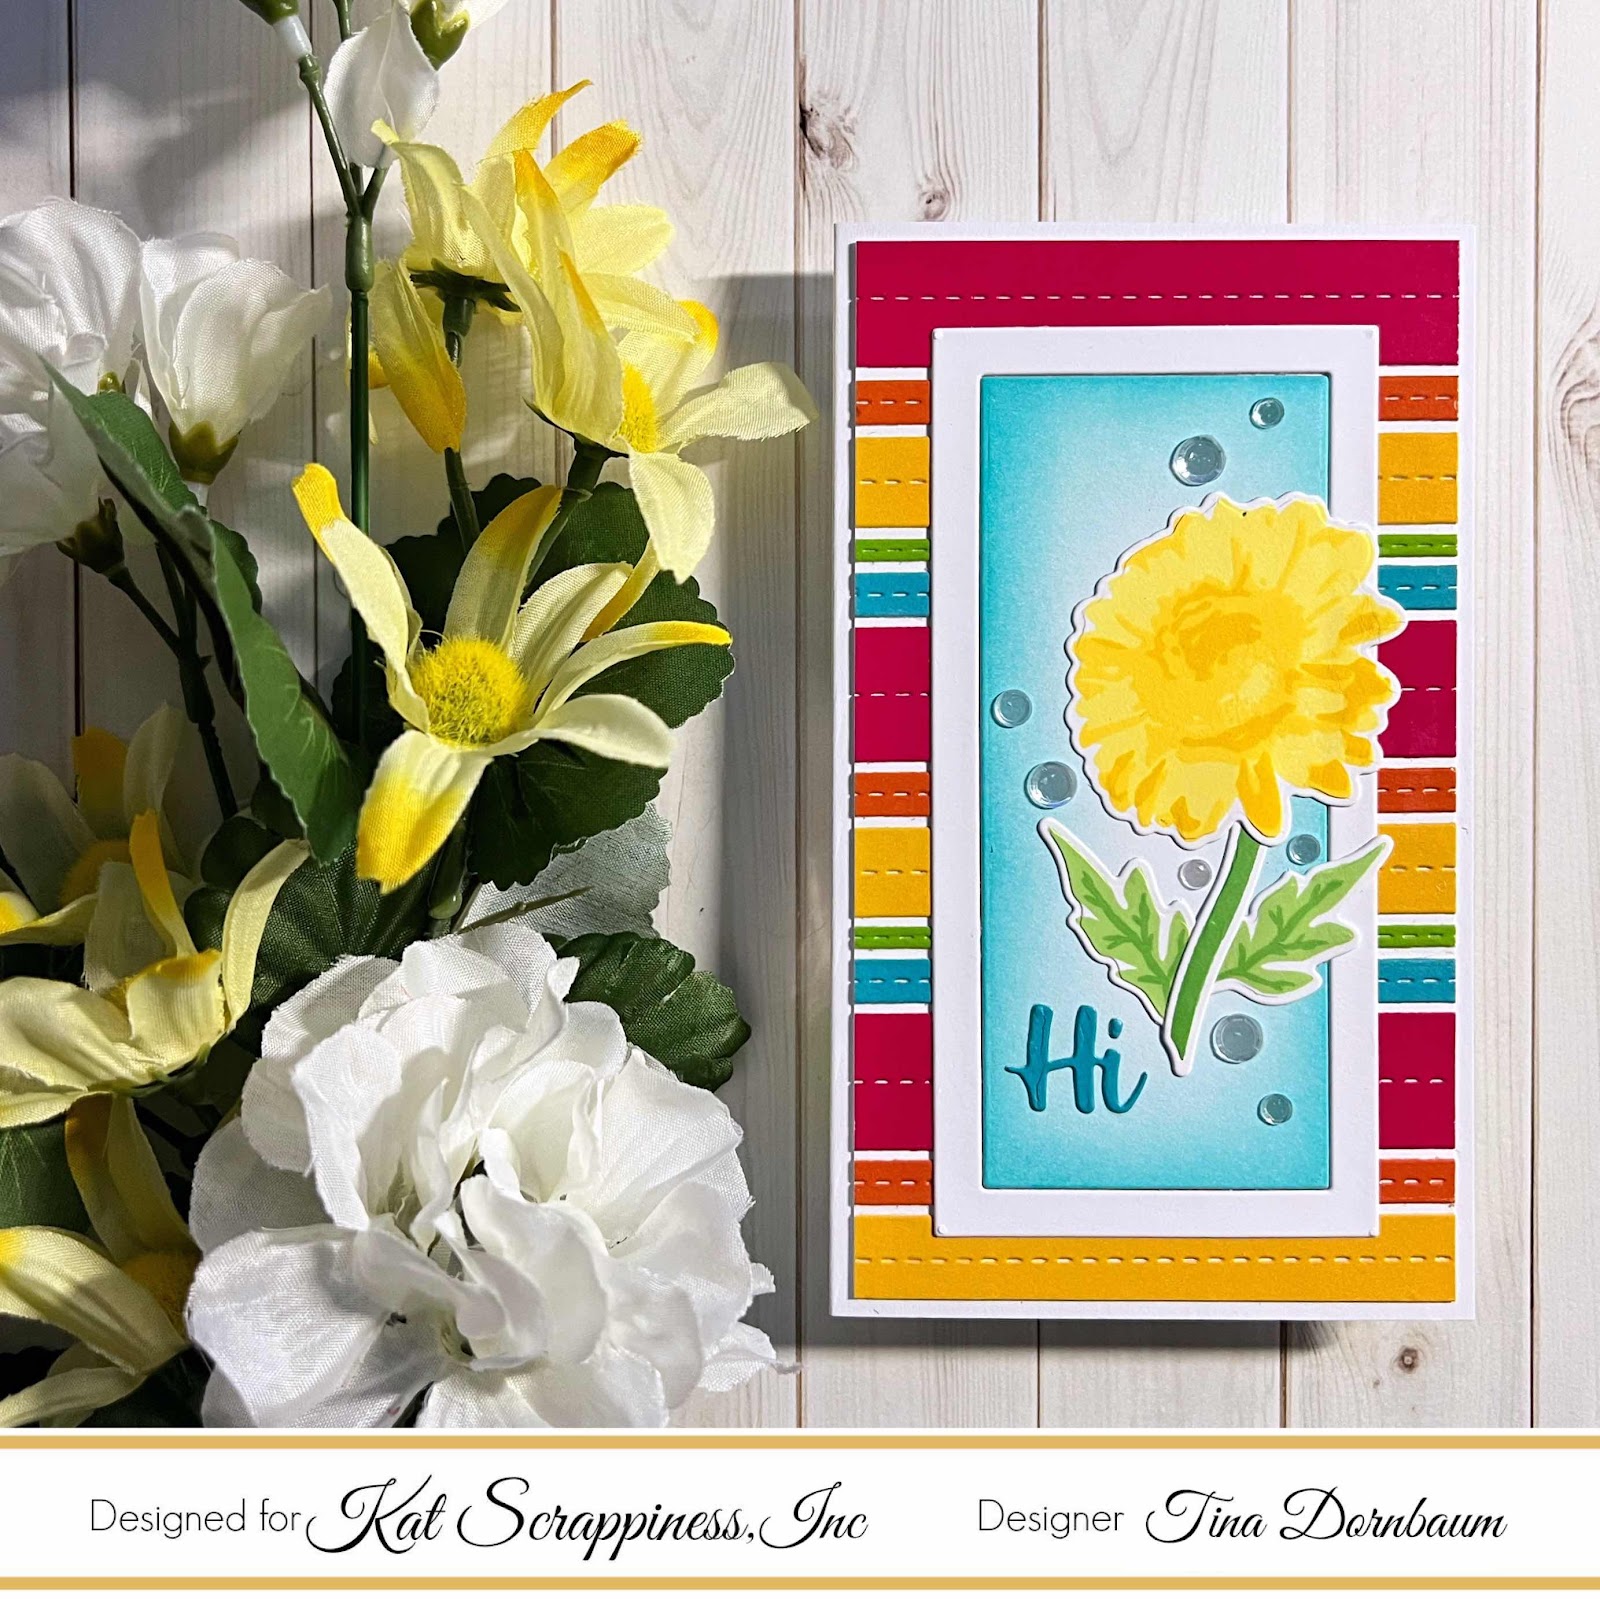
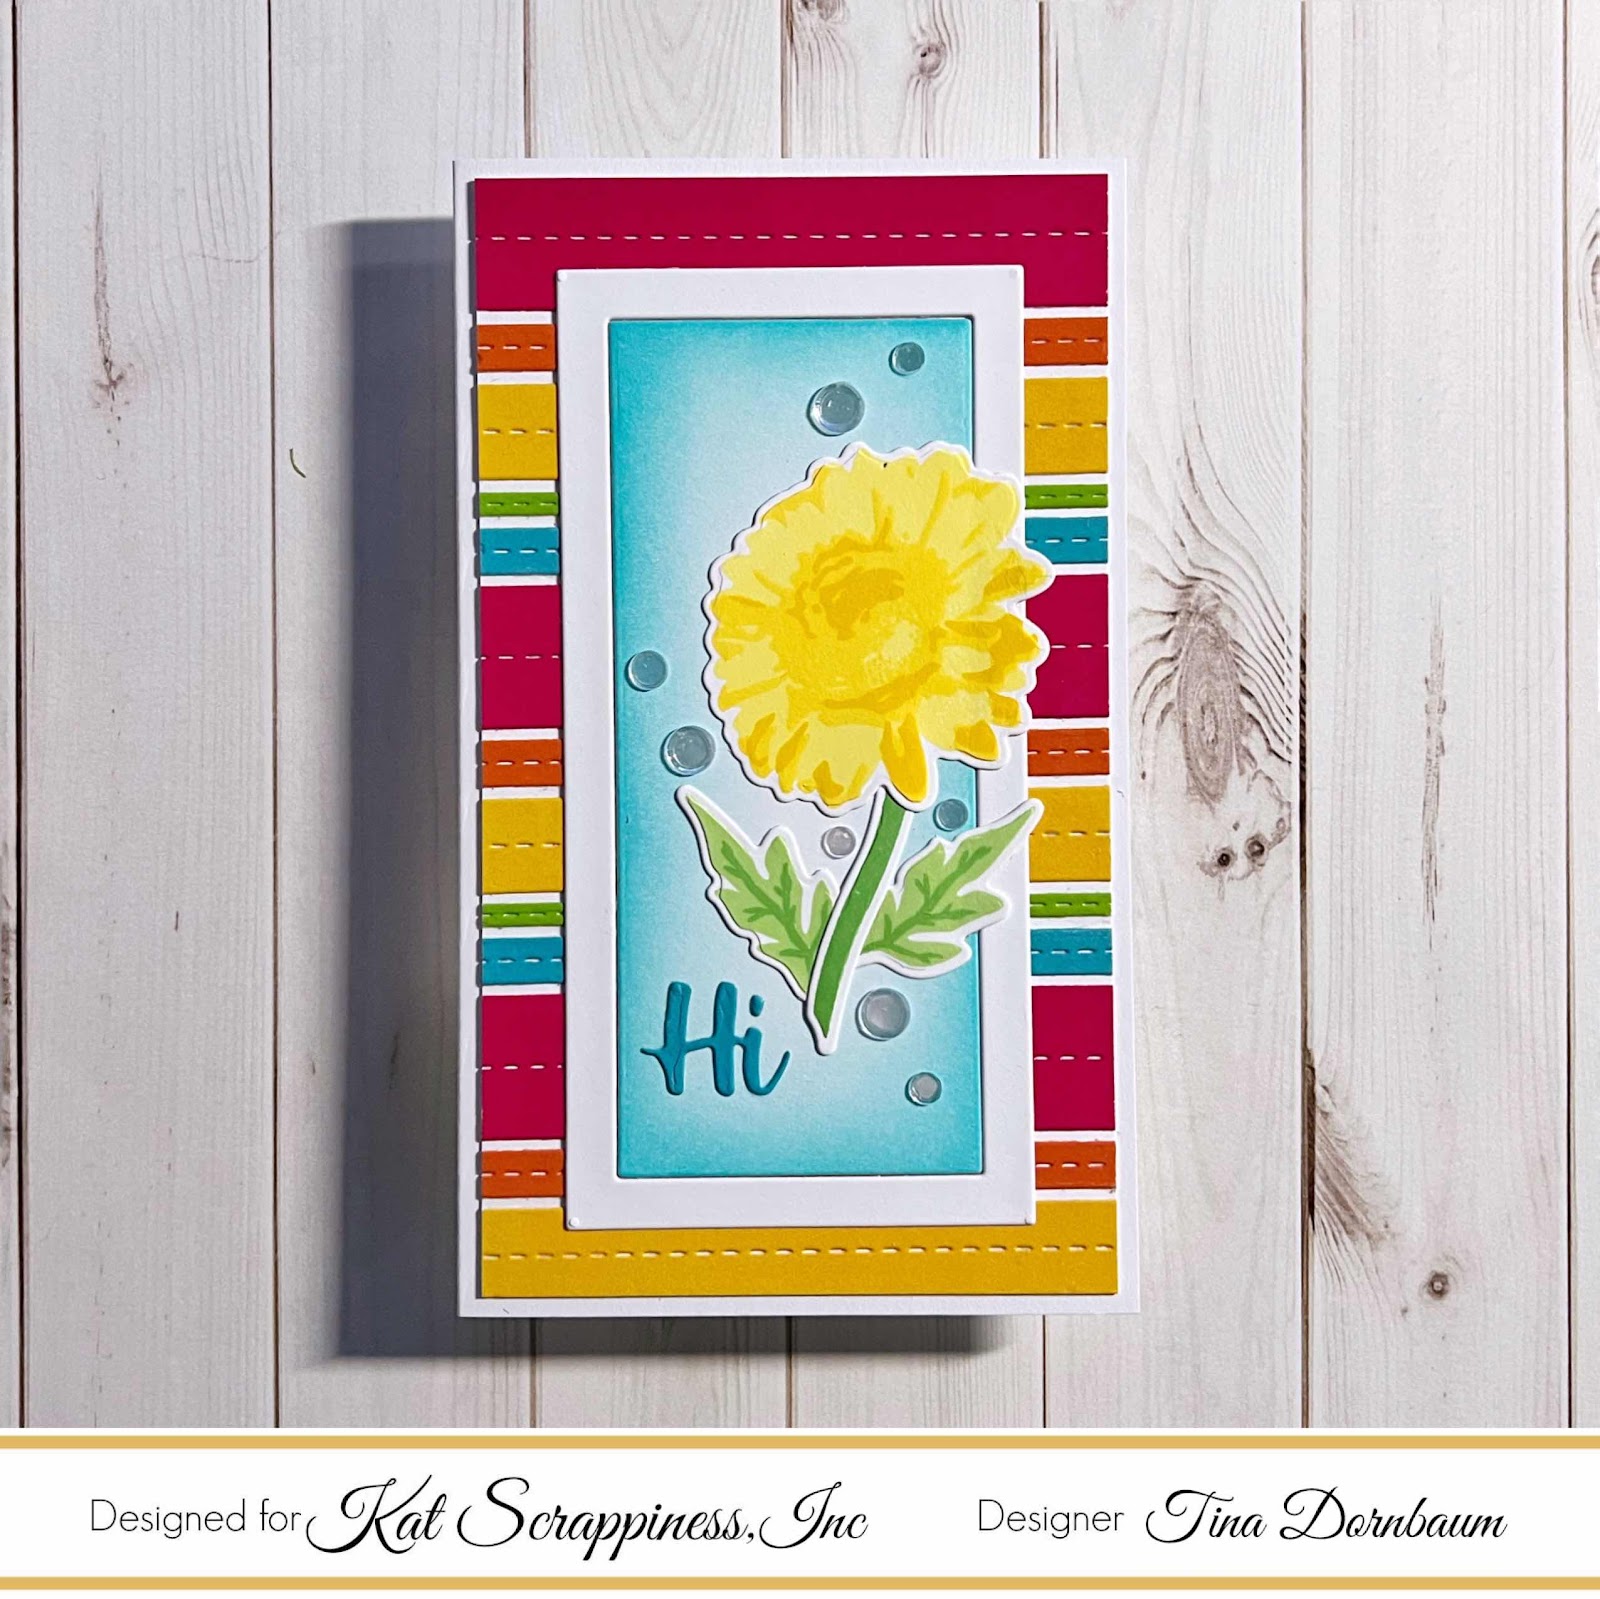
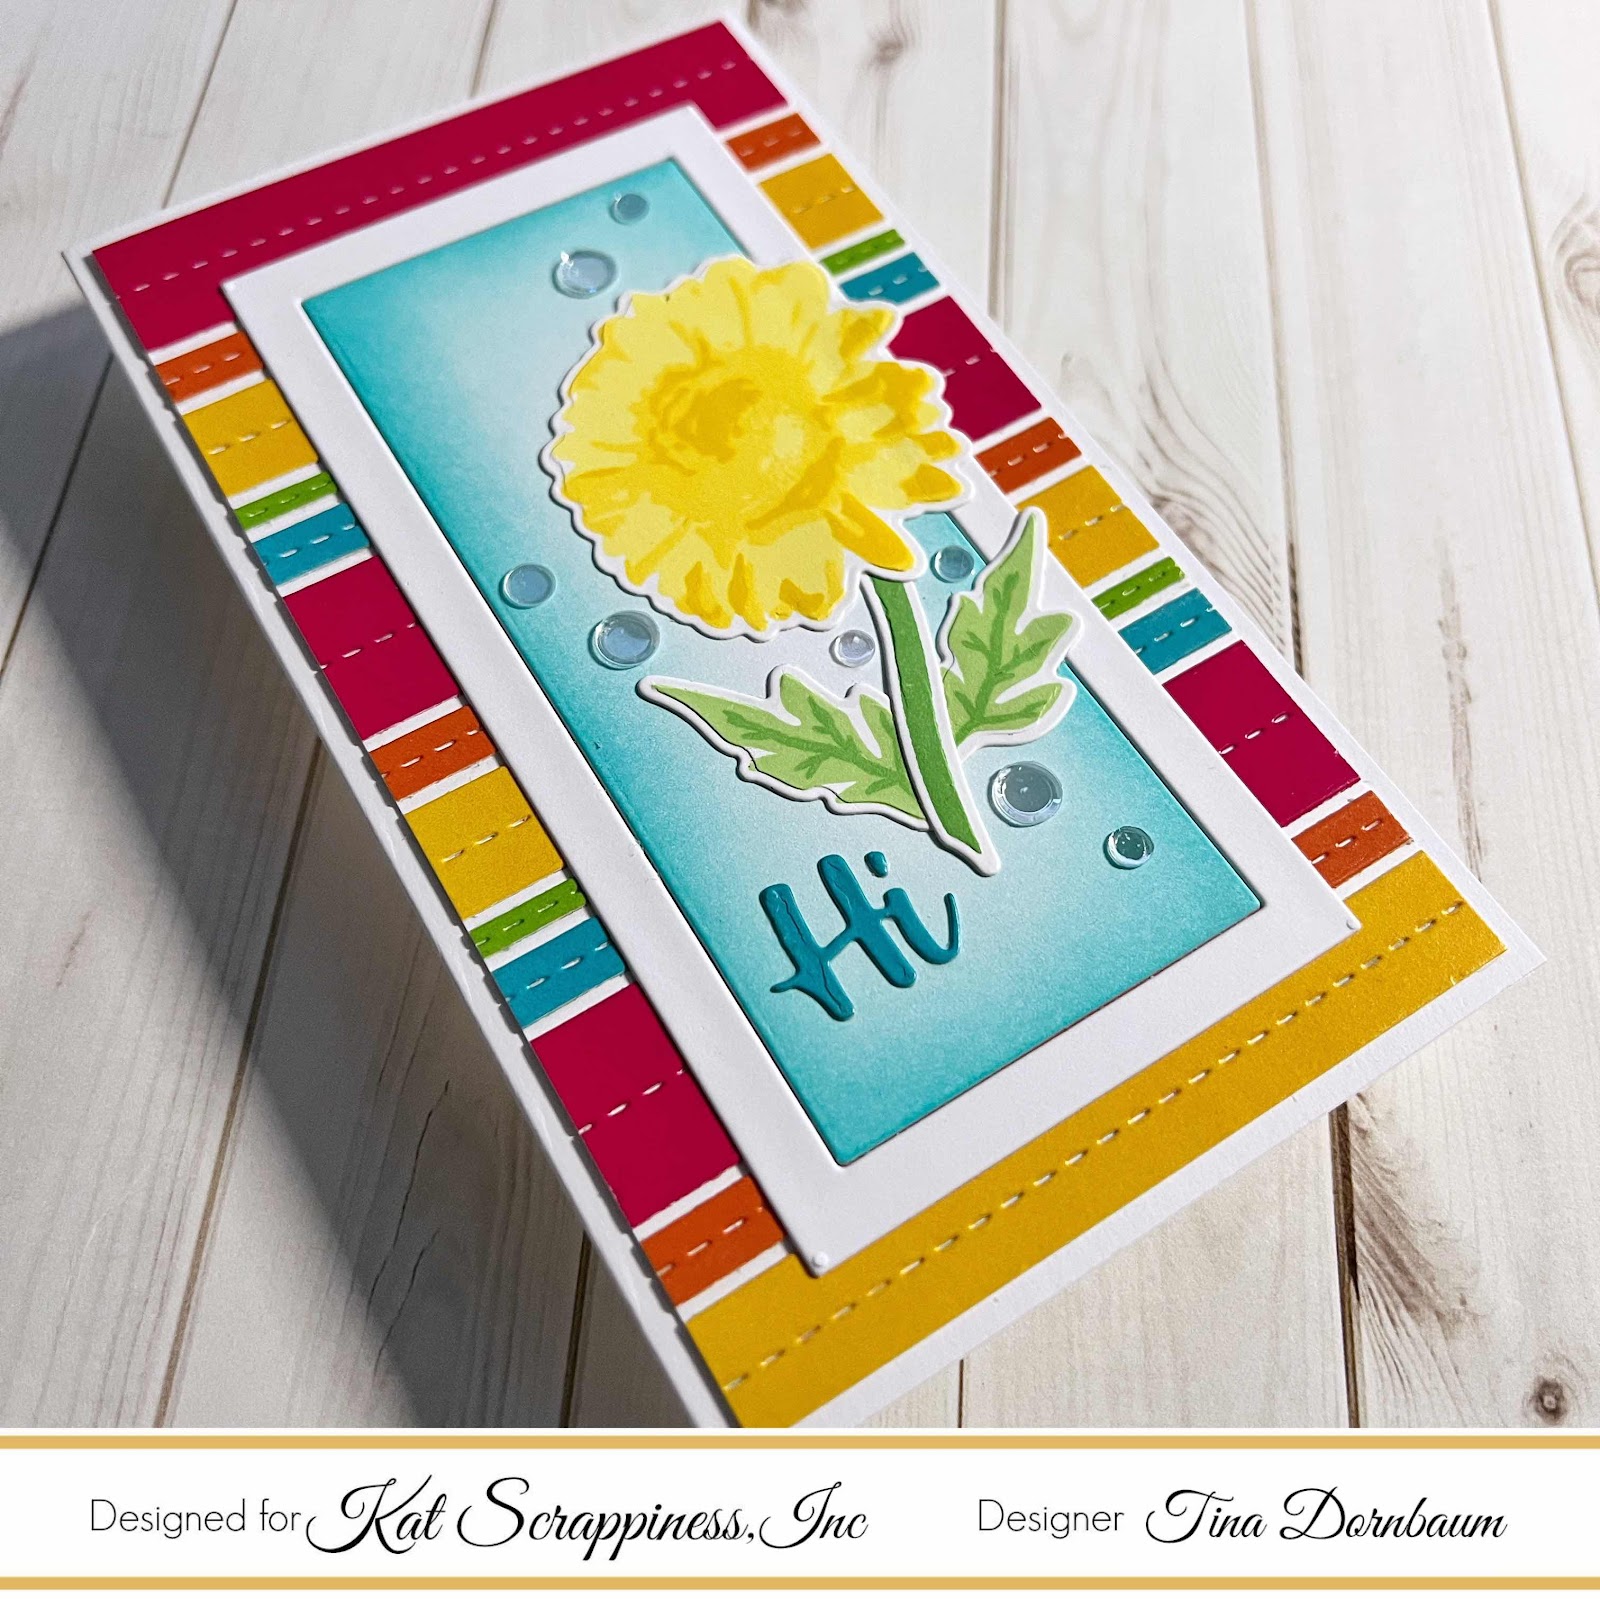
Sunday, June 12, 2022

Kat Scrappiness Summer Vibes

Hi everyone,

On Saturday was the Summer Vibes Release from Kat Scrappiness. Below are 3 cards I made using most of the products. Normally I give Step by Step when I post but today I will post the completed cards with the product I used so it doesn’t become a long post. The links to all the products is at the end of this post.

Card 1


1) Fluttering By Stamps and Dies

2) Stitched Foliage Dies

3) Mini Slimline Quilted Backdrop die

4) Hello My Crafty Friend w/Shadow Die (used only Hello)

5) Pink Sapphire Rhinestone Mix


Card 2


1) Layered Bokeh 6x6 Stencils

2) Oopsie Daisy Layered Stamps and Dies

3) Mini Slimline Lattice Frame Die

4) Stitched Foliage Dies

5) Happy Anniversary w/Shadow Die (used only Happy)

6) Happy Day Stamps

7) Clear Solid Round Confetti Mix

Card 3


1) Oopsie Daisy Stamps and Dies

2) Summer Vibes Paper Pad

3) Stitched Slimline Strips Dies

4) Mini Slimline Frame Dies

5) Nesting Fishtail Banner Dies (used the sentiment only)

6) Clear Solid Round Confetti Mix

This release is packed with stencils, stamps, and dies. I still have many other cards I made which will be on the Kat Scrappiness Blog coming soon.

Below is a link to all the products used. Thank you for stopping by and Happy Crafting!

Products Used:

Sunday, May 22, 2022

Happy Birthday Floral Mini Slimline Card

Hi everyone,

I have a quick and easy card to share with you using the Pink Fresh Studio Simplest Gestures Stamp, stencils and die and used the Simon Says Stamp Soft Plaid Background to create a subtle background. Below is the steps to create your own card.


Step 1 - Trim White Cardstock using a trimmer to 7” x 6”, score at 3 1/2” using a bone folder and fold in half for a vertical side fold card. (Mini Slimline)

Step 2 - Trim White Cardstock using a trimmer to 3 1/4” x 5 3/4”. Place the panel in a Misti and Stamp the Soft Plaid Background using Pawsitively Saturated Ink. I used Sunbeam. Don’t ink the whole stamp and to remove the edges use a Blender Brush. Add some Liquid Pixie Dust to give your background some sparkle. Let dry. Adhere the panel to the card front using Foam Tape. (If you don’t have Foam Tape you can add Bearly Art Precision Glue to a piece of Fun Foam on both sides.)


Step 3 - Place Pink Fresh Studio Simplest Gestures (floral) in a Misti and stamp using White Cardstock with SSS Black Intense Ink. Once the ink is dry place the Pink Fresh Studio Simplest Gestures Stencils and use various Pawsitively Saturated Inks. I used the following combinations on my flowers and leaves. Cheeky/Blush, Marine/Cadette/Royal, Sprout/Teal, Bubblegum/Sweets. Diecut the image using Pink Fresh Studio Simplest Gestures die. To add more dimension diecut 2-3 floral outline using White Cardstock. Stack together and adhere to card using Bearly Art Precision Glue.

Step 4 - Place White Cardstock in a Misti and Stamp Trinity Stamps Simply Sentimental - Happy using Versafine Onyx Black Ink. Diecut Happy with the matching die. Adhere to card front using Bearly Art Precision Glue.

Step 5 - For added interest and Sparkle adhere Trinity Stamps Bubble Bath Embellishment Mix to the center of the flowers using Bearly Art Precision Glue.


This card can be used for several occasions by changing the sentiment and/or colors. Below is a link to all the products used. Thank you for stopping by and Happy Crafting!

Products Used:

Sunday, January 30, 2022

One Stencil Two Ways

Hi everyone,

Today I am sharing two cards using the Fading Tiny Dots Stencil. Each card is using the stencil in different way to create a different look. Below you will find the steps to create your own cards.

Card #1


Step 1 - Trim White Cardstock to 7” x 6”, score at 3 1/2” and fold in half for a vertical side fold card. (Mini Slimline)

Step 2 - Trim White Cardstock to 3 1/4” x 5 3/4”. Apply Inks of your choice using a Blending Brush. I used Simon Says Stamp Pawsitively Saturated Inks in rainbow order starting with Cheeky, Peachy, Lemonade, Celery and Seafoam. Optional - Sprinkle some water for an oxidized look.

Step 3 - Dry Emboss Fading Tiny Dots Stencil using the panel created in Step 2 in a Die Cutting Machine. Make sure to use the right sandwich for your machine. Adhere to card using Foam Tape.

Step 4 - Diecut Thankful For You Using White Cardstock for the base and Inked Cardstock to the Thankful. Inks are Lemonade and Celery. Assemble using Bearly Art Precision Glue and adhere to card using Foam Tape.

Step 5 - For added interest and shine randomly adhere Pearl Mix in the same color range as a rainbow using a Pick Up Tool and Bearly Art Precision Glue. I used Ballerina Pink, Apricot, Bumble Bee, Mint Green and Seafoam Pearl Mix.


Card #2


Step 1 - Trim White Cardstock to 7” x 6”, score at 3 1/2” and fold in half for a vertical side fold card. (Mini Slimline)

Step 2 - Trim White Cardstock to 3 1/4” x 5 3/4”. Apply Inks of your choice using a Blending Brush. I used Simon Says Stamp Pawsitively Saturated Inks in rainbow order starting with Cheeky, Peachy, Lemonade, Celery and Seafoam.

Step 3 - Place Fading Tiny Dots Stencil on top of the panel created in Step 2. Apply the same ink colors as the background using a Blending Brush.

Step 4 - Adhere 4 strips of Red Line tape to the backside of the panel to each edge created in Step 2. Remove the release sheet to three sides and place a piece of cellophane packaging making sure to secure the corners. Add in a sequin mix and remove the last release sheet and close. I used Tutti Fruiti, 12th Man and Spring Leaves Sequins. Now you have a flat edge to edge shaker. Secure it to the front of the card using Red Line Tape.

Step 5 - Diecut Small Script Trio (hugs) 3 times. 2 times using White Cardstock and 1 time using Gold Matte Cardstock. Assemble each layer and adhere to card using Bearly Art Precision Glue. 

Step 6 - Stamp Heartfelt Sentiments (and kisses) using Pawsitively Saturated Ink in Celery. Make sure to use a piece of washi tape to cover (Love) if you just want (and Kisses). Trim sentiment and adhere to card using Bearly Art Precision Glue.


I love stretching my supplies and getting different looks from the same stencils, stamps or dies. Below is a link to all the products used. Thank you for stopping by and Happy Crafting!
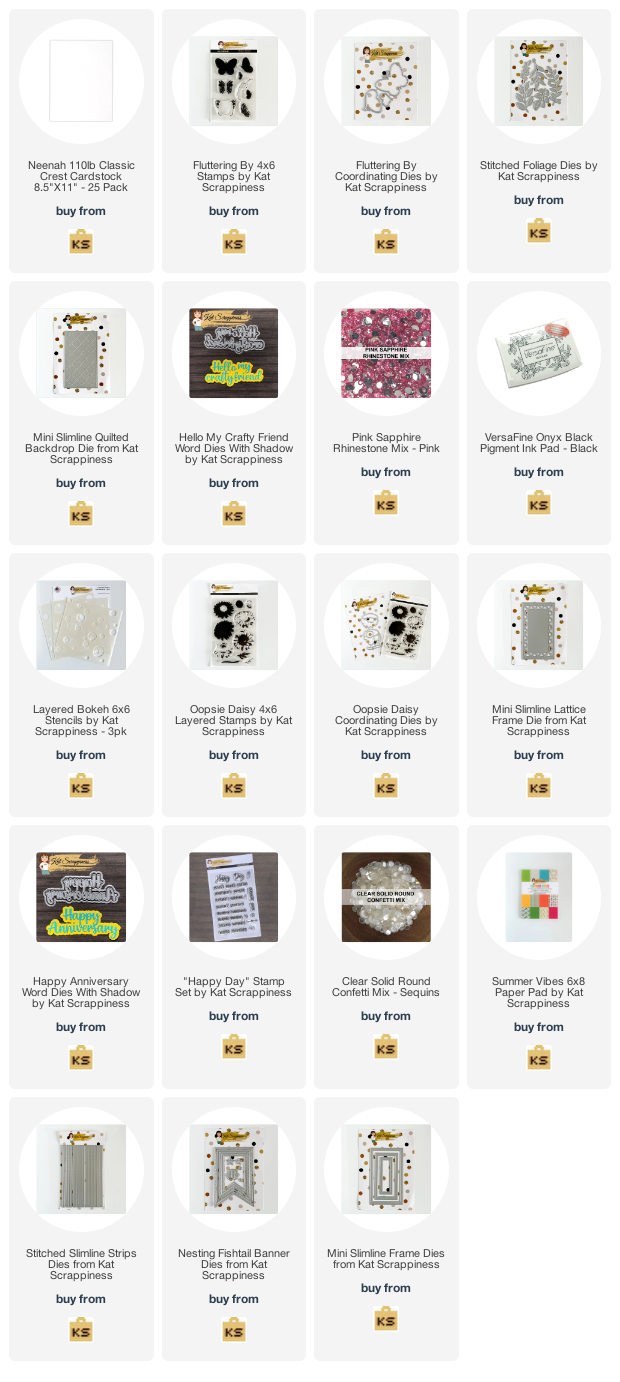
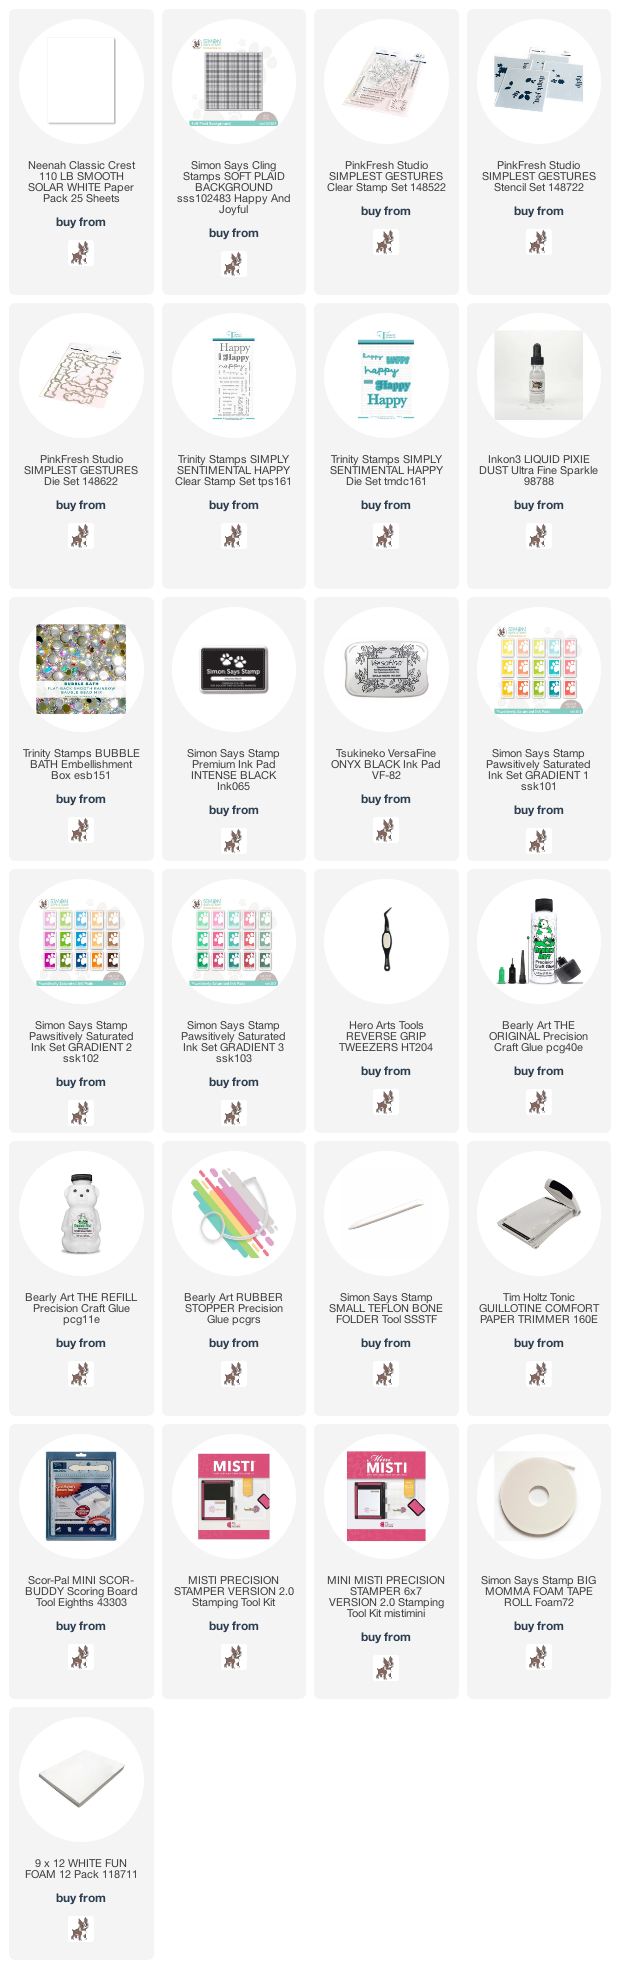
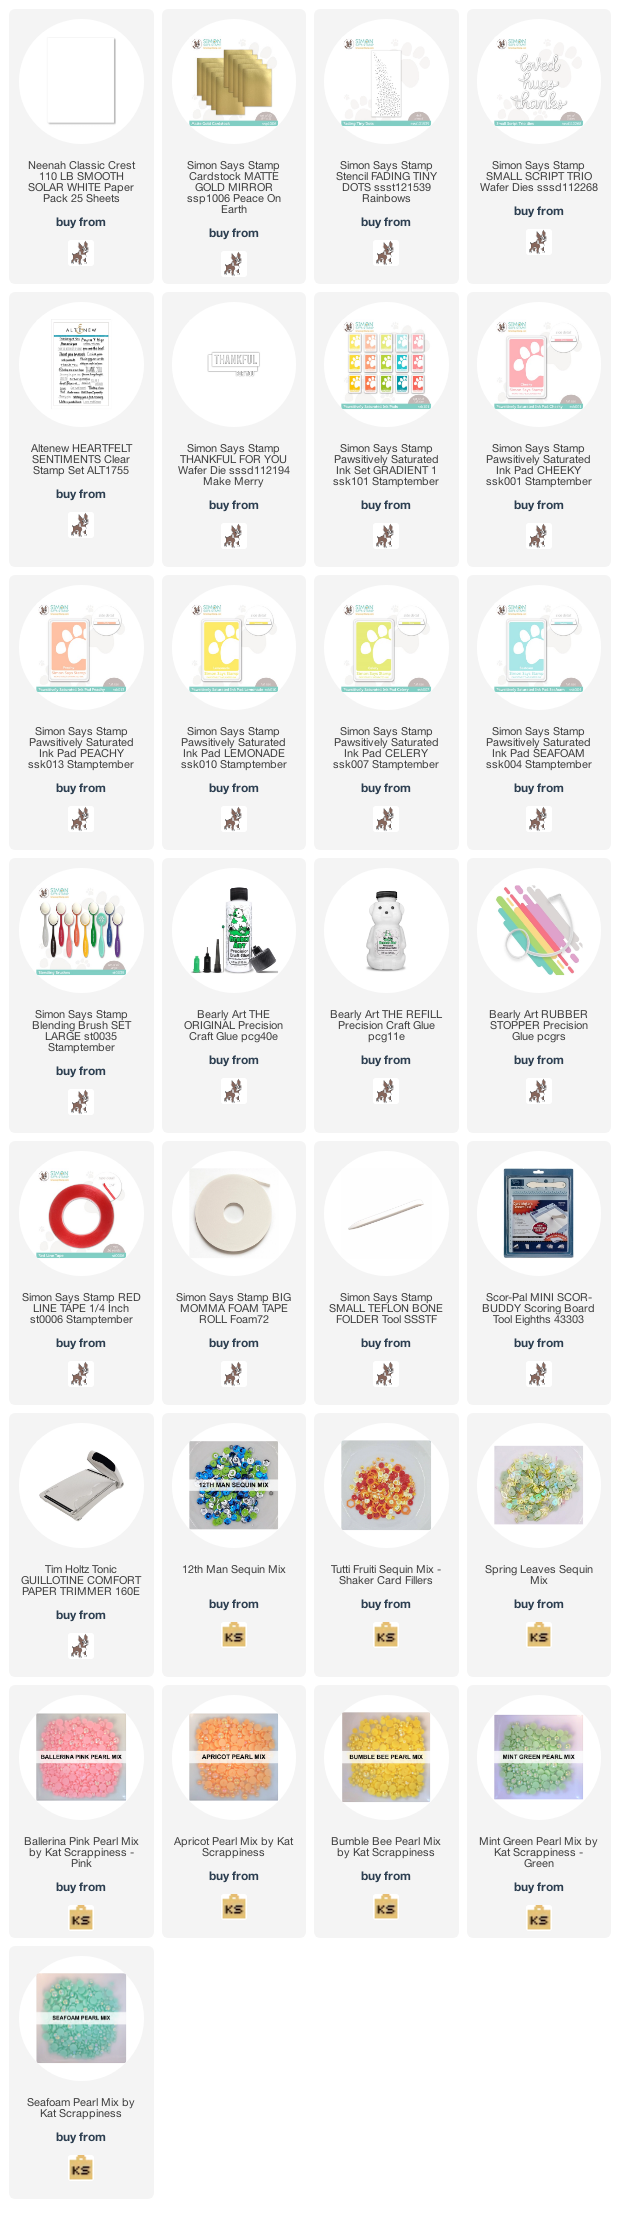
Products Used: