Hi everyone,
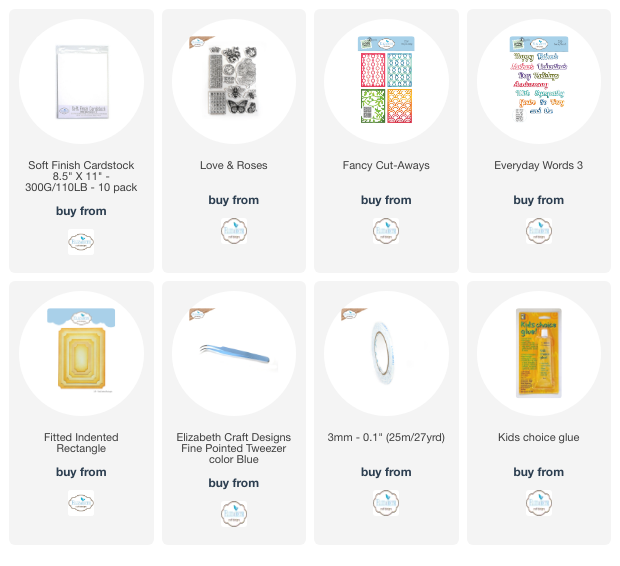
Welcome to my blog. Today I am sharing a card I made with Annette's New Release This Lovely Life. Just the title warms my heart. There is so much goodness in this release. I used the Love & Roses Stamps, Fancy Cut-Aways as a stencil, Everyday Words 3. Below are the steps to create your own card.

Step 1 - Trim White Soft Finish to 4 1/4" x 11", score at 5 1/2" and fold in half for a horizontal top fold card. (A2)
Step 2 - Trim White Soft Finish to 4 1/4" x 5 1/2". Stamp Love & Roses (words) using a Lt. Grey Ink. Move your cardstock to align underneath and stamp again. I did this several times to create a panel.
Step 3 - Diecut Fitted Indented Rectangles with the panel created in Step 2. Adhere to card front using Foam Tape.
Step 4 - Trim White Soft Finish to 2 3/4" x 4". Diecut Fancy Cut-Aways using a scrap piece of Cardstock to use as a stencil. Place the stencil on top of the trimmed White Soft Finish. Use Washi Tape or Masking Tape to all the edges (about 1/4" from top and side edges and 1/2" from the bottom edge). Ink the stencil using colors from the Rainbow. Remove the Masking Tape and stencil.
Step 5 - Stamp Love & Roses (roses image) on the panel created from Step 4 using Versafine Onyx Black Ink. Matte it with Black Cardstock trimmed to 2 7/8" x 4 1/8". Adhere to card using 3mm Clear Double Sided Adhesve Tape.
Step 6 - Apply the same last ink color you used in the rainbow on a scrap piece of Cardstock. Diecut Everyday Words 3 (word Happy) using the inked cardstock. Diecut Everyday Words 3 (shadow Happy) in Black Cardstock. Assemble using Kids Choice Glue and adhere to card front at the bottom right.

This card was so easy to put together. I left just the word Happy so whenever I have a need for this card I can easily turn it into a card for a specific occasion. Just add the rest of the sentiment on the inside of the card. Below is a link to all the products used. Thank you for stopping by and Happy Crafting!
Products Used: