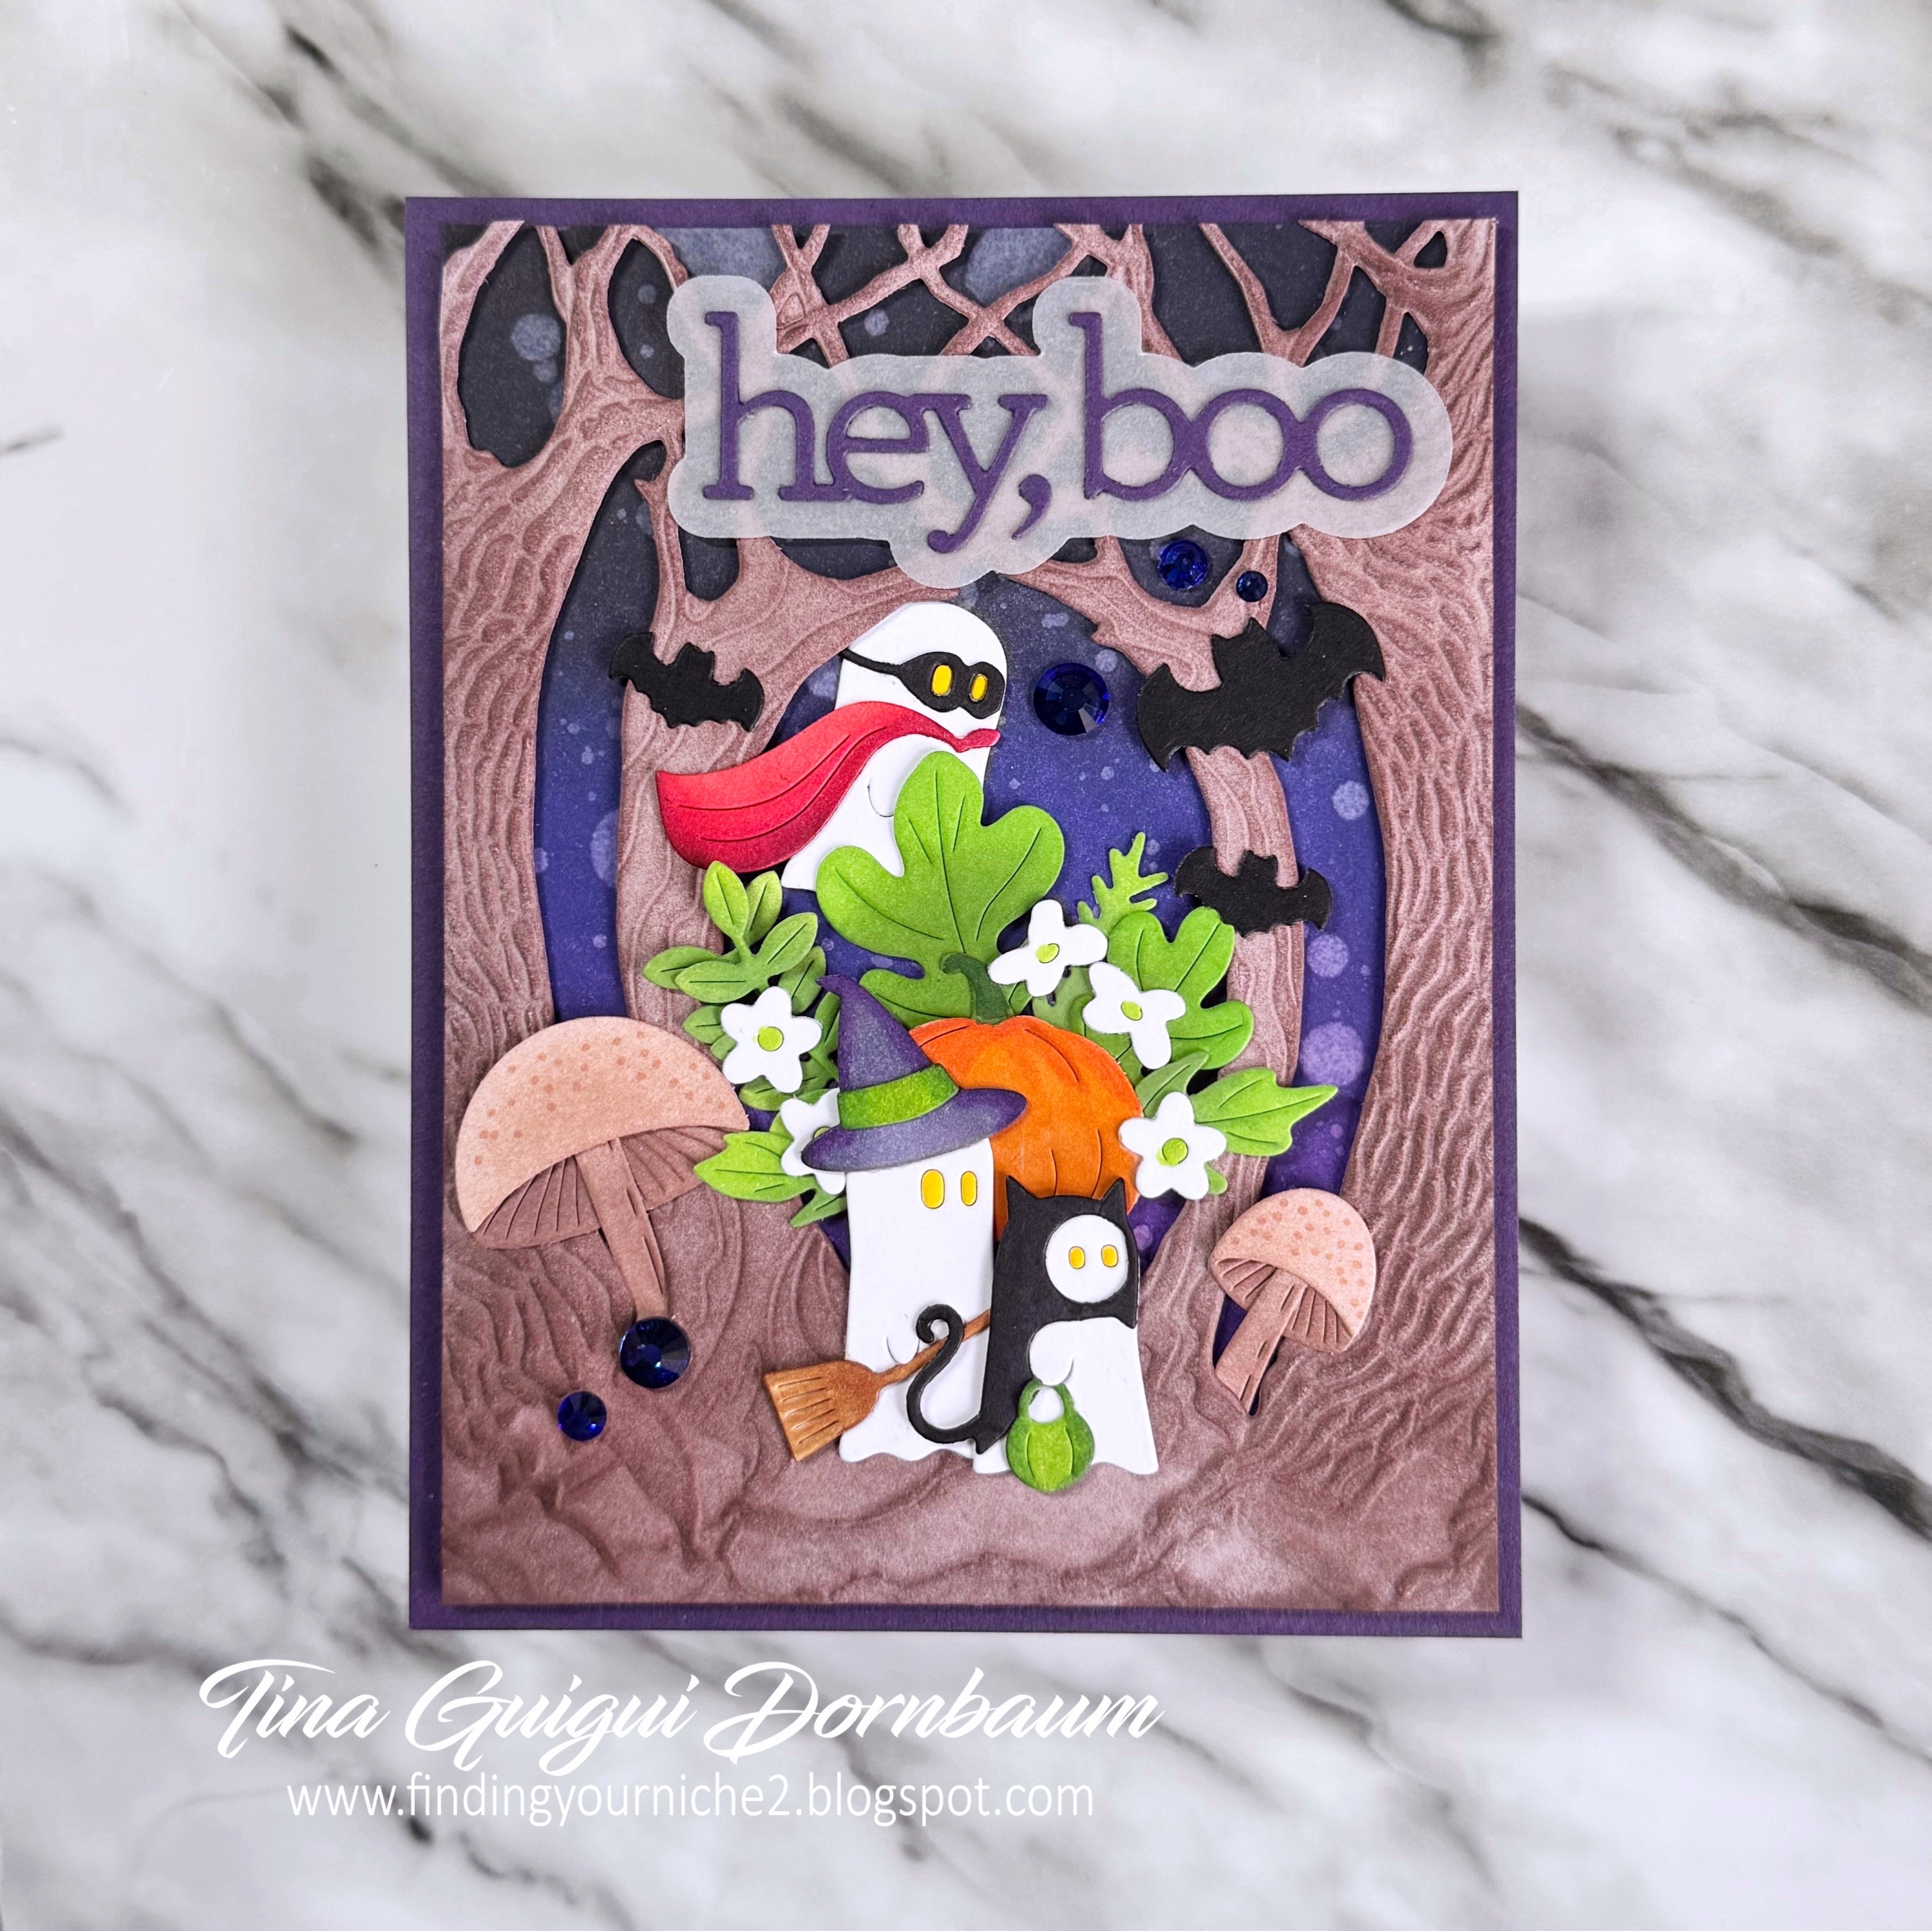
Hi everyone,
I have some super quick card ideas for those last minute holiday cards needed using masking sheets, stencils and some ornament dies. Below you will find the steps to create your own cards. Keep in mind you can always substitute with items from your stash.

All the steps are the same except Step 3 which you replace the stencils.
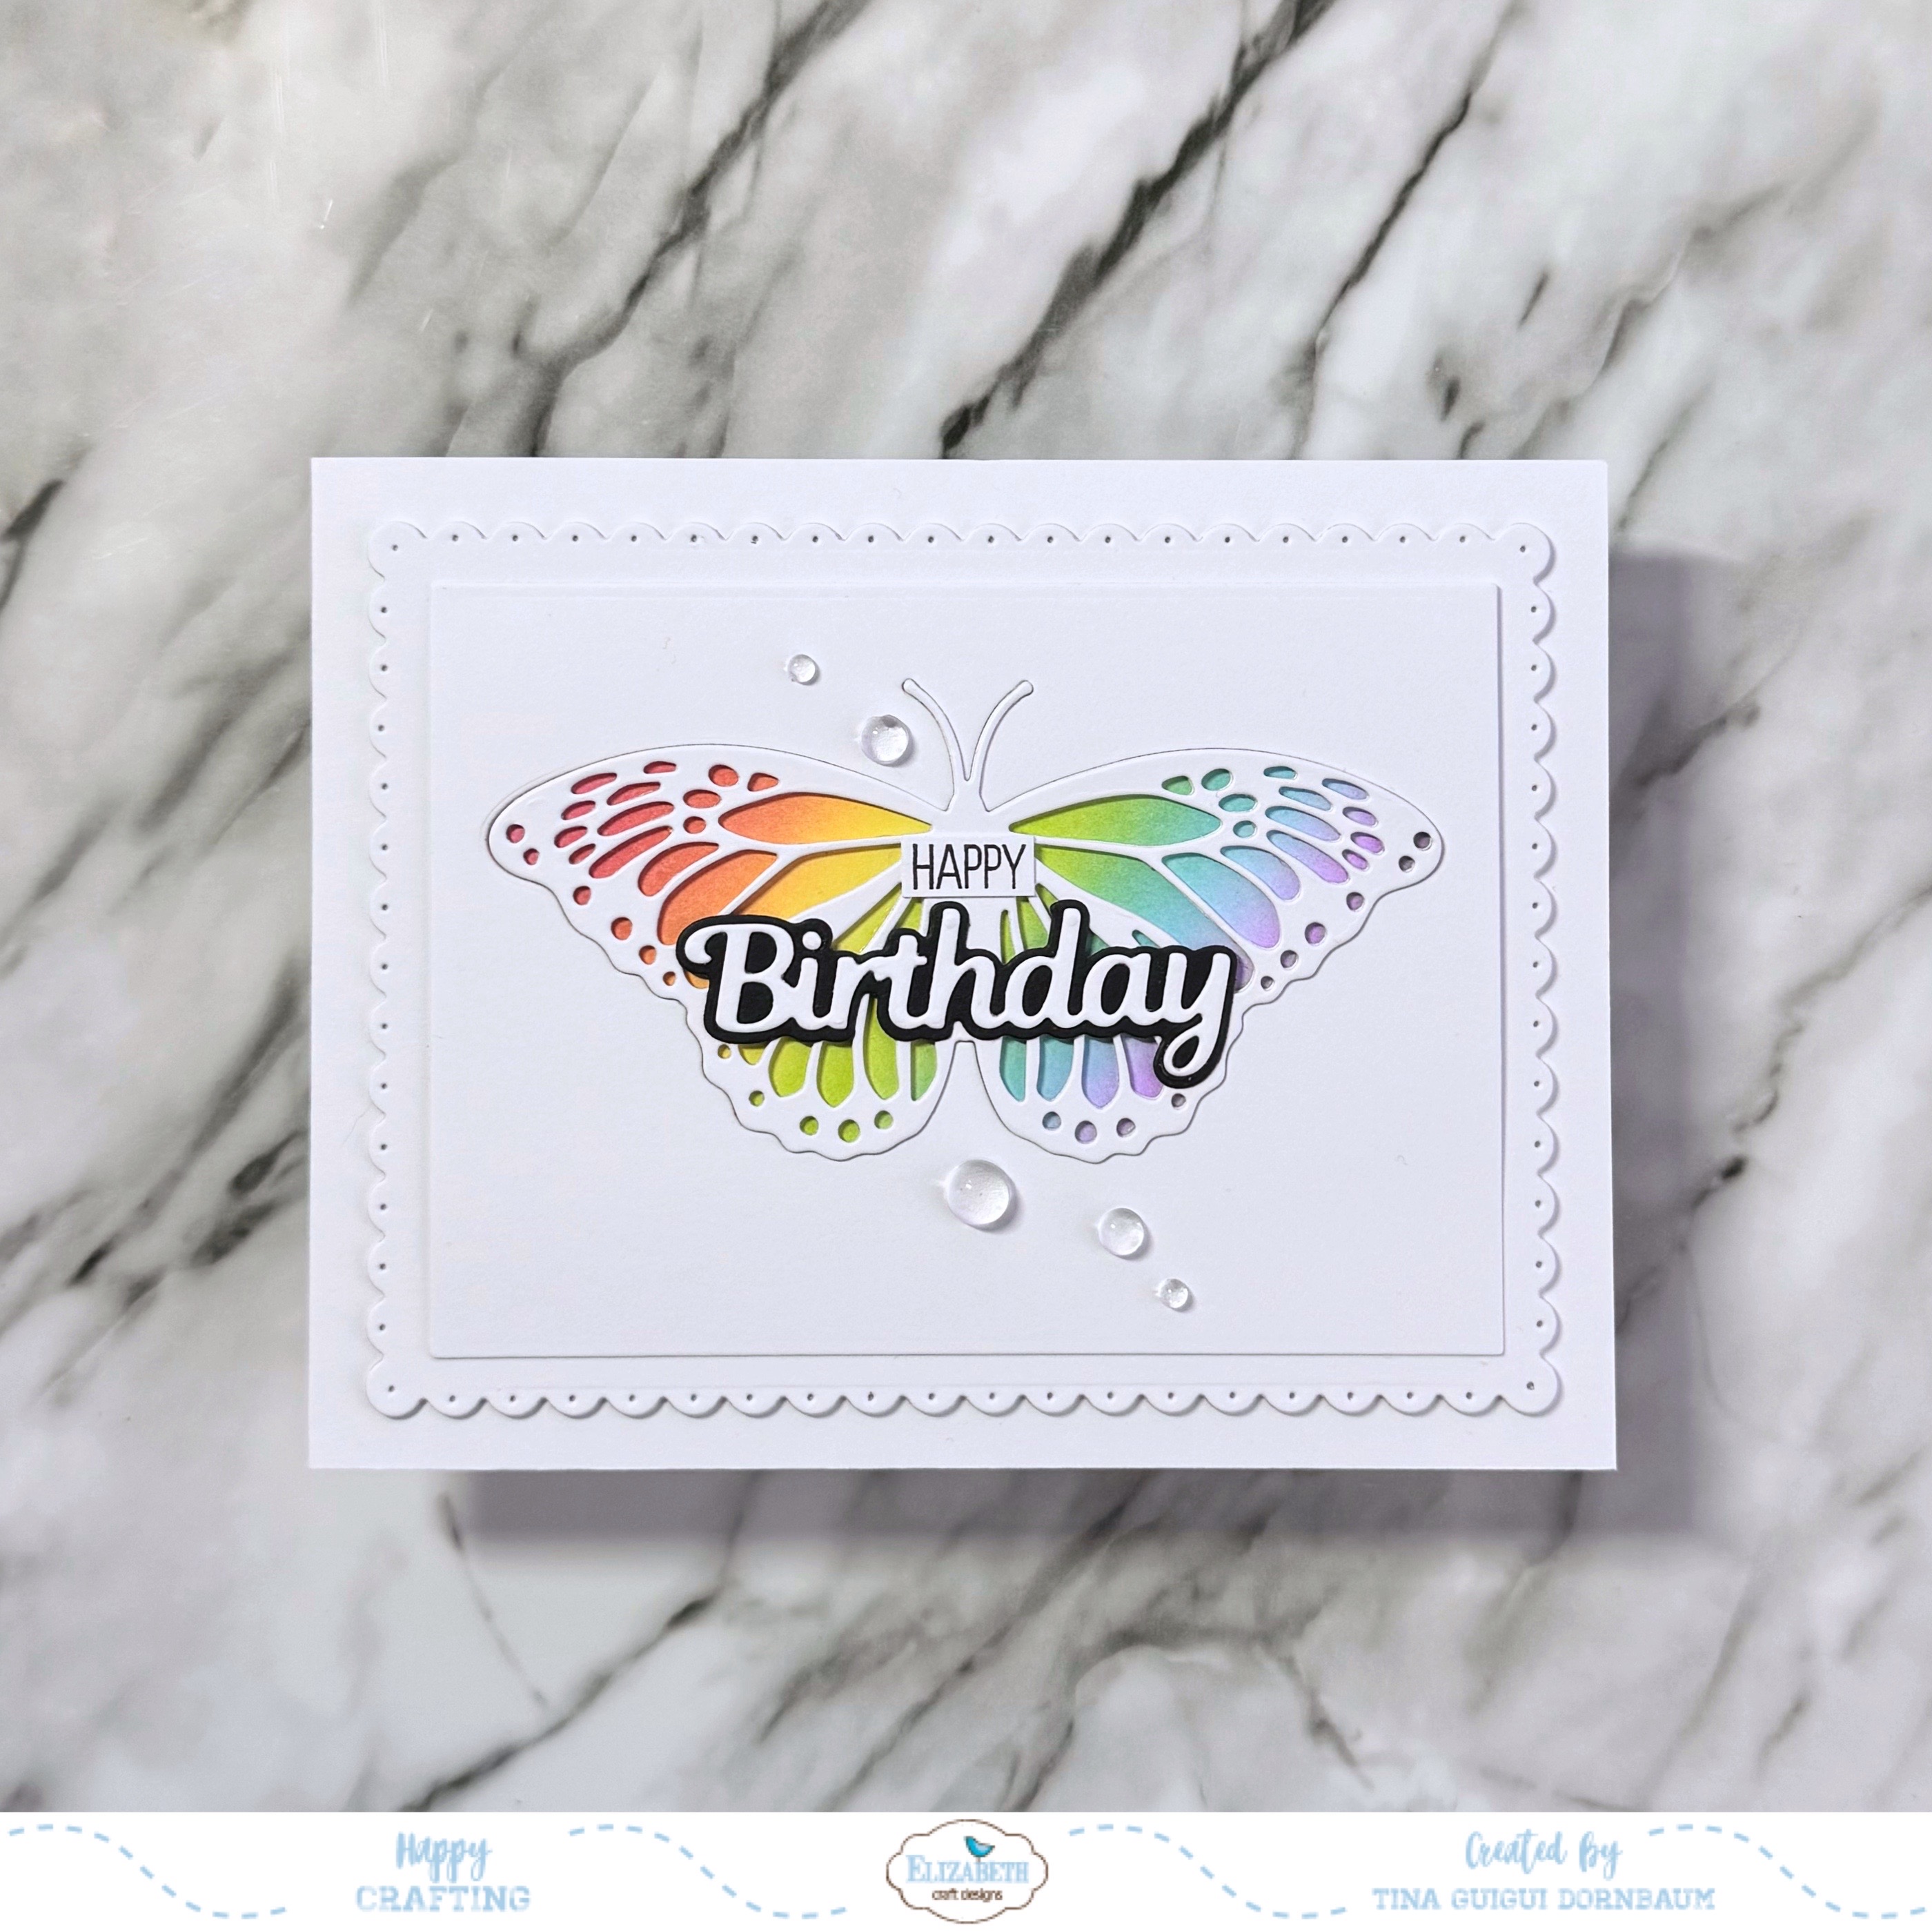
Step 1 - Trim White Cardstock to 4 1/4” x 11”, score at 5 1/2” and fold in half for a horizontal top fold card. (A2)
Step 2 - Diecut Double Stitched Rectangles using White Cardstock. Using masking tape or Post It apply to card panels creating an opening in a triangle shape. Using a Blender Brush apply ink color of your choice in lighter ink. Make sure whatever color you use that you have a light shade and a dark shade. Do not remove mask. Proceed to Step 3.
Step 3 - Place stencil Wavy Ferns on one panel and Willow Fields on the other panel created from Step 2. Using a Blender Brush apply inks in the darker shade.
Step 4 - Diecut Never Ending Rectangles using same shade colors as the panels created from Steps 2/3. Adhere to card fronts and then adhere the panels created from Steps 2/3 using Bearly Art Glue.
Step 5 - Diecut Snowy Layering Christmas Tree using Metallic Cardstock color of your choice. Adhere to card on the trees using Bearly Art Glue.
Step 6 - Diecut Joy word using Metallic Cardstock color of your choice. Adhere to card front using Bearly Art Glue.


As mentioned you can replace any item using product from your own stash. Below is a link to all the products used. Thank you for stopping by and Happy Crafting!
Products Used: