Monday, December 19, 2016

Club Scrap December Artist Team Challenge with Shades of Winter Kit

Hi Everyone,

Welcome back to the Club Scrap Artist Team Challenge with the Shades of Winter Kit. This month the Artist Team will be participating in the member-run challenges on the Club Scrap Forum. Our challenge is to select one (or more) of the December Forum Challenges and create a project that meets that challenge. The Club Scrap forum is here and you must have created a profile to gain access to the forum. December monthly challenges can be found here.

Now before we get started if you came from Lisa's blog then you came from the right place.  If you didn't you can start at the beginning with Karen at the Club Scrap Blog.

I chose the Card Sketch Challenge. Card sketch challenges are fun because the sketch is a suggestion and it doesn't have to be an exact copy of the sketch. I am going to be showing you 3 examples of cards using the same exact sketch to show how different they are.

Here is the sketch

Finished card measures 4 1/2" x 5 1/2" folded. 

For this card I used the 3 rectangles from the sketch to create my 3 hanging snowflakes cut out.  Underneath you can see the gorgeous patterned paper from the kit.  I used the cut-a-part for the border on the bottom.  I stamped the sentiment twice to use one half on the top and the other half on the bottom.


Finished card measures 5 1/2" x 4 1/4" folded. 

For this card I used the patterned paper for the base of the card.  I cut the glitter blue paper 4 1/2 x 3 1/4.  I passed it through my embosser using a snowflake embossing folder.  It was stunning but I wanted some to add some silver. Then I had a brainstorm. Using the ink splatter stamp from the Dahlia Jumbo Unmounted Stamp Set I used one of the sides with watermark ink pad and stamped the edges on all sides. Quickly I sprinkled embossing powder from Nuvo in silver. Then I let the magic begin with my heat tool.  The effect in more stunning in real life.  Below is a close up. I added 2 cut-a-parts on each side with a narrow border in the middle and the thin fiber wrapped around.  I stamped the sentiment on vellum and adhered to the card using the Tiny Silver Snowflakes Stickers.


Finished card measures 5 1/2" x 4 1/4" folded.

For this card I used the 12" x 12" patterned paper for the base.  I cut the 8 1/2" x 11" patterned paper to 5 1/4" x 4".  I adhered the ribbon on the bottom and simply tied a knot twice. I snipped the edges on an angle. I used a cut-a-part and cut it in 3 sections. I used part of a phrase from the cut-a-part. I inked the edges with a distress marker using the long tip along the edge. I added some Tiny Silver Snowflakes Stickers for the finishing touch.


I hope you enjoyed my cards showing you 3 different ways of using the sketch.  Now it's time to hop on over to Anne Marie's Blog.  Thanks for stopping by!

Sunday, December 4, 2016

Club Scrap Shades of Winter and Mojo Monday Challenge 476

Happy Sunday Everyone,
I hope you are having a great weekend! With the holidays just around the corner I wanted to show you a fabulous kit and sketch challenge to help you with your projects.  Club Scrap Shades of Winter Kit is absolutely gorgeous!!! Be sure to get it now in time to make your projects.  Mojo Monday Challenge Blog has wonderful sketches to help out with card making.  It is also great to convert it to pages or templates for a mini album.  


Finished card measures 4 1/4 x 5 1/2 folded

For my card I used the Shades of Winter Digital Kit. Digital Kits are so versatile. You can use it on the computer with a design software to create layers or print out the designs and use traditionally like a paper kit. I print out the designs on Club Scrap smooth plain white cardstock.  I used the pattern design for my background.  I matted it with silver foil cardstock.  I cut out the square sentiment and matted with foil.  Using a circle diecut I cut the circle sentiment and matted with foil.

Thanks for stopping by. Don't forget to mark your calendars for the Club Scrap Artist Team Challenge on Dec.19 and the Club Scrap Blog Hop on Dec.28.

Wednesday, November 30, 2016

Club Scrap Paradise Blog Hop

Hi Everyone,
Welcome to the Club Scrap Paradise Blog Hop! Now first things first if you came from Anne Marie's Blog then you came from the right place.  If you didn't then you can start at the beginning with Karen at Club Scrap's Blog.  By now you've seen some awesome projects using the Paradise kit.  Be sure to get yours now.

Finished card measures 4 1/4 x 5 1/2

For this card the base is from the patterned paper.  I cut a blue/green plain cardstock and passed it through a crumper.  I inked the edges and topped it with the same patterned paper as the base.  I stamped a sentiment from the Paradise unmounted stamp. Using hemp I bought from the Dollar Store I swirled some of the same colors as the patterned paper. I cut a Club Scrap White Cardstock 6x6 and used some Color Burst with Ultramarine Blue and Pthalo Green (Tricia's favorite). Once dry I cut out some leaves from my ScanNCut2 and used some distress inks (Spiced Marmalade & Festive Berries) around the edge and added it to the card using pop-ups. 


Finished card measures 4 1/4 x 5 1/2

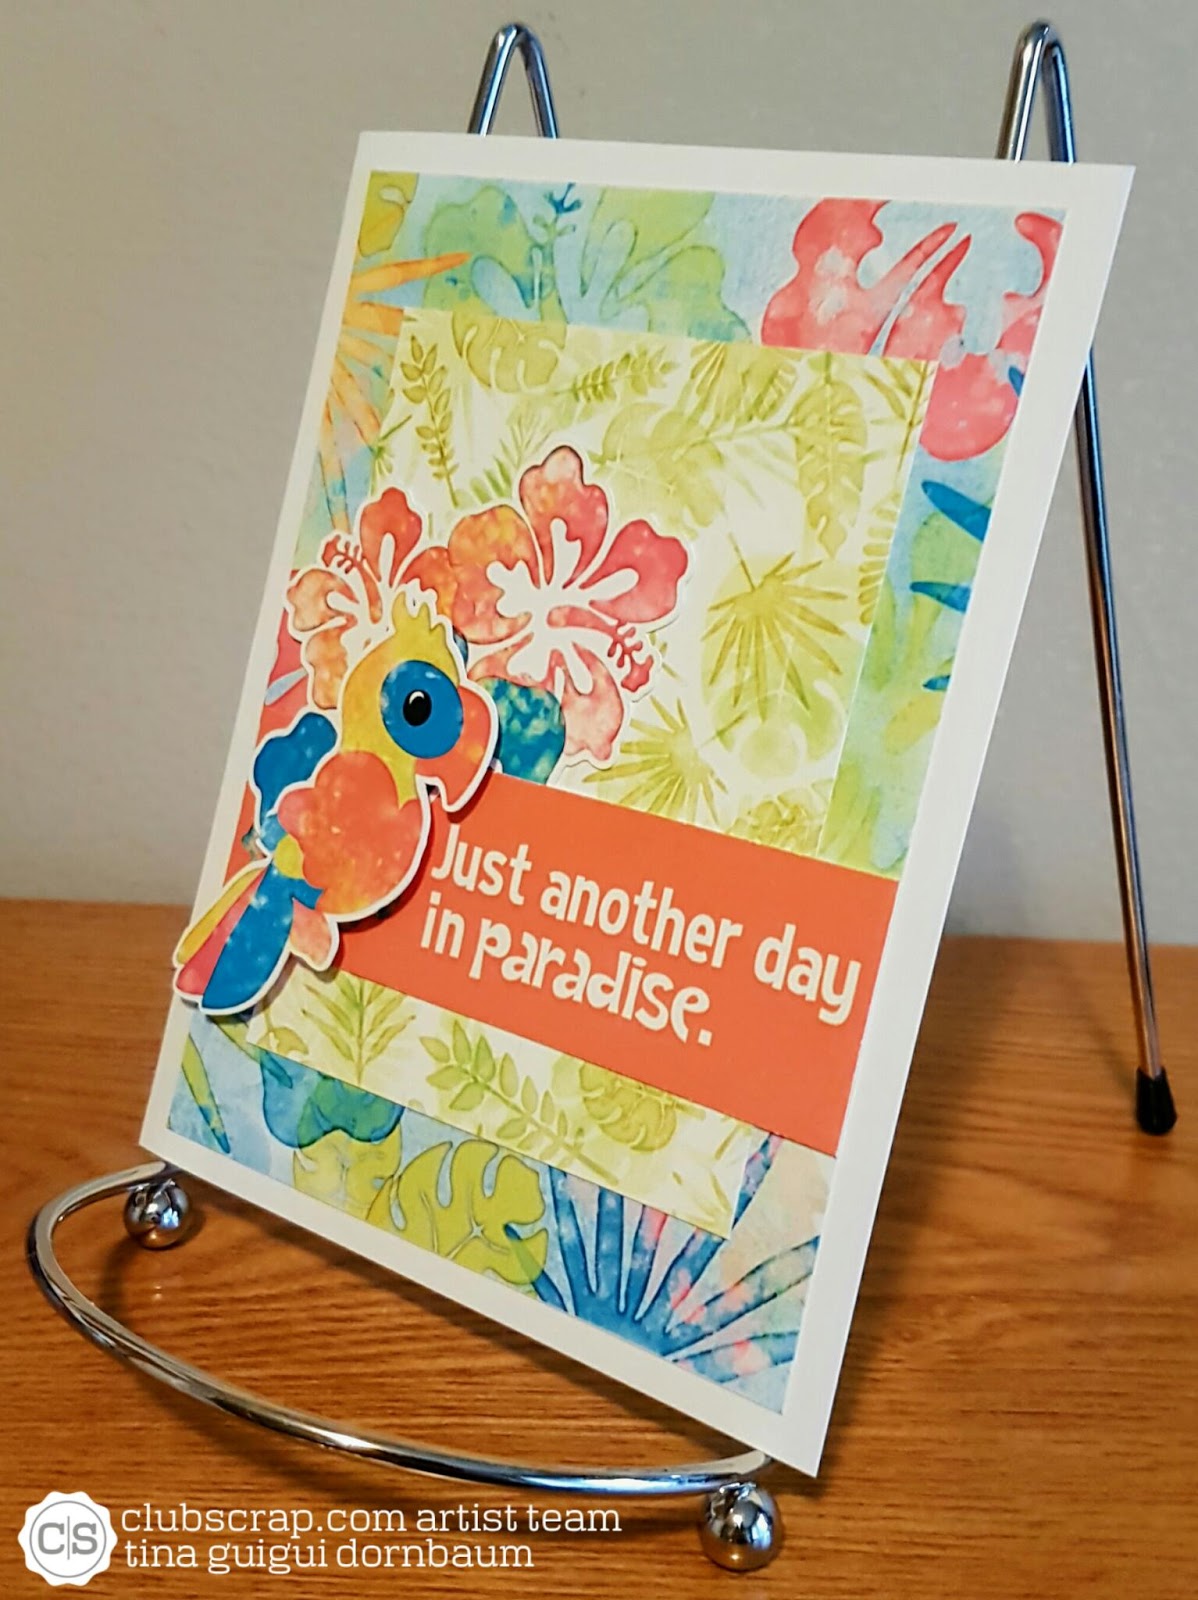
For this card I went all out on the Paradise Digital Kit.  I printed everything out on white cardstock. I used two of the patterned designs and placed it center.  For the flowers and the parrot I used my ScanNCut2 to cut out the shapes.  The sentiment is also from the Digital Kit. 


Thanks for stopping by.  Your next stop is Lisa's Blog!

Monday, November 28, 2016

Club Scrap Paradise Kit

Hi Everyone,

Today I am sharing with you some projects using the Paper Paradise Kit and the Digital Paradise Kit from Club Scrap. The Paradise Kit is a Happy and Vibrant Collection.  Be sure to get yours now.

Finished card measures 4 1/4 x 5 1/2 folded

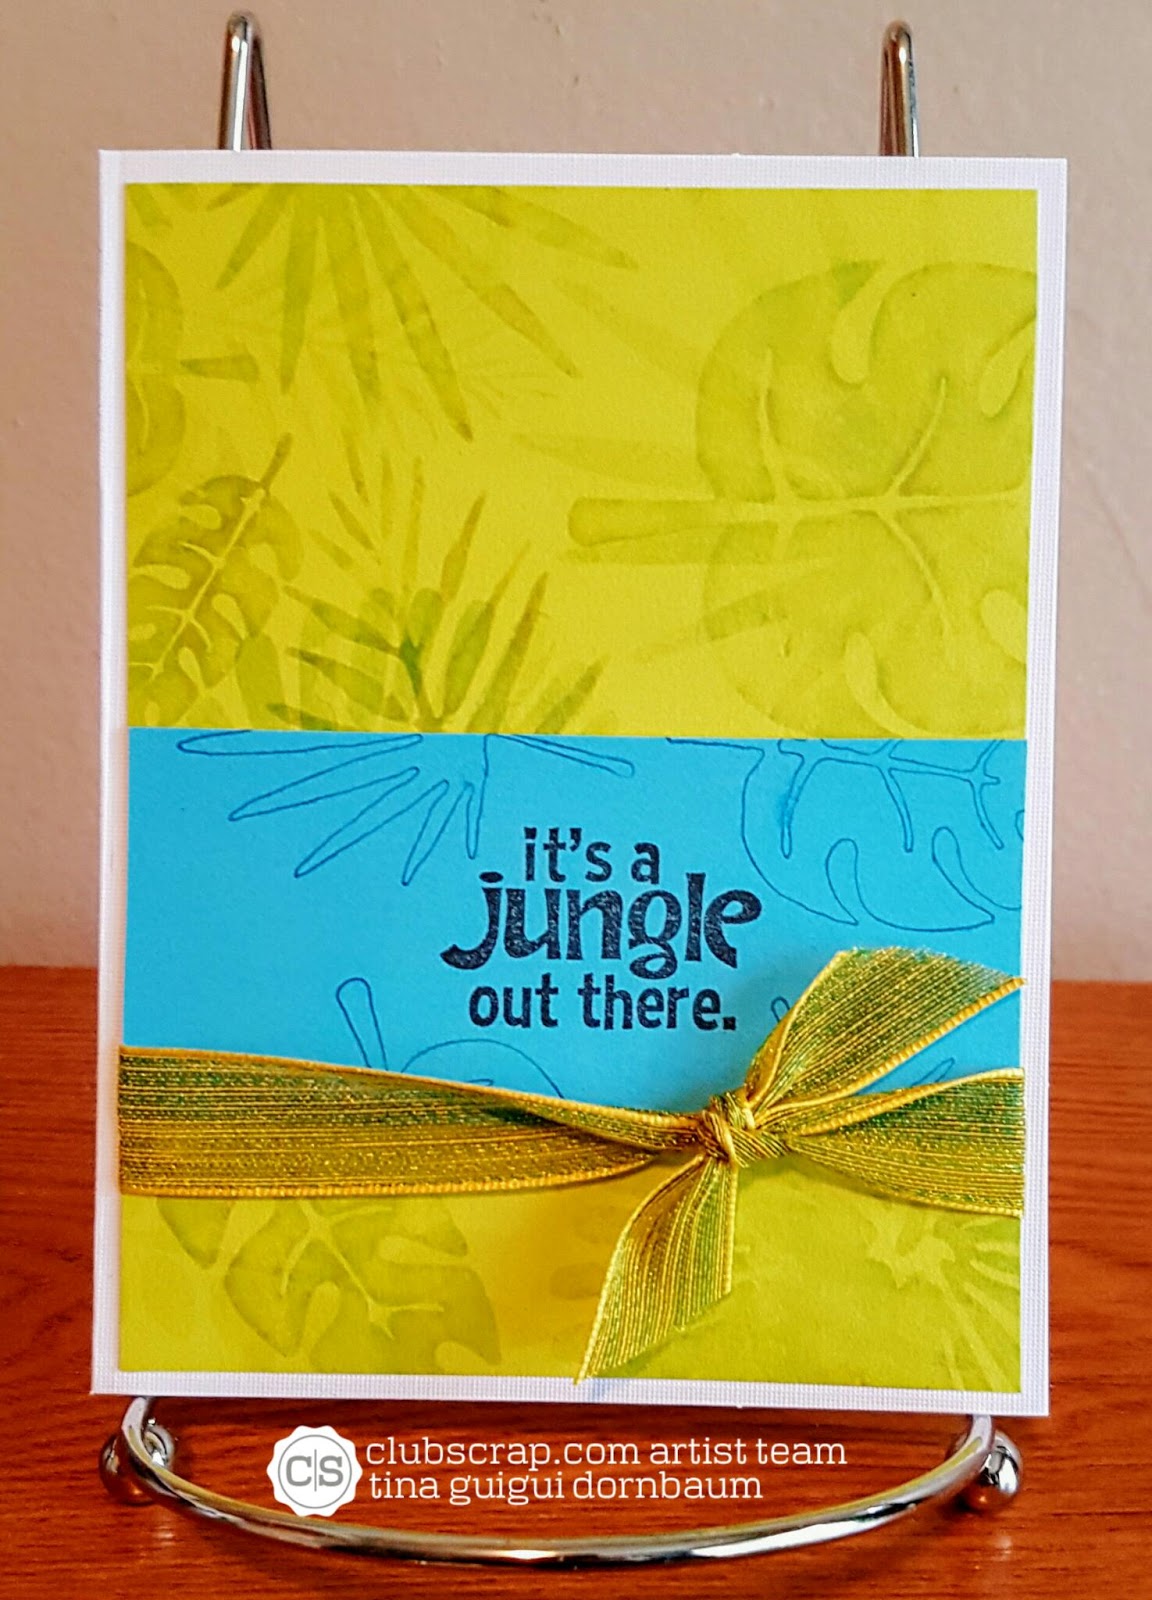
For this card I used the paper kit.  I just love the bright happy colors from this kit.  I used the green patterned paper for the background of my card.  I used the blue plain paper and stamped some of the leaves from the Unmounted Stamps.  I added the stamped sentiment in a clean section and cut a strip purposely cutting into the stamped leaves.  I added the ribbon for the finishing touch.  I only wish I had more colors of this ribbon.


Planner

Decorating a planner seems to be very big right now.  I decided to create my Dec.5-11 week using the Digital Kit.  I couldn't be more pleased with the results...so much so that I decided I will be doing this every month and show you the completed pages. I created my own stickers and the fun part is that you can print it over and over again.

Now back to the Paper Deluxe Kit I just love the leaf patterned paper.  It has two different color sides.  I wanted to make a bookmark for my planner.  I cut the patterned paper 2" x 6".  Using the cut-a-part phrase I cut half for one side and the other half for back side.  I placed the bookmark in a laminating sheet and passed it through my laminator. I used my crop a dile tool to add the holes and then used scissors for the slits.

See how nice it fits in my planner.  It can be used again and again to follow my weeks! And the phrase is so inspiring for any week it is bookmarking!


Thank you for stopping by.  Be sure to check out the Club Scrap Store and check out the Blog as well for inspiration and tutorials.


Saturday, November 26, 2016

Club Scrap Christmas Thyme Blog Hop

Hi Everyone,
Welcome to the Christmas Thyme Blog Hop. Now first things first...if you came from Julie's Blog then you came from the right place, if you didn't you can start at the beginning with Karen at Club Scrap's Blog.

For my cards I used the Digital Christmas Thyme Kit.  All digital designs are printed on Club Scrap White Cardstock. 

Finished card measures 4 1/4 x 5 1/2 folded.

For this card I used two of the patterned designs and adhered it to the center of card. Using my ScanNCut2 I cut out a tree mountain and distressed ink the edges.  I used the ScanNCut2 to scan and cut the tree.  The sentiment is also from the Digi Kit.


Finished card measures 4 1/4 x 5 1/2 folded.

For this card once again I used the patterned design for the background. I used a circle die for the front door house design. I made a paper wreath to go around the door. It's super easy. Cut 6 strips 1-2cm long. Twist together and glue the bottom around the circle. Cut the sentiment and add popups. For the finishing touch I added a button with a yarn tied in a bow. 


Finished card measures 4 1/4 x 5 1/2 folded

For this card I used the patterned design for the background on my card.  I cut out the sentiment and distress inked the edges. For an added touch I used Nuvo Crystal Drops Autumn Red to create red berries on the wreathe.


Finished card measures 4 1/4 x 5 1/2 folded.

For this card I used a pattern design for the background. I cut a section of the cut a part for my sentiment. I used two strips of ribbon for an added touch. Simple yet classic. 


Thanks for stopping by.  Now head on over to Lisa's blog for more projects using the Club Scrap Christmas Thyme Kit.

Friday, November 18, 2016

Club Scrap November Artist Team Challenge With Paradise Kit and More

Happy Friday Everyone,

Welcome back to another Artist Team Challenge with Club Scrap. The November Challenge is to use at least one stamp image from the unmounted stamp sheet from either Girlfriends or Enchanted Forest (or both) and at least one Sunflowers Sparkle Stickers on our projects. Now first things first, if you came from Lisa's Blog then you came from the right place.  If you didn't then you can start at the beginning with Karen at Club Scrap's Blog.

Finished card 4 1/4" x 5 1/2" folded

The Paradise Kit comes with gorgeous two color sides cardstock.  I stamped Girlfriends Unmounted Stamp flowers on each color and cut them out.  I cut the patterned paper from Paradise to use as my base for the card and stamped the sentiment from the Dahlia stamp directly to the base. I used pop ups and arranged the flowers in a grid. For the finishing touch I added two Sunflowers Sparkle Stickers to the center of the flowers.


Finished card 4 1/4" x 5 1/2" folded

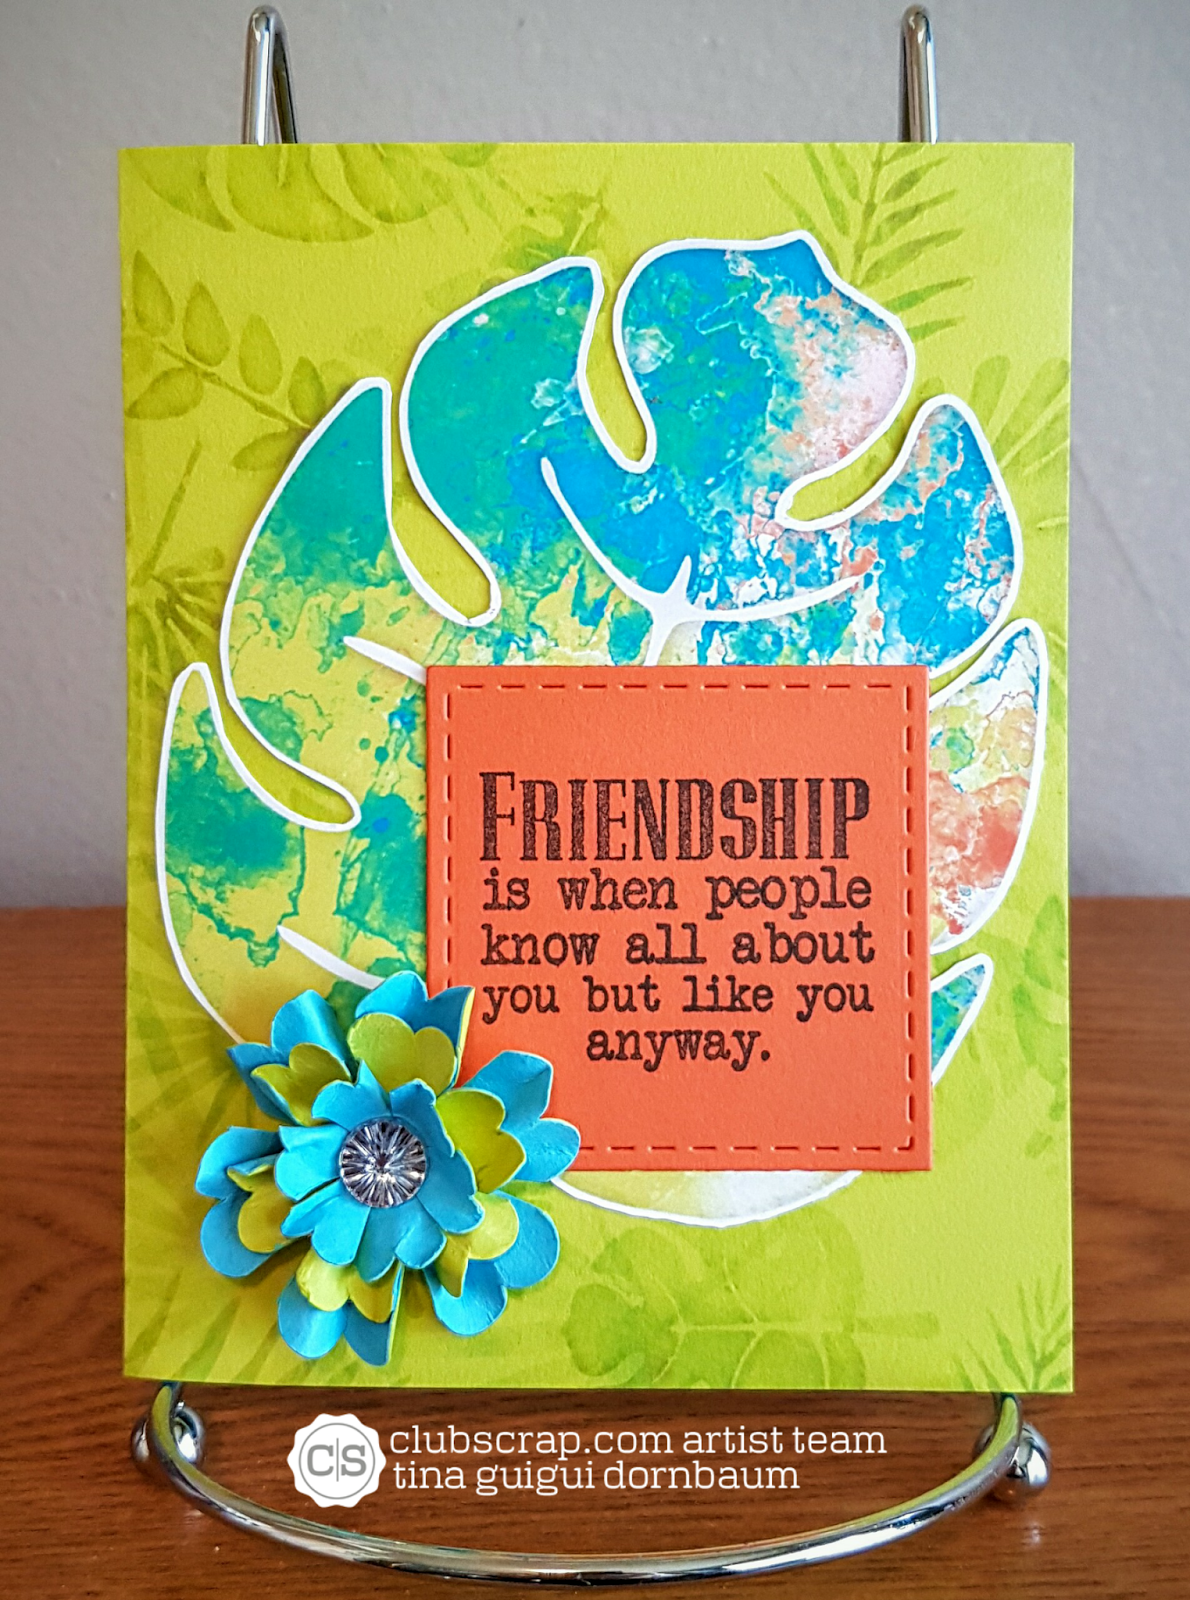
For this card I combined the Paradise Digital and Deluxe Kit.  The background is the patterned paper from the Paradise Kit and the big leaf is from the Digital Kit printed on white cardstock.  I used the ScanNCut2 to cut the leaf out. The sentiment is from the Girlfriends Unmounted Stamp and diecut. The flower is cut out on solid cardstock and shaped with the water technique.  The center is using the Sunflowers Sparkle Stickers.


Finished card 4 1/4" x 5 1/2"

For this card I used the plain cardstock for the base of the card. I cut out 4" x 5 1/4" from the patterned paper and adhered to the center of the card.  I love the double color of the cardstock so I tore at the edges to have the effect of the two colors.  The sentiment is from the Girlfriends Unmounted Stamp. The finishing touches are two Sunflowers Sparkle Stickers.


Your next stop is Anne Marie's Blog.  Thanks for stopping by.

Sunday, November 13, 2016

Club Scrap Paradise Kit and Mojo Monday Challenge 473

Hi Everyone,

Today I want to show you a non traditional Holiday card inspired by Club Scrap Paradise Kit and Mojo Monday's Challenge 473 (sketch and theme).  Here is the finished card 4 1/4" x 5 1/2" folded.


I wanted to use the new Paradise Kit from Club Scrap with Mojo Mondays Challenge 473 but at first I was a little challenged.  The cardstock is stunning which by the way has two different color sides.  Blue and Green, Fuchsia & Orange.  I started with the blue side and used a snowfall mask I created with my ScanNCut2.  I used Texture Paste to create the snowfall.  I used the green side to create the tree background.  I stamped the Flamingo image on the fuchsia side and scanned the image with my ScanNCut2 to cut out the image.  Created the sentiment on the orange side.  To add some sparkle I used Diamond Stickles.  TFL!  Be sure to come back soon to see the rest of the stunning Paradise Kit.