Saturday, June 8, 2019

Triblends And Metallic Ink by Spectrum Noir And A Giveaway

Hi Everyone,
I am super excited that I have been selected for Spectrum Noir Design Team!!! It's a super huge team with lots of amazing talent. Today I have a vibrant card to share with you using the new Tri-Blends and Metallic Ink by Spectrum Noir. I used the Center Cut Flowers Stamp and colored it with Tri-Blends and the Metallic Ink for my background on Black Cardstock. I just love how well the Metallic ink shows on dark cardstock. Below you will find the steps to create your own card.

But before we start it's time for another giveaway. This time I have decided to try out Rafflecopter. For everything you follow you are given a chance to win the Beautiful Flowers stamp Set from Simon Says Stamp. The contest ends Midnight June 16.


Step 1 -
Trim White Cardstock to 8 1/2" x 5 1/2", score at 4 1/4" and fold in half for a vertical side fold card. (A2)

Step 2 - Trim Black Cardstock to 4 1/4" x 5 1/2", apply purple tape (non permanent) in strips. I tore the tape on the edges of both sides for a frayed look. Apply Spectrum Noir Metallic Paint Antique Pearl using a paintbrush. Let dry then carefully remove the purple tape.


Step 3 - Diecut Wonky Stitched Rectangle to the background created in Step 2. Adhere to card using Nuvo Deluxe Adhesive.

Step 4 - Stamp Center Cut Flowers using Gina K Amalgam Ink on White Cardstock. This is an alcohol friendly ink. Color in the image with alcohol markers of your choice. I used the Tri-Blends from Spectrum Noir. Fussy cut or use a cutting machine (I used a Scan 'N' Cut). Adhere to card using foam tape. Do not put Foam Tape on the bottom flower and Leaf.


Step 5 - Diecut Everyday Sentiment Banner using Orange Cardstock or White and then color in alcohol markers. I used Tri-Blend Orange Blend and shaded the edges.

Step 6 - Stamp It's A Mice Time To Celebrate Sentiment using the sentiment banner created from Step 5. I masked off the "Eek!" with Purple Tape. Be sure to remove the tape before you stamp. Adhere to card using Foam Tape with the bottom flower and leaf hanging on it.


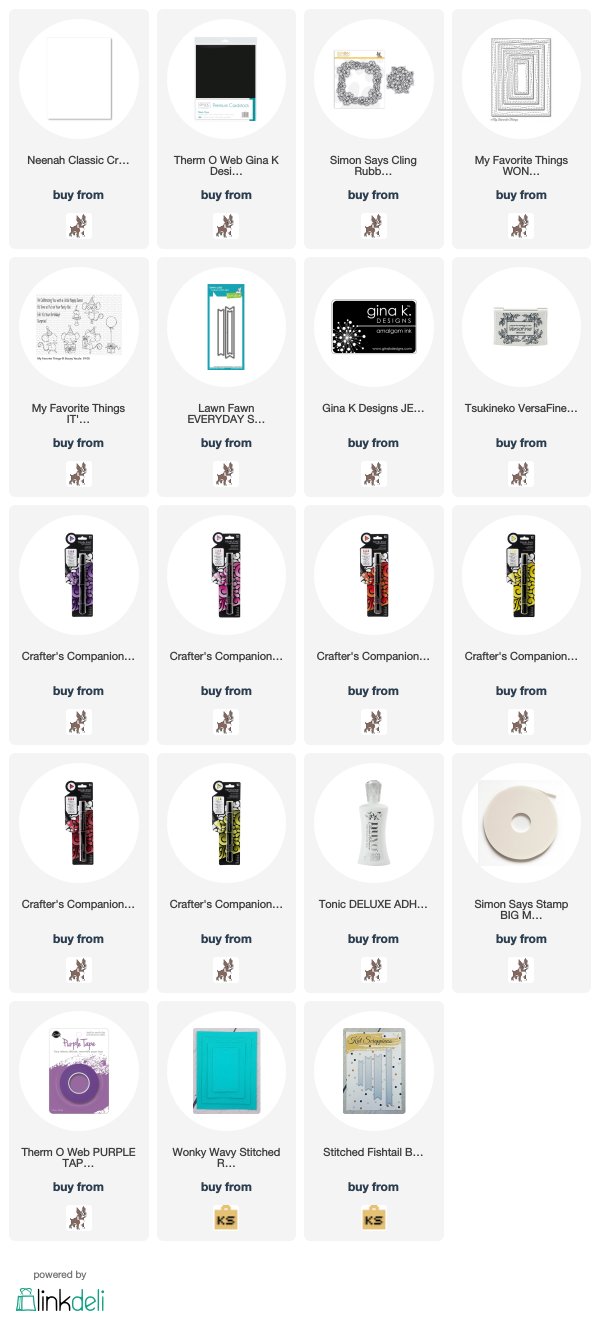
You can get the Tri-Blends and Metallic Ink at Crafter's Campanion. If you are new to alcohol markers or even a novice this is a wonderful set to get as 1) It takes the guess work out of blending which colors 2) It is super affordable. I did purchase these myself and well worth every penny. There are 24 markers with 3 colors per marker. That's 72 colors. They can be purchased individually or the complete set.

Below is a link to all the products used. Thank you for stopping by and have a wonderful day.

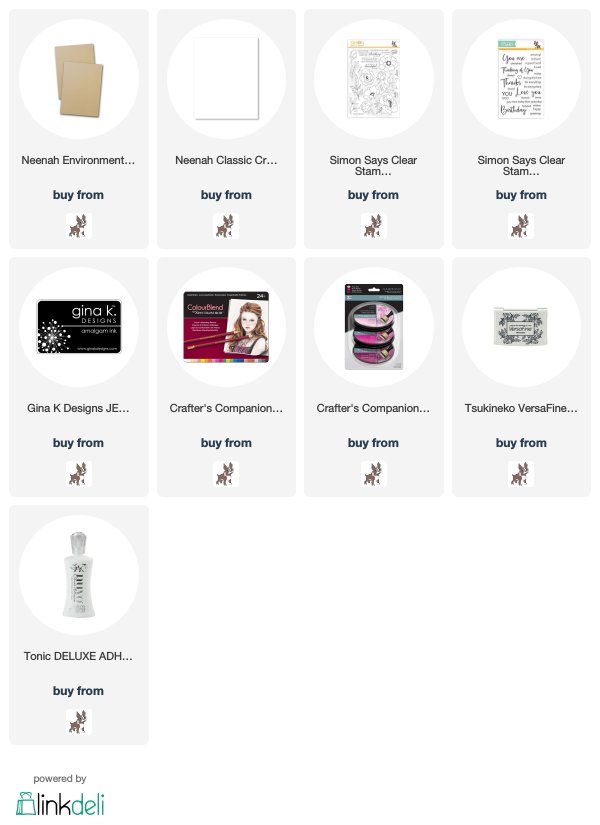
Products Used:
Wednesday, June 5, 2019

ColourBlend Delicate Flowers Card

Hi Everyone,
Today I have a card to share with you using the ColourBlend pencils by Spectrum Noir. I struggle with blending pencils and often use gamsol to help me. Did you know that the ColourBlend pencils blend beautifully without gamsol. Not only does it blend but they work well on coloured cardstock. Below you will find the steps to replicate your own card.


Step 1 - Trim White cardstock to 8 1/2” x 5 1/2”, score at 4 1/4” and fold in half for a vertical side fold card (A2) 

Step 2 - Trim Neenah Desert Storm cardstock to 4 1/4” x 5 1/2”. Emboss Elusive Butterfly using the trimmed cardstock. Apply Harmony Ink Pink Tulip onto a craft mat and dip the embossed cardstock into it, dry with a heat tool and repeat until you reach the desired effect. Adhere to card using Nuvo Deluxe Adhesive.


Step 3 - Trim Neenah Desert Storm Cardstock to 4 1/4" x 5 1/2". Stamp Delicate Flowers using Gina K Amalgam Ink. Let dry. Color in the flower using ColourBlend pencils from Spectrum Noir. Starting outside and working towards the center I used Mulberry, Vivid Pink, Peach and Linen. For the center bud I used Pumpkin, Canary and Eggshell. For the leaves I used Jade, Sage and Pistachio. Trim cardstock to 2 3/4" x 4 3/8". Trim White Cardstock to 2 7/8" x 4 1/2" and adhere to the flower panel and then adhere to card front using Nuvo Deluxe Adhesive.


Step 4 - Stamp Thoughtful Messages using Versafine Onyx Blank Ink.


This card can be used for any occasion by changing the sentiment and/or colors. To order the ColourBlend and Elusive Butterfly Embossing folder directly from Crafter's Companion click on the link at the top of the blog post. Below is a link to all the products used. Thank you for stopping by and have a wonderful day.

Products Used:
 

Tuesday, May 21, 2019

Two Cards With One Alcohol Pearl Ink Background

Hi Everyone,

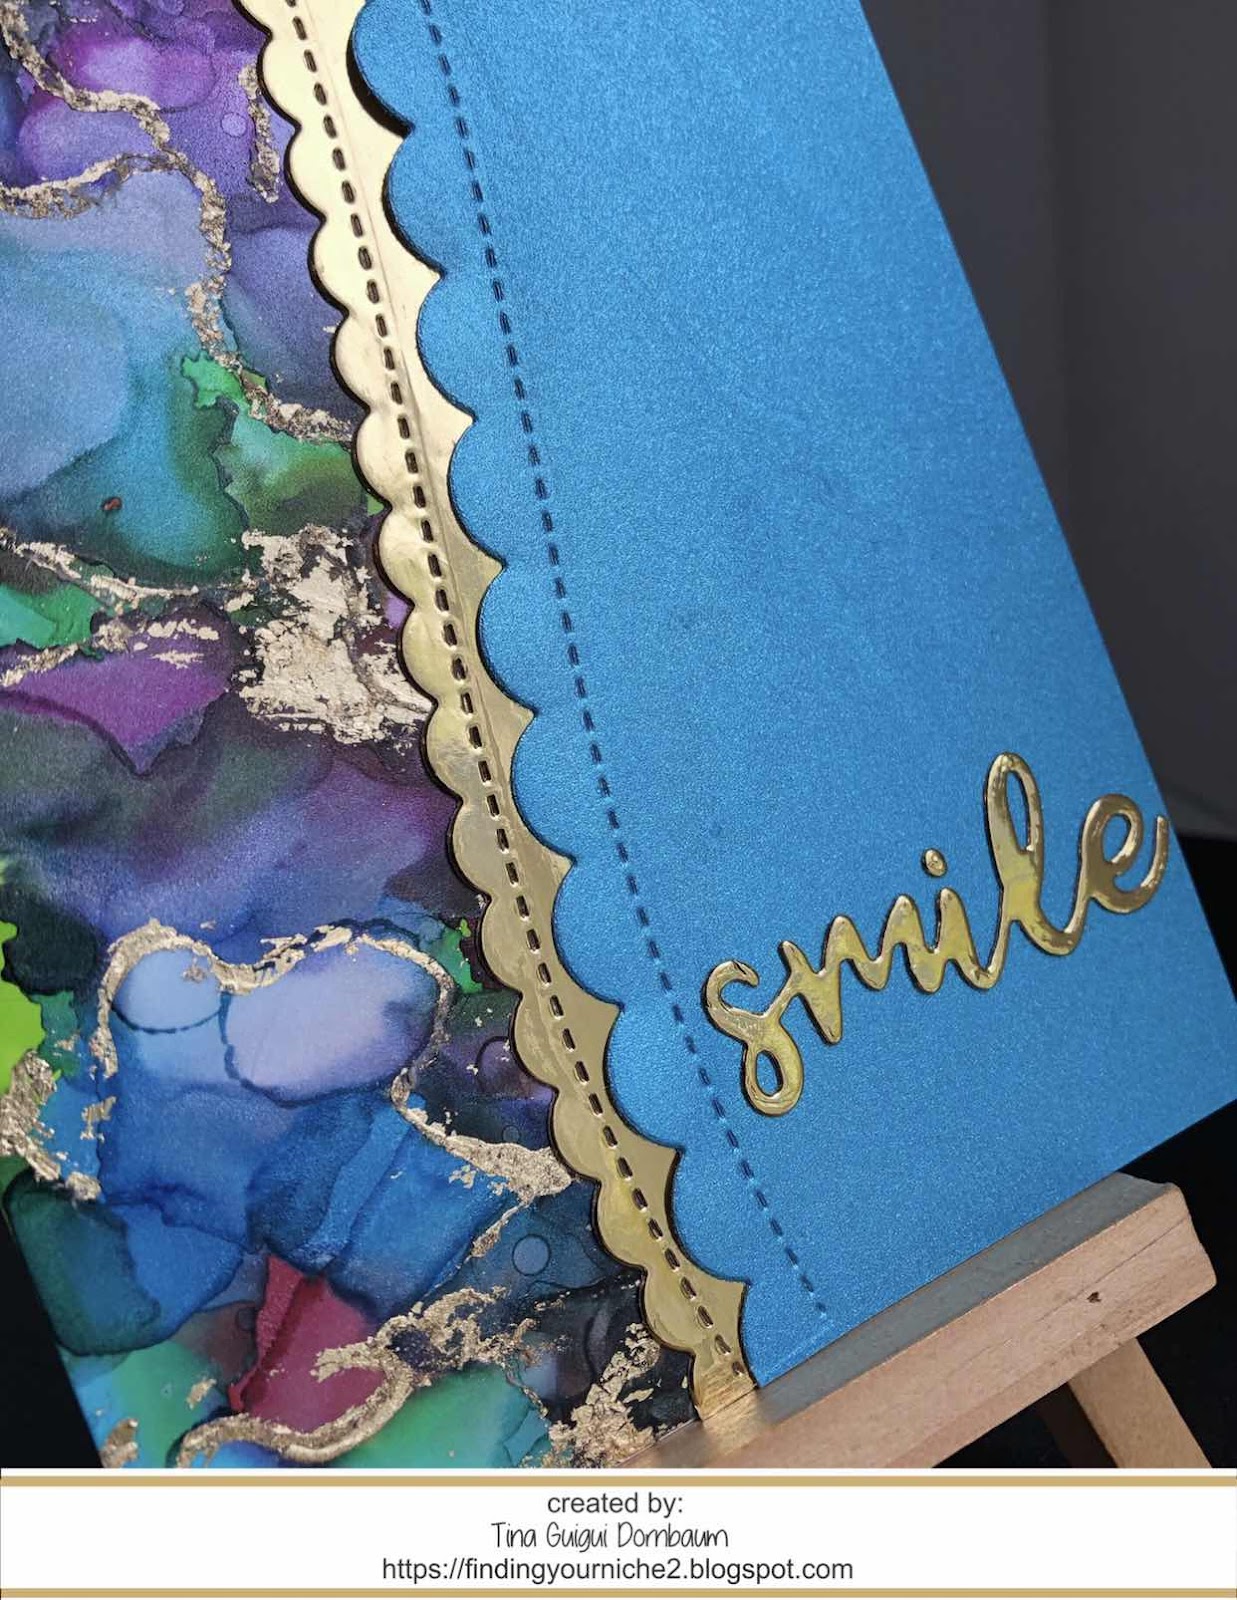
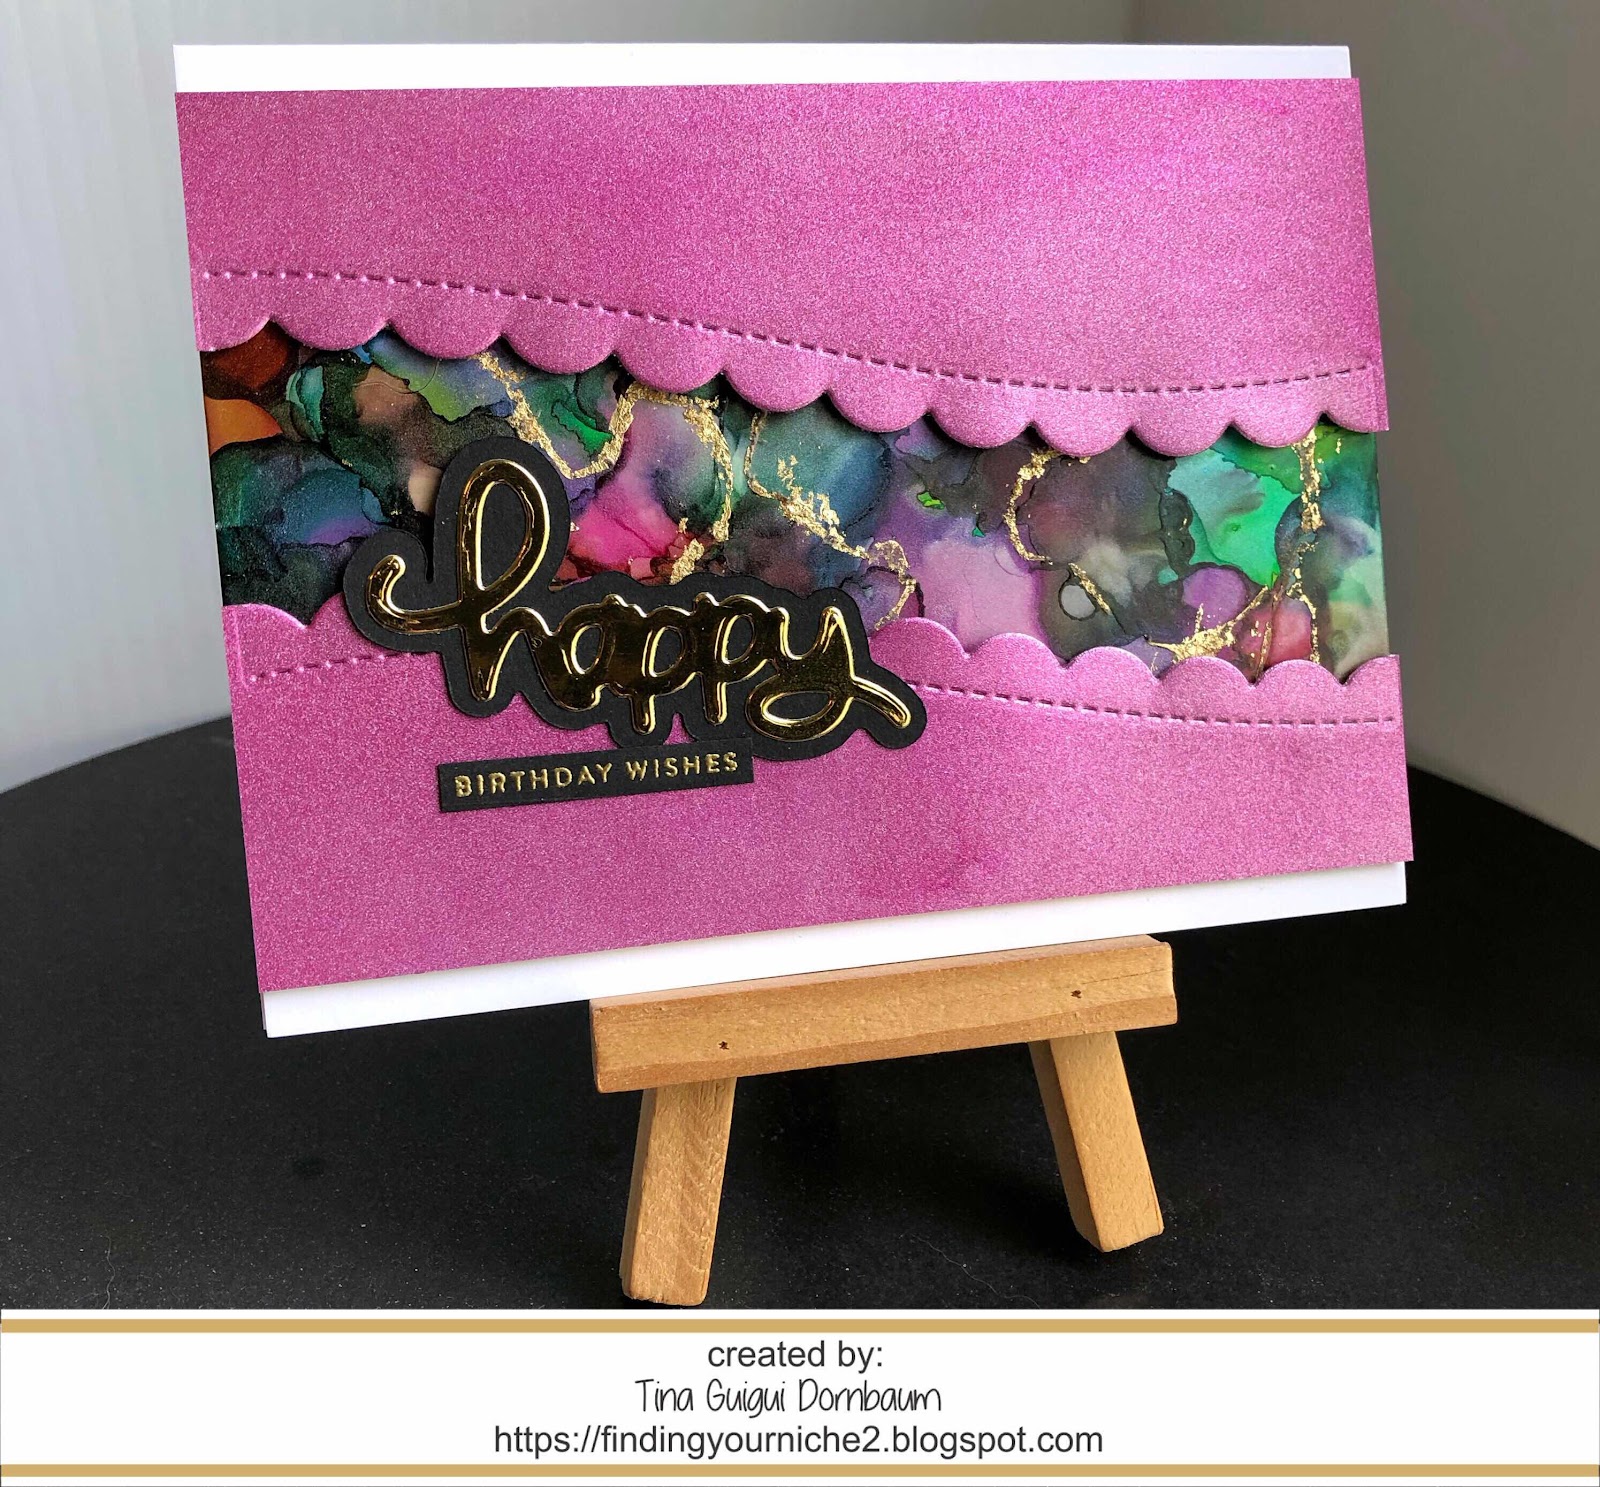
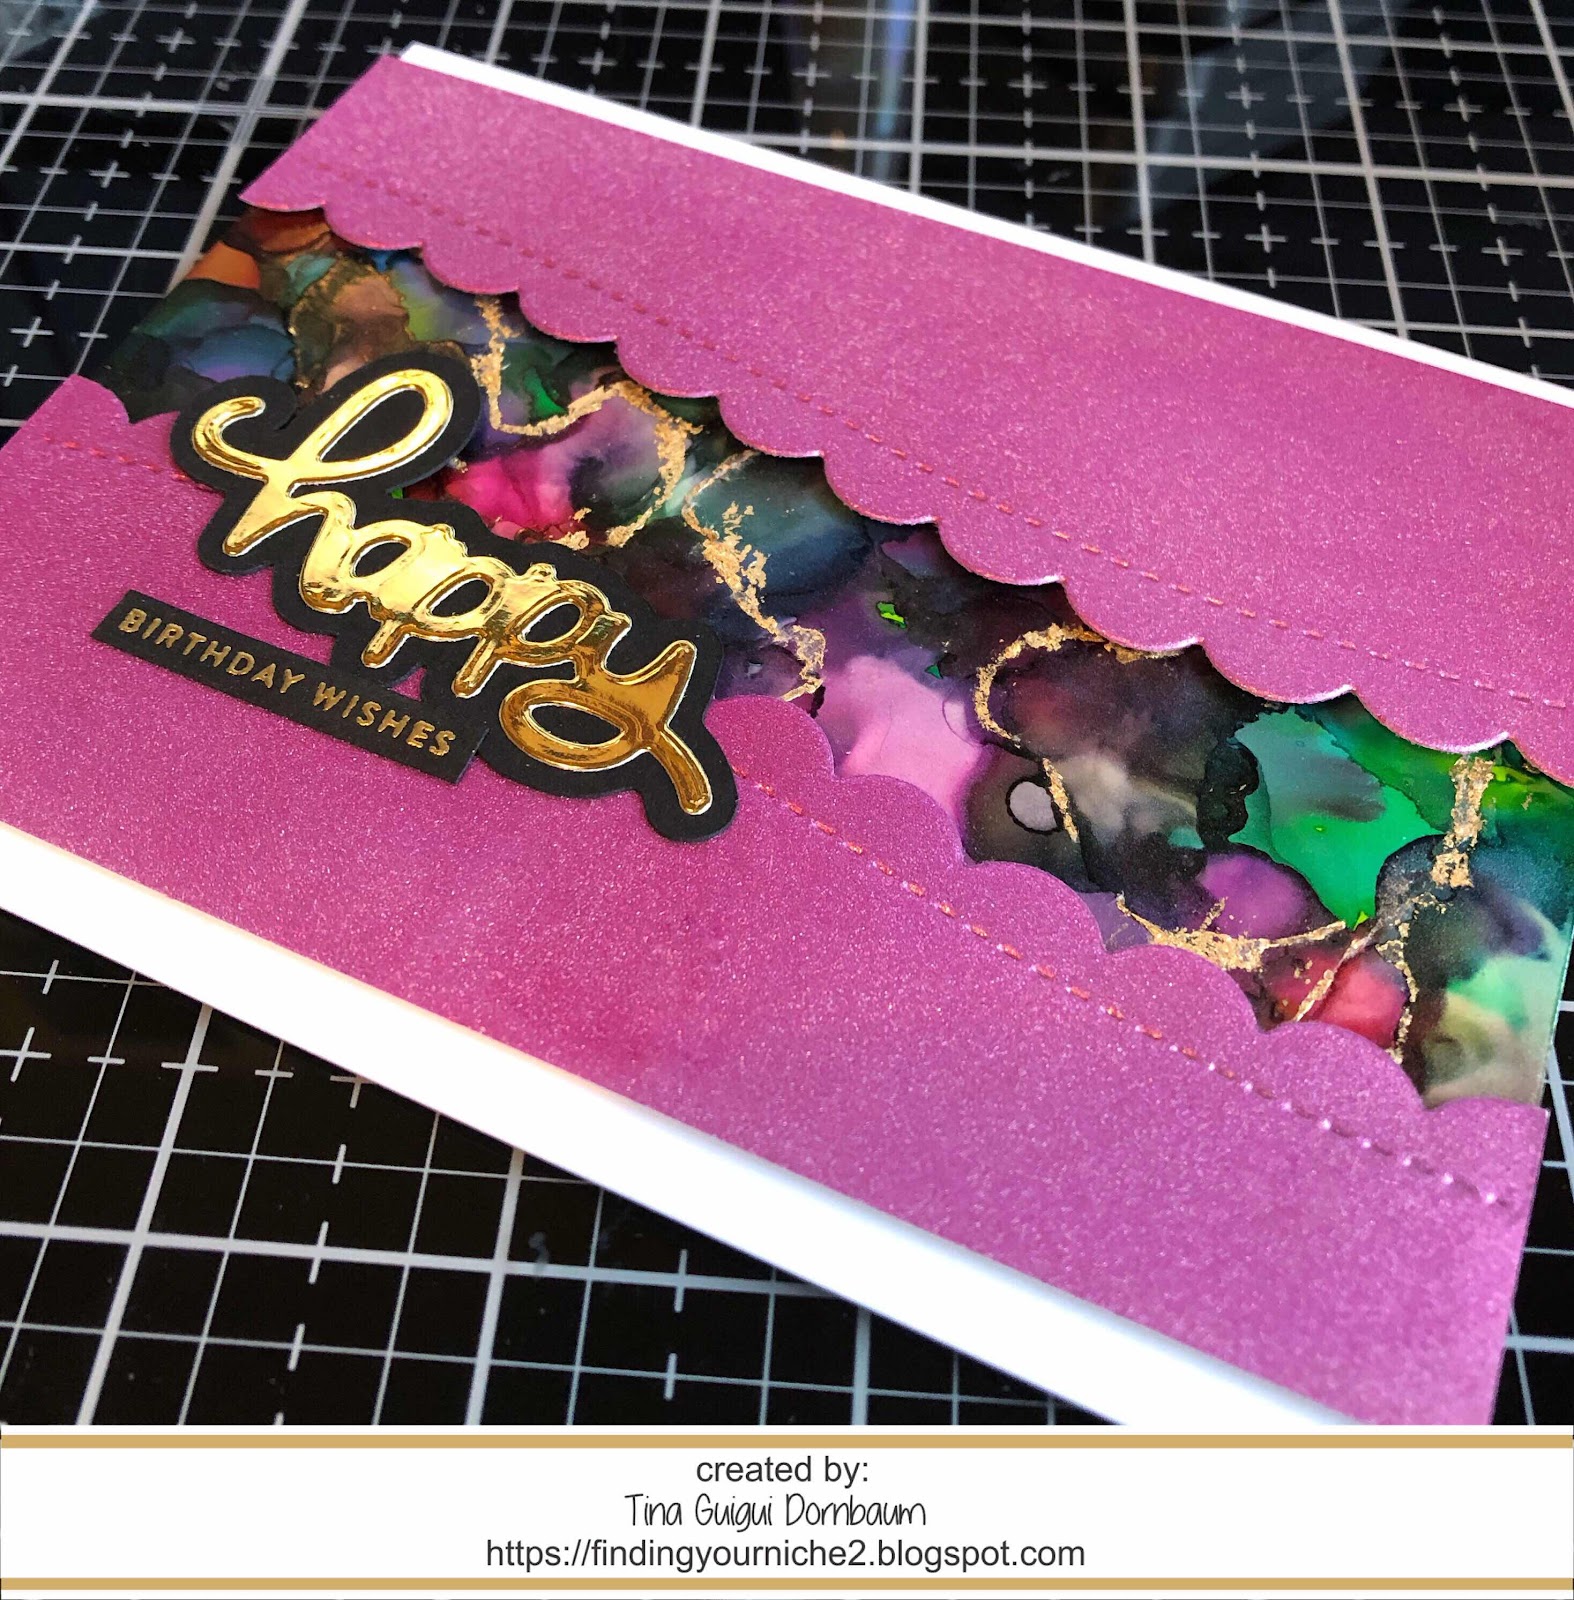
Today I have 2 cards to share with you using the Alcohol Pearl Inks with Yupo paper and the Silver Shimmer Paper from the Simon Says Stamp May Kit. I made one background and turned it into 2 cards. Below you will see how. 

But before we get started I want to congratulate Denise Bryant. You have won the Double Stitched Rectangles Dieset. Please email me your address at samtina1111@gmail.com or message me on Instagram. 


Both cards are made similarly so if I don’t mention blue or fuschia color then the step applies to both. 

Step 1 - Trim White Cardstock to 8 1/2” x 5 1/2”, score at 4 1/4” and fold in half for a vertical side fold card (Blue), horizontal side fold card (Fuschia) (A2)

Step 2 - Apply Alcohol Pearl Inks to yupo paper. Apply Alcohol Blending Solution and move the paper. I used all 3 colors from the kit. Let dry completely.

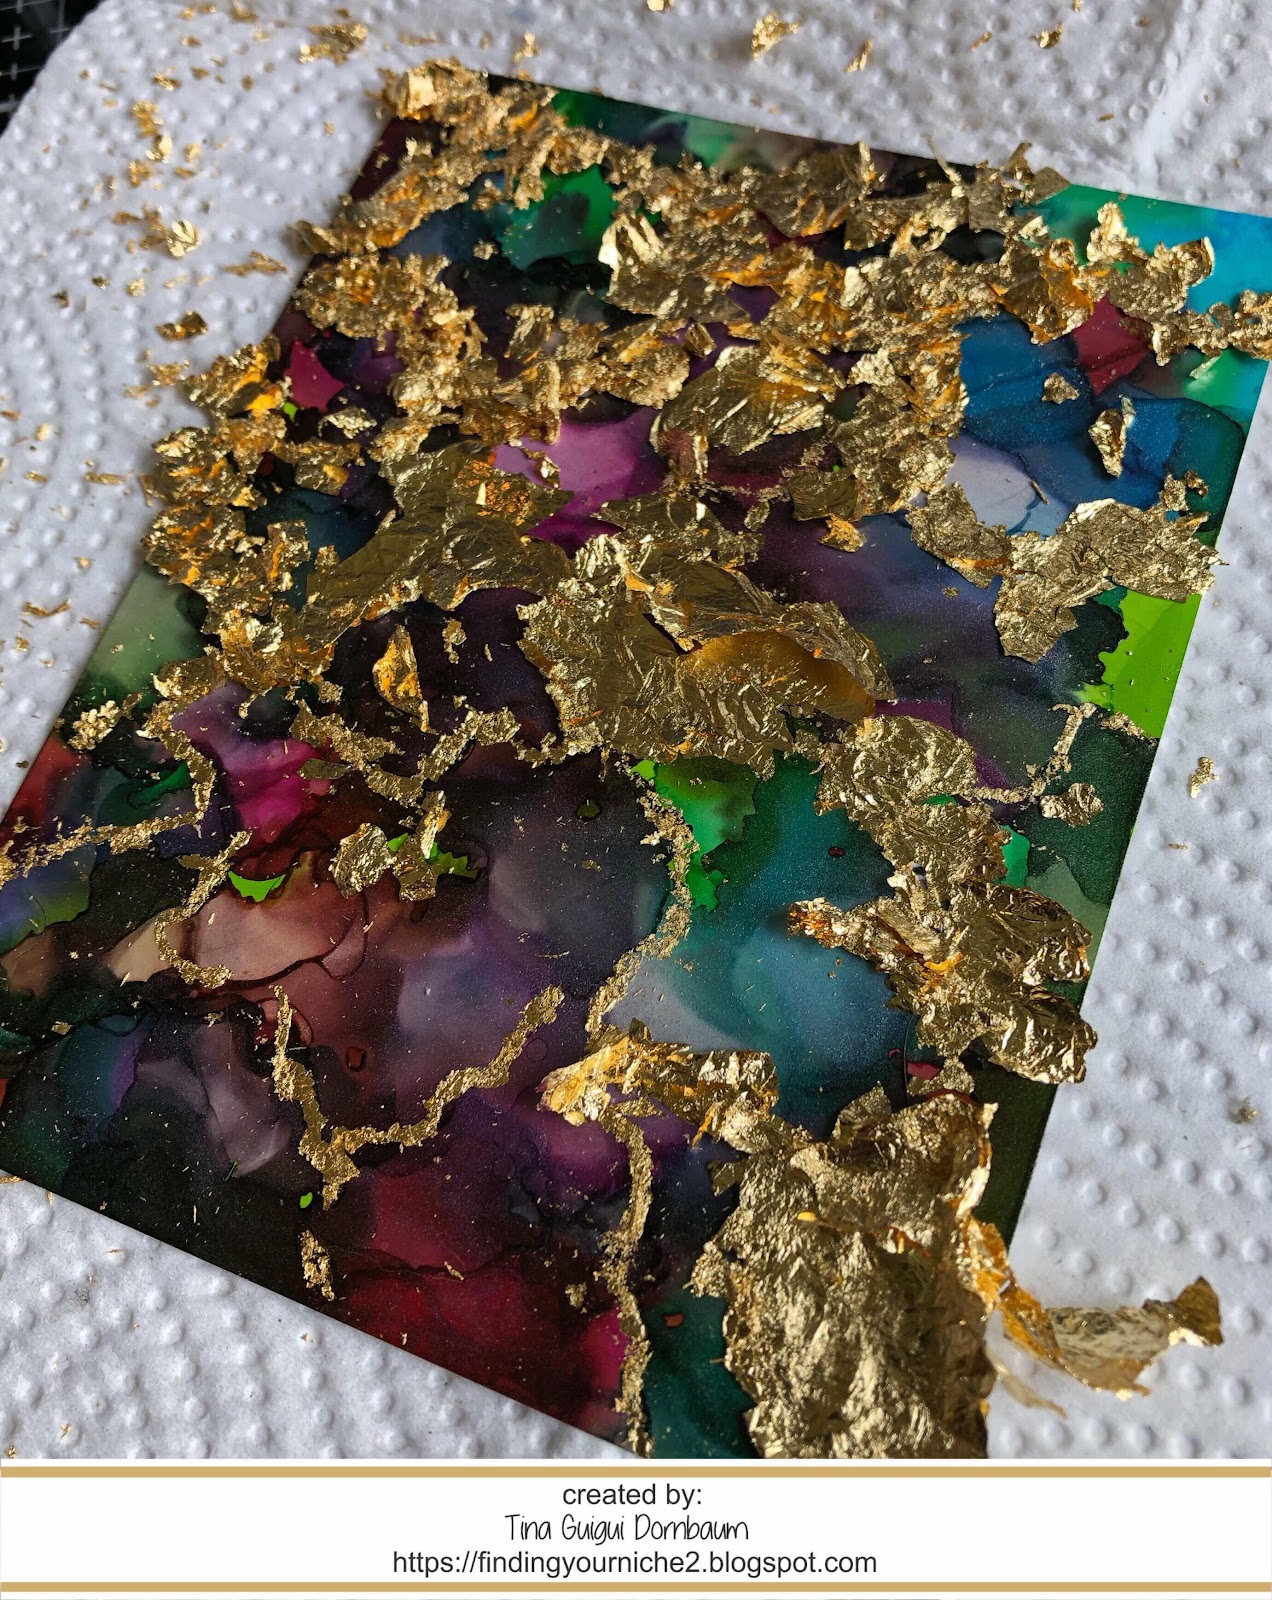
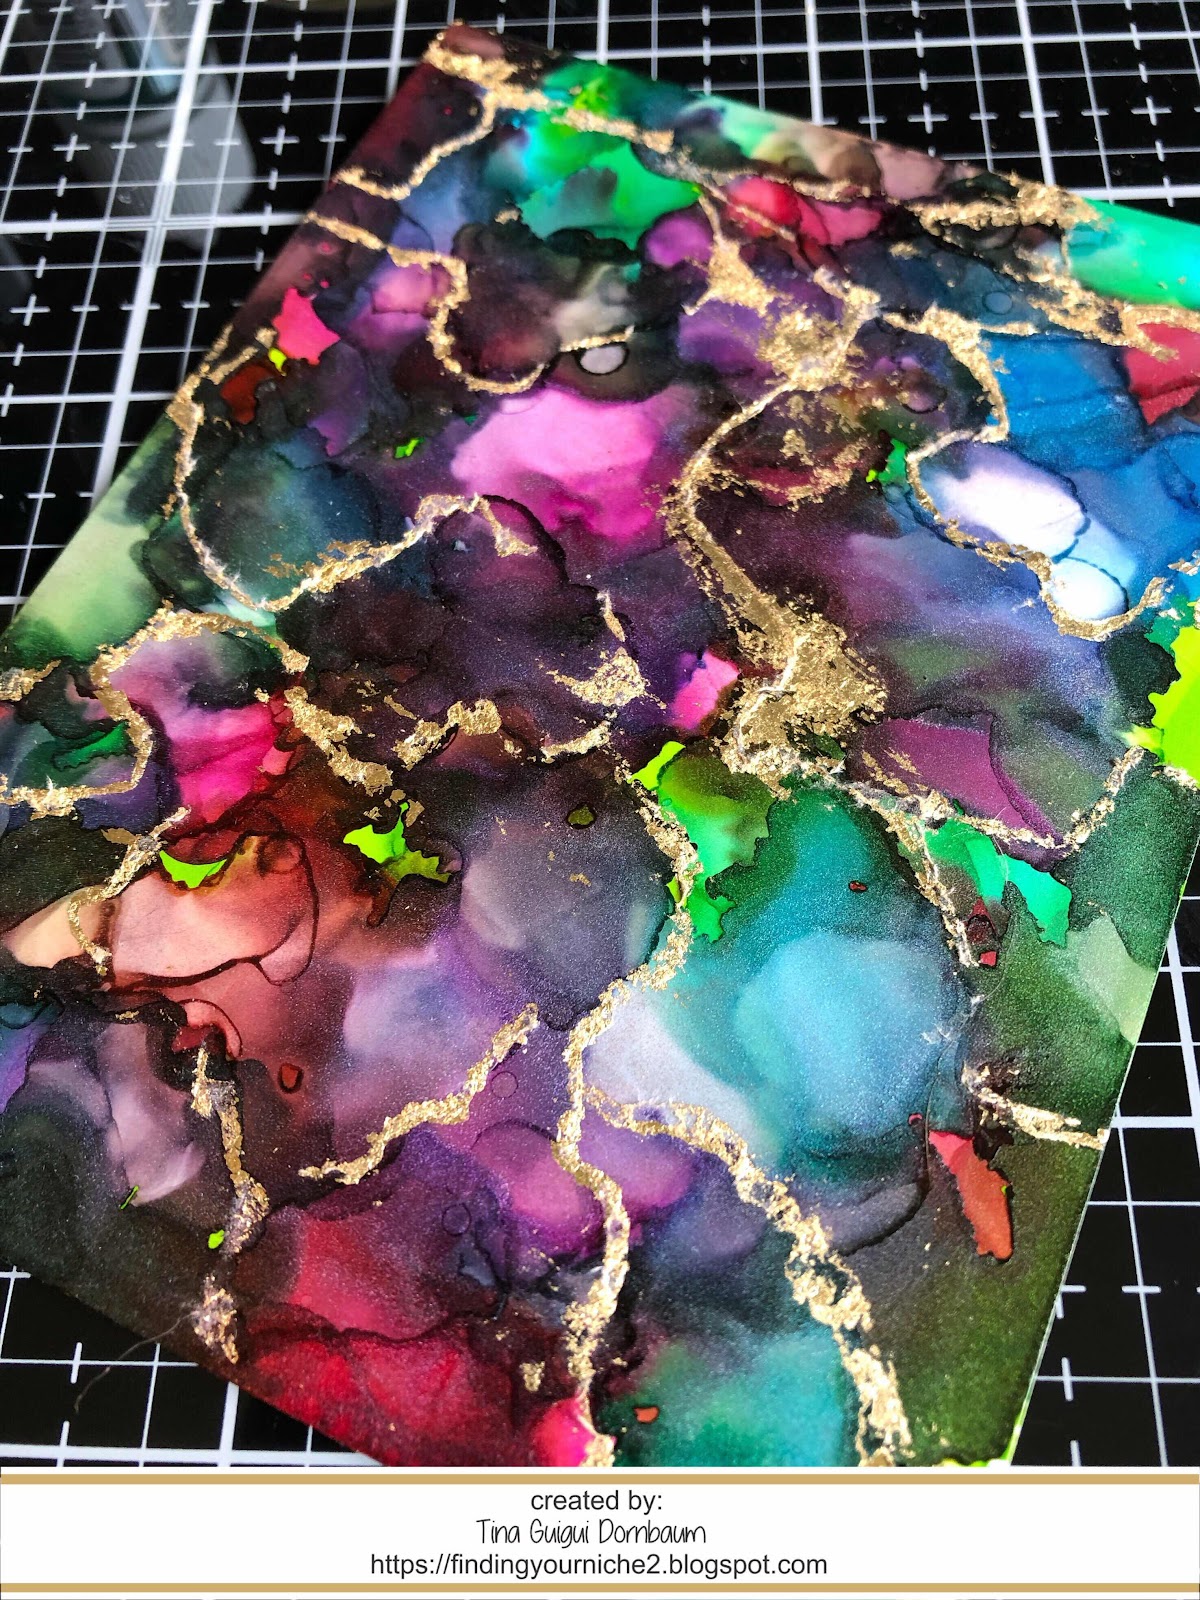
Step 3 - Apply the Nuvo Deluxe Adhesive finely to the Alcohol Background created from Step 2 and let it dry a little before applying the Gold Flakes. Once completely dry use your fingertip to remove the excess. To remove the dust caused by the flakes remove with a micro fibre cloth. 


Step 4 - Trim the Alcohol Background in half. Blue card trim to 2” x 5 1/2”. Adhere to card on left side. Fuschia card trim to 2” x 1/2” and adhere to card in the center. 

Step 5 - Blue - Apply Alcohol Pearl Ink Tranquil to Silver Sparkle cardstock
Fuschia - Apply Alcohol Pearl Ink Intrigue to Silver Sparkle cardstock. Let dry. 

Step 6 - Blue - Diecut Stitched Scallop Border using Gold Foil Cardstock, adhere to card

Step 7 - Blue - Diecut Stitched Scallop Border using Tranquil Sparkle, adhere to card using Nuvo Deluxe Adhesive. 
Fuschia - Diecut Stitched Scallop Border both sides and adhere to card using Foam Tape. 

Step 8 - Blue - Diecut Basic Greetings using Gold Foil Cardstock, adhere to card using Collage Medium
Fuschia - Diecut Happy Happy Happy using Gold Foil Cardstock. Use the die to draw an outline and create a shadow. Adhere together using Collage Medium and adhere to card.

Step 9 - Fuschia - Stamp Tiny Words using Versamark Ink on Black Cardstock. Sprinkle Gold Embossing Powder and heat set it with a heat tool. Trim and adhere to card using foam tape.


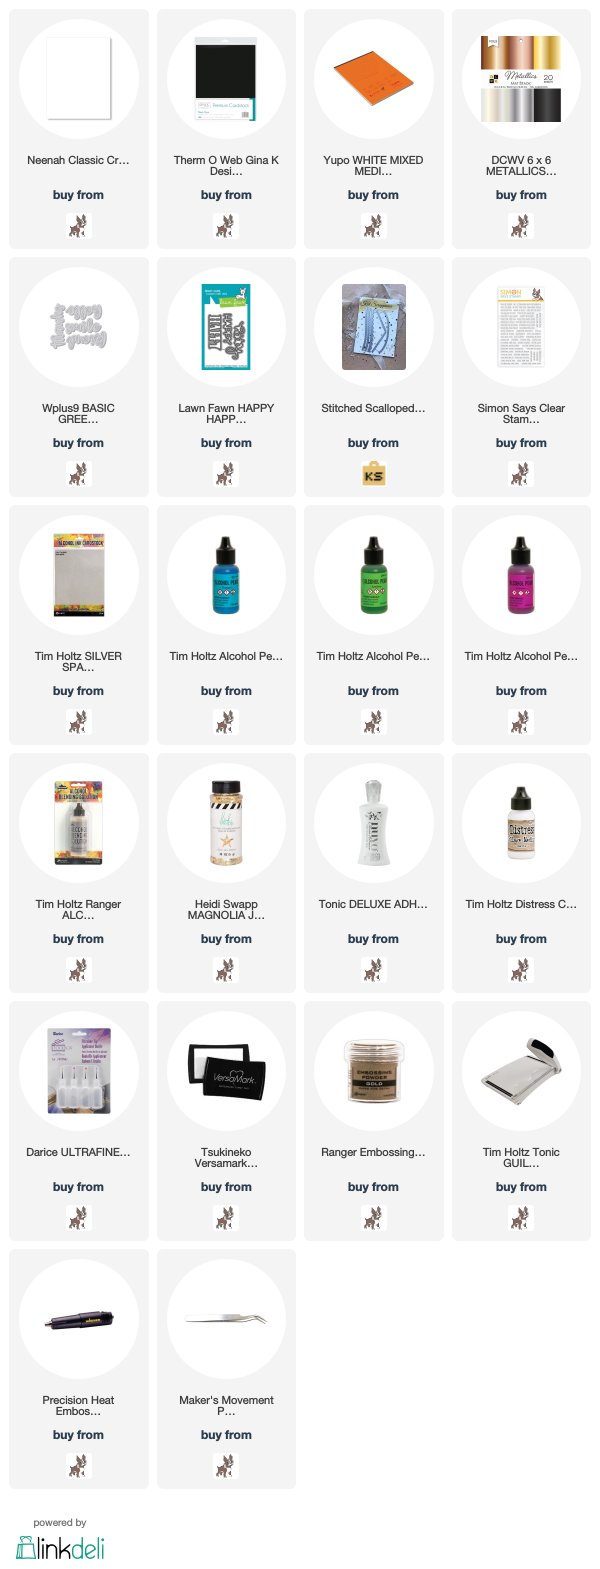
I hope you enjoyed today's cards and how you can get 2 cards from 1 background. These cards can be used for any occasion by changing the colors and sentiment. Below is a link to all the products used. To receive $5 off your order at Simon Says Stamp use code: HP2T9 at checkout. To receive 10% off your order at Kat Scrappiness use code: TINA10 at checkout. Thank you for stopping by and have a wonderful day. Check back soon as I will be having another giveaway.

Products Used:

Wednesday, May 8, 2019

How To Foil Using Embossing Powder Process Video

Hi Everyone,
Today I am sharing a video to show you how to create foiling using embossing powder and your stamps. This is another way to stretch the usage of your stamps without having to buy additional product.

Before we get started I have a Giveaway going on. I will randomly pick one winner for a Kat Scrappiness Double Stitched Rectangles Die Set. It's a must have die set. For a chance to win simply follow My Blog, Instagram and YouTube Channel and leave a comment down below to let me know. Below is a photo of the prize. You have until May 11 to comment and on May 12 I will announce the winner. Good Luck!


Below is a link to all the products used. If you place an order with Simon Says Stamp use code: HP2T9 at checkout to save $5 off your order. Thank you for stopping by and have a wonderful week.

Products Used:

Saturday, May 4, 2019

Case This Sketch 320 With SSS Hello Darling Stamp And A Giveaway

Hi Everyone,
Happy National Scrapbooking Day!!! I hope you are all having a crafty day. When I was making today's card I was already in the process of stamping a gingham image to 2 of my corners. I was about to adhere my center when I went to the Case This Sketch Challenge Blog. To my amazement the current challenge has images at all 4 corners. I added 2 more gingham stamped images so I could enter the Challenge. Below is the Sketch and the steps used to make this card.

Before we get started it as been a while since I had a Giveaway so since it is National Scrapbooking Day I will randomly pick one winner for a Kat Scrappiness Double Stitched Rectangles Die. It's a must have die set. For a chance to win simply follow My Blog, Instagram and YouTube Channel and leave a comment down below to let me know. Below is a photo of the prize. You have until May 11 and on May 12 I will announce the winner.


Step 1 - Trim White Cardstock to 8 1/2" x 5 1/2", score at 4 1/4" and fold in half for a vertical side fold card. (A2 size)

Step 2 - Trim White Cardstock to 5 1/2" x 4 1/4". Stamp Choose Joy (Gingham image) to all 4 corners using Distress Oxide Inks. 2 top corners using Tumbled Glass and 2 bottom corners using Twisted Citron. (see photo below)


Step 3 - Diecut Double Stitched Rectangles using background created from Step 2. Adhere to card using Nuvo Deluxe Adhesive.

Step 4 - Trim White Cardstock to 5 1/2" x 4 1/4". Apply Purple Tape towards the bottom about 1 1/2" from the bottom. Using a Life Changing brush apply Distress Oxide Ink Twisted Citron. Remove the tape and cover over the inked section. Be sure to line up and apply Distress Ink Tumbled Glass. Carefully remove the tape. (see photo below)


Step 5 - Stamp Hello Darling image (bicycle) using Versafine Clair Nocturne Ink on the background created in Step 4 above on the line, stamp Hello Darling sentiment below the line. Diecut Wonky Wavy Stitched Rectangle with the image/sentiment towards the right side. For some sparkle spray Sheer Shimmer Sparkle Spritz. Let dry. Adhere fun foam to the backside using Nuvo Deluxe Adhesive and then to the card front. (or replace with foam tape) Place an acrylic block on top to dry flat.

Step 6 - For added interest adhere Crystal Nuvo Drops Morning Dew. To save time you can create the drops on a release sheet and let it dry. Then store them in a container to keep them on hand for quick use. By doing it this way there is no wait time to dry.


This card can be used for any occasion by changing the image, sentiment and colors. Below is a link to all the products used. Thanks for stopping by and have a wonderful day!

Products Used:

Friday, May 3, 2019

Spring Summer Coffee Lover's Blog Hop 2019

Hi Everyone,
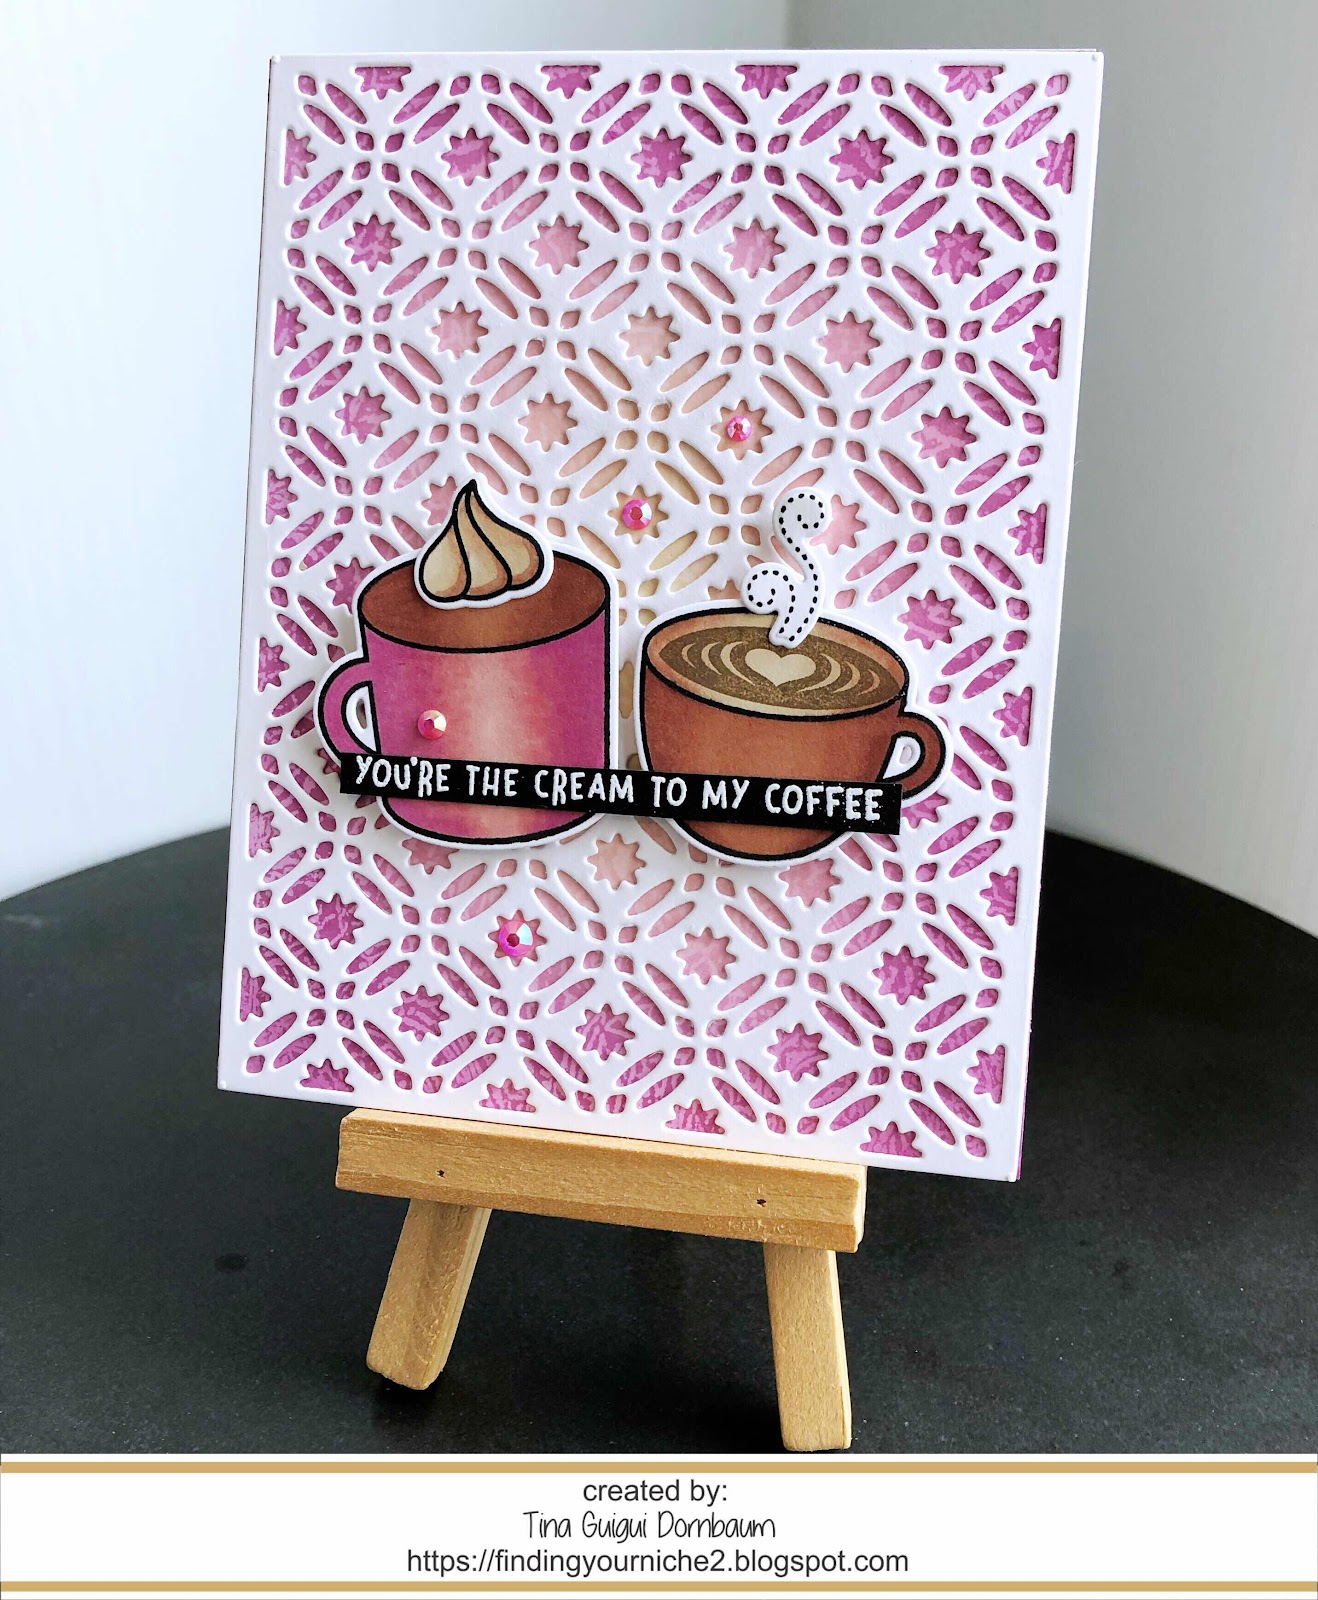
Welcome to the Spring Summer Coffee Lover's Blog Hop 2019. Kat Scrappiness is a Super Sponsor. There is 15% off coupon for everything in the coffee category. Use code: SPRINGCOFFEE at checkout. Go here to the Kat Scrappiness Blog. To visit the store go here. Go here to the Coffee Lover Blog Hop.


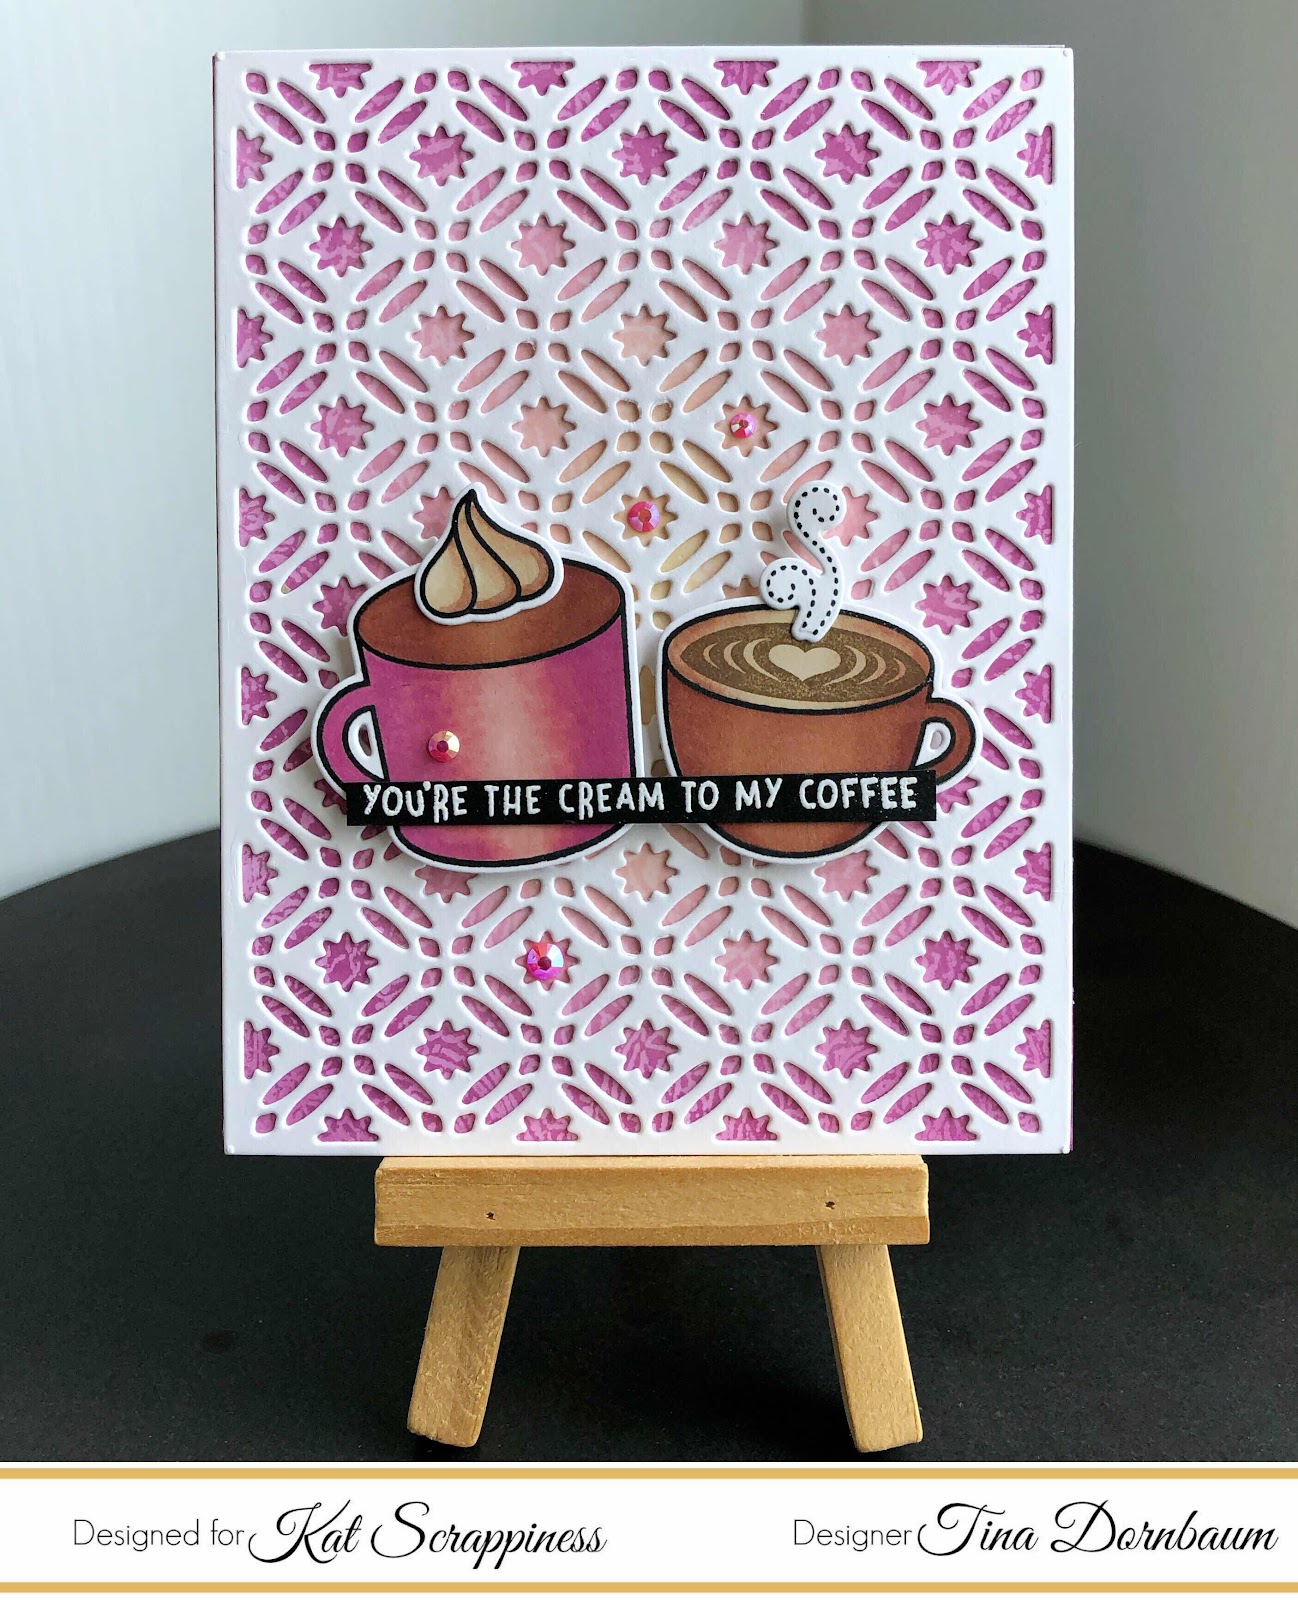
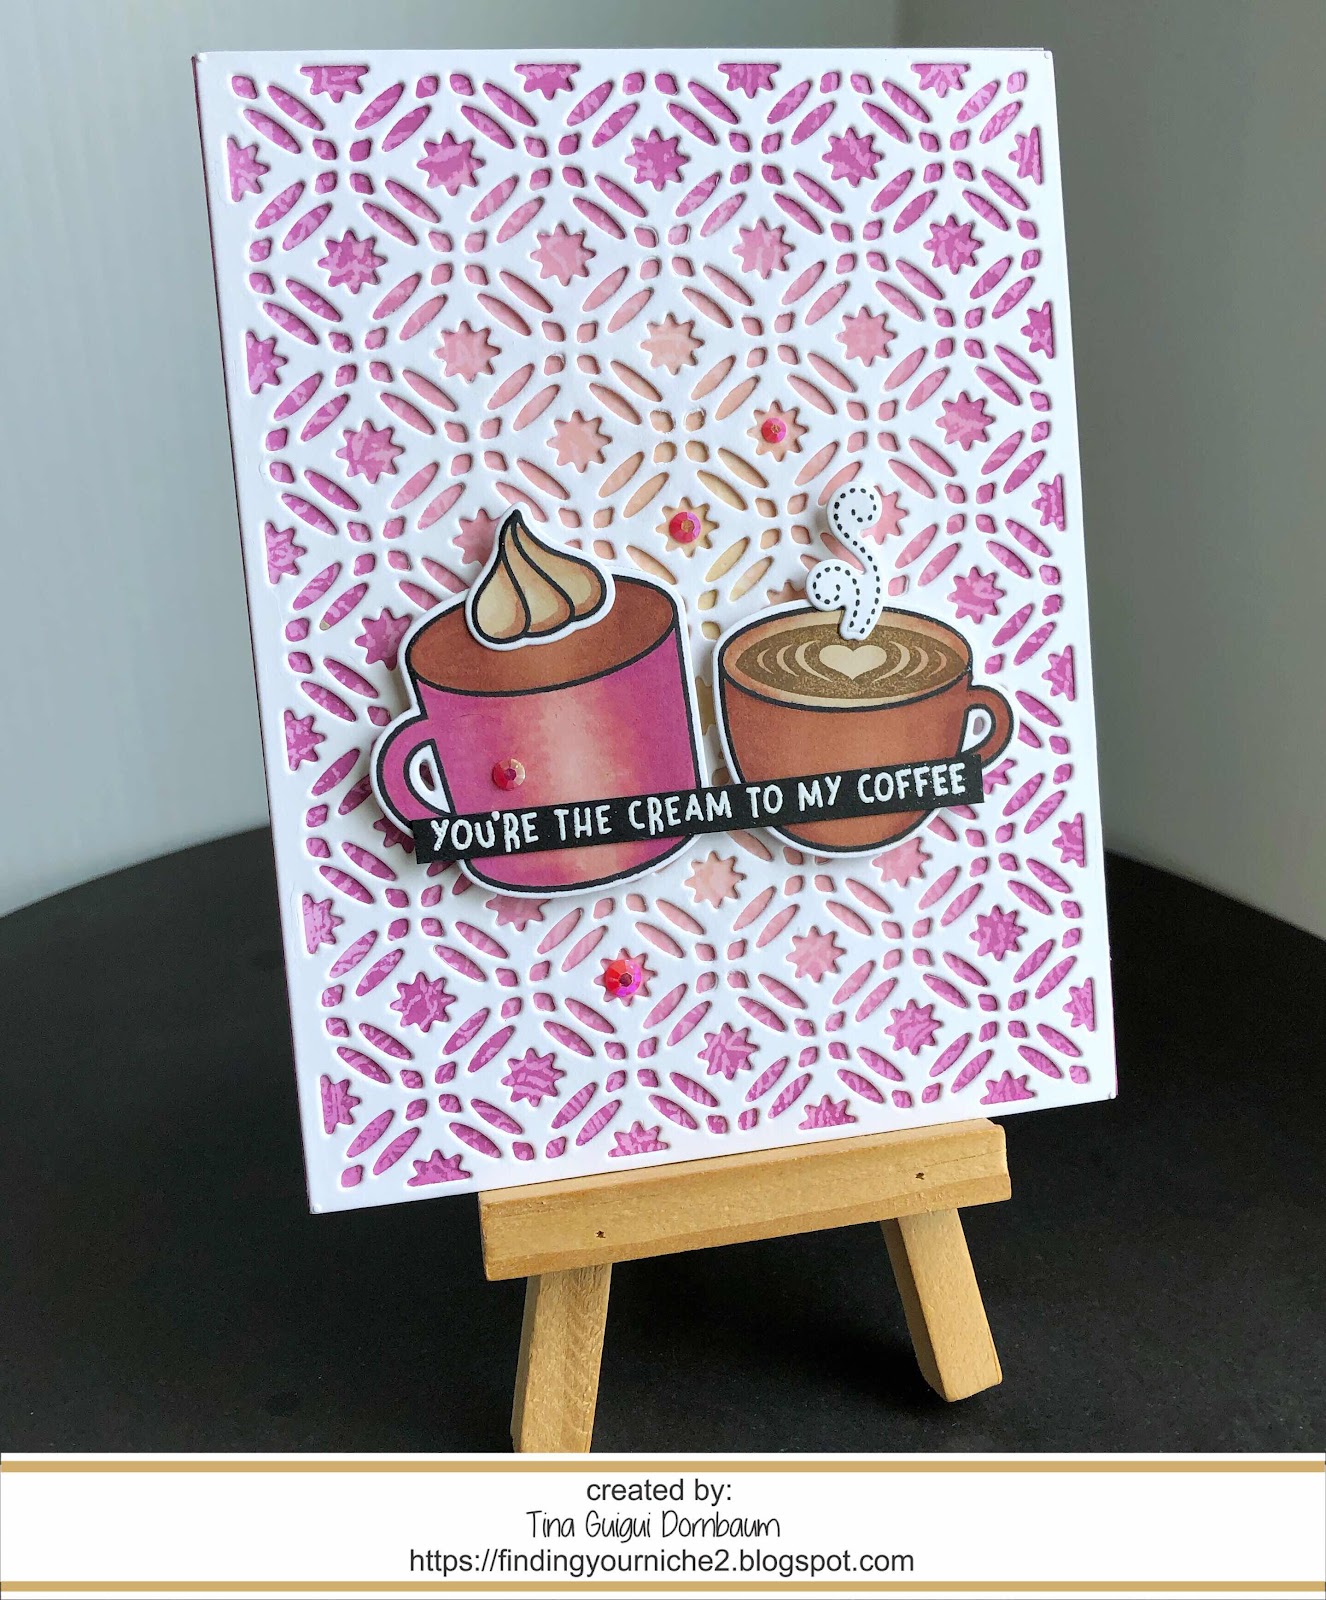
Today's card I wanted a Spring feel so I used Pink's. Below you will find the steps to replicate this card.

Step 1 - Trim White Cardstock to 8 1/2" x 5 1/2", score at 4 1/4" and fold in half for a vertical side fold card. (A2)

Step 2 - Trim White Cardstock to 5 1/2" x 4 1/4". Apply Distress Oxide Ink using the Picket Fence Life Changing Brushes in multiple colors starting lightest in the center and working the darker color outwards. Adhere to card front using Nuvo Deluxe Adhesive.

Step 3 - Diecut Star Fusion Coverplate using White Cardstock. Adhere to card front using Nuvo Deluxe Adhesive.

Step 4 - Stamp Thanks A Latte images using Gina K Amalgam Ink. This will allow for Alcohol Marker coloring. Color in using Alcohol Markers of your choice. I used Winsor and Newton Promarkers. Diecut with matching shapes and adhere to card using Foam Tape.

Step 5 - On a scrap piece of Black Cardstock apply an antistatic powder tool over the surface. Stamp Thanks a Latte sentiment using Versamark, sprinkle White Embossing Powder and then remove the excess being careful not to touch the sentiment. Heat set it with a heat tool. Trim and adhere using Nuvo Deluxe Adhesive.

Step 6 - For added interest and shine use a crystal katana and adhere Fuschia Jewels with Collage Medium.


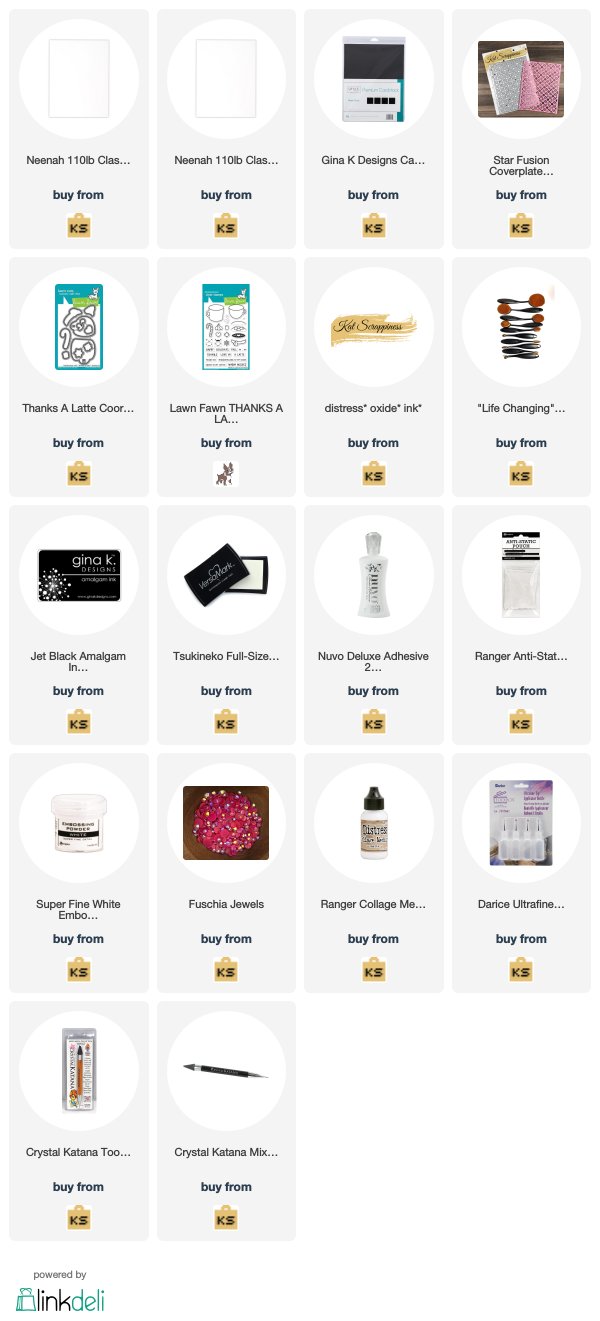
This card can be used for any occasion by changing the sentiment and colors. Be sure to check out the Kat Scrappiness Blog to follow along with the Hop. The hog is ongoing from May 3rd to the 10th. All Links are at the top of this post. Below is a link to all the products used. Thanks for stopping by and have a wonderful day.

Products Used:


Sunday, March 17, 2019

You Put A Song In My Heart

Hi Everyone,
Today I am sharing a card using the MFT Tweet Friends Stamp Set. I love MFT stamps as they always have a nice selection of adorable images with plenty of sentiments to choose from. The images can easily be mixed with other sets which I will show in an upcoming blog post. Today's card is also using the new Tri-Blend alcohol markers by Spectrum Noir. Watch out for a YouTube video showcasing them and my review. Below you will find the steps to create your own card.


Step 1 - Trim White Cardstock to 8 1/2" x 5 1/2", score at 4 1/4" and fold in half for a vertical side fold card. (A2).

Step 2 - Trim White Cardstock to 5 1/2" x 4 1/4" (or use your card front). Create clouds using the Mini Cloud Edges stencil with an ink applicator with ink of your choice. I used Distress Oxide Salty Ocean.

Step 3 - Stamp Tweet Friend images using Amalgam Ink on White Cardstock. I am loving this ink from Gina K as it doesn't go on juicy and when using alcohol based markers there is no smearing. Color in the images with alcohol markers. I used the new Tri-Blend by Spectrum Noir. Diecut the images with the matching dies.

Step 4 - Diecut Stitched Hillside Borders using White Cardstock. Using the Picket Fence Life Changing Brushes lightly apply ink from the top of each diecut to fade out to white. Adhere bottom layer using Nuvo Deluxe Adhesive to the front of card. Stamp Tweet Friends sentiment to top layer using Versafine Onyx Black Ink and adhere to card using Foam Tape.

Step 5 - Adhere the images using Nuvo Deluxe Adhesive (pink flower, leaves and mushroom) and Foam Tape (the birds and blue flower).


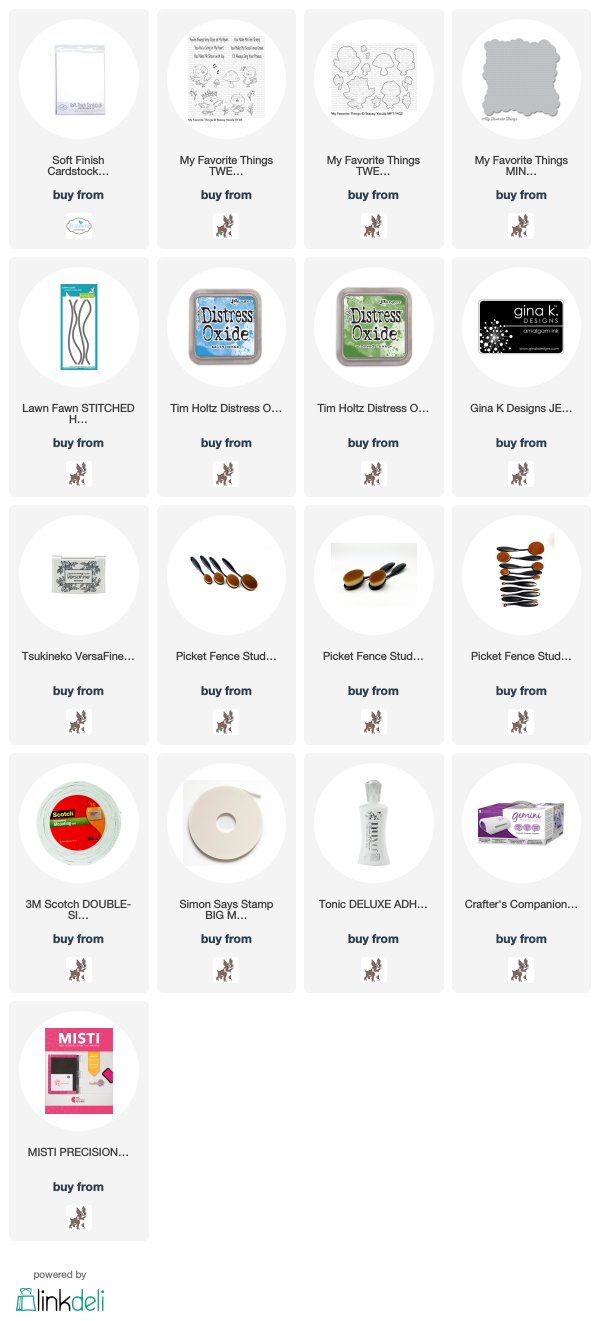
This card can be used for many occasions by changing the colors and sentiment. Below is a link to all the products used. Be sure to subscribe to my YouTube Channel as I will be having some fun videos with upcoming reviews and tutorials. I will also be having a Blog/YouTube Giveaway shortly so stay tuned. Thank you for stopping by and have a wonderful day.

Products Used: