Monday, February 8, 2021

Elizabeth Craft Designs February Group Post

Hi everyone,

Welcome to the Elizabeth Crafts Designs February Group Post. The Group Post theme for this month is All About Our Loved Ones. I used Joset Designs Heart Background, Honey Bear and Heart Cutout dies to create a Sent With Love Card. Below you will find the steps to create your own card.


Step 1 - Trim White Soft Finish Cardstock to 11” x 4 1/4”, score at 5 1/2” and fold in half for a horizontal top fold card. (A2)

Step 2 - Trim White Soft Finish Cardstock to 5 1/2” x 4 1/4” (2 times). Apply various colors of Distress Oxide Inks onto a Gel Press using a brayer. I used Worn Lipstick, Candied Apple and Dusty Concord. Place the Blank Cardstock on top of the Gel Press, place a copy paper on top and rub to get the ink transferred. Remove the panel and let dry. Repeat Step with second Blank Cardstock.

Step 3 - Diecut Heart Background using the panel created from Step 2. Adhere to card using Kids Choice Glue.

Step 4 - Diecut Heart Cutouts using the second panel created from Step 2. Adhere to card using Foam Tape.

Step 5 - Diecut Honey Bear using Kraft Cardstock for the head and body parts and Black Cardstock for the eye and nose. Diecut Small Heart you have in your stash using the panel created from Step 2. If you do not have a Heart die then draw one and cut it out. Apply Distress Oxide Walnut Stain to all the Kraft coloured diecut pieces. Assemble the bear using Kids Choice Glue and tweezers and be sure to add the small heart. Adhere to card using Kids Choice Glue. 

Step 6 - Stamp Love Sentiments using Versafine Onyx Black Ink to the heart that the bear is holding.
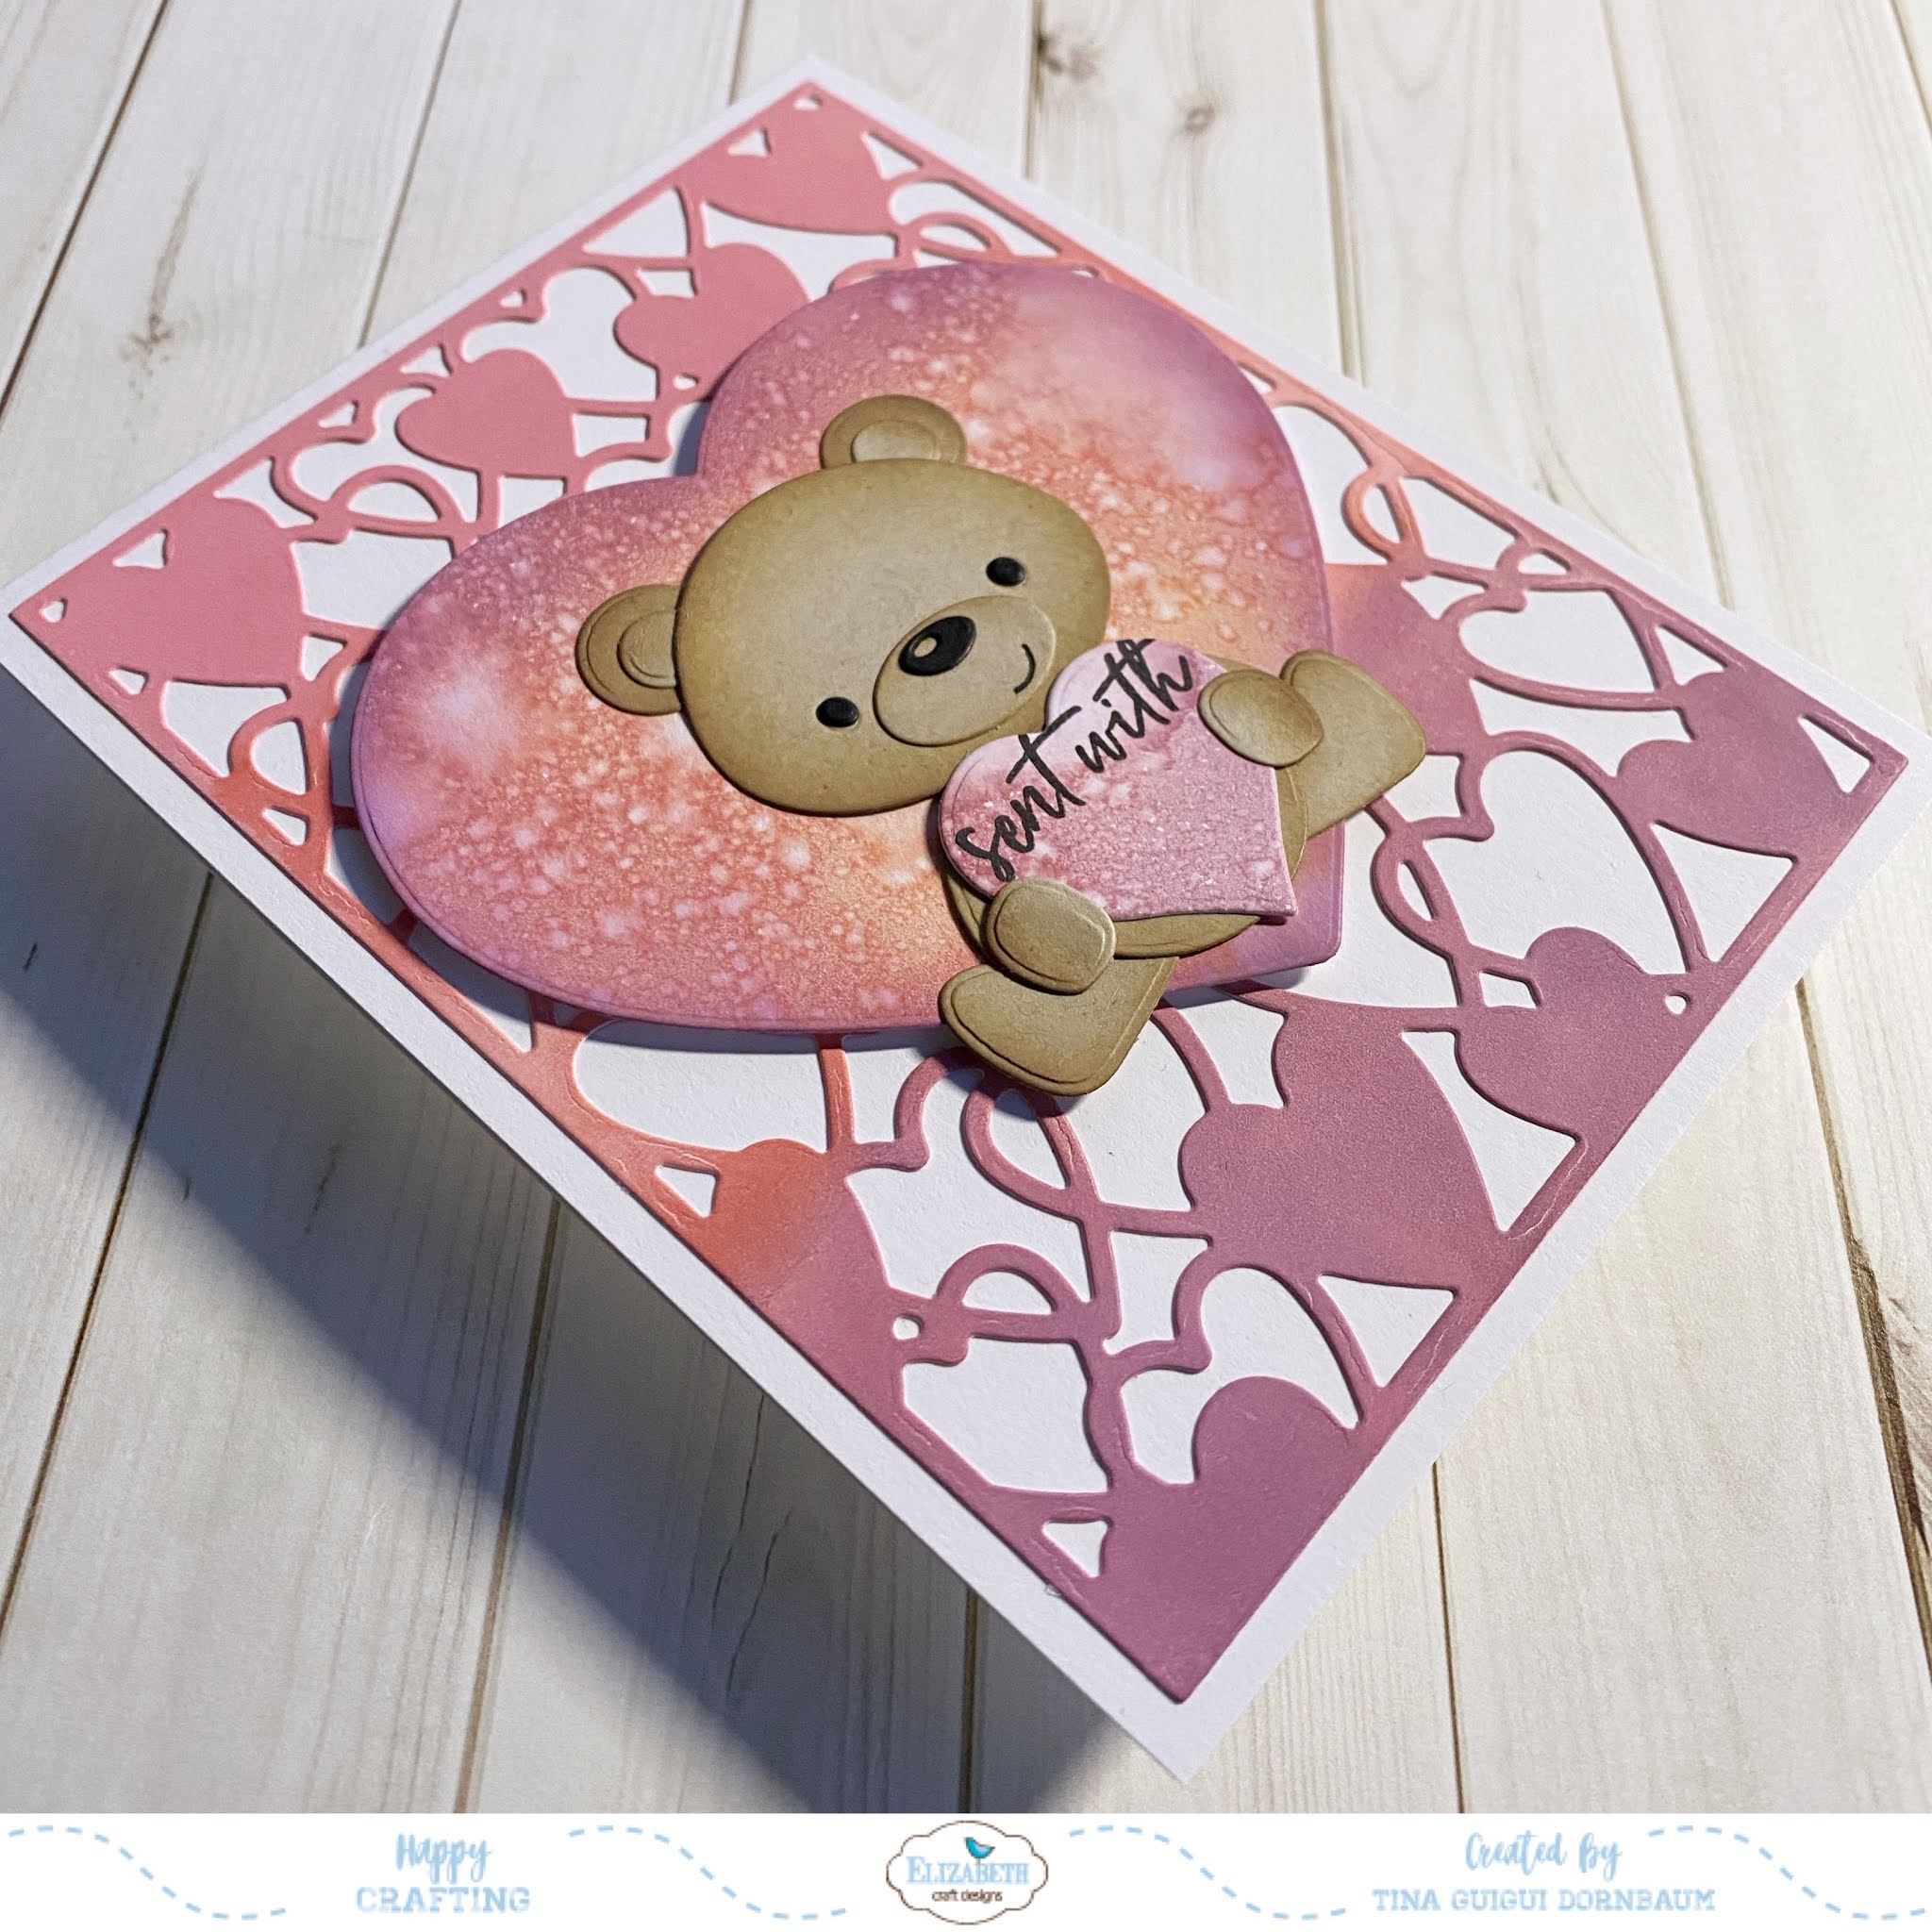


This card can be used for several occasions by changing the sentiment. Below is a link to all the products used. Thank you for stopping by and Happy Crafting!

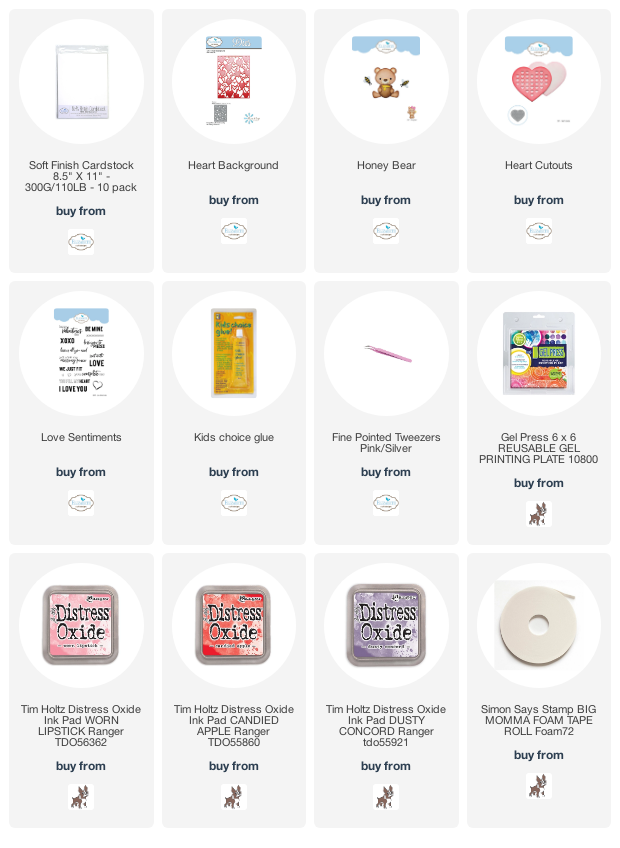
Products Used:
Monday, February 1, 2021

i-Crafter February Release

 Hi everyone, 

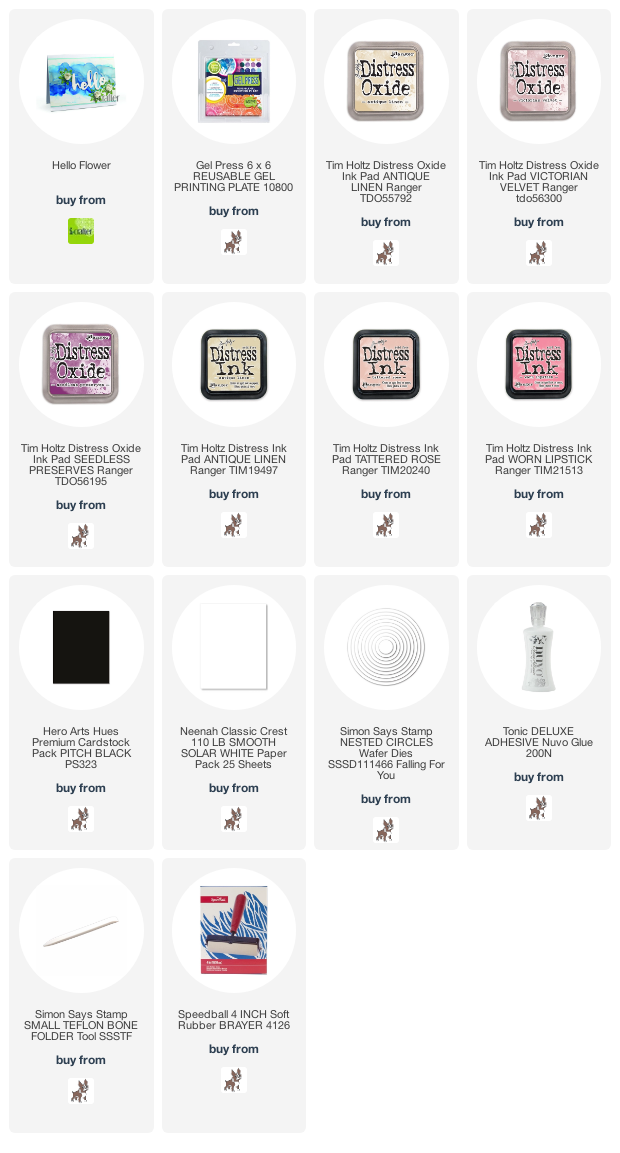
Happy February! It’s release time over at i-Crafter. This month’s release has flowers, unicorns and Easter rabbits. I used the Hello Flower dies to create a soft Floral Circle Card. Below you will find the steps to create your own card.


Step 1 - Diecut Circle using White Cardstock and another in Black Cardstock. Score 1/2” on the top of the White Circle and go over the fold with a bone folder. Apply Nuvo Deluxe Adhesive to the top of the fold and add the Black Circle on top. (4 1/2” Circle Card)

Step 2 - Create a DIY Background by adding various colors of ink onto a Gel Press. I used Distress Oxide Inks Antique Linen, Victorian Velvet and Seedless Preserves using a brayer. Spray some water to create some texture. Place a 6” x 6” White Cardstock on top and rub all over so that the ink will transfer onto the Cardstock. Remove and let dry.

Step 3 - Diecut Circle using the panel created from Step 2. Adhere to card front using Nuvo Deluxe Adhesive.

Step 4 - Create a panel by adding various colors of ink onto a Gel Press. I used Distress Inks Antique Linen, Tattered Rose and Worn Lipstick using a brayer. Spray some water to create some texture. Place a 6” x 6” White Cardstock on top and rub all over so that the ink will transfer onto the Cardstock. Remove and let dry.

Step 5 - Diecut Hello Flower (flower and leaf) 3 times each using the panel created from Step 4. Assemble the flower starting from the inside and twirling it tight. Adhere some Nuvo Deluxe Adhesive at the end and drop the twirled flower on top. Hold it tight for a few seconds. Adhere the leaf and flower then add to the card front using Nuvo Deluxe Adhesive.

Step 6 - Diecut Hello Flower (sentiment) x 3 using Black Cardstock. Adhere each layer and then add to the card front using Nuvo Deluxe Adhesive.


This card can be used for many occasions by changing the colors and sentiment. Below you will find a link to all the products used. Thank you for stopping by and Happy Crafting!

Products Used:

Tuesday, January 12, 2021

How To Flatten Your Die Cutting Plates

Hi everyone,
Welcome to a YouTube technique. By popular demand today's technique showcases how to flatten your die cutting plates as well as how to prevent warping from your shims. I used the Gemini Jr. plates and shims for this video.


For those of you who reach out to me either on Facebook, YouTube, and Instagram with your questions, advice and requests a big thank you. I will getting up more videos when I can. 

Thank you for stopping by and Happy Crafting! 

Friday, January 1, 2021

i-Crafter January Release

Hi Everyone,

Happy New Year!!!

Welcome to the i-Crafter 1st Release of the New Year. Today I am using the new Cherry Blossom Box dies. It makes a fun votive holder or and fancy box to hold a gift. Below you will find the steps for 2 Cherry Blossom Boxes.

Cherry Blossom Box Votive Holder


Step 1 - Diecut Cherry Blossom Box main die and the rectangle pattern inside the main die x5 in various colors of Cardstock. I used Red, Orange, Yellow, Green and Blue for a rainbow theme. Diecut the Pentagon die in any of the 5 colors used. Score all the embossed lines. The pentagon shape is the bottom. Adhere each side to the bottom and then to the sides by adding glue to the flap. To see the video for the assembly click here.

Step 2 - Insert a battery operated votive. To close the box gently press all the tops down and they link together.


Cherry Blossom Box


Step 1 - Diecut Cherry Blossom Box main die x5 and Pentagon die using Patterned Paper. Score all the embossed lines. The pentagon shape is the bottom. Adhere each side to the bottom and then to the sides by adding glue to the flap. To see the video for the assembly click here.

Step 2 - To close the box gently press all the tops down and they link together.


The Cherry Blossom Box is super easy to assemble and a great way to use up the Patterned Papers you have been hoarding. Below is a link to the products used. Thank you for stopping by and Happy Crafting!

Products Used:

Tuesday, December 29, 2020

Warm Wishes And Holiday Wishes

Hi Everyone,

Before I begin I would like to wish you all a Happy New Year! May 2021 bring happier days!

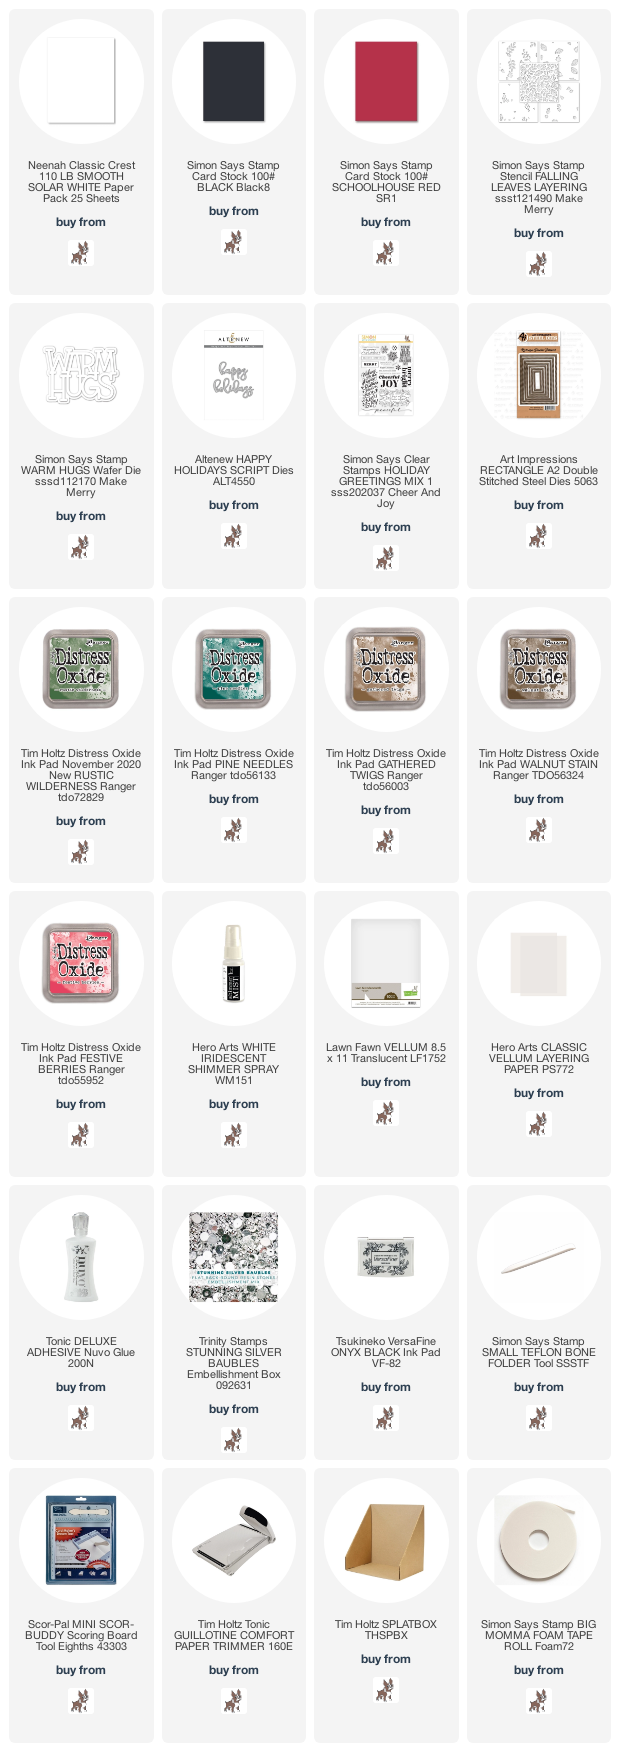
I have two cards to share using the Falling Leaves Layering Stencils. One is basic inking and the other I went a little trigger happy with White Iridescent Shimmer Spray. I had forgotten how stunning Distress Oxide Inks react on Black Cardstock. I am little late in posting them due to some personal issues. However, these cards can still be used for New Years as well as later get togethers if that is allowed in the area you live in. Below you will find the steps to create your own cards.

Warm Hugs Card


Step 1 - Trim White Cardstock to 11 x 4 1/4”, score at 5 1/2” and fold in half for a horizontal top fold card. (A2)

Step 2 - Trim Black Cardstock to 5 1/2” x 4 1/4”. Place the Falling Leaves Layering Stencil and using an Ink Applicator apply Distress Oxide Ink. I used one ink color for every layer except for the with the Pine Cones. The colors I used is Rustic Wilderness, Pine Needles, Gathered Twigs, Walnut Stain and Festive Berries.

Step 3 - Diecut Double Stitched Rectangles using the panel created from Step 2. Adhere to card Nuvo Deluxe Adhesive.

Step 4 - Diecut Warm Hugs using Vellum for the shadow and White Cardstock x 3 for the word. Adhere each white layer with the shadow layer underneath, then adhere to card front using Nuvo Deluxe Adhesive.


Holiday Wishes Card


Step 1 - Trim White Cardstock to 11 x 4 1/4”, score at 5 1/2” and fold in half for a horizontal top fold card. (A2)

Step 2 - Trim Black Cardstock to 5 1/2” x 4 1/4”. Place the Falling Leaves Layering Stencil and using an Ink Applicator apply Distress Oxide Ink. I used one ink color for every layer except for the with the Pine Cones. The colors I used is Rustic Wilderness, Pine Needles, Gathered Twigs, Walnut Stain and Festive Berries.

Step 3 - Place the panel created from Step 2 in a Splatbox and spray White Iridescent Shimmer. Once dry adhere to front of card using Nuvo Deluxe Adhesive.

Step 4 - Diecut Holiday using Vellum for the shadow and White Cardstock x 3 for the word. (The dies are from the Gina K Designs Merry & Bright release from a few years ago. If you don’t have it then I linked below an alternative. Just trim off the s at the end.) Adhere each white layer with the shadow layer underneath, then adhere to card front using Nuvo Deluxe Adhesive.

Step 5 - Stamp Holiday Greeting Mix 1 (wishes) using Versafine Onyx Black Ink on White Cardstock. Trim out the sentiment and adhere to card using Foam Tape.

Step 6 - Optional - For added interest and sparkle randomly adhere Silver Baubles using an Embellishment Wand and Nuvo Deluxe Adhesive.


These cards can be used for many occasions by changing the colors and/or sentiment. Below is a link to all the products used. Thank you for stopping by and Happy Crafting!

Products Used:

Thursday, December 3, 2020

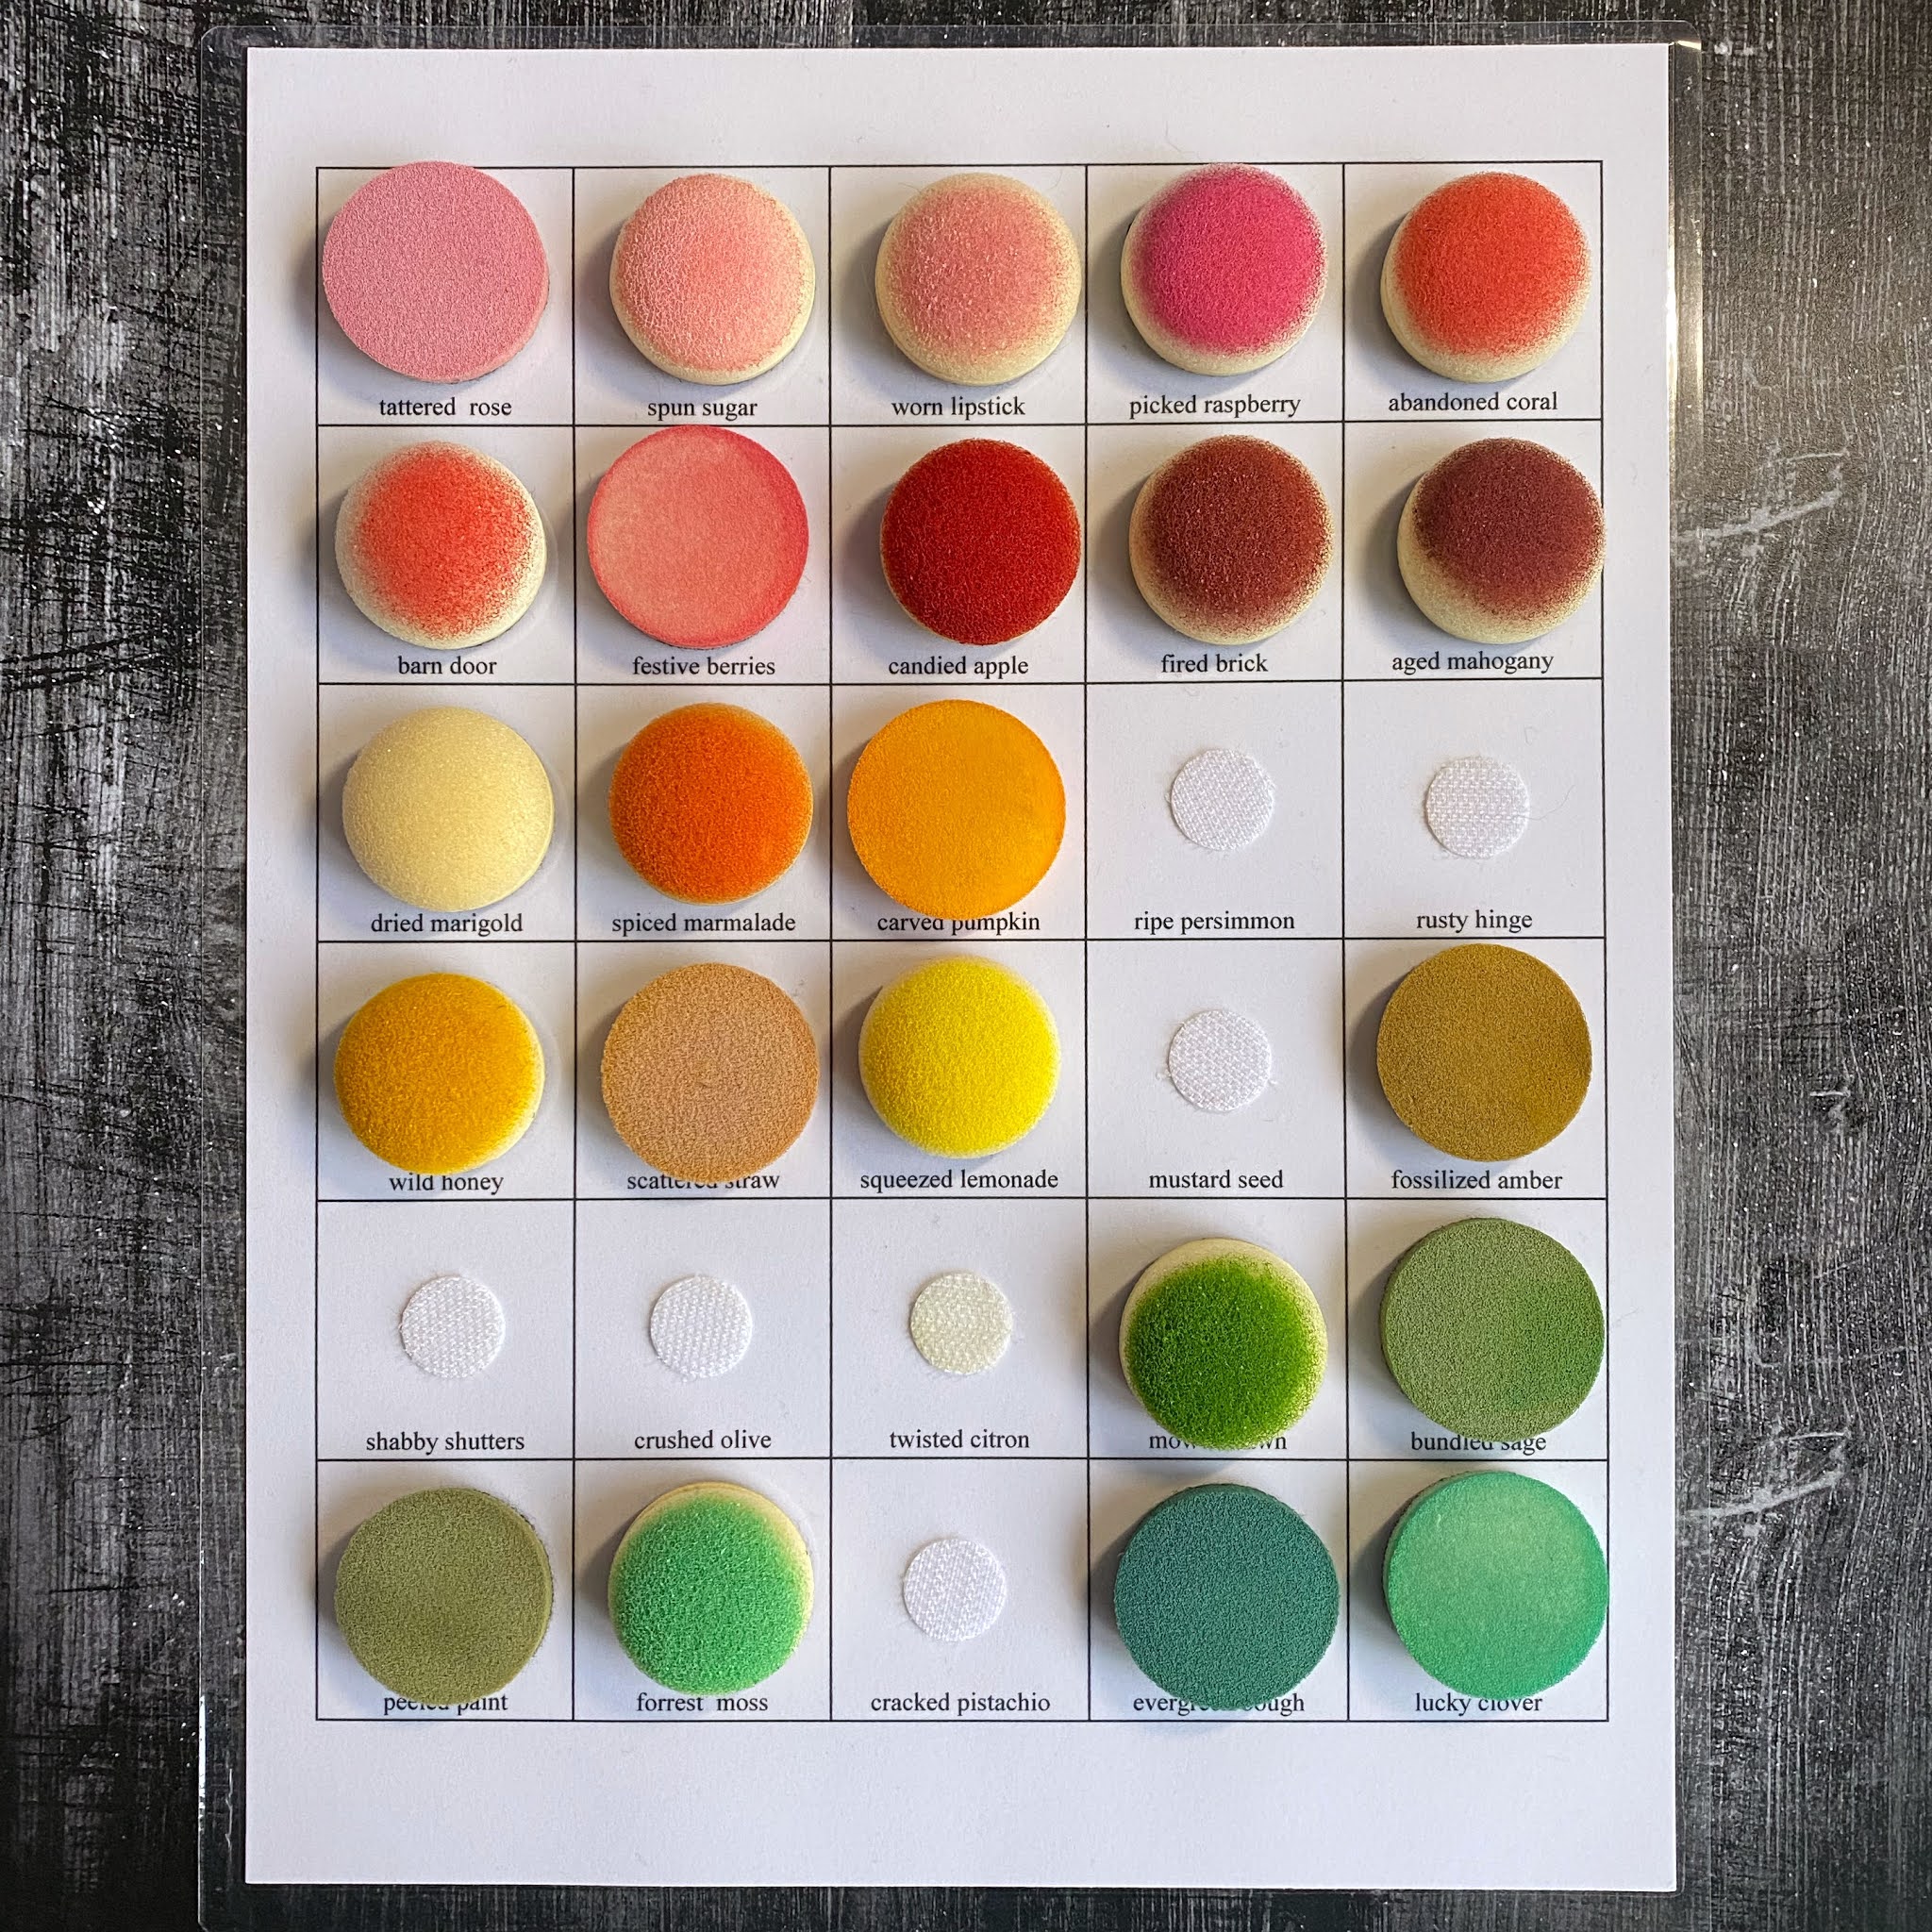
How To Store Your Ink Foam Pads

Hi everyone,
Today I have a YouTube video sharing how I store my Ink Foam Pads. This was asked by popular demand through social media. I absolutely love when you send in requests so please keep sending them.


YouTube Video
 

If you want the Excel Template for the Distress and Distress Oxide Inks click on the link below. Please note that the 3 new additional colors have not been added. When I add them in I will reshare the updated template.

Excel Template

Thank you all for stopping by and Happy Crafting!

Tuesday, December 1, 2020

i-Crafter December Release

Hi everyone,

Welcome to the i-Crafter December Release. I am using the new Flip Card Heart Blooms dies. It is so beautiful and can be used in several ways. Today I am using it as it was originally intended as an interactive card. Below you will find the steps to create your own card.


Step 1 - Trim White Cardstock to 4 1/4” x 11”, score at 5 1/2” and fold in half for a vertical side fold card. (A2)

Step 2 - Diecut Flip Card Heart Blooms (the full panel) using Patterned Paper and and panel using (the full panel with the Heart Blooms aligned) using another Patterned Paper. Assemble together. Adhere on top using Nuvo Deluxe Adhesive. I wanted to add a scene inside the heart window so I diecut the patterned paper in the section where the heart is. I trimmed out the small section where it wasn’t diecut and adhere the heart scene inside using Nuvo Deluxe Adhesive.


Step 3 - Adhere the entire panel to the card front.

Step 4 - Diecut the flowers, stems, leaves and sentiment using different colors of Cardstock. For the sentiment I diecut 2 pieces in White Cardstock and the 3rd piece (top piece) in Red Cardstock and layered it for more dimension. Adhere to the card front using Nuvo Deluxe Adhesive.


This card can be used for many occasions by changing the colors, sentiment and patterned paper. The Flip Card Heart Blooms is a fun and easy way to create an interactive card. Below is a link to the shop. Thank you for stopping by and Happy Crafting!

Products Used: