Tuesday, October 20, 2020
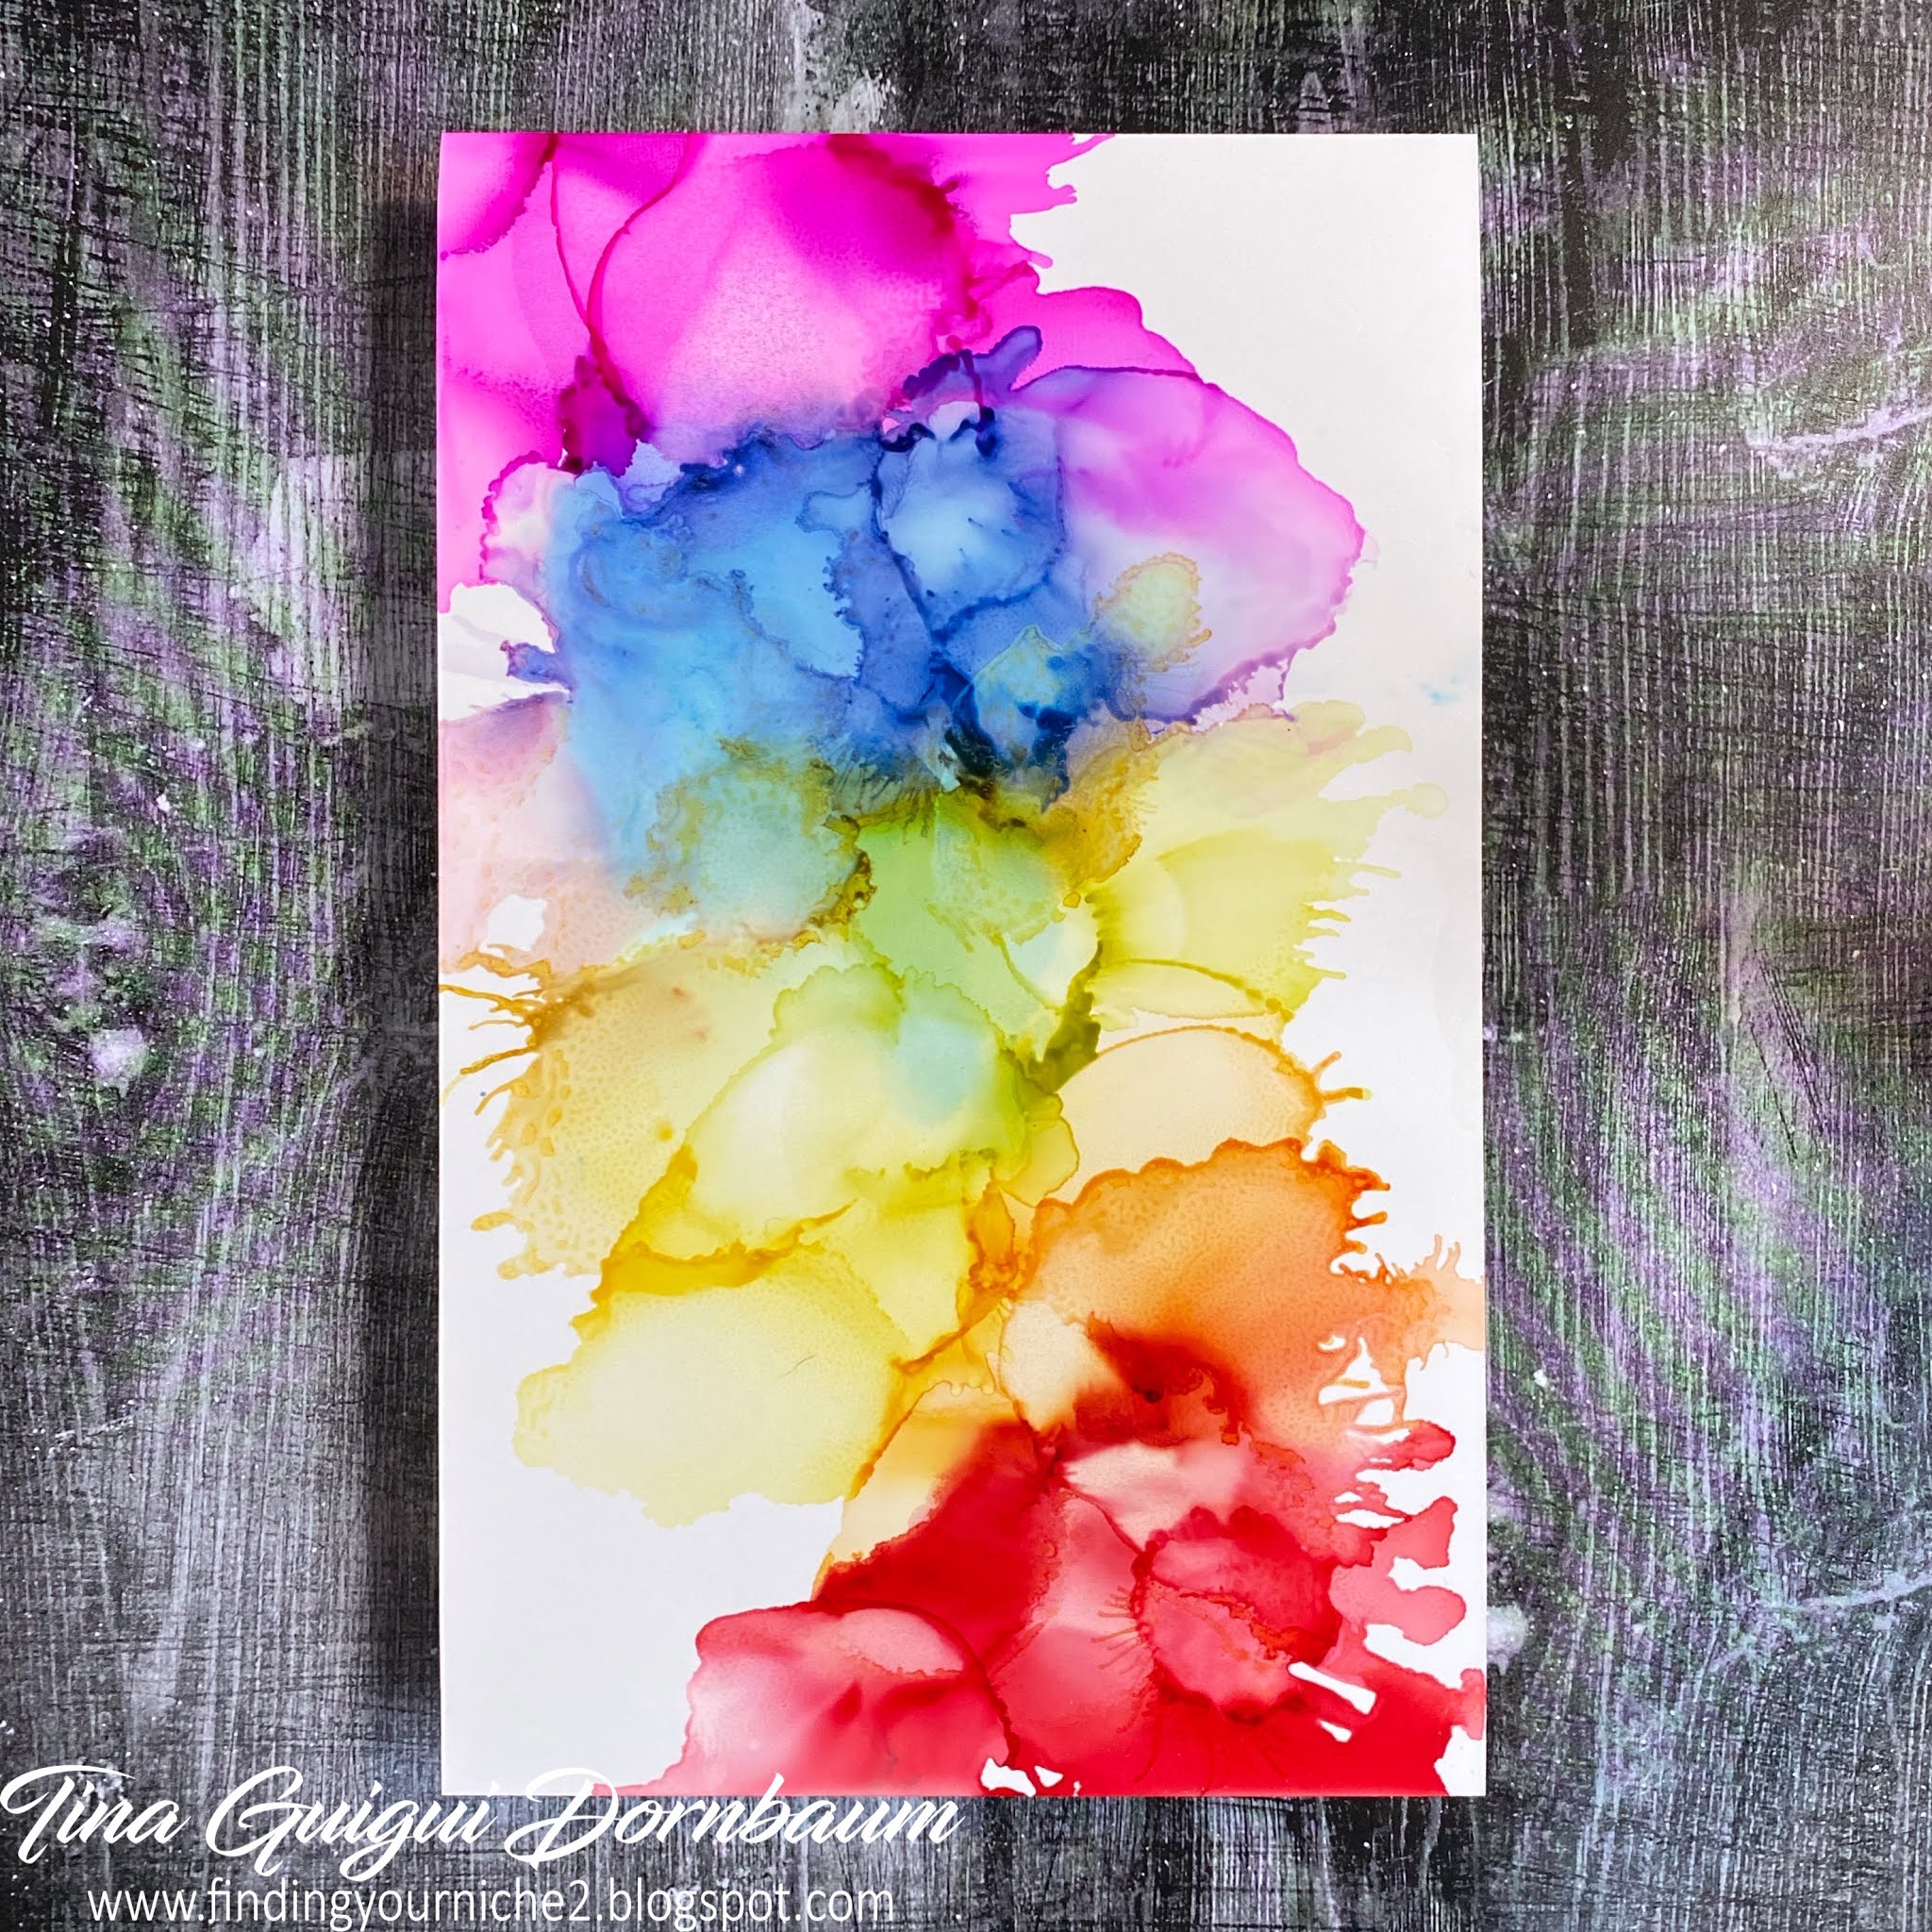
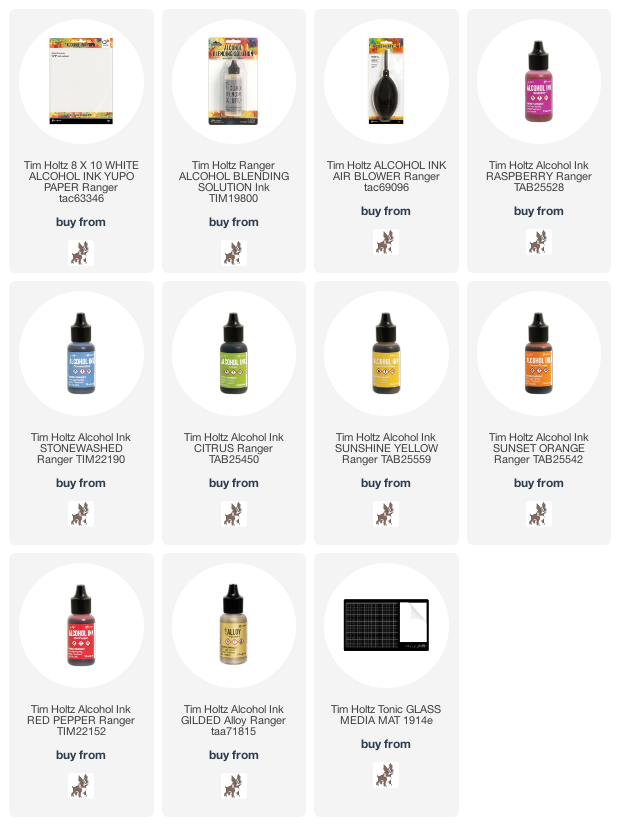
YouTube Alcohol Ink Tutorial
Monday, October 12, 2020
Elizabeth Craft Designs October Group Post Halloween
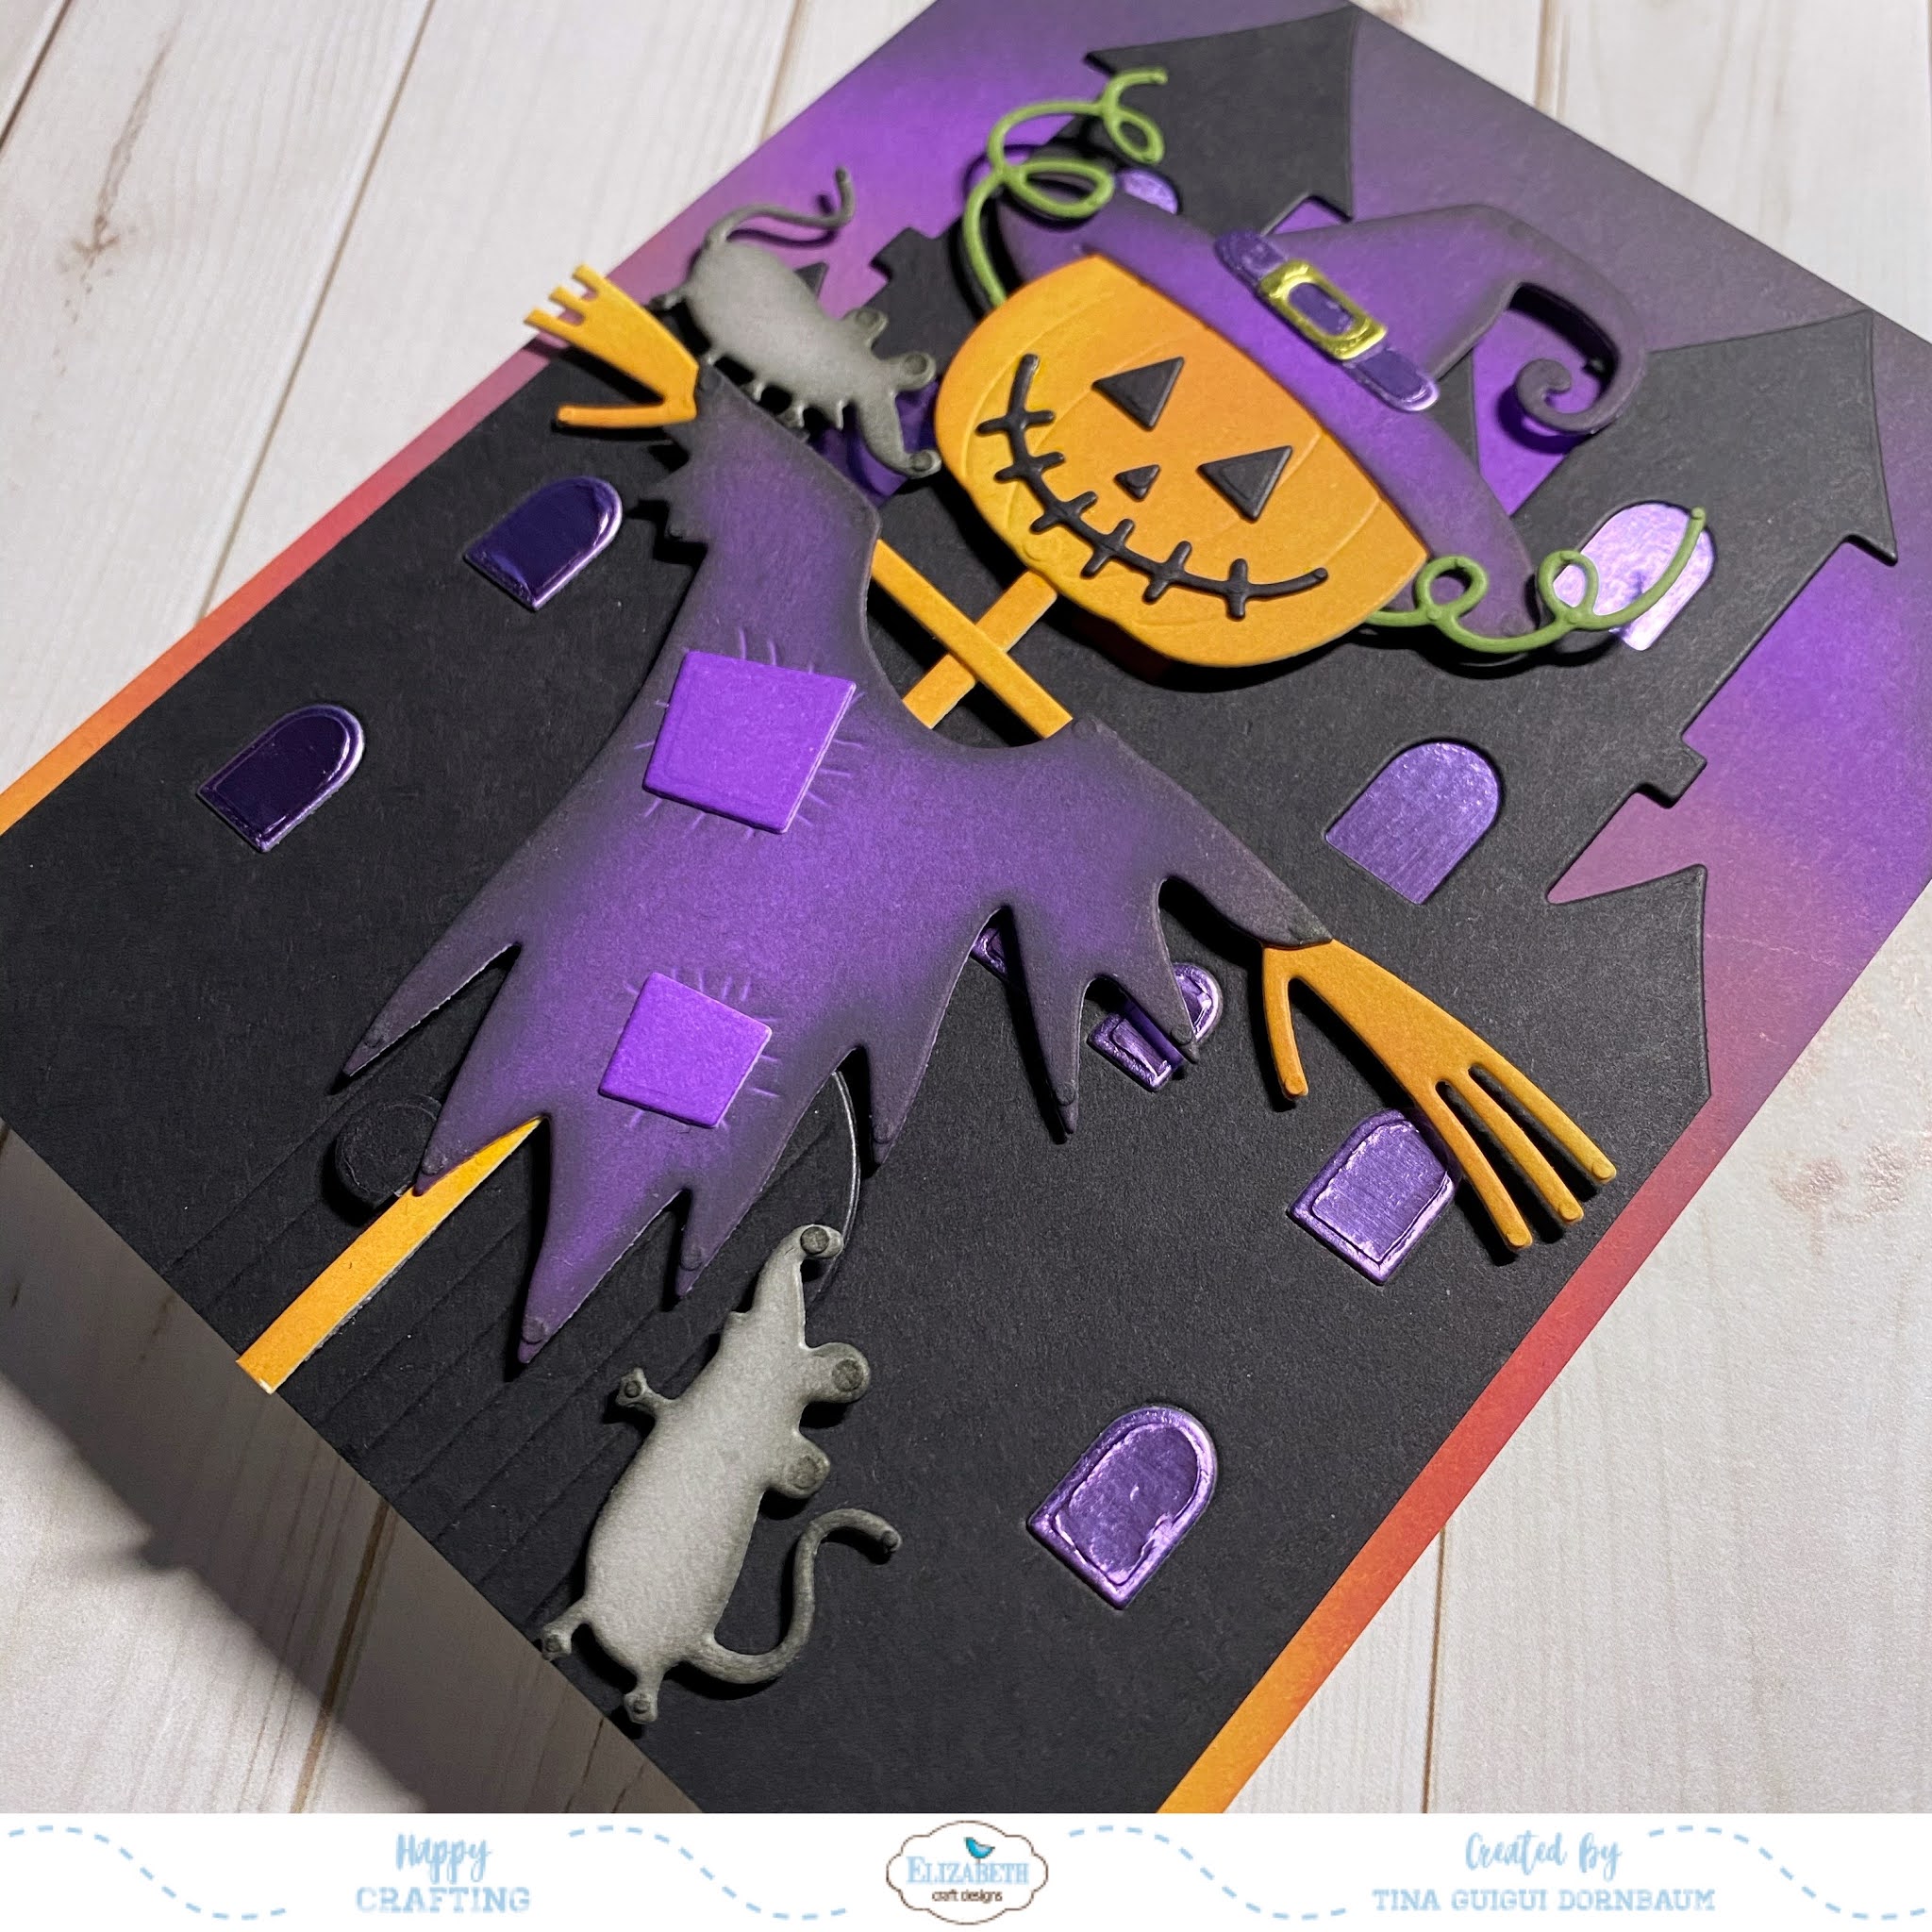
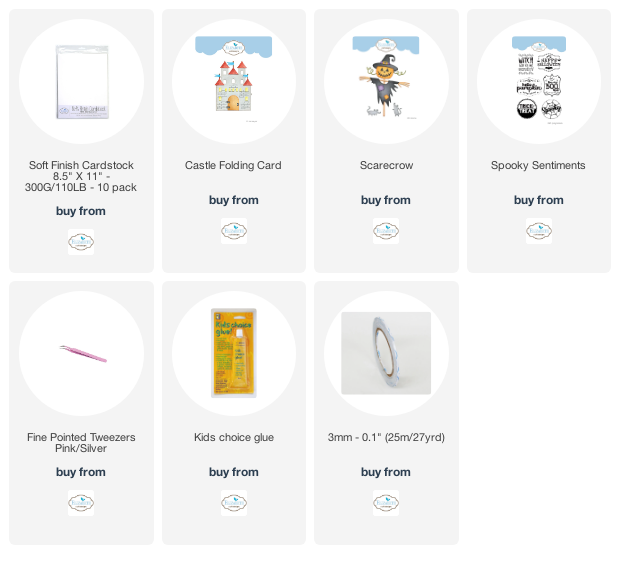
Hi everyone, welcome to another Elizabeth Craft Designs Group Post. This month the theme is Halloween. I had fun turning the Castle Folding Card into a spooky old Mansion. Below you will find the steps to create your own Halloween Card.
Step 1 - Trim White Soft Finish Cardstock to 8 1/2” x 5 1/2”, score at 4 1/4” and fold in half for a vertical side fold card. (A2)
Step 2 - Trim White Soft Finish Cardstock to 5 1/2” x 4 1/4”. Apply Distress Oxide Ink using a Foam Applicator. Starting from the bottom going up I used Spiced Marmalade, Barn Door, Dusty Concord, Wilted Violet, Black Soot.
Step 4 - Diecut Scarecrow and mice using White Soft Finish Cardstock. Ink the pieces and assemble using Kids Choice Glue. Adhere to card using Foam Tape.
Step 5 - Stamp Spooky Sentiment (Hello Pumpkin) inside the card using Versafine Onyx Black Ink (I stamped inside because I had no space on the front of the card.)
Thursday, October 1, 2020
i-Crafter October Release
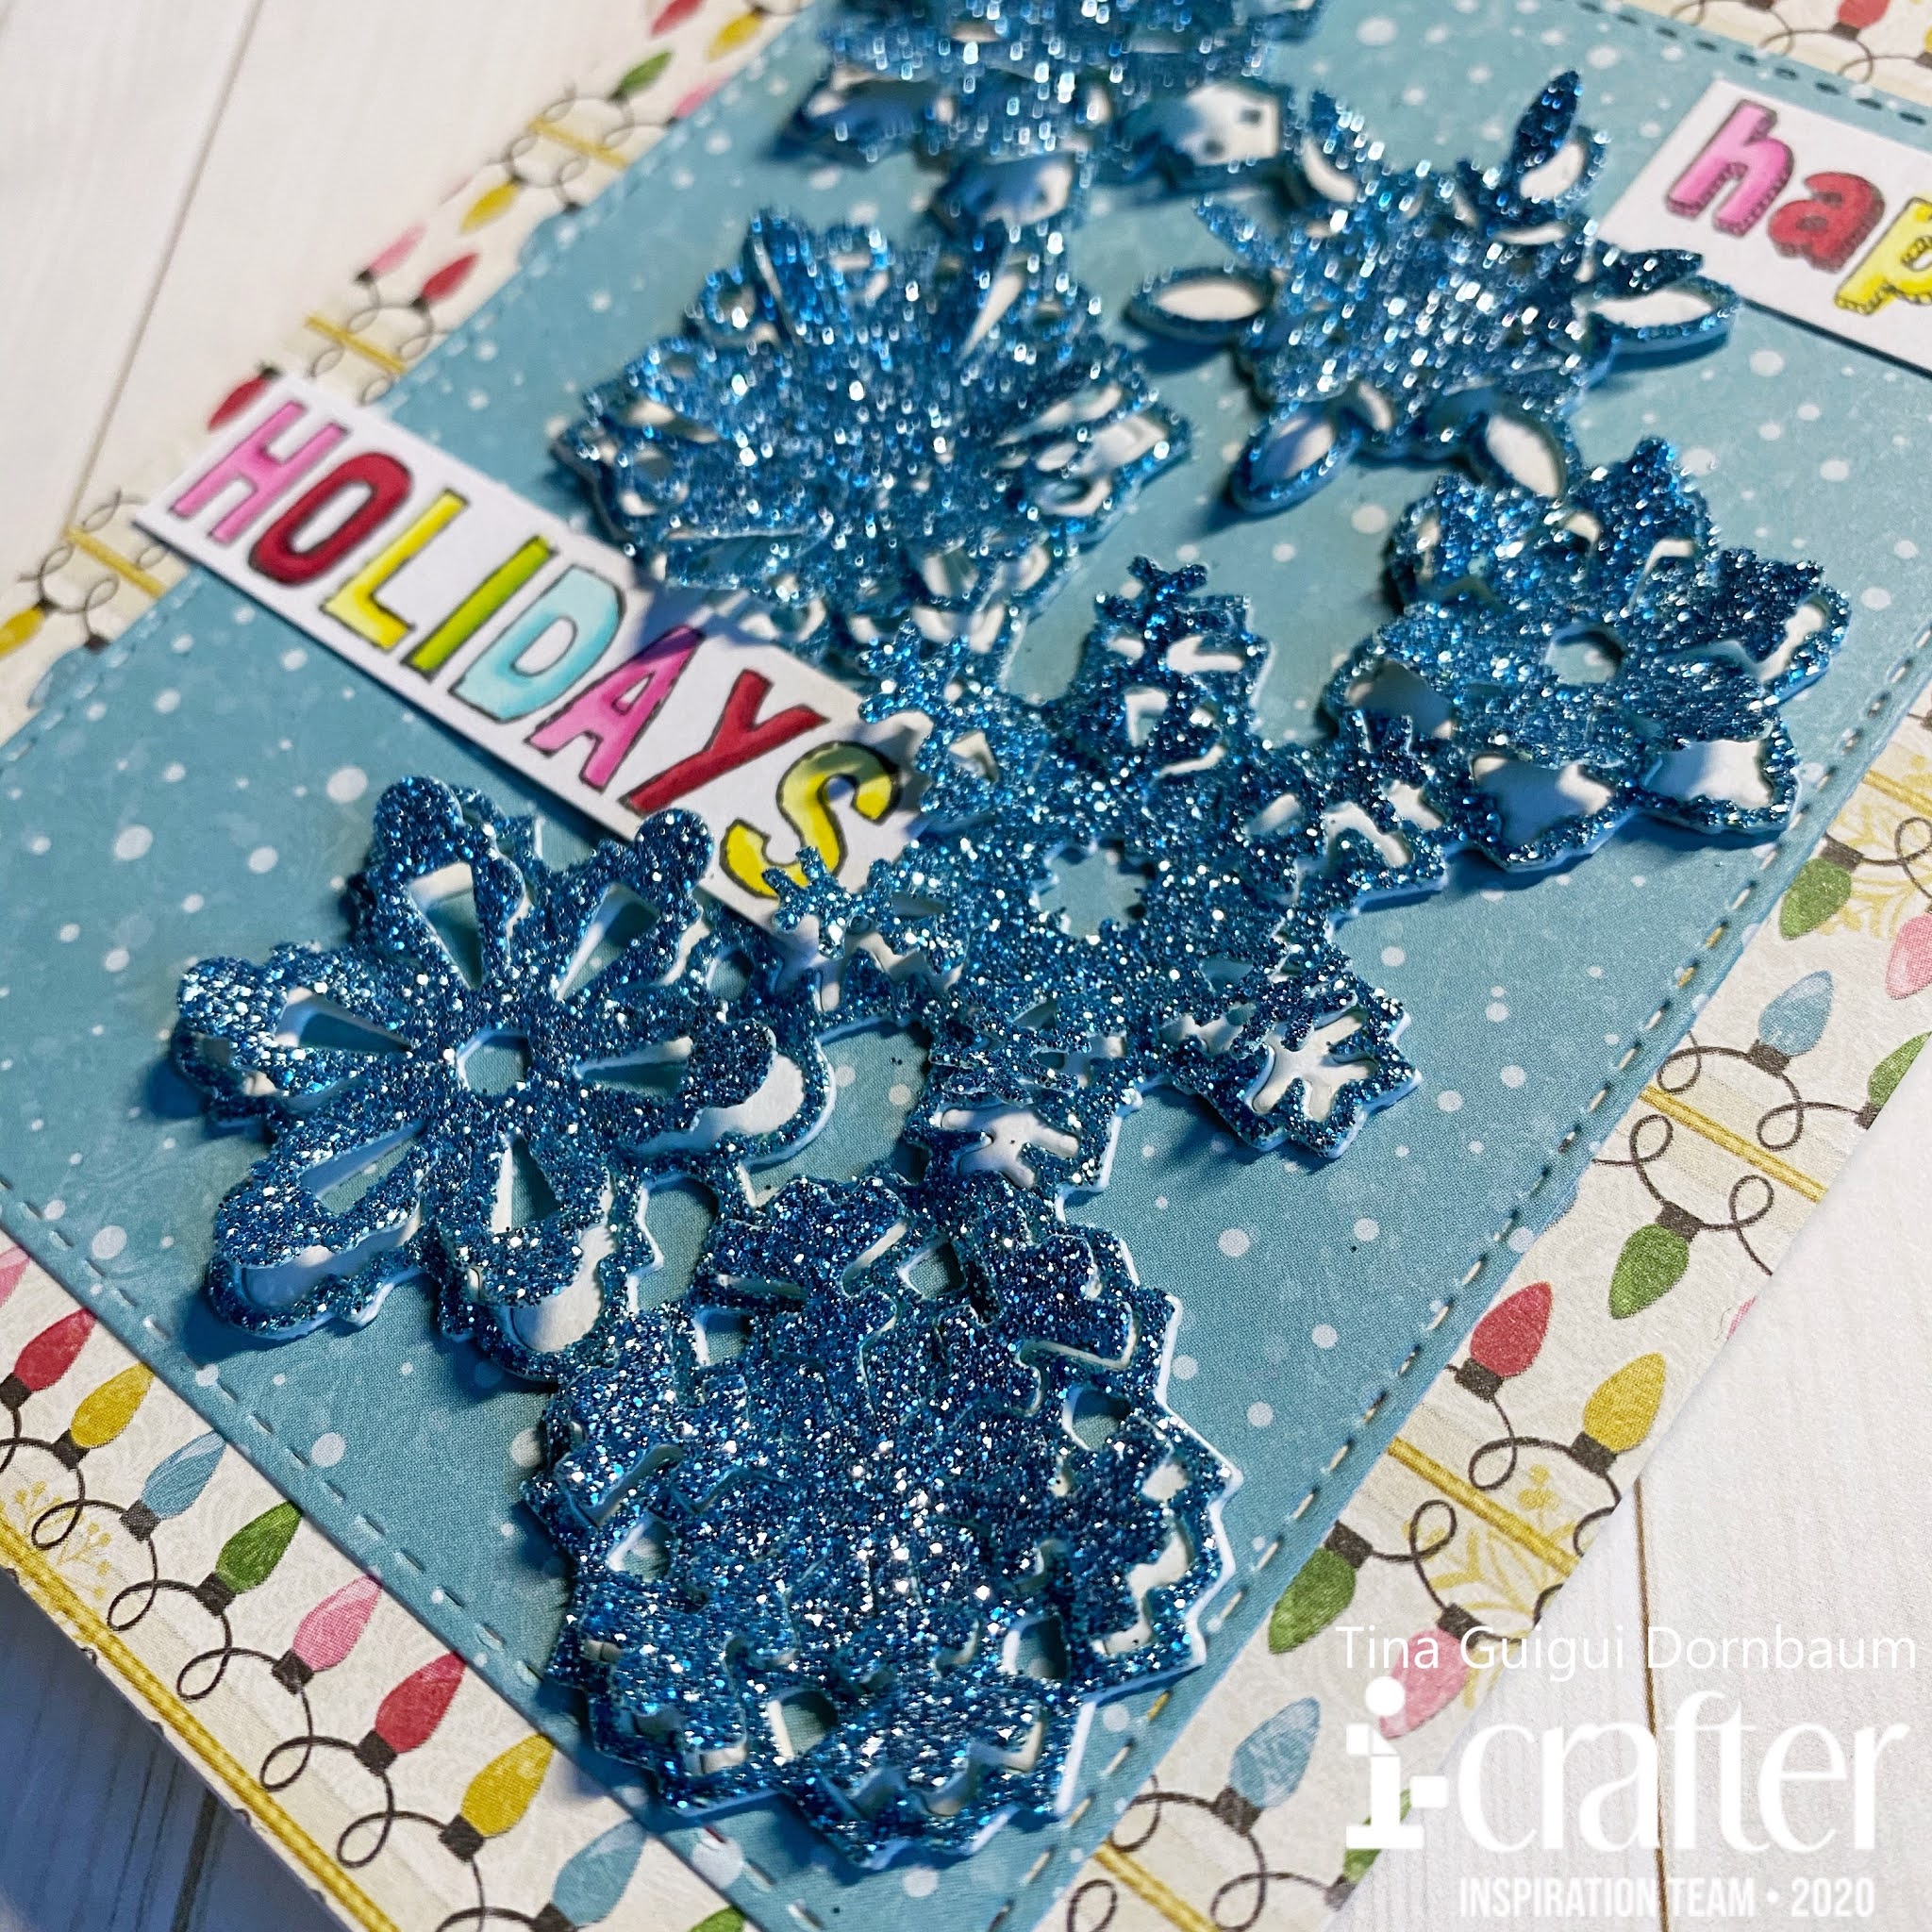
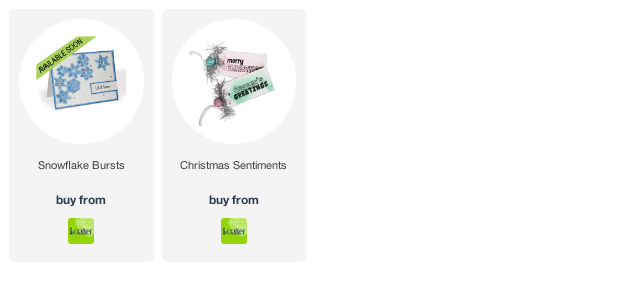
Hi everyone! Welcome to the i-Crafter October Release. This month there is a lot of Holiday product. I chose the beautiful Snowflakes Bursts die and Christmas Sentiments Stamps to create a Happy Holidays Card. Below you will find the steps to create your own card.
Tuesday, September 29, 2020
National Coffee Day 2020 Blog Hop With Kat Scrappiness
Hi Everyone,
Welcome to the National Coffee Day 2020 Blog Hop with Kat Scrappiness. We are super excited that you have visited us from the Coffee Loving Cardmakers Blog. To celebrate National Coffee Day the Kat Scrappiness Team has many coffee related projects to share with you.
Kat Scrappiness will be giving away three $10.00 gift cards to use at Kat Scrappiness, along with a Secret Coupon Code! Use Coupon Code: ICD2020 at Checkout to receive 15% off all Coffee related items at Kat Scrappiness.
To enter the giveaway simply leave a comment on the Kat Scrappiness blog post letting us know your favorite coffee related project as well as your favorite coffee related product at Kat Scrappiness. You must also comment on each of the DT members post. Three winners will be chosen. Commenting closes at 11:30PM PST Tuesday, October 6. The winners will be announced on Friday, October 9 on the Kat Scrappiness blog.
Before we get started if you came from Marla's Blog then you came from the right place. If you didn't you can start at the beginning here. If you get lost along the way there is a Blog Hop List at the end of this blog.
Below you will find the steps to create your own A Latte Warm Wishes Card.
Step 1: Trim White Cardstock to 8 1/2” x 5 1/2”, score at 4 1/4” and fold in half for a vertical side fold card. (A2)
Step 2 - Trim Red Cardstock to 5 1/2” x 4 1/4” and adhere to card front using Nuvo Deluxe Adhesive. Diecut Coffee Time Background using White Cardstock. Adhere to card front using Nuvo Deluxe Adhesive.
Step 3 - Trim Red Cardstock to 5 1/2” x 4 1/4”. Diecut Never Ending Rectangles. This will create a stitched frame. Adhere to card using Foam Tape.
Step 4 - Stamp Christmas Gnome (image) using Gina K Amalgam Ink. Colour in the image with alcohol markers of your choice. I used Spectrum Noir Classique Markers. Fussy cut it and adhere to the card using Foam Tape.
Step 5 - Stamp sentiment using Gina K Amalgam ink and diecut it using the Stitched Sentiment Strips. Adhere to card using Foam Tape. The sentiment I used is from Lawn Fawn Thanks A Latte Stamp Set.
This is a super fun holiday card for all those coffee lovers. Below you will find the link to all the products used as well as the Blog Hop List. Your next stop is Priscilla. Thank you for stopping by!
Blog Hop List:
Kat Scrappiness (start here)
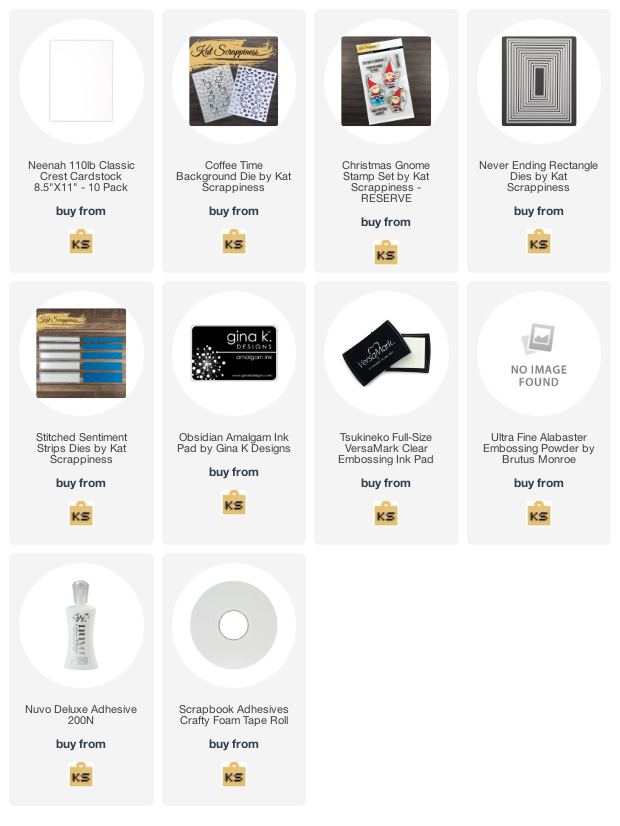
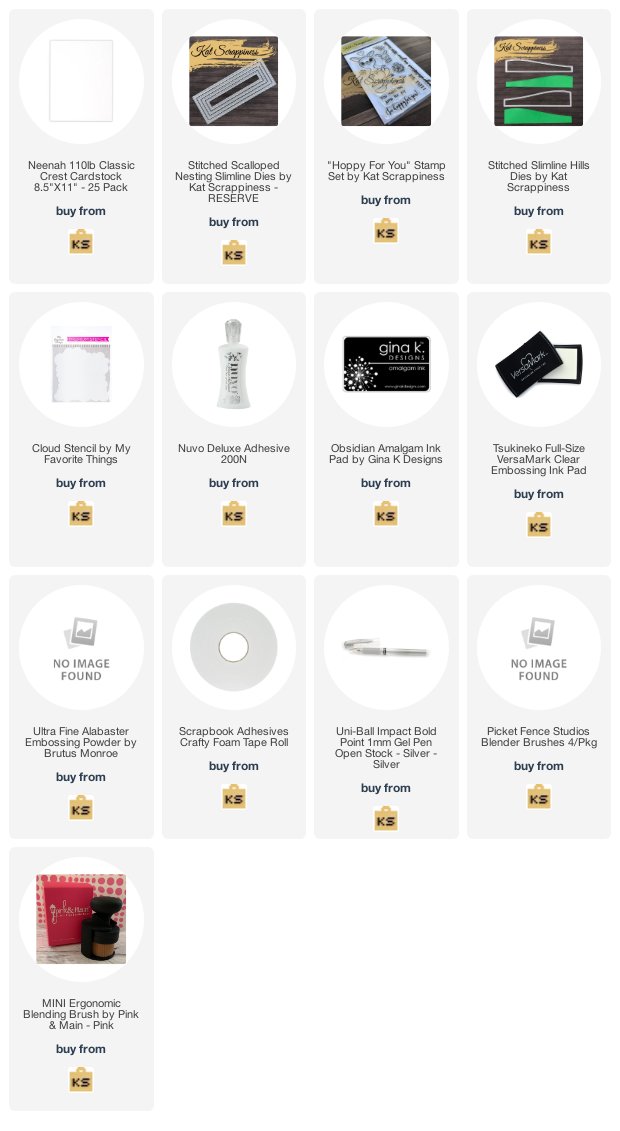
Products Used:
Sunday, September 13, 2020
How To Flatten Your Slimline Diecuts
Elizabeth Craft Designs September Group Post Floral
Hi Everyone!
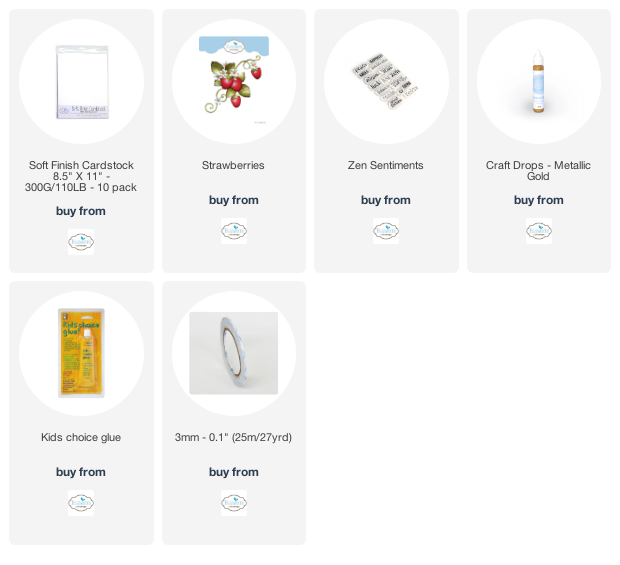
Today is the Elizabeth Craft Designs September Group Post. The theme this month is Floral which is in time for the new Floral Release. I used the gorgeous Strawberries die set. Below you will find the steps to create your own Let Love Bloom Slimcard Card.
Tuesday, September 1, 2020
i-Crafter September Release
Hi everyone! It is release time for i-Crafter. For the release I chose the Leaves Are Falling Stamp Set. I knew the leaves in the stamp set would create a beautiful background. Below you will find the steps to create your own Leaves Are Falling, Autumn Is Calling Card.
Step 1 - Trim White Cardstock to 8 1/2” x 5 1/2”, score at 4 1/4” and fold in half for a vertical side fold card. (A2)
Step 2 - Trim Black Cardstock 4” x 5 1/4” and adhere to card using Nuvo Deluxe Adhesive.
Step 3 - Trim White Cardstock to 3 3/4” x 5”. Stamp Leaves Are Falling (leaves images) using Versamark Sprinkle White Embossing Powder and remove the excess. Heat set it with a heat tool. Apply Distress Oxide Ink in various colours using a Blending Brush. I used Aged Mahogany, Fired Brick, Ripe Persimmon, and Mustard Seed. Adhere to card front using Nuvo Deluxe Adhesive.
Step 4 - Stamp Leaves Are Falling (mushrooms) using Gina K Amalgam Ink on White Cardstock. Colour in the image using alcohol markers. I used Spectrum Noir Classique Markers. Trim out the image and adhere to the card front using Nuvo Deluxe Adhesive.
Step 5 - Stamp Leaves Are Falling (sentiment) using Versamark on Black Cardstock. Sprinkle White Embossing Powder and remove the excess. Heat set it with a heat tool. Trim the sentiment and adhere to card using Foam Tape.
Step 6 - For added interest and sparkle spray White Iridescent Spray.
This card can be used for several occasions by changing the sentiment. Below is a link to product used. Thank you for stopping by and Happy Crafting!
Products Used: