
Hi Everyone. It's Tina here again as Guest Designer for Elizabeth Craft Designs. If you are like me and use your own cards to give to your family and friends the thought of that card being thrown out in the garbage afterwards is devastating. The following card design can be used later on in a picture frame (or shadow box frame) to be mounted to a wall. You can also use this idea for an easel stand as well. You can see my post here.


Here are the steps to recreate this picture frame card.
1) Cut cardstock 6" x 12" and fold in half for a 6" x 6" card folded.
2) Cut a cardstock 4" x 4" and emboss with Spring Leaves Embossing Folder.
3) This step is optional. Ink lightly over embossed paper for dimension.
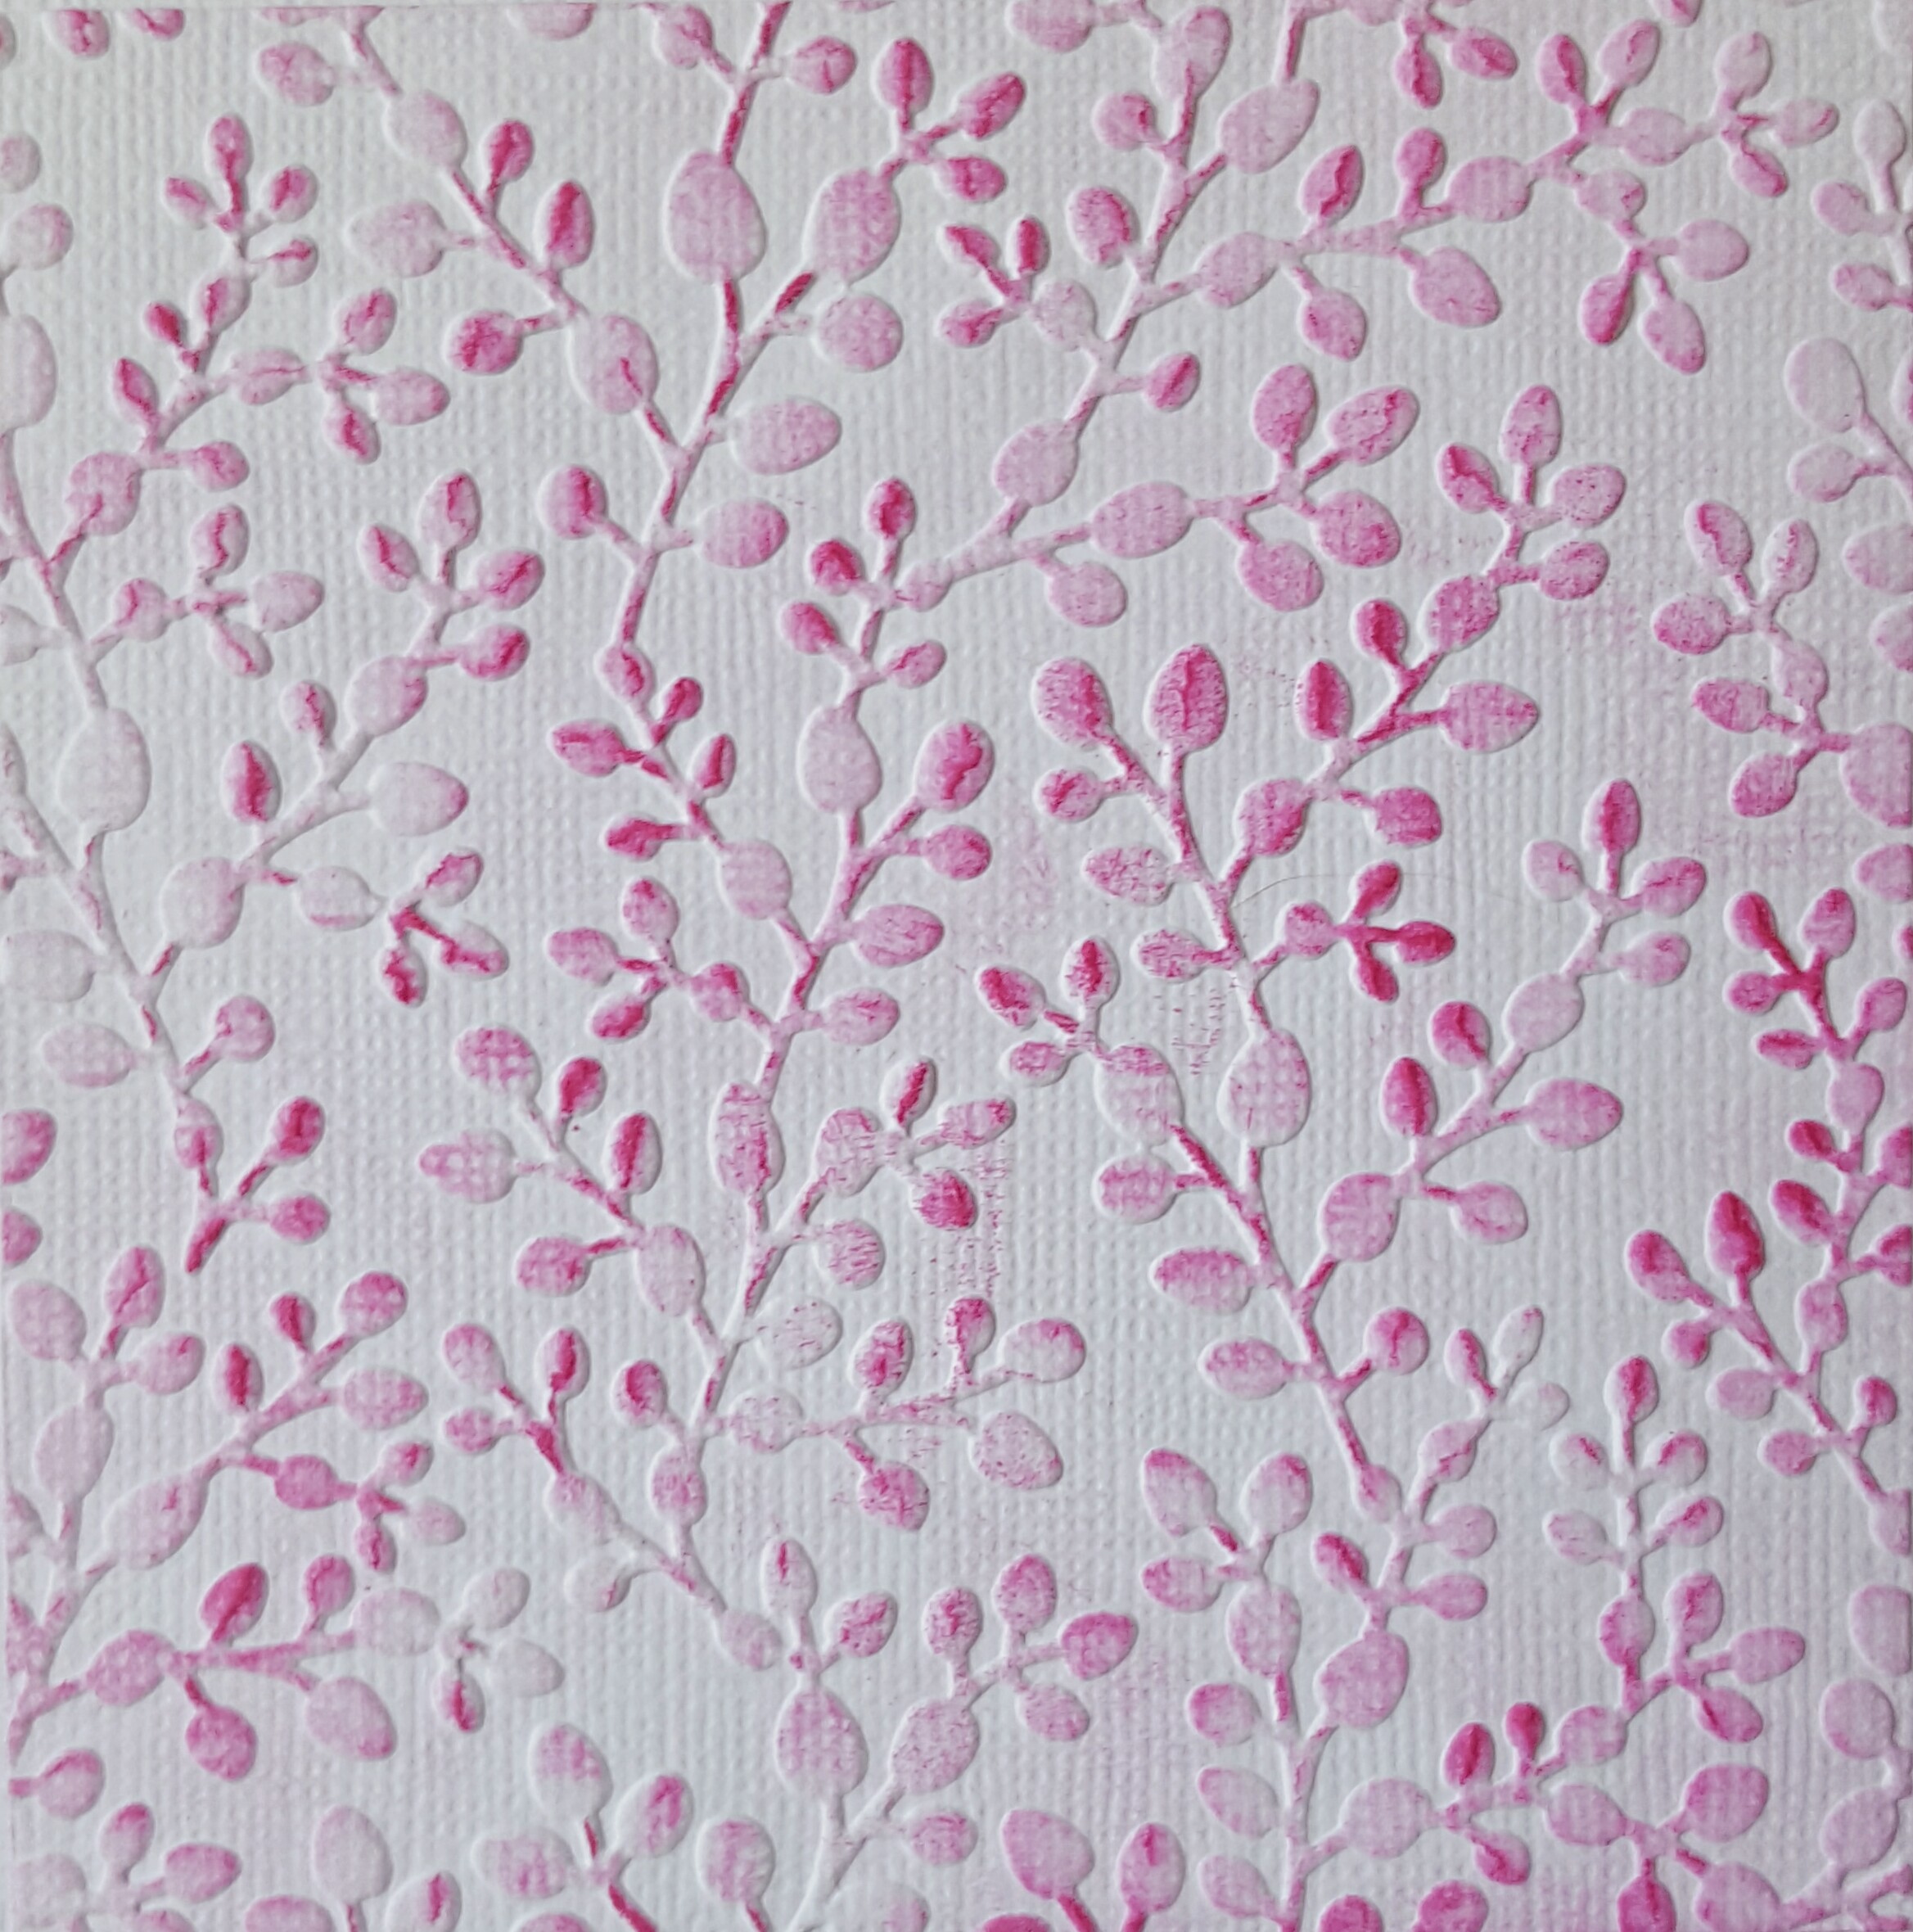
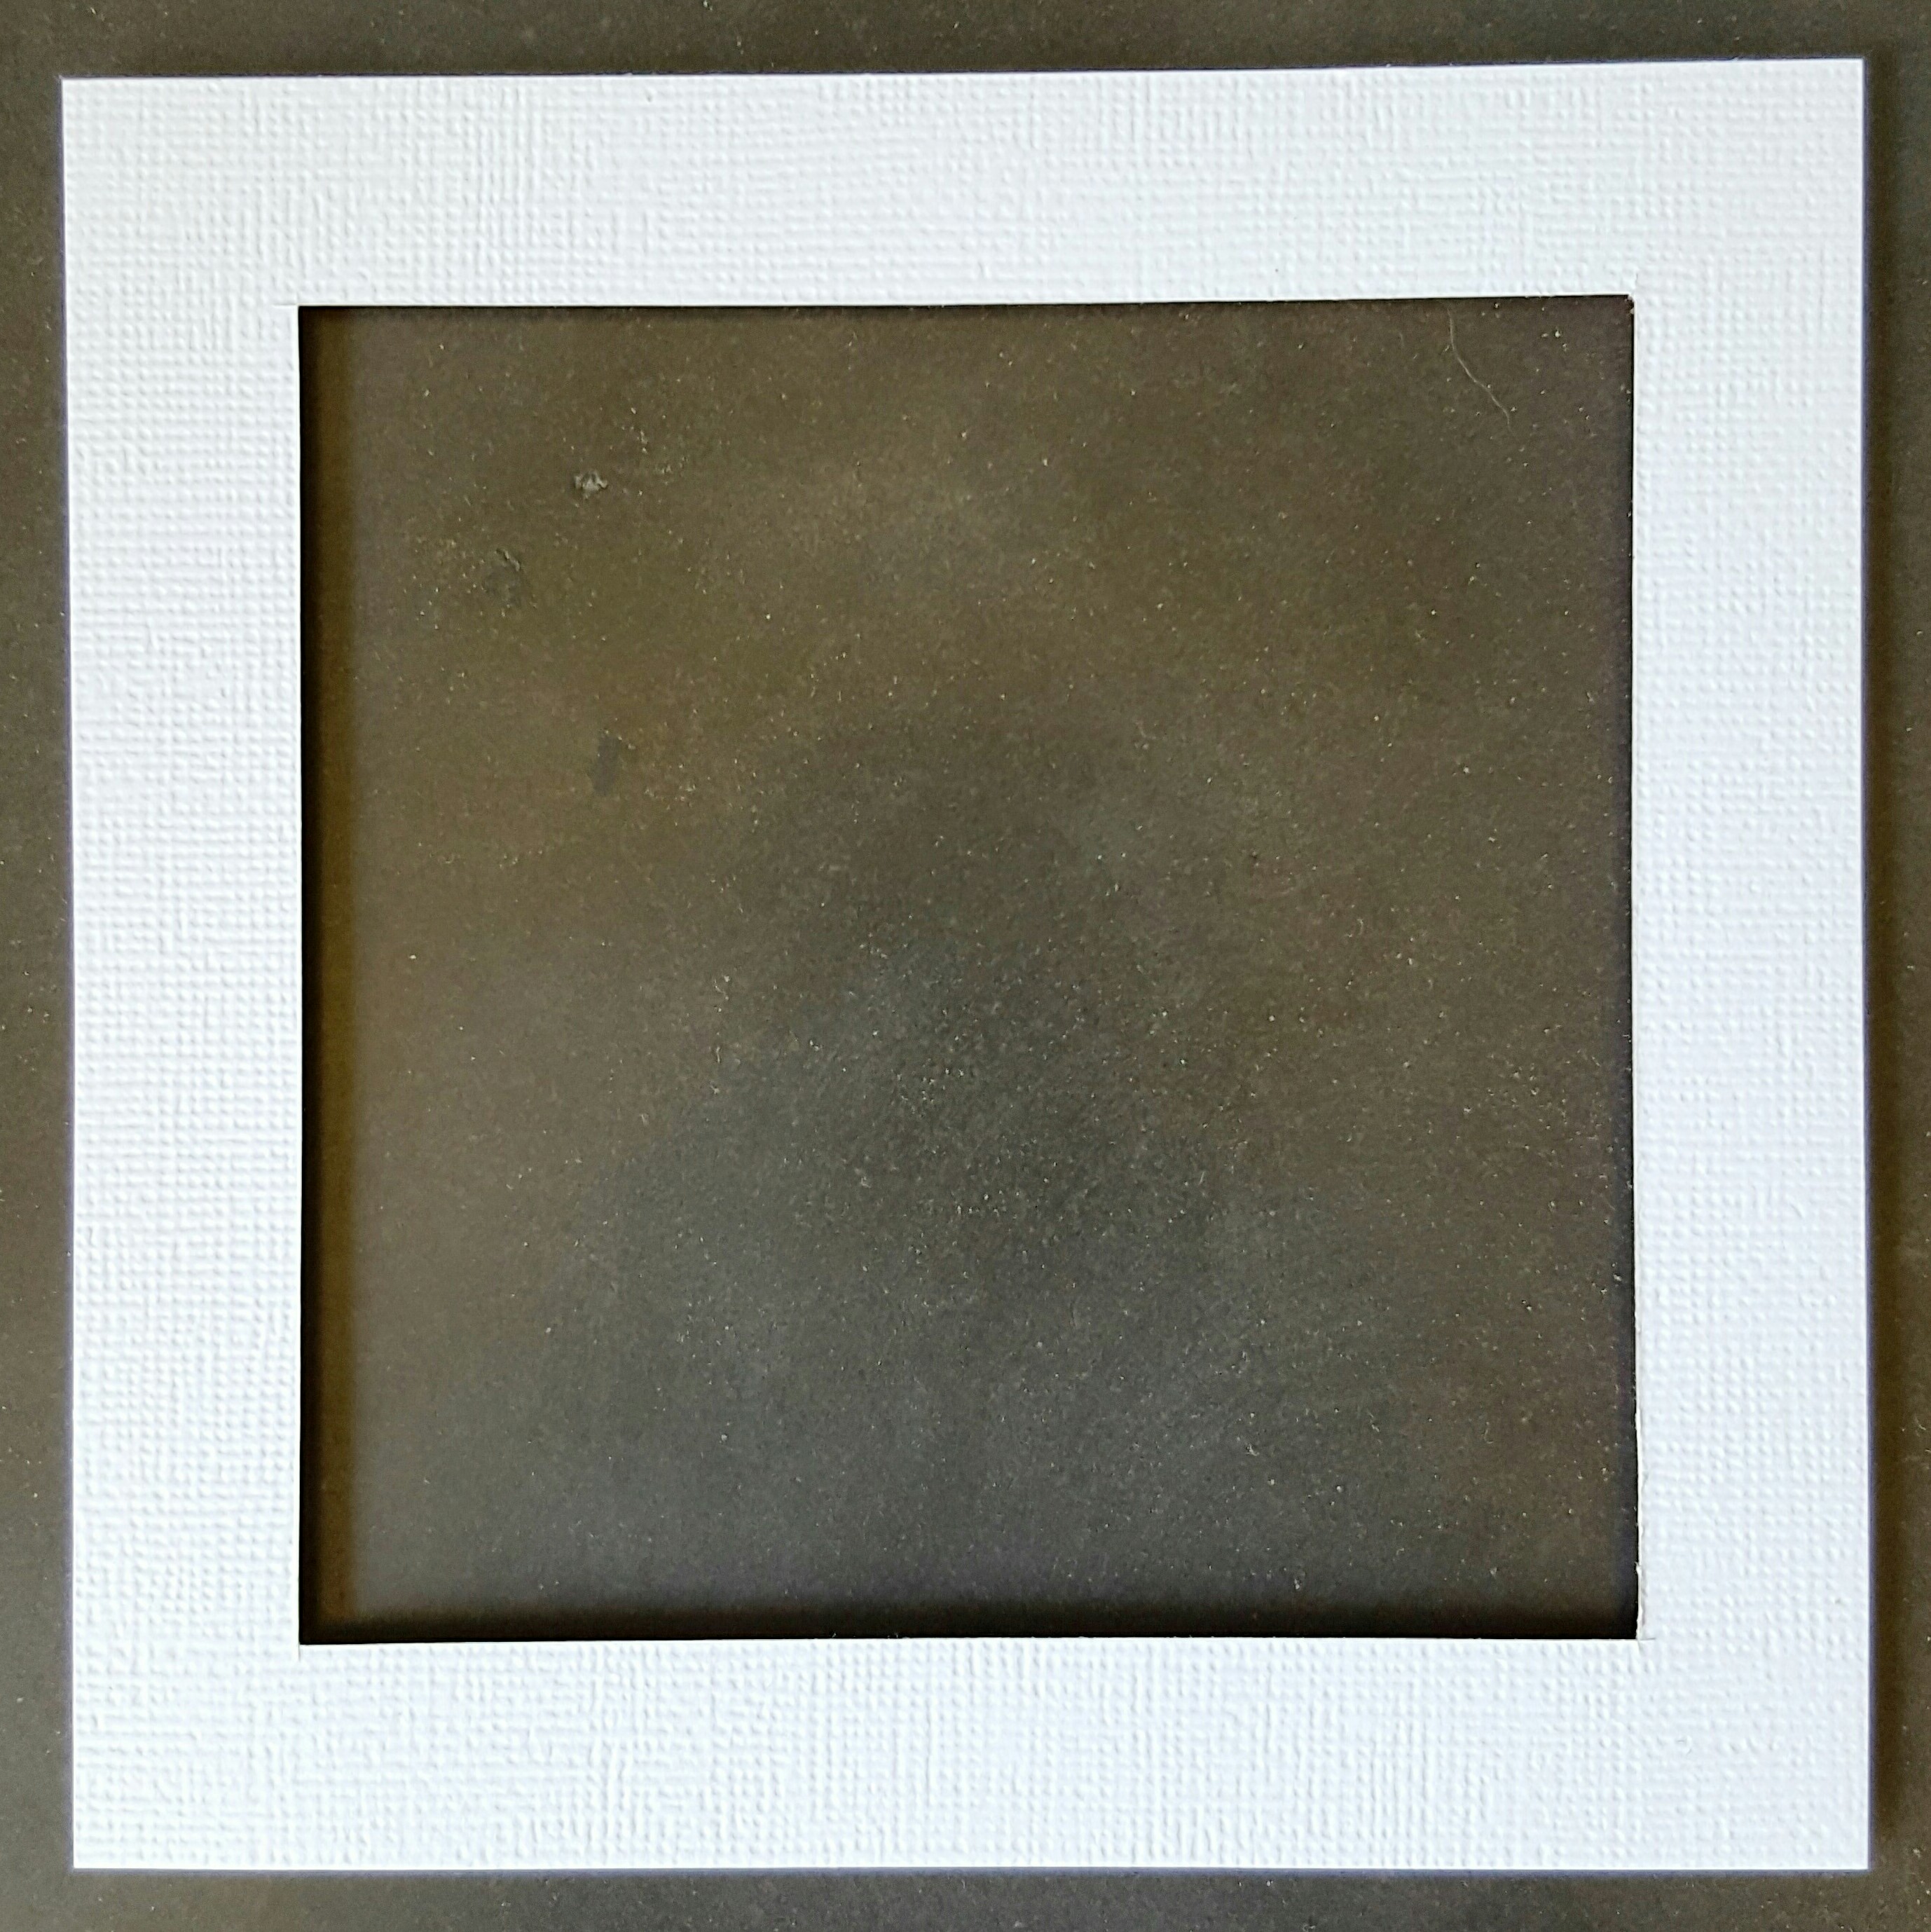
4) Adhere embossed paper to the center of your card.
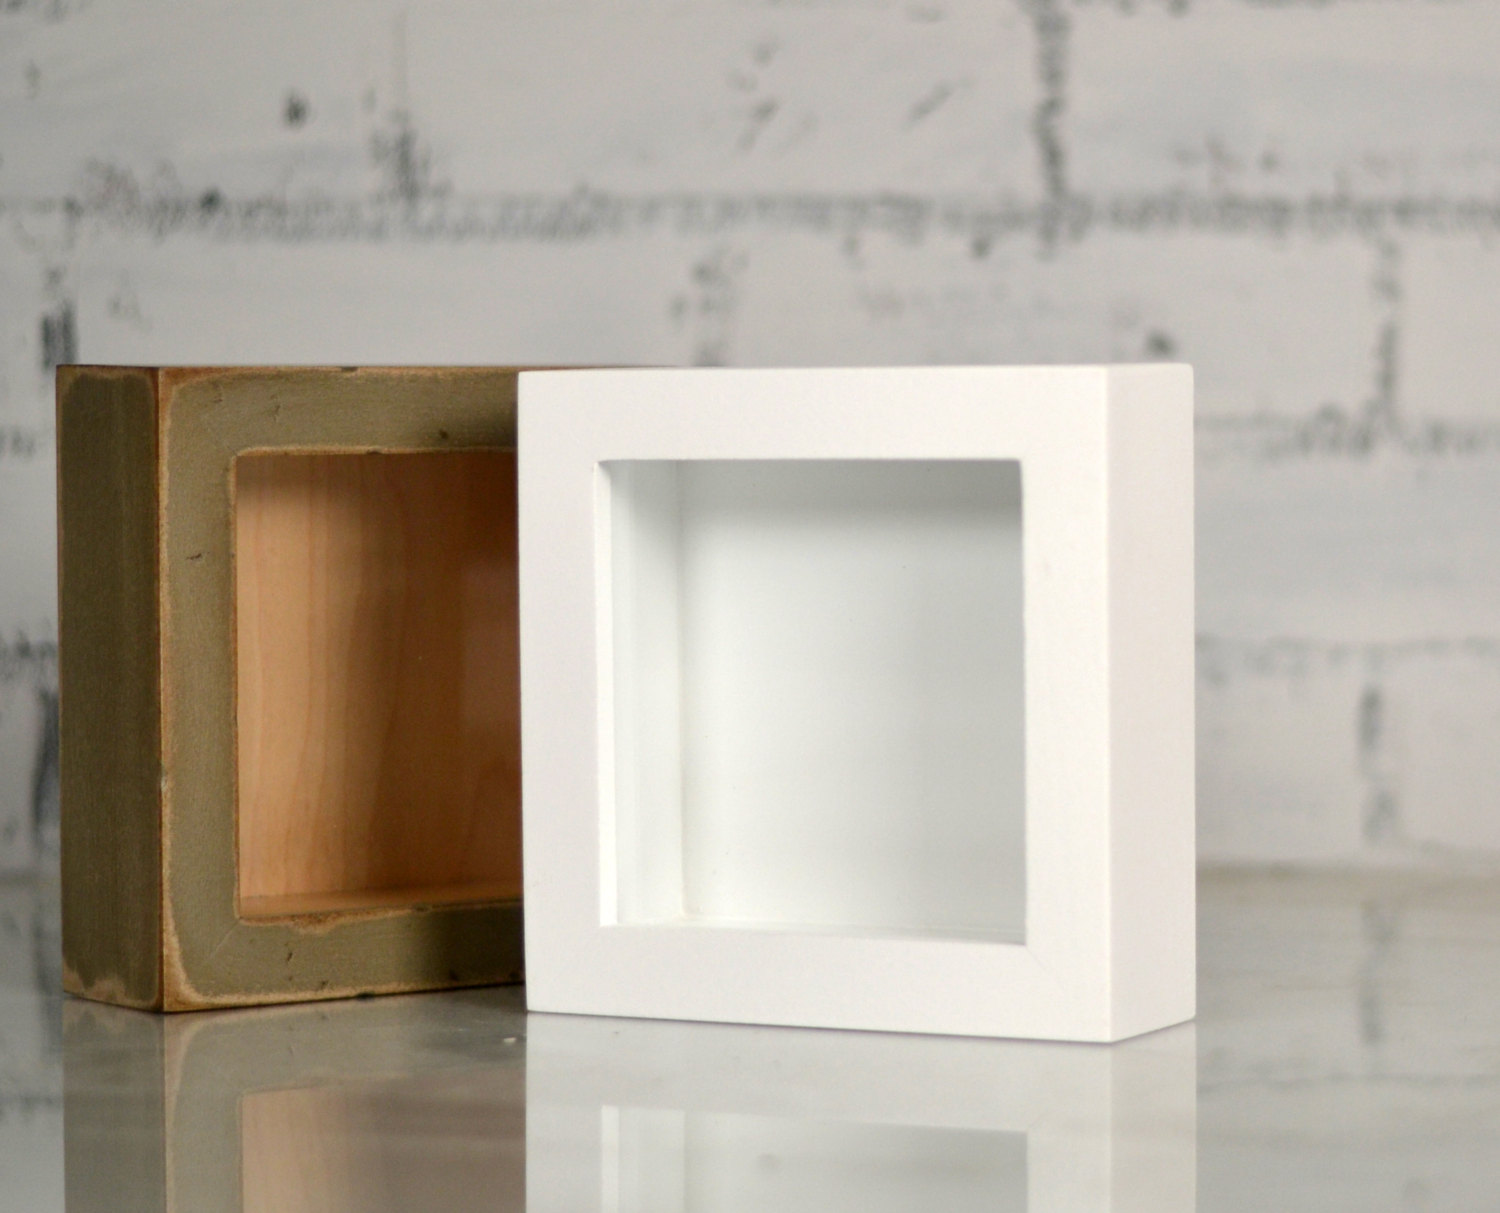
5) Create a frame for center of your card.

6) Once cut add foam strips to the back and set aside.
7) Diecut with CountryScapes Clouds & Grass x2 with green cardstock or ink it green.
8) Adhere to the bottom of the embossed 4" x 4".
9) Place the frame to the center of your card.
10) Diecut a variety of flowers and shape with the CountryScapes Tools Buy It All. Flower dies used are Bunch of Flowers 1 & Bunch of Flowers 4.
11) Diecut one Leavy Branch and cut into 2 pieces.
12) Adhere the branches and flowers to your card.
13) Create a ladybug with Lady Bugs die.
14) Optional. Add a sentiment. I choose not to add one because it will hang on the wall.
Thank you for stopping by. I hope this has inspired you to create your own picture frame card.
Supplies List
Elizabeth Craft Designs
Susan's Garden Club
Other
Cardstock
Inks
My dear this is stunning. The colors on the white just make it pop more. Beautiful. A perfect way to showcase your card after.
ReplyDelete