
Welcome back to the Elizabeth Craft Designs Artist Team Challenge. Every month the Artist Team is challenged with a theme to showcase the fabulous product from Elizabeth Craft Designs. This month the challenge is Spooktacular Creations.
There is a chance for you to win a $20 gift card. Visit the Elizabeth Craft Designs Blog Post. Leave a comment and answer this question. What are some of your favorite products when creating spooky scenes for Halloween? 3 lucky winners will be chosen in a random drawing.

Below you will find the easy steps to replicate this card.

- Step 1 - Cut Orange Soft Finish Cardstock 8 1/2" x 5 1/2". Score and fold in half to form a vertical side-fold card base. Finished size: 4 1/2" x 5 1/2" (A2)
- Step 2 - Trim Black Soft Finish Cardstock to 4 1/8" x 5 3/8" and adhere to center front of card using 3mm Clear Double Sided Adhesive Tape
- Step 3 - Create your background (Optional - You can use Halloween Patterned Paper instead). I used Oxide Inks with White Soft Finish Cardstock to create a spooky sky background. I added some colors of the Oxides Inks onto a kraft mat, spritzed some water and dipped the White Soft Finish Cardstock on top. Dry with a Heat Gun. Repeating this several times. In between dips and heat drying I sprayed some water for some water effects. Let dry. See below for finished background.

- Step 4 - Trim the background to 4" x 5 1/4" and adhere to the center front of card using 3mm Clear Double Sided Adhesive Tape.
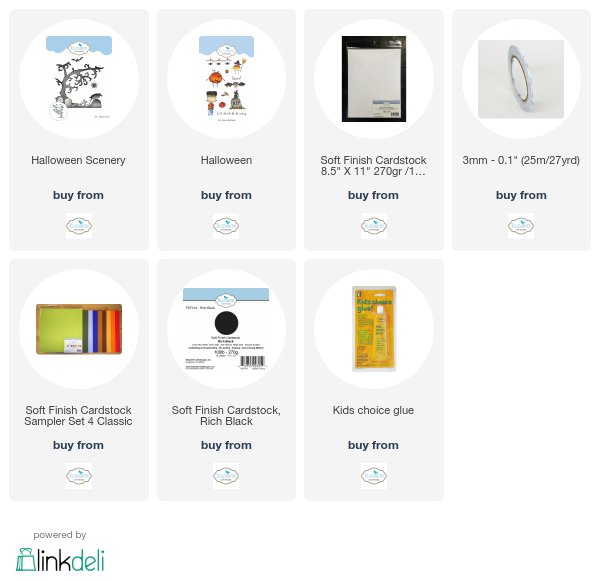
- Step 5 - Diecut Black Soft Finish Cardstock with Halloween Scenary. The tree, graveyard and bat. You will need to diecut the bat 2 more times.
- Step 6 - Stamp sentiment Boo from Halloween Clear Stamps with an embossing pad and sprinkle white embossing powder. Heat set.
- Step 7 - Adhere graveyard diecut to bottom of background with 3mm Clear Double Sided Adhesive Tape and Kids Choice Glue. The glue will dry clear. I used it randomly but left the top part of the graveyard glue free. The loose parts will add dimension.
- Step 8 - Trim spooky tree and adhere to background at the top left with Kids Choice Glue. (see photo below for visual of cut tree)
- Step 9 - Adhere the 3 bats with Kids Choice Glue.

Mini Tag

I had so much fun that I decided to do a quick Mini Tag.
- On White Soft Finish Cardstock I created a background using Oxide Inks.
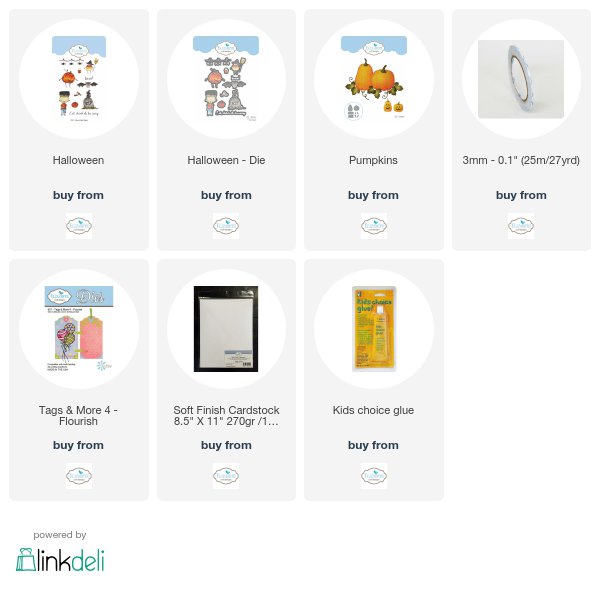
- Diecut the background using Tags & More 4 Flourish.
- Stamp and color Halloween Clear Stamp then diecut with matching die.
- Diecut some leaves with Pumpkins.
- Create the scene - adhere pieces with 3mm Clear Double Sided Adhesive and for smaller pieces using Kid's Choice Glue.
- Optional adhere a ribbon through the hole at the top of the tag.
Thanks for stopping by. Before you go don't forget to go to the Elizabeth Craft Designs Blog and in the comments answer the question for a chance to win a $20 gift card. Below is a list of links to all products used for your easy convenience.
Elizabeth Craft Designs
Product Used
 Other Product
Oxide Ink
Embossing Pad
Emboss Powder White
Heat Tool
Gorgeous examples using the Halloween product.
ReplyDeleteVery cute card, tag!!
ReplyDeleteVery cute mini tag
ReplyDeleteBeautiful backgrounds Tina!
ReplyDeleteAttractive, post. I just stumbled upon your weblog and wanted to say that I have liked browsing your blog posts. After all, I will surely subscribe to your feed, and I hope you will write again soon! Best product Review Website
ReplyDelete