When I saw the MFT Birthday Buds Stamp Set I couldn't wait to get my hands on it. It is such a fun set with adorable critters with balloons, candles and party hats. Below you will find the steps to create your own Happy Birthday To YOUUUU! Card.
Step 1 - Trim White Cardstock 8 1/2" x 5 1/2", score at 4 1/4" and fold in half for a vertical side fold card. (A2)
Step 2 - Trim White Cardstock to 1" x 5 1/2". Place it in a Misti. Stamp Diagonal Stripes using Versafine Clair Nocturne Ink. Trim in half and adhere to card front on the left and right side.
Step 3 - Trim White Cardstock to 3 1/4" x 5 1/2" two times. 1st panel - Diecut Double Stitched Circles 3 times. Now place the panel on the 2nd panel and outline the circles in pencil. On the 2nd panel with the pencil lines apply Distress Oxide Ink in Squeezed Lemonade, Wild Honey, and Candied Apple using a Blender Brush. Adhere 2nd panel to card front using Nuvo Deluxe Adhesive and 1st panel with Foam Tape.
Step 4 - Stamp Birthday Buds (images) using Gina K Amalgam Ink. Colour in with any alcohol markers of your choice. I used Spectrum Noir Original Markers. Fussy cut the images or diecut with matching dies. Adhere each image inside the circles using Foam Tape.
Step 5 - Stamp Birthday Buds (sentiment) using Versafine Clair Nocturne Ink. Diecut Stitched Fishtail Flag Stax using the sentiment created. Flip the diecut sentiment and diecut again. Adhere to card using Nuvo Deluxe Adhesive.
Step 6 - For added interest and shine randomly adhere Exotic Onyx Pearls using an Embellishment Wand and Collage Medium.
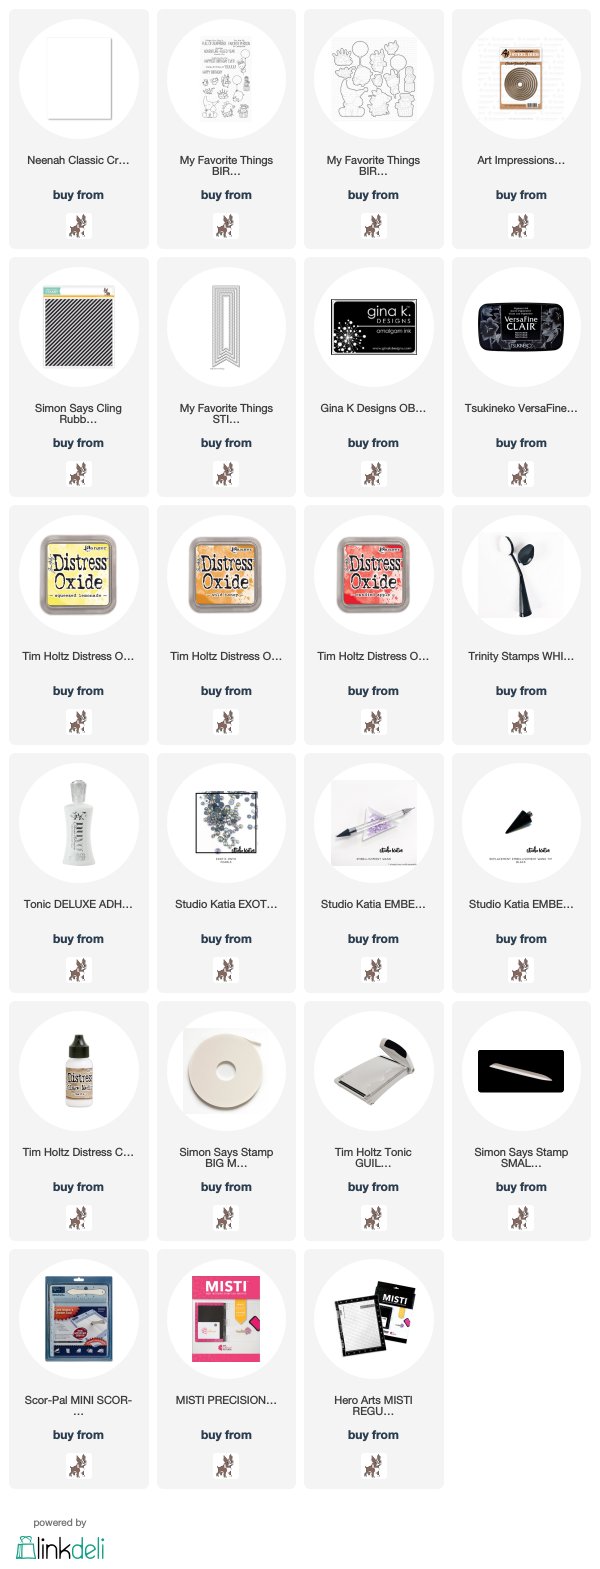
This card can be used for many occasions by changing the colors, images and/or sentiment. Below is a link with all the products used. Thank you for stopping by and Happy Crafting!
Products Used:


No comments:
Post a Comment