Showing posts with label Bearly Art Precision Glue. Show all posts

Thursday, November 18, 2021

Happy Birthday Mini Slimline Flat Shaker Card

Hi everyone,
I have a fun Mini Slimline Flat Shaker card to share with you using the Altenew Polka Dot Buds, SSS Happy Birthday dies, and the SSS Hybrid Ink Pad. Below is the steps to create your own card.


Step 1 - Trim White Cardstock to 7" x 6", score at 3 1/2" and fold in half for a vertical side fold card. (Mini Slimline)

Step 2 - Trim White Cardstock to 3 1/8" x 5 5/8". Place Altenew Stencil Polka Dot Buds (circles) on the cardstock and using a Blender Brush apply ink of your choice. I used SSS Hybrid Hot Lips. Remove the stencil and place the 2nd stencil (leaves and tiny dot) and apply SSS Hybrid Jellybean. I deepened the small dot using an Altenew Detailed Blender Brush. Let dry.

Step 3 - Trim a piece of cellophane slightly bigger than panel from Step 2 and place it on top of the panel. Flip it over and add Red Line Tape to the backside on all sides at the edges. Remove the release sheet from 3 sides and fold the cellophane to secure it to the tape. Flip over and add Pretty Pink Posh Sweet Pea Mix (using only the yellow/green and pink sequins). Remove the release sheet from the last piece of tape and secure the cellophane. Remove the excess pieces at each corner being careful not to remove too much that will leave a hole. Adhere to card front using Red Line Tape or Bearly Art Precision Glue. Either one works fine.

Step 4 - Diecut SSS Happy Birthday using Pink Cardstock for words and White Cardstock for the shadow. I did not have the right Pink Cardstock so before I diecut the word I inked a scrap piece of cardstock using the same SSS Hybrid Hot Lips ink I used on the stencil. Assemble and adhere to card using Bearly Art Precision Glue.


This card can be used for many occasions by simply changing the colors and/or changing the sentiment. Below is a link to all the products used. Thank you for stopping by and Happy Crafting!
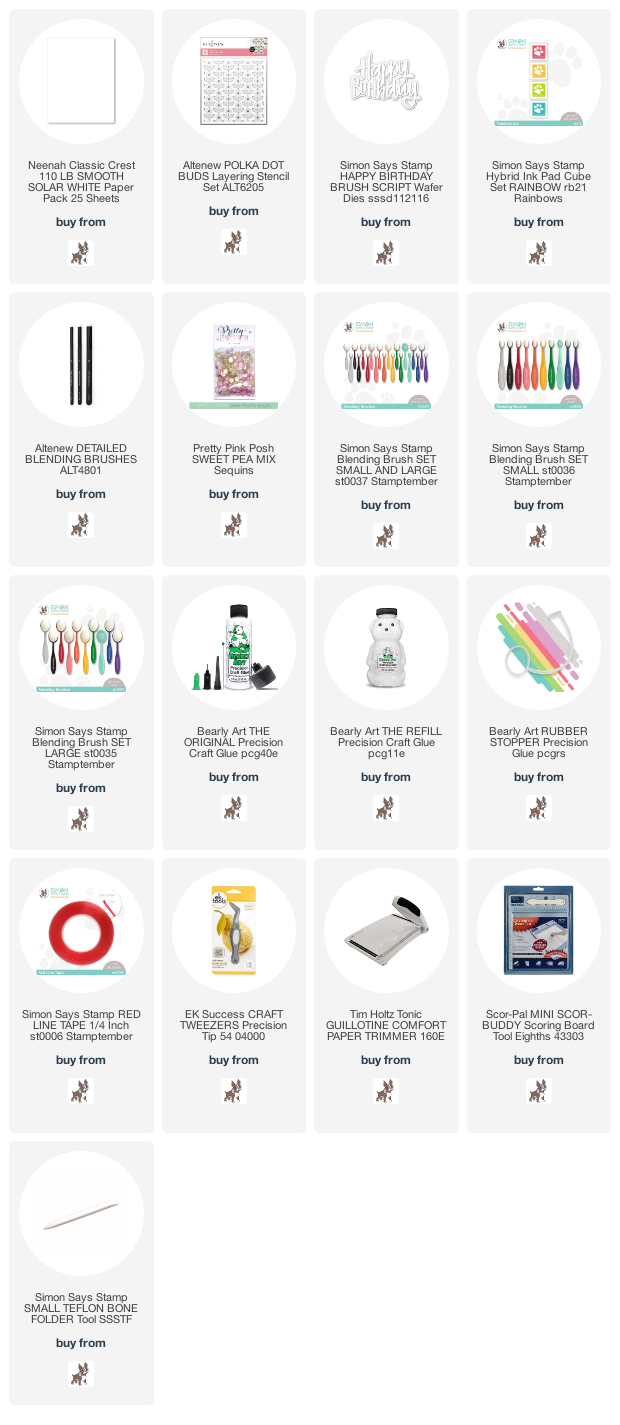
Products Used:

Friday, November 12, 2021

Fall Winter 2021 Coffee Lovers Blog Hop

Hi everyone, 

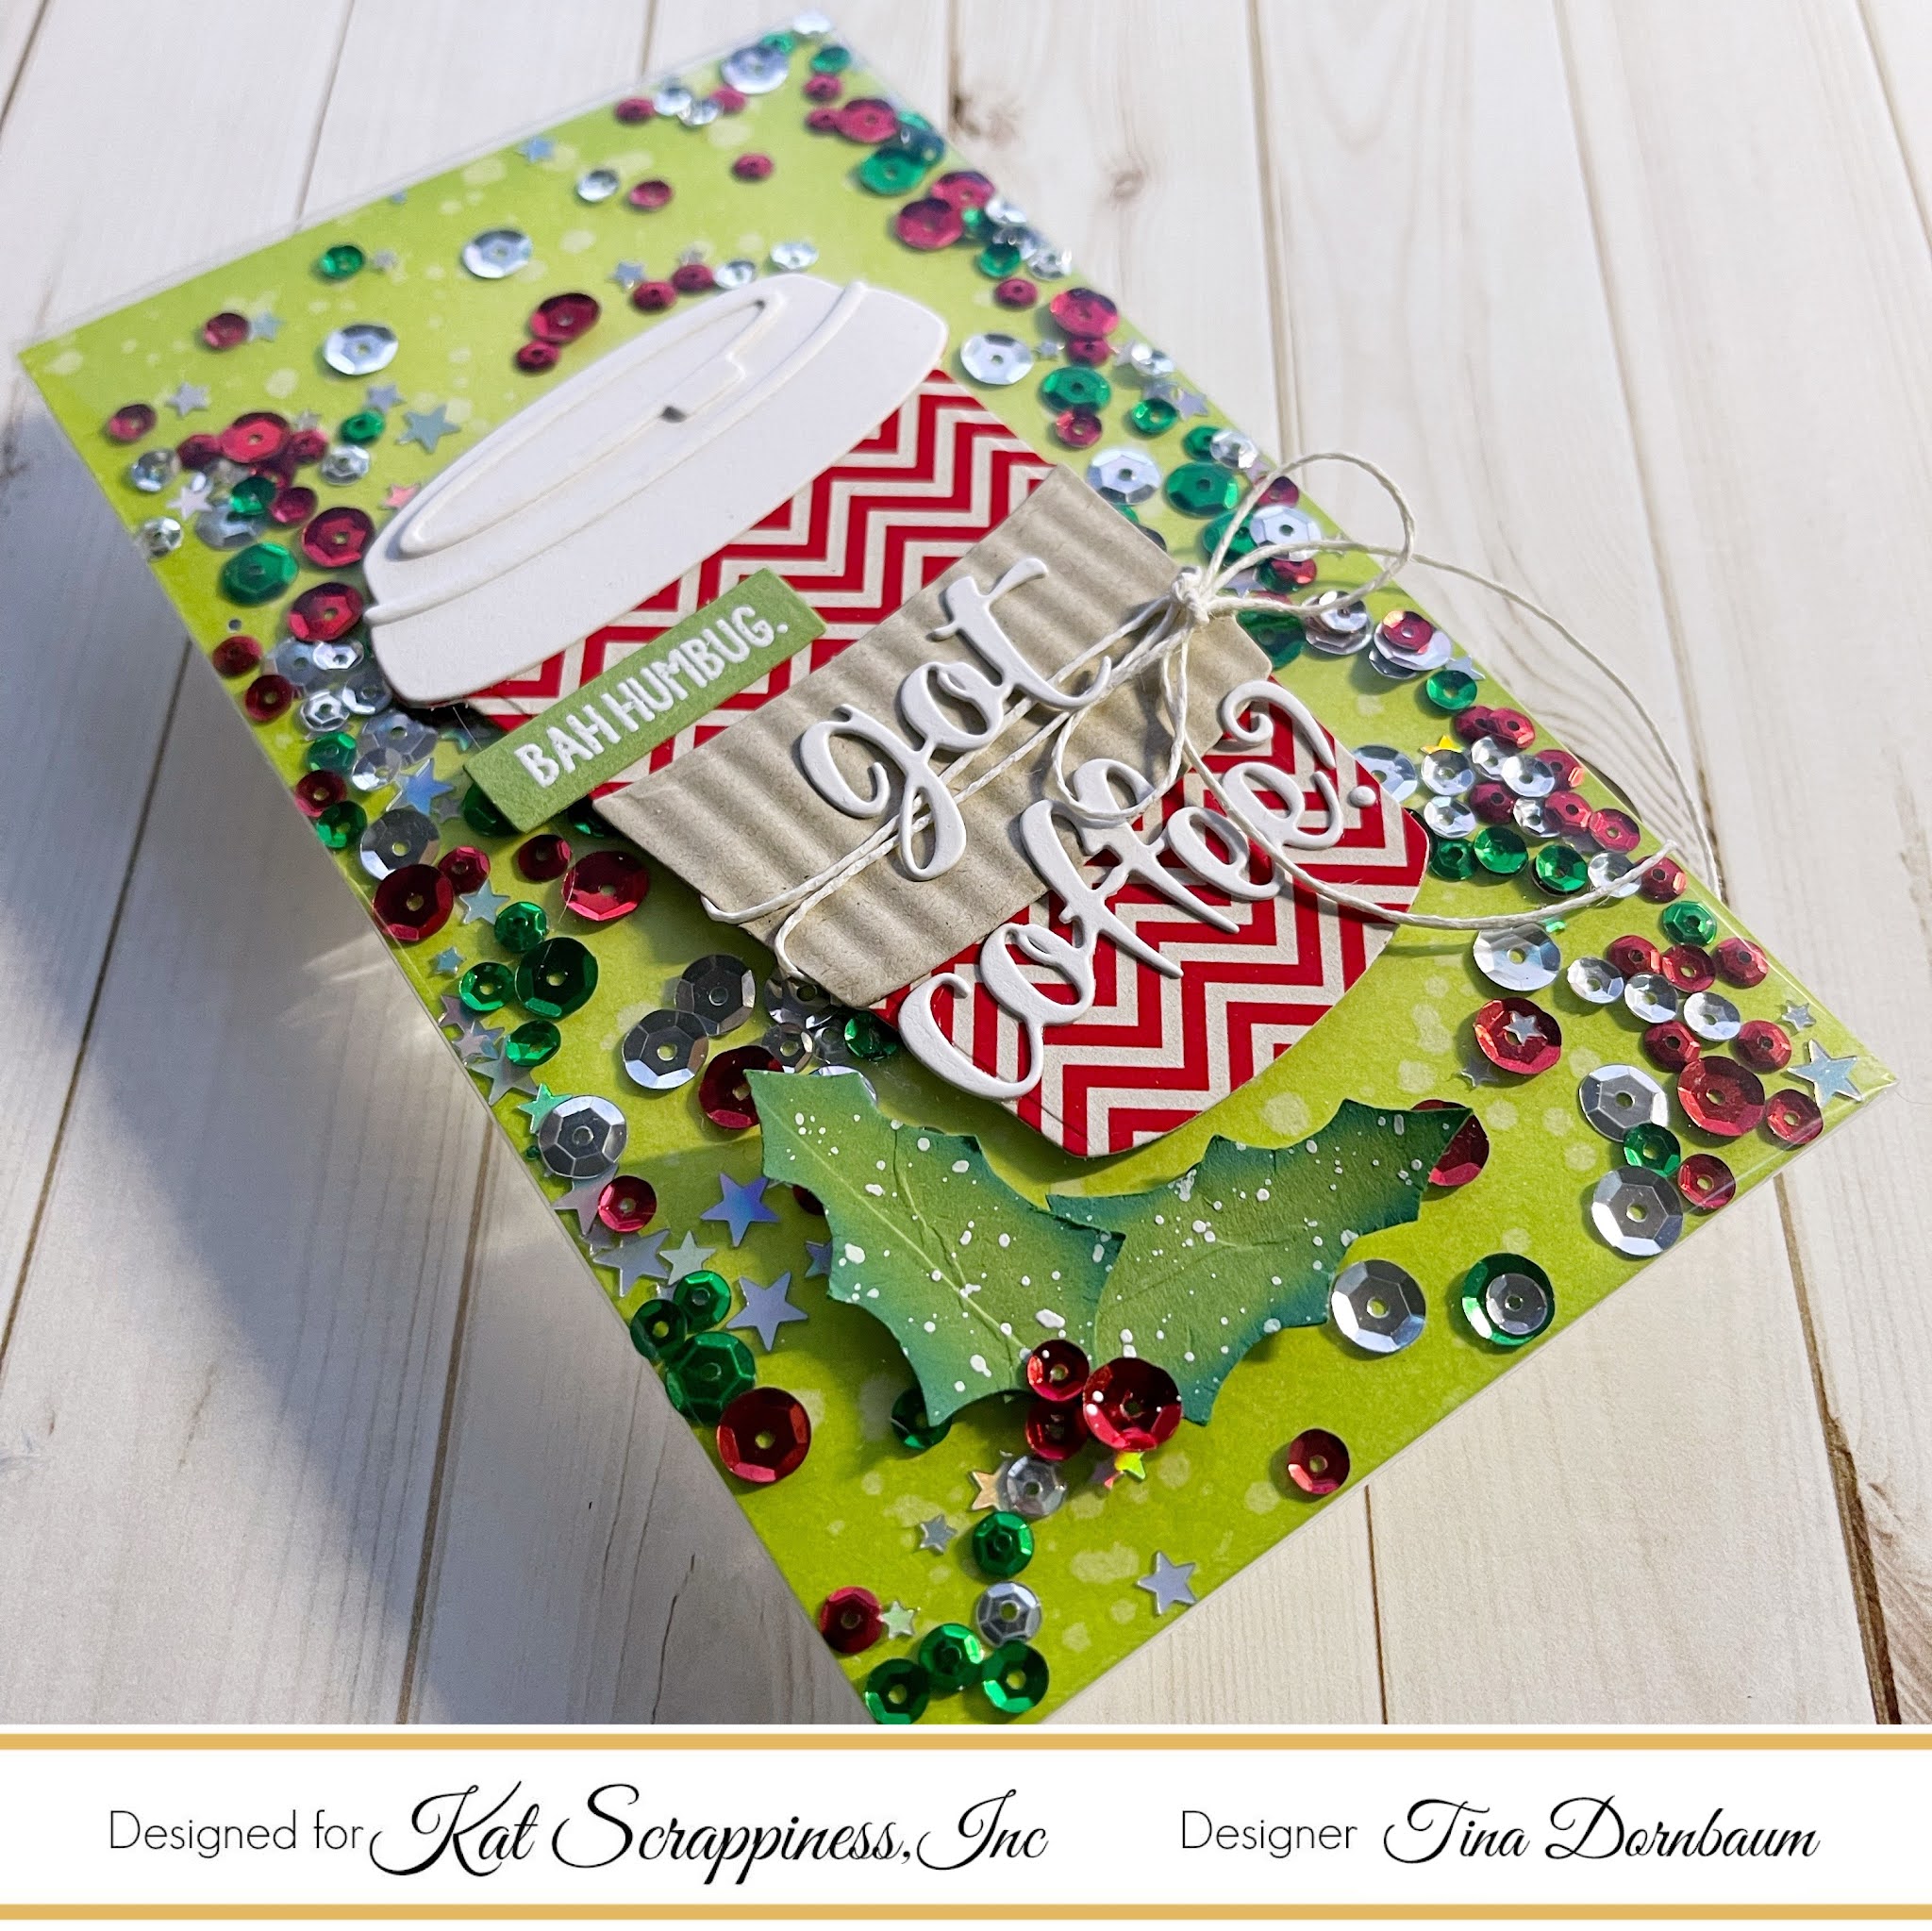
Welcome to my blog! Kat Scrappiness is pleased to be a returning super sponsor for the Coffee Lover’s Blog Hop for the Fall/Winter 2021. As a design team member I’m thrilled to show you a project I made using some of the Kat Scrappiness “Coffee” related products. They currently have over 100 Coffee themed products available!

Everything in their “Coffee” Category is 15% off from NOV 12-19th, And as an added bonus they will include EVERYTHING else on their site as well!!!! Use coupon code: “FWCOFFEEHOP” at checkout for 15% off your order).

Since Kat Scrappiness is a super sponsor, they are also be giving away a $25.00 gift card to the store, PLUS a flash prize which is a surprise package of Kat Scrappiness products! Be sure to leave a comment on the Kat Scrappiness Blog Post for a chance to win!

Below are the steps for my card.


Step 1 - Trim White Cardstock to 7” x 6”, score at 3 1/2” and fold in half for a vertical side fold card. (Mini Slimline)

Step 2 - Trim White Cardstock to 3 1/2” x 6”. Apply Ink of your choice using a Blender Brush. I used Distress Oxide Inks in Twisted Citron, Mowed Lawn. Sprinkle some water and remove the excess with a paper towel. Let dry.

Step 3 - I had a cellophane package in my stash so I trimmed it to be slightly larger than my panel from Step 2. Add Double Sided Tape to the backside of the panel from Step 2 on all sides. Remove the release sheet from 3 sides and adhere the Cellophane. Fold the edges of the 3 sides and insert in the front panel the Glistening Tinsel Sequin Mix. Now remove the release sheet and fold the remaining side closed. Remove all the excess at the corners. Adhere Bearly Art Precision Glue to the back and adhere to the card front.

Step 4 - Diecut Layered Coffee Cup using Ugly Sweater Patterned Paper to the base and White Cardstock to all the pieces of the topper and Desert Storm Cardstock for the piece in the center. Assemble using Bearly Art Precision Glue but don’t adhere the middle piece. Add some twine around the center piece and tie in a knot. Add it to the card using Bearly Art Precision Glue.

Step 5 - Diecut Got Coffee? Using White Cardstock. Adhere to card using Bearly Art Precision Glue.

Step 6 - Stamp Naughty Christmas sentiment using Versamark on Green Cardstock. Sprinkle White Embossing Powder and remove the excess. Heat set it with a Heat Tool. Diecut the sentiment using Boxed Sentiment Strip. To even out both ends Diecut again by placing the die on the opposite end making sure it is perfectly aligned. Adhere to card using Bearly Art Precision Glue.

Step 7 - Diecut Holly Leaves and Berries using Green Cardstock to the Holly. Using a Blender Brush apply Distress Oxide Mowed Lawn and Pine Needles to the edges. Adhere to card using Bearly Art Precision Glue. Instead of diecuting the berries I adhered Red Sequins from the same mix I used inside my flat shaker.


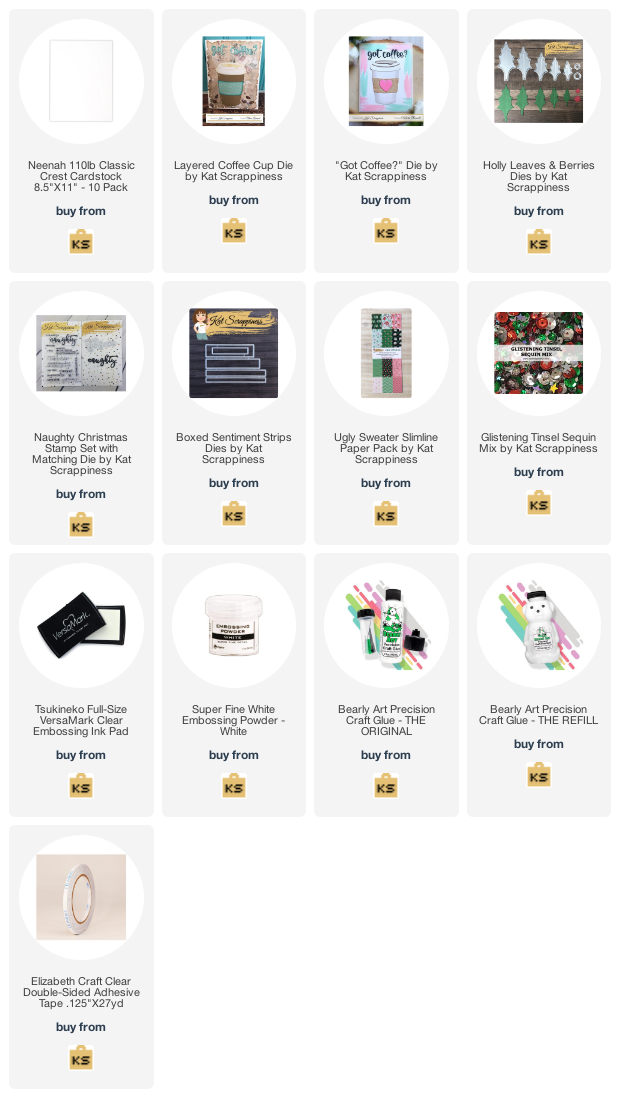
My card is using 2 things I am loving recently. Mini Slimline size and flat shaker cards. Below you will find the link to all the products used. Be sure to leave a comment over at the Kat Scrappiness Blog. Thank you for stopping by and Happy Crafting!

Products Used:

Saturday, May 1, 2021

I-Crafter May 1st Release

Hello My Crafty Friends,

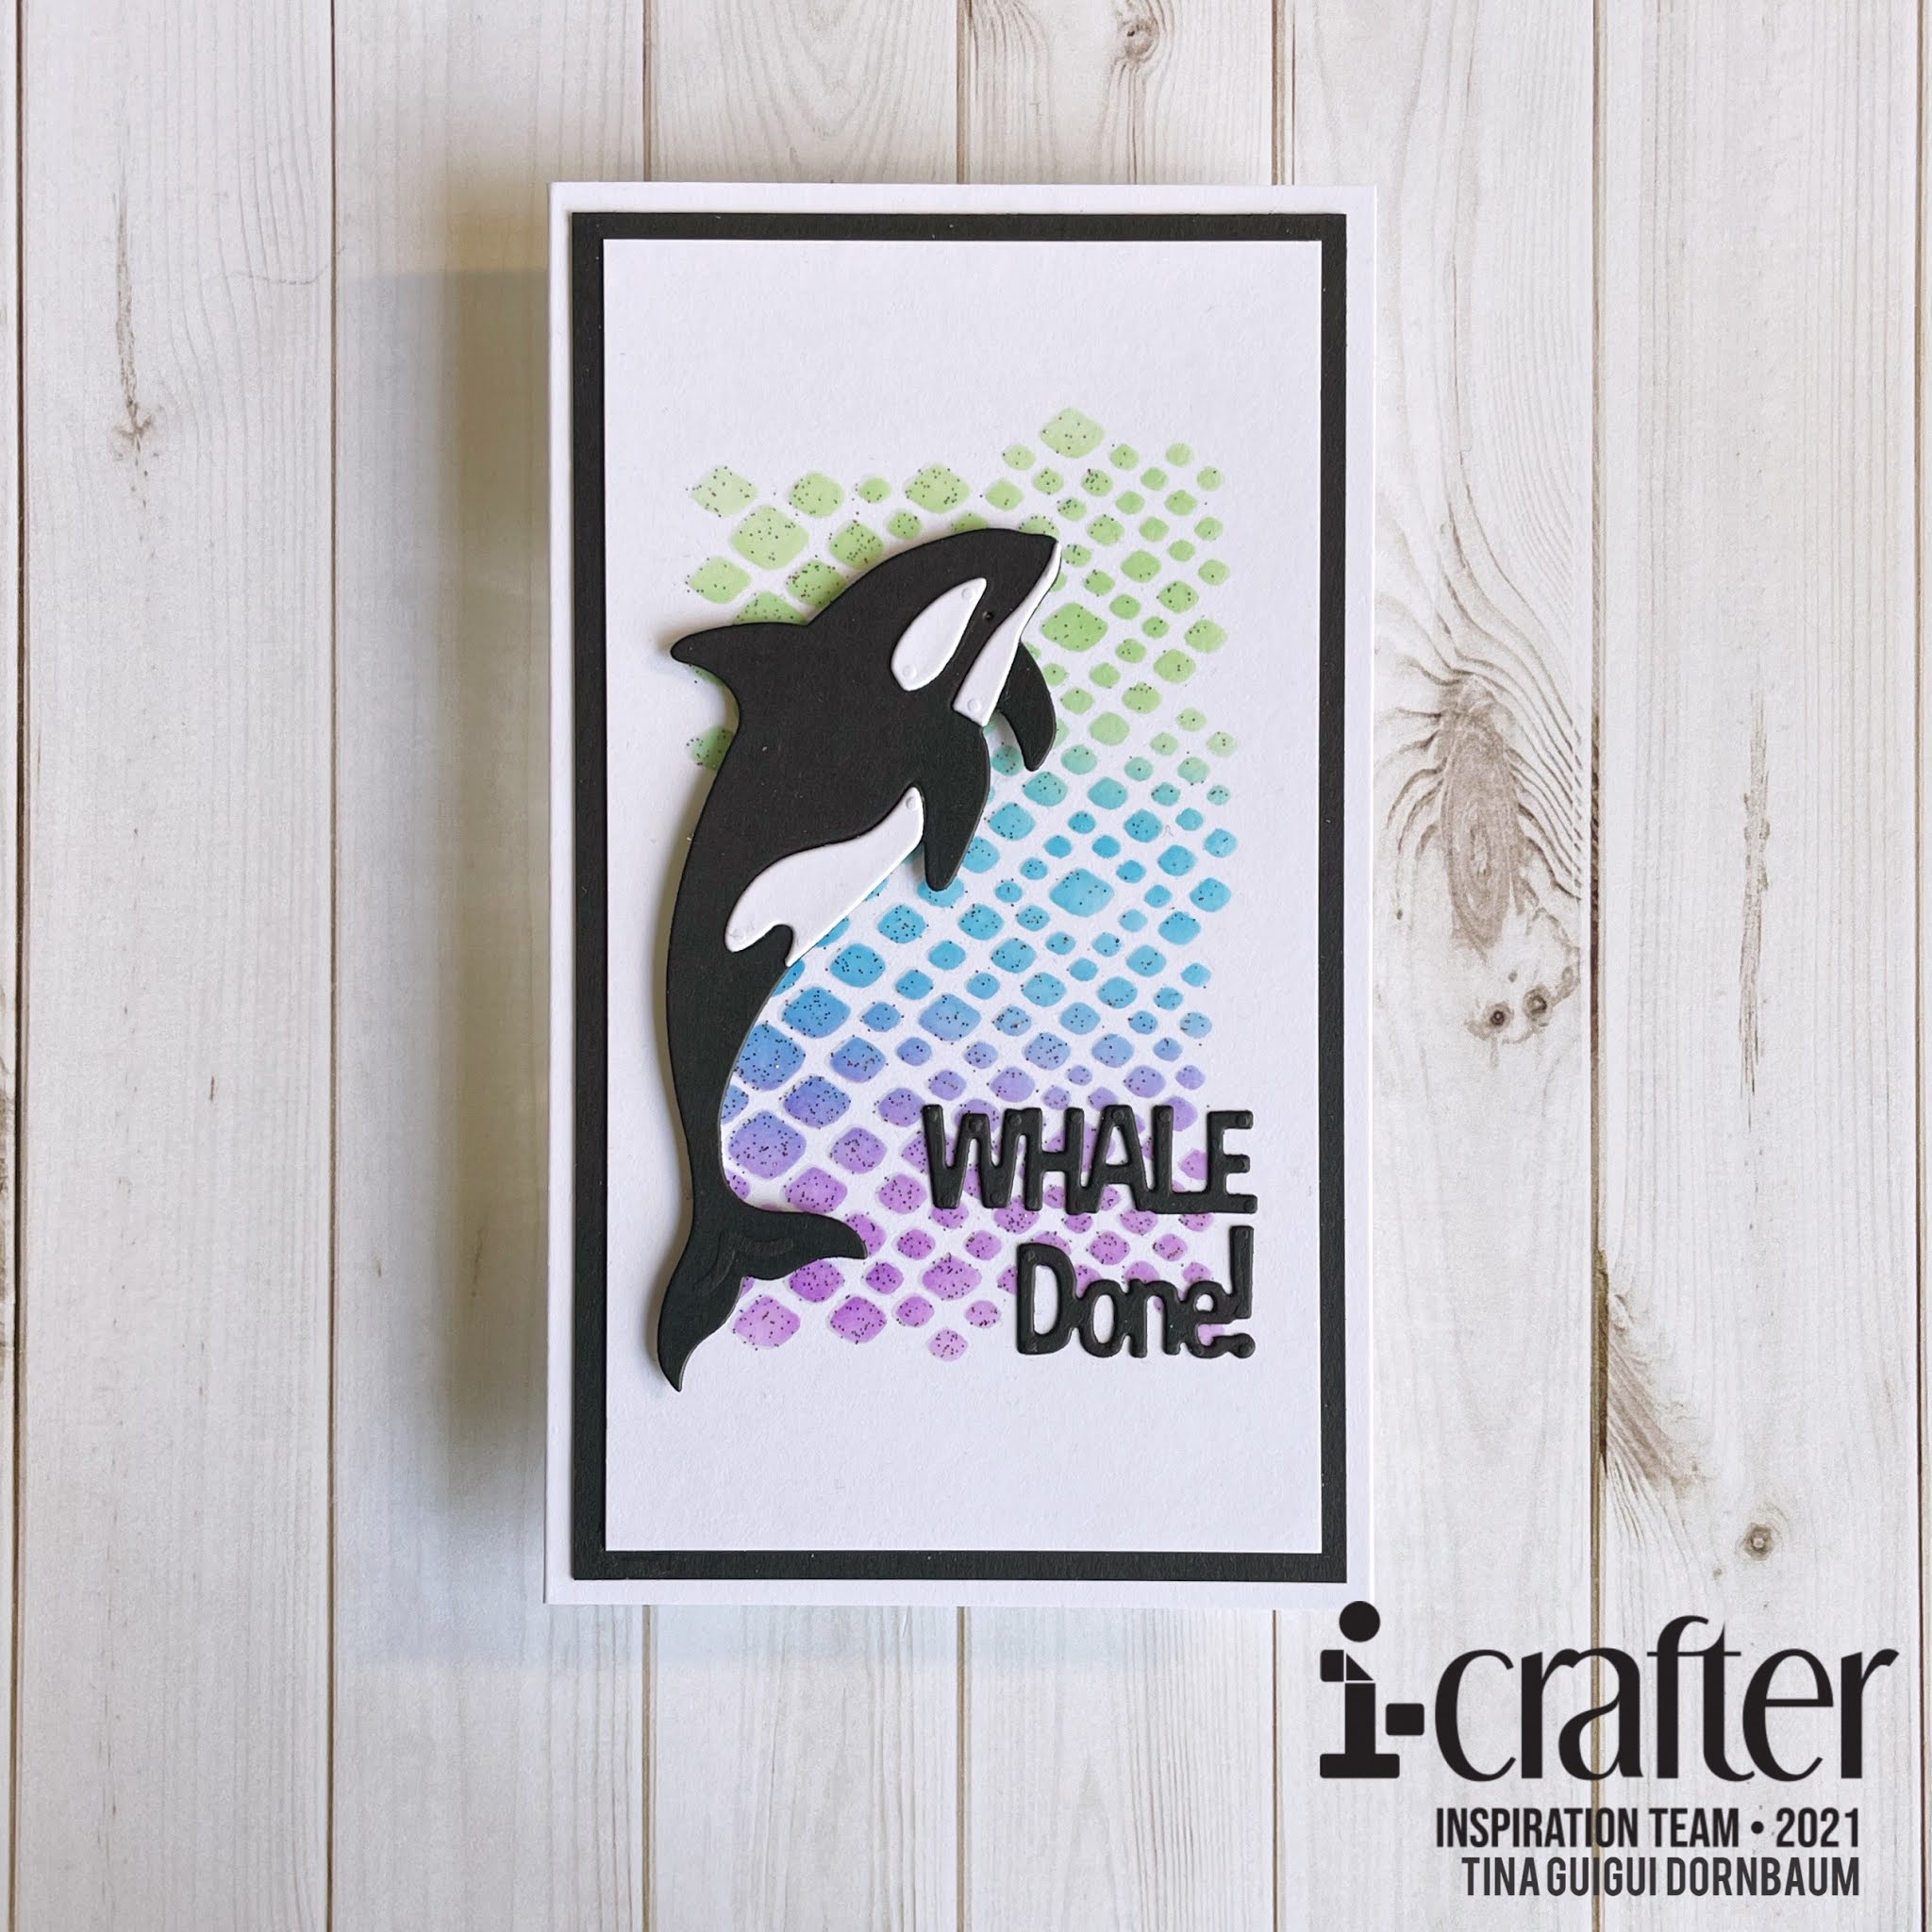
It’s Release time at i-Crafter and once again you won’t be disappointed. I chose the Animal Prints and Box Pop Whale Done Add On dies for my card. Below you will find the steps to create your own card.

Step 1 - Trim White Cardstock to 7” x 6”, score at 3 1/2” and fold in half for a vertical side fold card (Mini Slimline)

Step 2 - Trim Black Cardstock to 3 1/4” x 5 3/4” and adhere to card using Bearly Art Precision Glue.

Step 3 - Trim White Cardstock to 3” x 5 1/2”. Diecut Animal Prints using a scrap piece of Cardstock to use as a stencil. Place the stencil on top of the trimmed Cardstock. Apply Distress Oxide Ink using a Blender Brush. I used Cracked Pistachio, Salty Ocean and Wilted Violet. Apply Versamark on top and remove the stencil. Sprinkle Rainbow Sparkle Embossing Powder and remove the excess. Heat set it with a heat tool. Adhere to card using Bearly Art Precision Glue.

Step 4 - Diecut Box Pop Whale Done Add On (Whale) using Black Cardstock for main image and White Cardstock for the accents. Assemble and adhere to card using Foam Tape.

Step 5 - Diecut Box Pop Whale Done Add On (sentiments) using Black Cardstock and adhere to card using Bearly Art Precision Glue.


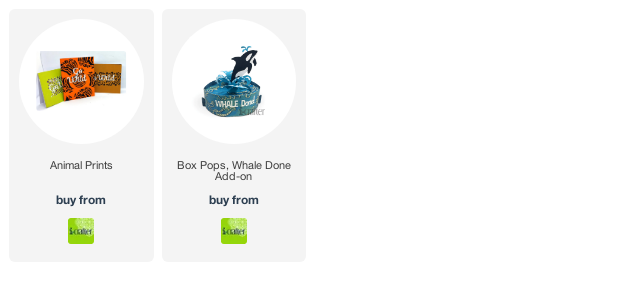
This card can be used for several occasions by changing the sentiment. Below you will find the link to the products used. Thank you for stopping by and Happy Crafting!

Products Used: