I am loving the Winter Floral Layering Stencils and I wanted to create a holiday card with a touch of a winter storm feel to it. I love it when I have an idea and it works out better than I expected. Below you will find the steps to create your own Winter Floral Holiday card.
Step 1 - Trim White Cardstock to 8 1/2" x 5 1/2", score at 4 1/4" and fold in half for a vertical side fold card. (A2)
Step 2 - Trim White Cardstock to 5 1/2" x 4 1/4". Apply Distress Oxide Ink Tumbled Glass to the entire panel. Make sure it is completely dry before the next step.
Step 3 - Place the Winter Floral Stencil Layering Stencil (Poinsettia) on top of the panel created in step 2. Apply Distress Oxide Ink Candied Apple. Remove the stencil and sprinkle White Satin Pearl Embossing Powder, remove the excess and heat set it with a heat tool. Repeat for the leaves and branches using Shabby Shutters, again sprinkling White Satin Pearl Embossing Powder and heat set it.
Step 4 - Diecut Wonky Stitched Rectangle using the panel from Step 3.
Step 5 - Place the panel from Step 3 into a Splatbox and spray White Iridescent Shimmer. I was generous with the spray. Set aside to dry completely.
Step 6 - Adhere Fun Foam to the backside of the panel from Step 3 and then adhere to the card using Nuvo Deluxe Adhesive.
Step 7 - Apply Distress Oxide Ink Tumbled Glass to a scrap piece of White Cardstock. Stamp Holiday Greetings Mix 1 using Versafine Clair Nocturne Ink. Trim the sentiment and then apply Distress Oxide Ink Shabby Shutters to the edges, then Spray White Iridescent Shimmer. Once completely dry adhere to card using Foam Tape.
Step 8 - I didn't have Red Crystals so I took a small plastic cup and placed some Icy Crystals with a few drops of Alcohol Pearl Deception. I shook the cup until all the Crystals were completely coated. Once they were dry I adhered them to the center of the Poinsettias using a Crystal Katana and Collage Medium.
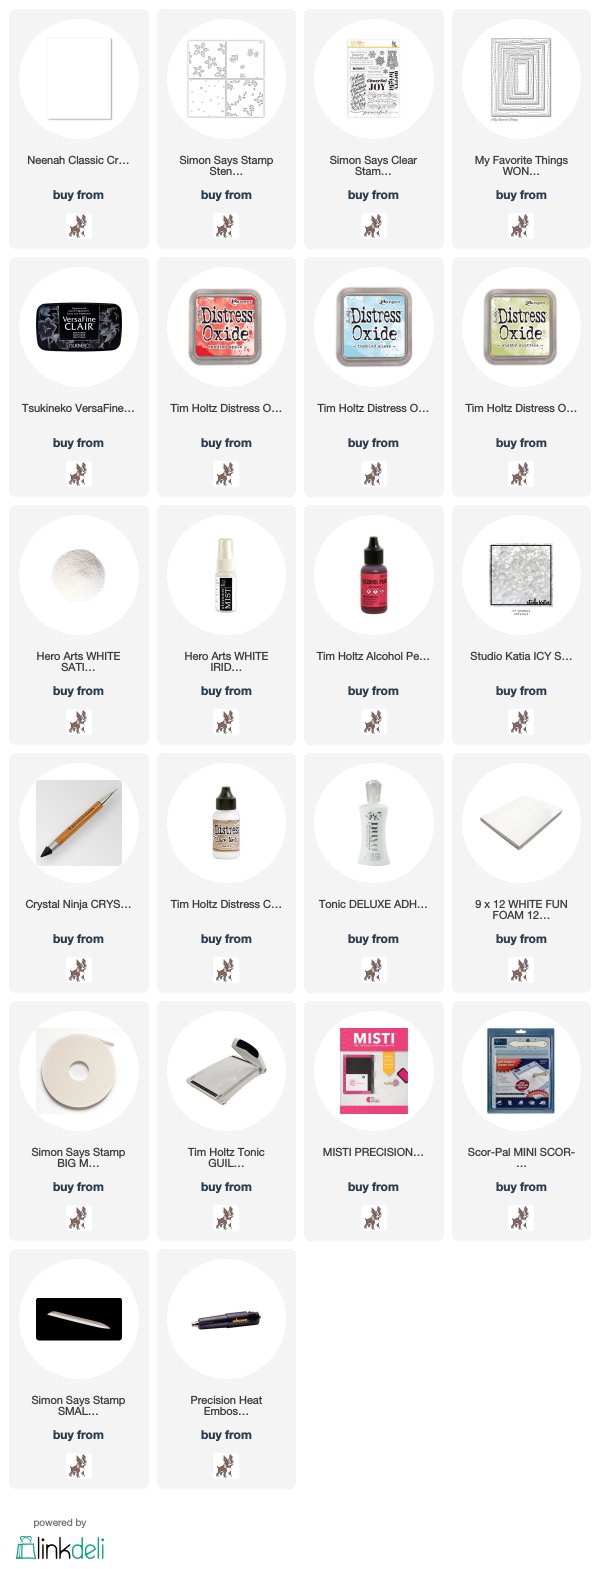
Products Used:


This is so pretty! Love that stencil set! Beautiful colors and embellishments!
ReplyDelete