
Happy Sunday! With the holidays around the corner and ideas running short using a sketch can help you out as well as surprise you with what you come up with. Which is the case with the Case This Sketch #349. Below are the steps to create your own Winter Wishes card.

Case This Sketch #349

Step 1 - Trim White Soft Finish Cardstock to 8 1/2" x 5 1/2", score at 4 1/4" and fold in half for a vertical side fold card. (A2)
Step 2 - Trim Soft Sky Cardstock to 5 1/2" x 4 1/4". Using a snowflake stencil apply Nuvo Glimmer Paste Moonstone using a spatula. Remove the excess and set aside to dry. If you do not have a stencil you can add splatters using White Acrylic Paint with a waterbrush by tapping the brush. Adhere to card using 3mm Clear Double Sided Adhesive Tape.
Step 3 - Trim Unconventional Xmas Patterned Paper to 2 1/4" x 4 1/4". Adhere to card using 3mm Clear Double Sided Adhesive Tape.
Step 4 - Diecut Snowflakes using White Soft Finish Cardstock. Adhere to card using Kids Choice Glue. I only added glue to the center so that the edges add some dimension. Trim off the hanging parts of the snowflake using scissors.
Step 5 - Diecut Penguin using True Black for the main body, arms, feet and mouth, White for the center body and Soft Sky for the scarf. Assemble the penguin and then adhere to the center of the Snowflake using Kids Choice Glue.
Step 6 - Stamp Joyful Wishes sentiment using Versafine Clair Nocturne Ink.
Step 7 - For added interest and sparkle apply Nuvo Aqua Shimmer Glitter Gloss on the scarf.


I love hanging shapes off the paper which adds a different element to your card. Don't be afraid to try this technique. It's nice to break free from your comfort zone. Below is a link to all the products used. Thank you for stopping by and have a wonderful day. Be sure to come back soon as I will be having a Blog Giveaway.
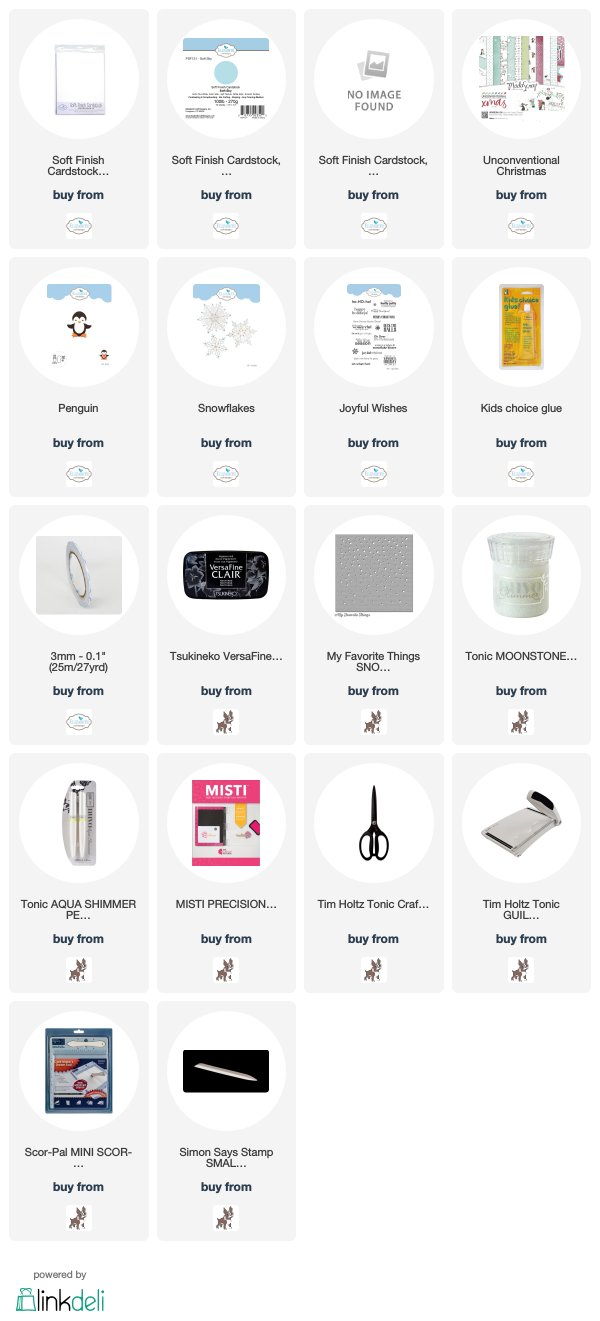
Products Used:
No comments:
Post a Comment