Hi everyone, welcome back to the Elizabeth Craft Designs Group Post. This month the theme is Christmas which is just in time for the new mini Holiday release. There are 5 new dies. Holiday Elf - Hers, Holiday Elf - His, Jack Frost, Winter Accessories, and Snow Globe. Today's card is using the Holiday Elf - Hers along with some earlier product. Below you will find the steps to create your own Have A Holly Jolly Christmas card.
Step 1 - Trim White Soft Finish Cardstock to 8 1/2" x 5 1/2", score at 4 1/4" and fold in half for a horizontal top folding card. (A2)
Step 2 - Trim White Soft Finish Cardstock to 4 1/4" x 5 1/2". Apply Distress Oxide Ink Tumbled Glass using a Blender Brush. I went heavy on the top and lighter towards the bottom. Place a snow stencil on top and apply Snow Glitter Paste. Remove the stencil and let dry.
Step 3 - Diecut Stitched Rectangles to the panel created in Step 2. Adhere to card using 3mm Clear Double Sided Adhesive Tape.
Step 4 - Diecut Santa’s Sleigh (sleigh die) using Red Cardstock and Gold Metallic Cardstock for the legs of the sleigh. Adhere the legs to the sleigh using Kid’s Choice Glue. Stamp Joyful Wishes sentiment using Versamark to the left side of the Sleigh. Sprinkle Gold Embossing Powder and remove the excess. Heat set it with a Heat Teal. Adhere the Sleigh to the card front using Kid’s Choice Glue leaving a gap opening at the top.
Step 5 - Diecut Santa’s Sleigh (presents) using Metallic Cardstock for the ribbons and Patterned Paper for the Gift’s. Assemble and adhere to card using Kid’s Choice Glue.
Step 6 - Diecut Holiday Elf - Hers using various colors of Cardstock. Assemble and adhere to card using Kid’s Choice Glue.
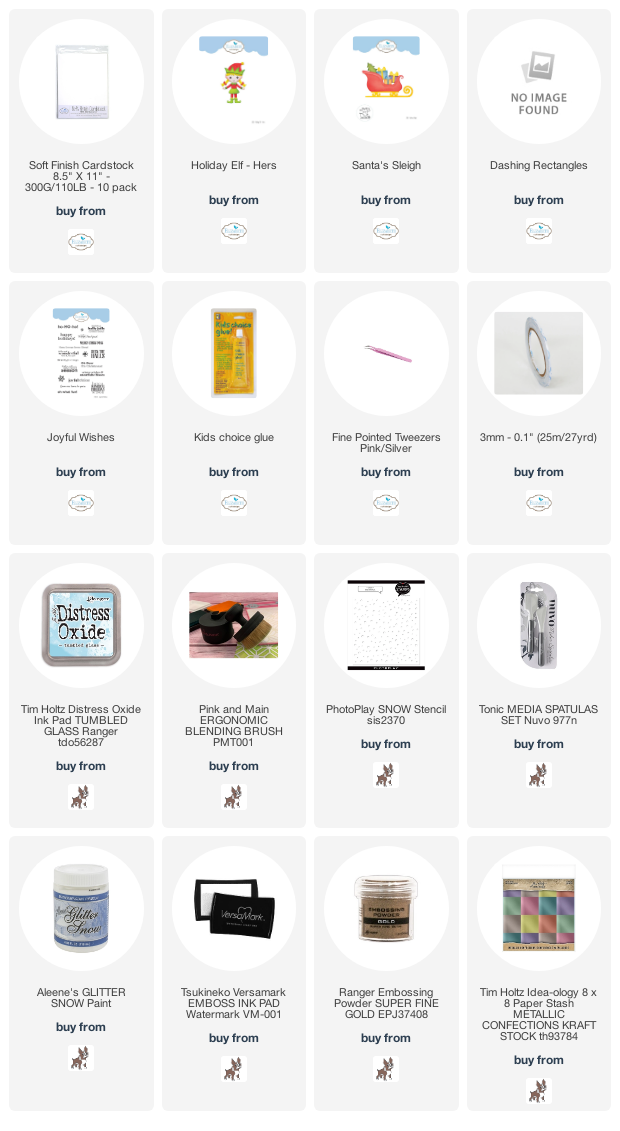
This card is perfect for a Winter or Holiday themed card. The Holiday Elf - Hers can also be used on other occasion cards by removing the trimmings on the boots, hat and collar. Below is a link to all the products used. The Holiday Elf - Hers will be added once it is in available on the website. Thank you for stopping by and Happy Crafting!
Products Used:


No comments:
Post a Comment