Sunday, June 30, 2019

Masculine Card Using The Monkey Die From ECD and Case This Sketch 328

Hi Everyone,
Do you struggle with masculine cards? I know I do. Well to be honest I gravitate towards flowers, bling and feminine colors which makes it hard to turn that into a masculine card. Using the Monkey die from Elizabeth Craft Designs and the Doodlebug Design 6x6 Kraft in Color - Kraft paper I was able to get out of my comfort zone. I topped that off with a Case This Sketch which is a Challenge blog for Clean and Simple cards. Below you will find the steps to create your own card.

Case This Sketch 328


Step 1 - Trim White Cardstock to 8 1/2", score at 4 1/4" and fold in half for a vertical side fold card. (A2 size)

Step 2 - Trim Patterned Paper to 4 1/4" x 5 1/2" and adhere to card using Nuvo Deluxe Adhesive. Trim Patterned Paper to 3 5/8" x 5 1/2" and adhere to card using Nuvo Deluxe Adhesive.

Step 3 - Stamp Safari Sentiments on front of card using Versafine Onyx Black Ink.

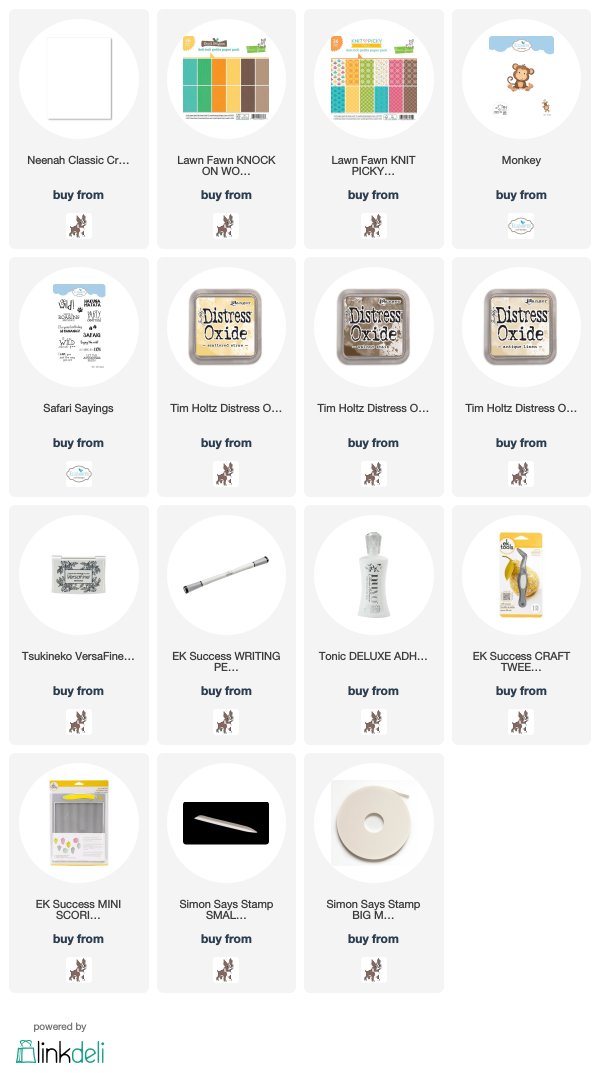
Step 4 - Apply Distress Oxide Ink on White Cardstock. I used Walnut Stain, Antique Linen and Scattered Straw. Diecut Monkey using the correct colors. I used the Walnut Stain for the main body pieces, Antique Linen for all the detail and the Scattered Straw for the bananas. Assemble the Monkey using Fine Tweezers and Nuvo Deluxe Adhesive. Adhere the monkey and bananas to card using Foam Tape.


It's a pretty simple card to put together and can be used for a girl by changing the colors. Unfortunately the Doodlebug Design 6x6 Kraft in Color - Kraft paper is no longer available so I linked to papers that are a good substitution. Below is a link to all the products used. Thank you for stopping by and have a wonderful day.
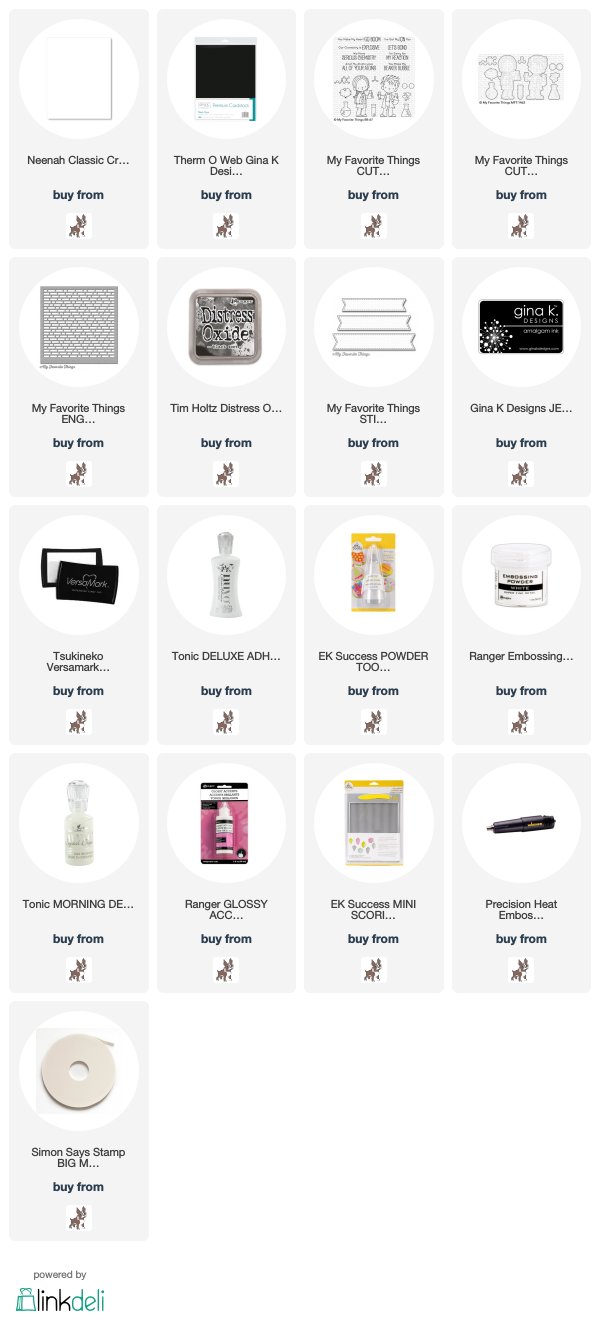
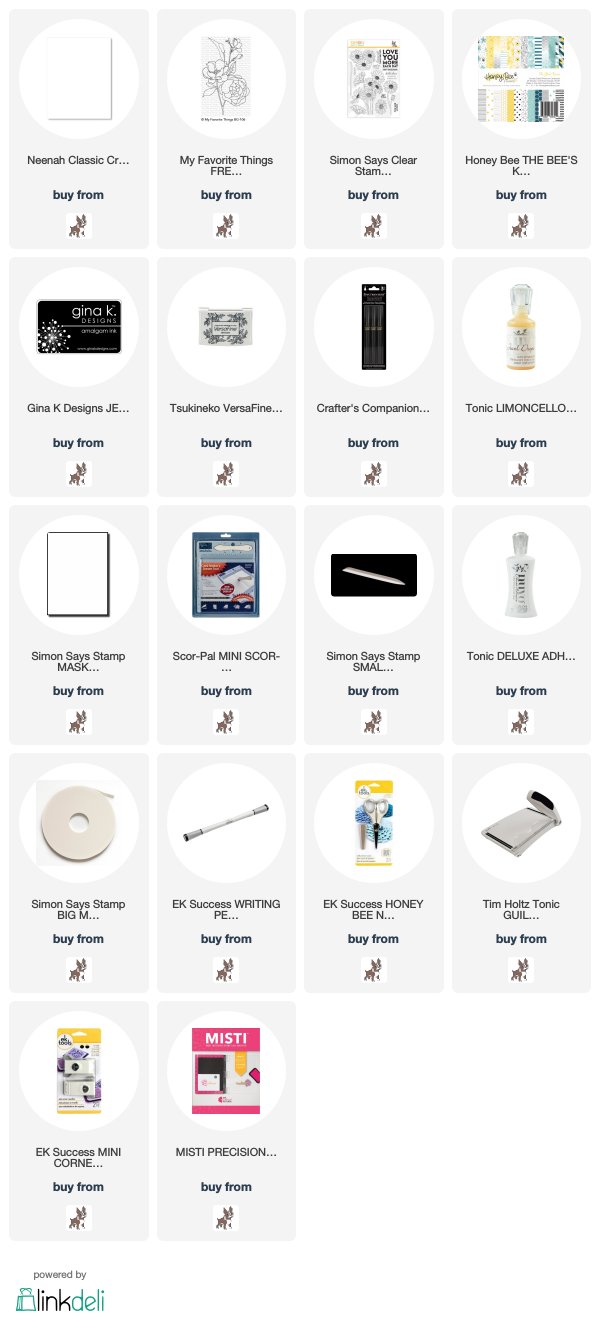
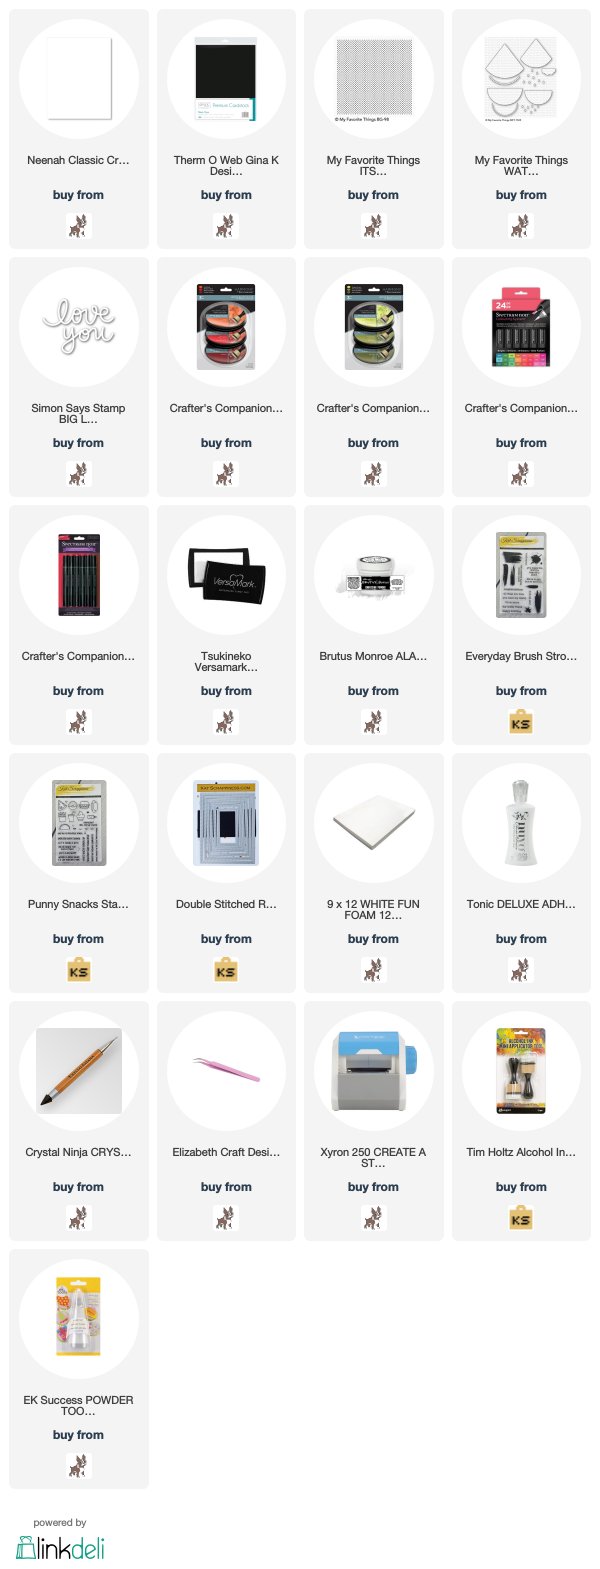
Products Used:

Thursday, June 27, 2019

You Make My Heart Go BOOM Card

Hi Everyone,
Today I have a super cute card to share with you using the Cute Chemists from My Favorite Things and they are colored using the Spectrum Noir Markers. Below you will find the steps to create your own card.

Before we get started a reminder that I have a blog giveaway going on which ends this Saturday. Go here to see all the details.


Step 1 - Trim White Cardstock to 8 1/2" x 5 1/2", score at 4 1/4" and fold in half for a vertical side fold card. (A2)

Step 2 - Trim Black Cardstock to 4 1/4" x 5 1/2". Adhere to card using Nuvo Deluxe Adhesive.

Step 3 - Trim White Cardstock to 4" x 5 1/4". Place English Brick Wall Stencil on top of the White Cardstock and apply Distress Oxide Ink Black Soot using a Mini Ink Blending Tool. I went heavier at the bottom and fading out to nothing towards the top. Adhere to card using Nuvo Deluxe Adhesive.

Step 4 - Stamp Cute Chemists images using Gina Amalgam Ink on White Cardstock. Color in images in alcohol markers of your choice. I used Spectrum Noir Markers. I listed the colors below. Diecut Cute Chemists using matching dies and adhere to card. The blast using Nuvo Deluxe Adhesive and Foam Tape for the Girl and Boy images.

Step 5 - Stamp Cute Chemists sentiment using Versamark on Black Cardstock. Sprinkle White Embossing Powder and remove the excess. Heat set it with a heat tool. A reminder to add some anti static powder before stamping. Diecut Stitched Fishtail Banners to the sentiment. Adhere to card using Foam Tape.

Step 6 - For added interest apply some Nuvo Crystal Drops Morning Dew randomly. I also added Glossy Accents to the Potions and Eye Glasses.


Markers Used:
Face: CR2, FS5, FS1, FS2
Boys Hair & Boys Shoes: TN7, TN5, TN3
Girls Hair: GB7, GB4, GB1
Boys Pants: TB7, TB5, TB3
Girls Top & Shoes: CR6, CR4
Clipboard: MG5, MG3
Boys Lab Coat & Girls Pants: IG5, IG3, IG1
Girls Potion: CR6, MG3
Boys Potions: BT5, BT3, BT1, AB1

This card can be used for several occasions by changing the sentiment, background and colors. You can buy the Spectrum Noir Markers at Crafters Companion or at Simon Says Stamp. Below is a link to all the products used. Thank you for stopping by and have a wonderful day!

Products Used:

Tuesday, June 25, 2019

Fresh Cut Flowers With Case This Sketch 327

Hi Everyone,
Hello and welcome back. Today I have a card featuring the MTF Fresh Cut Flowers using Sketch 327 from Case This Sketch. This is a fun challenge for Clean and Simple cards. Below you will find the steps to create your own card.

Before we get started I have a blog giveaway going on which ends this saturday. Go here to see all the details.


Step 1 - Trim White Cardstock to 8 1/2" x 5 1/2", score at 4 1/4" and fold in half for a vertical side fold card.

Step 2 - Trim Honeybee The Bee's Knees 6x6 Patterned Paper to 5 1/2" x 4 1/4". Adhere to card front using Nuvo Deluxe Adhesive.

Step 3 - Stamp Fresh Cut Flowers using Gina K Amalgam Ink on White Cardstock. I stamped the flower on the left. Color in using alcohol markers of your choice. I used Spectrum Noir Markers. For the petals I used BP7, MG4, MG2. The inner flower OR1, CT4. Fussy cut the flower and add Black Ink to the outer edges. I used an EK Tools Writing Pen.

Step 4 - Color in a scrap of White Cardstock using an alcohol marker. I used CT4. Stamp Daisy Bouquet sentiment using Versafine Onyx Black Ink. Trim sentiment using a paper trimmer. Optional use a corner punch on both sides.

Step 5 - Trim Honeybee The Bee's Knees 6x6 Patterned Paper to 3 7/8" x 2 3/8". Stamp Fresh Cut Flowers on masking sheet using Versafine Onyx Black Ink. Fussy cut out the stem. Place trimmed patterned paper in a Stamping Positioner Tool. Place the mask on top. Stamp Fresh Cut Flowers (stem only) using Gina K Amalgam Ink. Remove the mask. Color in using Alcohol Makers. I used AG5, AG3. Adhere patterned paper and sentiment from Step 4 using Nuvo Deluxe Adhesive.


Step 6 - For added interest apply Nuvo Jewel Drops Limoncello randomly and add Spectrum Noir Sparkle to the flower.


This card can be used for any occasion by changing the colors, image, patterned paper and sentiment. Below is a link to all the products used. For the Spectrum Noir markers you can order them Crafters Companion or at Simon Says Stamp. Thank you for stopping by and have a wonderful day.

Products Used:

Sunday, June 16, 2019

Watermelon Slice Cards Using Spectrum Noir Markers and Harmony Inks

Hi Everyone,
Welcome back to my blog. Today I have 2 sweet cards to share with you using the Spectrum Noir Harmony Inks and Markers along with the MFT Watermelon Slice Die. The Harmony Inks were used to create a realistic watermelon and I absolutely love how they turned out. Below you will find the steps to create your own cards.

Before we get started we have a winner from last weeks Blog Giveaway. Congratulations Andre M. Please email me your mailing address.

The Blog Giveaway using Rafflecopter was a huge success that I decided to do another one. For everything you follow you are given a chance to win the gorgeous Distressed Edge Rectangle Dies from Kat Scrappiness. The contest ends Midnight June 30.

The prize: Distressed Edge Rectangle Dies


a Rafflecopter giveaway

Card #1

Card #2

Step 1 - For both cards trim White Cardstock to 8 1/2" x 5 1/2", score at 4 1/4" and fold in half for a vertical side fold card. (A2)

Step 2 - Apply Harmony Ink Chinese Red to White Cardstock using an ink applicator. Apply Harmony Ink Grasshopper to White Cardstock. Spray both with water to activate the ink and create texture. On the green one add some Harmony Ink Pine Tree to an acrylic block and add a little water. Pick it up with a waterbrush and splash the ink onto the cardstock. Let dry.

Step 3 - Diecut Watermelon Slice, 2 of each shape using the inked cardstock from Step 2. Largest outline using the green and smaller one using the red. The thin dies are in white and the watermelons seeds are in black. Assemble the watermelon slices. Optional use the die that creates a bite from the slice.

Step 4 
Card#1 - Diecut Double Stitched Rectangles using White Cardstock. Stamp Everyday Brush Strokes using Harmony Ink Chinese Red. Adhere to card using Nuvo Deluxe Adhesive. Adhere 2 watermelon slices using Nuvo Deluxe Adhesive. 

Card#2 - Diecut Double Stitched Rectangles using White Cardstock. Using an alcohol friendly Black Fine Tip Marker add diagonal lines to create a checker background. Color in the pattern using Alcohol Markers. I used Spectrum Noir Colouring System CR7, CR8 and CR11. Adhere the panel to a piece of Fun Foam and then the card front. Adhere the watermelon slices using Nuvo Deluxe Adhesive.

Step 5 - For both cards. Trim Black Cardstock to the size of sentiment die and run them through a Xyron Sticker Maker. If you don't have one you will have to adhere Nuvo Deluxe Adhesive to every layer. Diecut Big Love You using Black Cardstock (You die) 6 times. 3 for each card. Remove the release sheet and adhere each layer and then adding it to the card.

Step 6 - For both cards. Stamp Punny Snacks sentiment using Versamark on Black Cardstock. Sprinkle White Embossing powder, remove the excess and heat set with a heat tool. Adhere to card using foam tape.

Step 7 - For Card#1 for added interest diecut watermelons seeds and add to the top part of the card.


These cards can be used for many occasions by changing the sentiment. You can order the Harmony Inks and Spectrum Noir Markers from Crafter's Companion from the links at the top of this post. Or you can order below by clicking on the link. Thank you for stopping by and have a wonderful day. 

Products Used:

Saturday, June 8, 2019

Triblends And Metallic Ink by Spectrum Noir And A Giveaway

Hi Everyone,
I am super excited that I have been selected for Spectrum Noir Design Team!!! It's a super huge team with lots of amazing talent. Today I have a vibrant card to share with you using the new Tri-Blends and Metallic Ink by Spectrum Noir. I used the Center Cut Flowers Stamp and colored it with Tri-Blends and the Metallic Ink for my background on Black Cardstock. I just love how well the Metallic ink shows on dark cardstock. Below you will find the steps to create your own card.

But before we start it's time for another giveaway. This time I have decided to try out Rafflecopter. For everything you follow you are given a chance to win the Beautiful Flowers stamp Set from Simon Says Stamp. The contest ends Midnight June 16.


Step 1 -
Trim White Cardstock to 8 1/2" x 5 1/2", score at 4 1/4" and fold in half for a vertical side fold card. (A2)

Step 2 - Trim Black Cardstock to 4 1/4" x 5 1/2", apply purple tape (non permanent) in strips. I tore the tape on the edges of both sides for a frayed look. Apply Spectrum Noir Metallic Paint Antique Pearl using a paintbrush. Let dry then carefully remove the purple tape.


Step 3 - Diecut Wonky Stitched Rectangle to the background created in Step 2. Adhere to card using Nuvo Deluxe Adhesive.

Step 4 - Stamp Center Cut Flowers using Gina K Amalgam Ink on White Cardstock. This is an alcohol friendly ink. Color in the image with alcohol markers of your choice. I used the Tri-Blends from Spectrum Noir. Fussy cut or use a cutting machine (I used a Scan 'N' Cut). Adhere to card using foam tape. Do not put Foam Tape on the bottom flower and Leaf.


Step 5 - Diecut Everyday Sentiment Banner using Orange Cardstock or White and then color in alcohol markers. I used Tri-Blend Orange Blend and shaded the edges.

Step 6 - Stamp It's A Mice Time To Celebrate Sentiment using the sentiment banner created from Step 5. I masked off the "Eek!" with Purple Tape. Be sure to remove the tape before you stamp. Adhere to card using Foam Tape with the bottom flower and leaf hanging on it.


You can get the Tri-Blends and Metallic Ink at Crafter's Campanion. If you are new to alcohol markers or even a novice this is a wonderful set to get as 1) It takes the guess work out of blending which colors 2) It is super affordable. I did purchase these myself and well worth every penny. There are 24 markers with 3 colors per marker. That's 72 colors. They can be purchased individually or the complete set.

Below is a link to all the products used. Thank you for stopping by and have a wonderful day.

Products Used:

Wednesday, June 5, 2019

ColourBlend Delicate Flowers Card

Hi Everyone,
Today I have a card to share with you using the ColourBlend pencils by Spectrum Noir. I struggle with blending pencils and often use gamsol to help me. Did you know that the ColourBlend pencils blend beautifully without gamsol. Not only does it blend but they work well on coloured cardstock. Below you will find the steps to replicate your own card.


Step 1 - Trim White cardstock to 8 1/2” x 5 1/2”, score at 4 1/4” and fold in half for a vertical side fold card (A2) 

Step 2 - Trim Neenah Desert Storm cardstock to 4 1/4” x 5 1/2”. Emboss Elusive Butterfly using the trimmed cardstock. Apply Harmony Ink Pink Tulip onto a craft mat and dip the embossed cardstock into it, dry with a heat tool and repeat until you reach the desired effect. Adhere to card using Nuvo Deluxe Adhesive.


Step 3 - Trim Neenah Desert Storm Cardstock to 4 1/4" x 5 1/2". Stamp Delicate Flowers using Gina K Amalgam Ink. Let dry. Color in the flower using ColourBlend pencils from Spectrum Noir. Starting outside and working towards the center I used Mulberry, Vivid Pink, Peach and Linen. For the center bud I used Pumpkin, Canary and Eggshell. For the leaves I used Jade, Sage and Pistachio. Trim cardstock to 2 3/4" x 4 3/8". Trim White Cardstock to 2 7/8" x 4 1/2" and adhere to the flower panel and then adhere to card front using Nuvo Deluxe Adhesive.


Step 4 - Stamp Thoughtful Messages using Versafine Onyx Blank Ink.


This card can be used for any occasion by changing the sentiment and/or colors. To order the ColourBlend and Elusive Butterfly Embossing folder directly from Crafter's Companion click on the link at the top of the blog post. Below is a link to all the products used. Thank you for stopping by and have a wonderful day.

Products Used: