Monday, December 23, 2024

DIY Holiday Tree Cards

Hi everyone,

I have some super quick card ideas for those last minute holiday cards needed using masking sheets, stencils and some ornament dies. Below you will find the steps to create your own cards. Keep in mind you can always substitute with items from your stash.


All the steps are the same except Step 3 which you replace the stencils.

Step 1 - Trim White Cardstock to 4 1/4” x 11”, score at 5 1/2” and fold in half for a horizontal top fold card. (A2)

Step 2 - Diecut Double Stitched Rectangles using White Cardstock. Using masking tape or Post It apply to card panels creating an opening in a triangle shape. Using a Blender Brush apply ink color of your choice in lighter ink. Make sure whatever color you use that you have a light shade and a dark shade. Do not remove mask. Proceed to Step 3.

Step 3 - Place stencil Wavy Ferns on one panel and Willow Fields on the other panel created from Step 2. Using a Blender Brush apply inks in the darker shade. 

Step 4 - Diecut Never Ending Rectangles using same shade colors as the panels created from Steps 2/3. Adhere to card fronts and then adhere the panels created from Steps 2/3 using Bearly Art Glue.

Step 5 - Diecut Snowy Layering Christmas Tree using Metallic Cardstock color of your choice. Adhere to card on the trees using Bearly Art Glue.

Step 6 - Diecut Joy word using Metallic Cardstock color of your choice. Adhere to card front using Bearly Art Glue.


As mentioned you can replace any item using product from your own stash. Below is a link to all the products used. Thank you for stopping by and Happy Crafting!

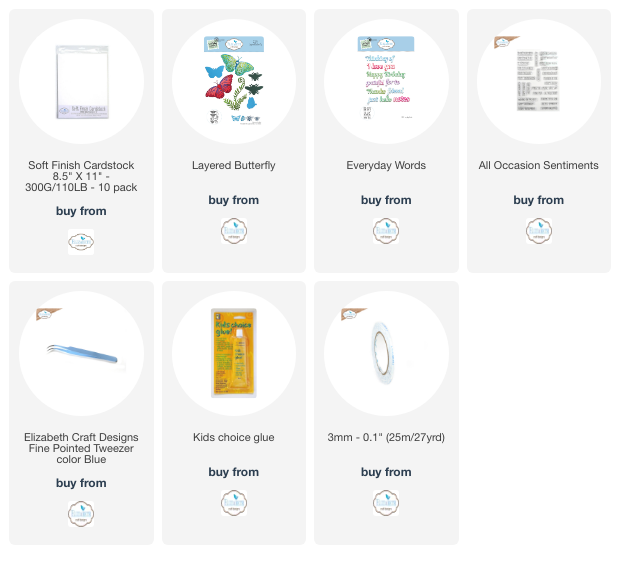
Products Used:
Tuesday, December 3, 2024

May Your Holidays Be Filled With Joy

Hi everyone,

I was able to receive some packages right before Canada Post went on strike. I used some of the stamps and dies from the Kristina Werner line at Concord and 9th. Below you will find the steps to create your own card.


Step 1 - Trim Neenah Classic Crest 110lbs Solar White to 4 1/4” x 11”, score at 5 1/2” and fold in half for a horizontal top fold card. (A2)

Step 2 - Trim Altenew Tide Blue Cardstock to 3 5/8” x 4 7/8”. Adhere to card front using Bearly Art Glue.

Step 3 - Diecut Stitched Rectangle using Neenah Classic Crest 110lbs Solar White. Using a Blender Brush apply Pawsitively Satured Ink Sky in a circular motion to the top left, middle right, and bottom left. Adhere to card front using Bearly Art Glue.

Step 4 - Diecut Snow Flurries using Matte Silver Cardstock. Adhere each snowflake in the center of the ink blending created from Step 3.

Step 5 - Diecut Love and Light (Holidays) using Altenew Tide Blue Cardstock for the shadow and Neenah Classic Crest 110lbs Solar White for the word. Stack it and adhere to card using Bearly Art Glue. Stamp Love and Light (may your & be filled with joy) using Versafine Onyx Black Ink. Trim and adhere to card front using Foam Tape.

Step 6 - Optional - Diecut Snow Flurries little twinkles using Silver Glitter cardstock. Adhere to card using Bearly Art Glue.

Step 7 - Optional - Randomly adhere Pawsitively Dazzling Gems in Pastel Tones. 

This card can be turned into a Birthday card for those celebrating in the winter by changing the sentiment. You can also change the colors for the recipient you are sending it to so that it is using their favourite colors. Below is a link to all the products used. Thank you for stopping by and Happy Crafting!

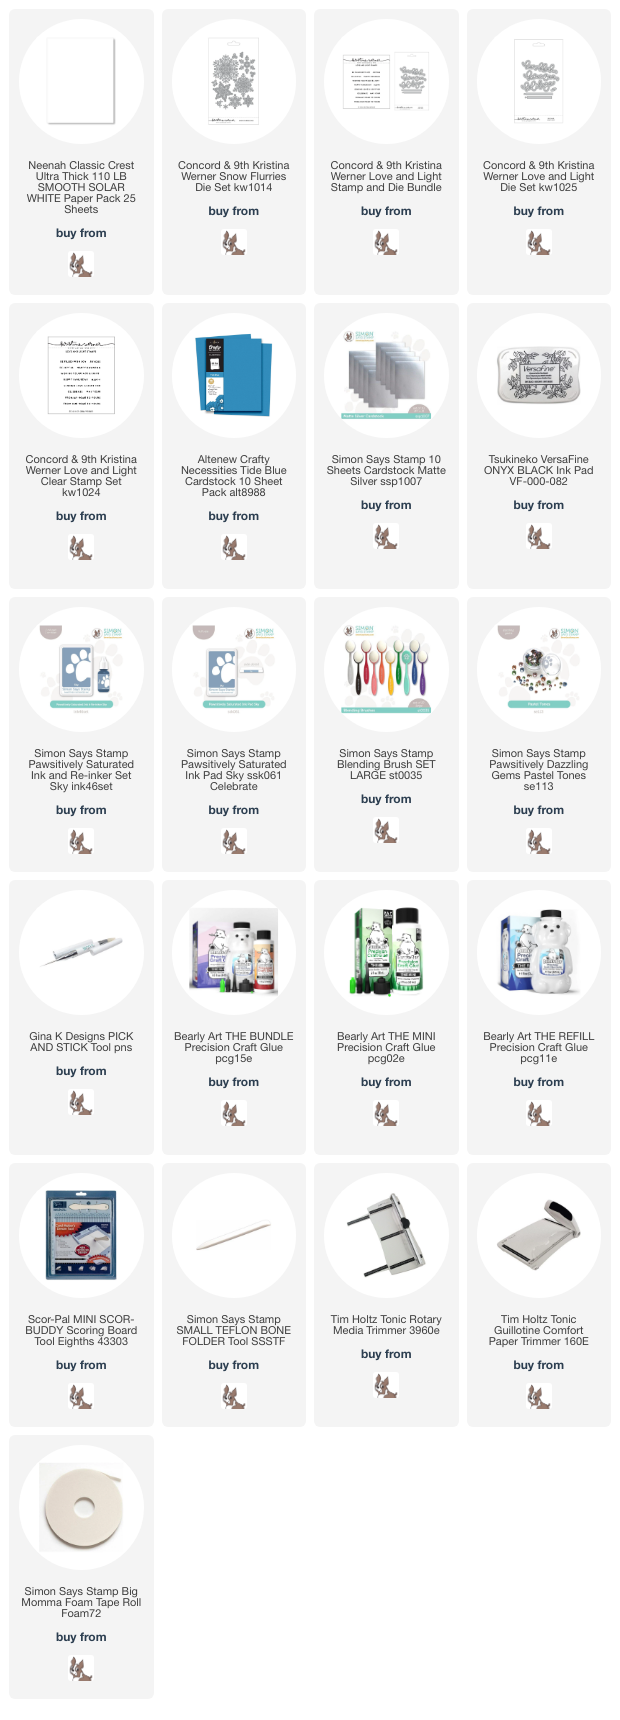
Products Used:

Monday, December 2, 2024

Happy Birthday Butterfly Card

Hi everyone,

With all the holidays we had and still to come I realized I needed some birthday cards. The beautiful Layered Butterfly Dies from the Everyday Elements from Elizabeth Craft Designs is a quick and easy die to use to create a card for several occasions. Below you will find the steps to create your own card. 


Step 1 - Trim White Soft Finish to 4 1/4” x 11”, score at 5 1/2” and fold in half for a vertical side fold card. (A2)

Step 2 - Diecut Card Maker Special Kit (Scallop Frame) using White Soft Finish x2. If you don’t have this die you can use something similar in your stash. Adhere to card front using 3mm Clear Double Sided Adhesive Tape stacking both diecuts.

Step 3 - Trim White Soft Finish slightly bigger than the Layered Butterfly Solid Die. Using a blender brush apply inks in rainbow order. Adhere to card front center using Kids Choice Glue. 


Step 4 - Trim White Soft Finish to 4 1/2” x 3 1/4”. Diecut Layered Butterfly (Solid Butterfly) in the center of the panel. Adhere to card front using 3mm Clear Double Sided Adhesive Tape. 


Step 5 - Diecut Layered Butterfly (detail) using White Soft Finish Cardstock. Adhere to card using Kids Choice Glue. 

Step 6 - Stamp All Occasion Sentiments (Happy and mask Birthday, before stamping remove the mask) using Versafine Onyx Black Ink. Trim and adhere to card front using Kids Choice Glue. 

Step 7 - Diecut Everyday Words (birthday) using White Cardstock for the word and Black Cardstock for the shadow. Assemble and adhere to card front using Kids Choice Glue. 

Step 8 - Optional - randomly adhere dew drops. 


This card can be used for several occasions by simply changing the colors and/or sentiment. Below is a link to all the products used. Thank you for stopping by and Happy Crafting!

Products Used: