Hi everyone,
Welcome to the July 1st Release Day from I-Crafter. It’s Christmas Time in July. For my card I used the Box Pops Holiday Truck Add On for a Scenic Holiday Card. Below you will find the steps to create your own card.

Step 1 - Trim White Cardstock to 7” x 6”, score at 3 1/2” and fold in half for a horizontal top fold card. (Mini Slimline)
Step 2 - Trim Whimsy Stamps Blurry Flurries 6” x 6” Paper Pad to 3 1/3” x 6”. Adhere to card front using Bearly Art Precision Glue.
Step 3 - Fussy cut 2 wavy strips measuring 6” using White Cardstock. Apply Distress Oxide Ink Tumbled Glass to create 2 hillside strips. Adhere to card using Bearly Art Precision Glue.
Step 4 - Diecut Box Pops Holiday Truck Add On using various colors of Cardstock. Assemble and adhere to card using Foam Tape. (I used Vellum for the Windows and adhered it to the backside)
Step 5 - Diecut Box Pops Holiday Truck Add On using DCWV Foiled Cardstock. (For the presents and ornaments) Adhere to card using Bearly Art Precision Glue.
Step 6 - Diecut Box Pops Holiday Truck Add On (sentiment) using White Cardstock 2 times and 1 time using DCWV Foiled Cardstock. Adhere each layer using Bearly Art Precision Glue making sure to finish with the foiled Cardstock on top. Adhere to card using Bearly Art Precision Glue.


As this is an Add On it can be used with the Box Pops but I wanted to show the versatility to make a stand alone card. Below you will find the link to the Products Used. Thank you for stopping by and Happy Crafting!
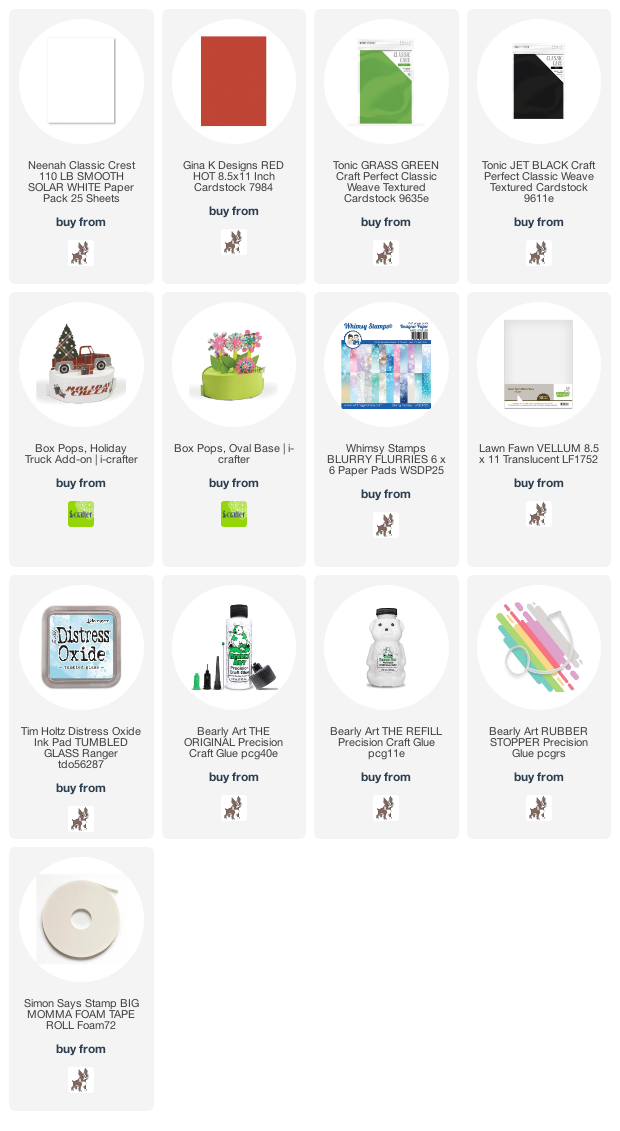
Products Used: