Tuesday, May 25, 2021

Beautiful Blooms Kindness Mini Slimline Card

Hi everyone,

Have you seen the new Beautiful Blooms Stamps Collection from Elizabeth Craft Designs? It is a stunning collection. They are fantastic for water colouring, alcohol marker blending and pencil blending. For my card I decided to water color a background then go over the image with a brighter water color. Below is the steps to create your own card.


Step 1 - Trim White Soft Finish Cardstock to 7” x 6”, score at 3 1/2” and fold in half for a vertical side fold card. (Mini Slimline)

Step 2 - Trim Water Color Paper to 4” x 6 1/2”. Adhere to a board using Painter’s Tape. (This will prevent the paper from warping.) Wet the panel completely and then start to drop some color and let is spread naturally. Keep adding color until you have filled the entire panel. You panel will need to completely dry for the next step.


Step 3 - Stamp Beautiful Blooms Kindness (image) to the panel created in Step 2 using Versamark. Sprinkle White Embossing Powder and remove the excess. Heat Set it with a heat tool. Water color inside the image using brighter colors than used on the panel. Since the image was embossed it helps to keep the colors from going out of the lines.


Step 4 - Stamp Beautiful Blooms Kindness (sentiment) to the panel created in Step 2 using Versamark. Sprinkle White Embossing Powder and remove the excess. Heat Set it with a heat tool. Trim the image to 3 1/4” x 5 3/4”. Adhere to the card front using Foam Tape.


Step 5 - For added interest randomly adhere Clear Drops using a Pick Up Tool and Bearly Art Precision Glue.


This card can be used for many occasions by changing the colors and/or sentiment. Below is a link to all the products used. Right now you can save 20% off your order by using coupon code FLAG21 at checkout. Offer expires May 31st! Thank you for stopping by and Happy Crafting!
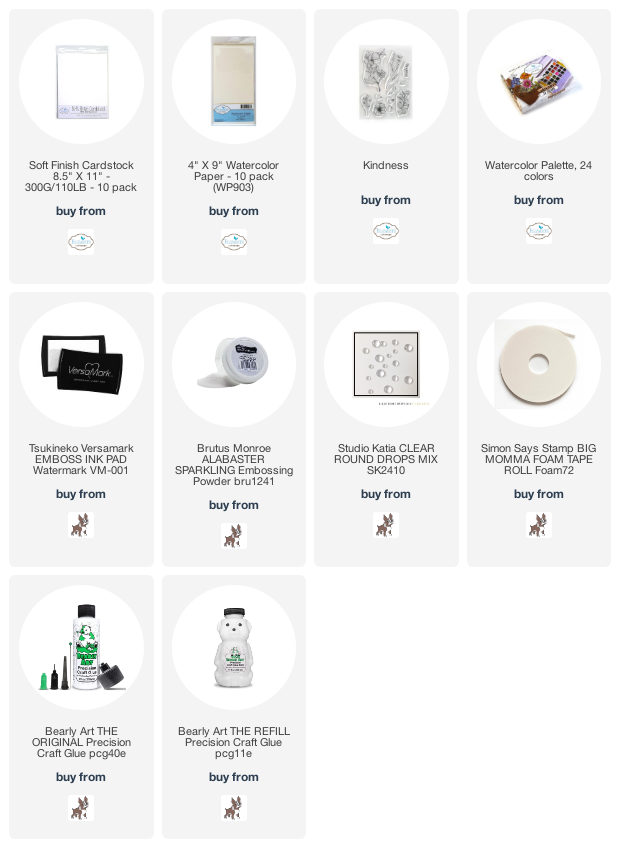
Products Used:

Monday, May 10, 2021

Elizabeth Craft Design May Group Post

Hi everyone,

Welcome to the Elizabeth Craft Designs May Group Post. The theme this month is Bright, Colorful, Bold colors and I used the Farm Accessories (Sunflower) to create some Bright colorful flowers. Below you will find the steps to create your own card.


Step 1 - Trim White Soft Finish Cardstock to 7” x 6”, score at 3 1/2” and fold in half for a vertical side fold card. (Mini Slimline)

Step 2 - Trim Lawn Fawn Paper Pack 6” x 6” Perfectly Plaid to 3 1/2” x 6”. Adhere to card front using 3mm Clear Double Sided Adhesive Tape.

Step 3 - Diecut Farm Accessories (Sunflower) using White Soft Finish Cardstock inked with various colors. I used Distress Oxide Inks. Kitsch Flamingo, Picked Raspberries, Wilted Violet, Chipped Sapphire, Abandoned Coral, Barn Door and Mowed Lawn. Assemble using Kids Choice Glue. Diecut Farm Accessories (Milk Container) using Light Blue Cardstock and ink the edges using Salty Ocean. Adhere the flowers to the backside of the Milk Container and adhere to the card front.

Step 4 - Diecut Sentiments 1 - Celebration using Orange Cardstock. Place low tack tape to the backside of the negative piece and put the positive piece inside then into a stamp positioned tool. Place the matching stamp on top of the positive piece and close the door so the stamp catches into the door. Stamp the sentiments using Versafine Onyx Black Ink. Adhere to card using Kids Choice Glue.


This card can be for many occasions by changing the sentiment. Below is a link to the products used. Thank you for stopping by and Happy Crafting!

Products Used:

Saturday, May 1, 2021

I-Crafter May 1st Release

Hello My Crafty Friends,

It’s Release time at i-Crafter and once again you won’t be disappointed. I chose the Animal Prints and Box Pop Whale Done Add On dies for my card. Below you will find the steps to create your own card.

Step 1 - Trim White Cardstock to 7” x 6”, score at 3 1/2” and fold in half for a vertical side fold card (Mini Slimline)

Step 2 - Trim Black Cardstock to 3 1/4” x 5 3/4” and adhere to card using Bearly Art Precision Glue.

Step 3 - Trim White Cardstock to 3” x 5 1/2”. Diecut Animal Prints using a scrap piece of Cardstock to use as a stencil. Place the stencil on top of the trimmed Cardstock. Apply Distress Oxide Ink using a Blender Brush. I used Cracked Pistachio, Salty Ocean and Wilted Violet. Apply Versamark on top and remove the stencil. Sprinkle Rainbow Sparkle Embossing Powder and remove the excess. Heat set it with a heat tool. Adhere to card using Bearly Art Precision Glue.

Step 4 - Diecut Box Pop Whale Done Add On (Whale) using Black Cardstock for main image and White Cardstock for the accents. Assemble and adhere to card using Foam Tape.

Step 5 - Diecut Box Pop Whale Done Add On (sentiments) using Black Cardstock and adhere to card using Bearly Art Precision Glue.


This card can be used for several occasions by changing the sentiment. Below you will find the link to the products used. Thank you for stopping by and Happy Crafting!

Products Used: