Monday, July 22, 2019

Joset Designs July 2019 Release from Elizabeth Craft Designs

Hi Everyone,
Just as the title says it is time for another Joset Designs Release from Elizabeth Craft Designs. There are 5 more character dies. Yes you heard me correctly. 5!!!  There is also some beautiful Holiday dies. Village Edges, Snowflakes, Holiday House Box, Christmas Door, Holiday Birdhouse and so much more. Today's card features the Village Edges along with some Silk Microfine Glitter in Warm Diamond. Below are the steps to create your own Village card.


Step 1 - Trim White Soft Finish Cardstock to 8 1/2" x 5 1/2", score at 4 1/4" and fold in half for a vertical side fold card. (A2 size)

Step 2 - Trim ModaScrap Christmas Holidays Patterned Paper to 5 1/2" x 4 1/4". Apply Clear Double Sided Adhesive Sheet to the top of the Paper. Trim any access. Carefully remove the release sheet and apply Silk Microfine Glitter Warm Diamond. Remove the excess and using your fingertip rub in a circular motion to set in the glitter and bring out the shine. Adhere to card front using 3mm Clear Double Sided Adhesive Tape.

Step 3 -  Trim White Soft Finish Cardstock to 5 1/2" x 4 1/4" (4 times). Apply Clear Double Sided Adhesive Sheet to the top of 2 trimmed cardstock. Diecut Village Edges 1 of each die with the plain cardstock and 1 of each die with the adhesive sheet on top. On the diecuts with the Adhesive Sheets trim off the houses. Carefully remove the release sheet and apply Silk Microfine Glitter Warm Diamond. Remove the excess and using your fingertip rub in a circular motion to set in the glitter and bring out the shine. Adhere them to the plain cardstock using Kid's Choice Glue. Adhere the back panel using 3mm Clear Double Sided Adhesive. Adhere the top panel using Foam Tape.

Step 4 - Adhere Clear Double Sided Adhesive Sheet to the top of a scrap piece of coloured cardstock. I used a Spectrum Noir marker to match the color of the patterned paper. Diecut Village Edges the trees and repeat the step to adhere the Silk Microfine Glitter. Diecut Village Edges fence using White Soft Finish Cardstock and adhere the trees and fence to the card.

Step 5 - Stamp sentiment onto White Soft Finish Cardstock using Versafine Onyx Black Ink. Diecut Diagonal Stitched Fishtail using the sentiment created. Adhere to card using Foam Tape.


This card can be used for many occasions by changing the patterned paper, sentiments and colors. Below is a link to all the products used. Thank you for stopping by and have a wonderful day.
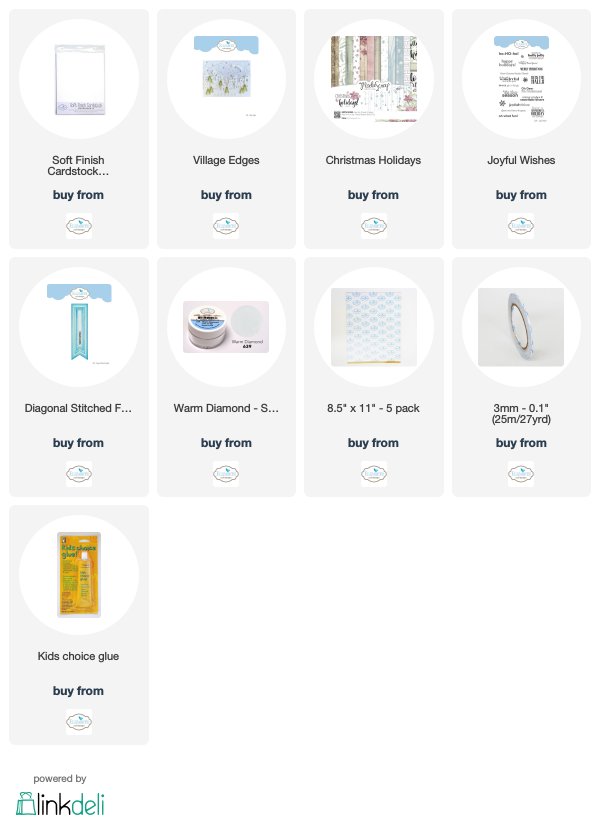
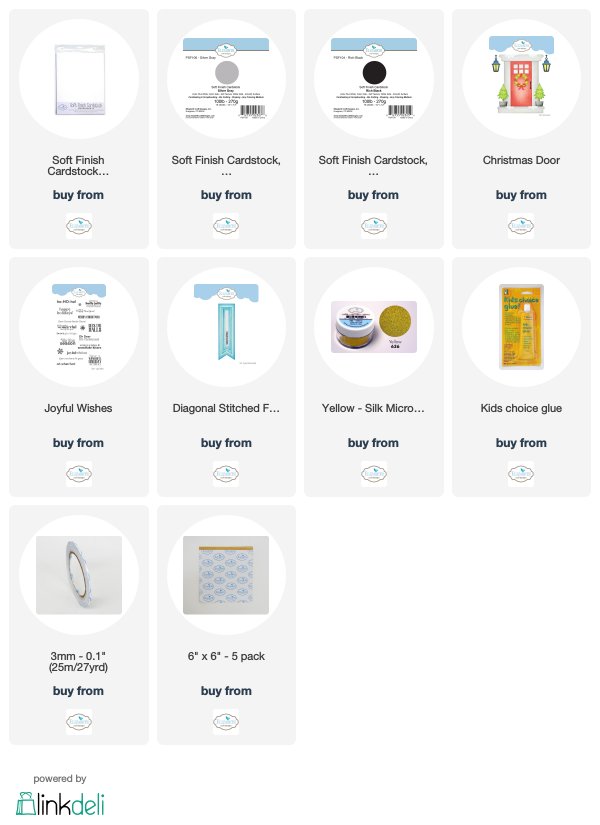
Products Used:

Wednesday, July 17, 2019

Christmas Door Holiday Card Using New Release From Joset Designs

Hi Everyone,
Welcome back to another new release from Joset Designs from Elizabeth Craft Designs. Wow! There are many holiday themed dies and some new character dies. Today's card features the new Christmas Door die. This is such a stunning dieset and can be used all year round. Below you will find the steps to create your own Christmas Door Holiday Card.


Step 1 - Trim White Soft Finish Cardstock to 8 1/2" x 5 1/2", score at 4 1/4" and fold in half for a vertical side fold card (A2 size)

Step 2 - Trim White Soft Finish Cardstock to 5 1/2" x 4 1/4". Using a black fine tip marker which is alcohol friendly and draw lines starting 1/2" from the top and spacing 1/2" between each line leaving about 7/8" at the bottom. I used Ek Tools Marker. Using an alcohol marker create shading. I used Spectrum Noir IG5, IG3, IG1 and a blender. Adhere to card using 3mm Clear Double Sided Adhesive Tape. 

Step 3 - Diecut Christmas Door using White Soft Finish Cardstock to all the pieces except the lantern, pot and door handle in which I used Soft Finish Rich Black Cardstock and the door in Silver. I used a Spectrum Noir Ag4 and AG2 to color in the tree and wreath and DR1 for the ribbon and trim. Assemble all the pieces using Kid's Choice Glue. For the bottom part of lantern and ornaments I diecut with  Clear Double Sided Adhesive Sheet on top. Remove the release sheet and sprinkle Silk Microfine Glitter in Yellow. Remove the excess and using a fingertip in a circular motion you secure the Glitter and bring out the shine. Adhere everything to the card front. Foam Tape for the Door Frame, Top and Bottom frame and Kids Choice Glue for everything else.

Step 4 - Stamp Joyful Wishes onto White Soft Finish Cardstock using Versafine Onyx Black Ink.

Step 5 - Diecut Diagonal Stitched Fishtails to the sentiment created in Step 4.

Step 6 - For added interest and sparkle use a clear Glitter marker. I used a Spectrum Noir Clear Overlay Marker.


This card can be used all year round by omitting the Holiday decorations and sentiment and colors. For example it can be used as a New Home card or Thanksgiving, etc. Below is a link to all the products used. Thank you for stopping by and have a wonderful day.

Products Used:

Sunday, July 14, 2019

Birthday Fishes Card Using Spectrum Noir Harmony Inks and Markers With MFT Gill Friends

Hello My Crafty Friends,
Today I have a super fun card to share with you using the Harmony Water Reactive Inks and Markers from Spectrum Noir. Harmony Water Reactive Inks are slow drying allowing you to re-work it with water for a blended distressed look. Below you will find the steps to create your own card.

Before we get started we have a winner for my June Giveaway for the Distressed Edges Rectangle Dies. The winner is Glennis Farell. Please email me your address at samtina1111@gmail.com

It's time for another giveaway. For everything you follow using Rafflecopter you will be entered in the drawing. The contest will run from July 14 to July 31 midnight. The prize is the 3-D Embossing Folder Botanical from Tim Holtz.


Step 1 - Trim White Cardstock to 8 1/2" x 5 1/2", score at 4 1/4" and fold in half for a vertical side fold card. (A2 size)

Step 2 - Stamp Gill Friends images using Gina K Amalgam Ink on White Cardstock. Let dry then color in using Spectrum Noir Alcohol Markers. A full color listing is down below. Diecut images with matching Gill Friends Dies.

Step 3 - Trim White Cardstock to 7" x 4 1/4" and using an ink applicator apply Ocean Blue Harmony Water Reactive Ink. Spray with water and after 15 seconds dry with a Heat Tool. The ranger heat tool is best for slower drying. 

Step 4 - Diecut Ocean Waves 5 times using the background created from Step 3, this will give you 6 panels. Using an ink applicator apply Midnight Harmony Water Reactive Ink to the edges.

Step 5 - Starting with bottom edge build the waves from Step 4 and add the Fill Friends diecuts from Step 2. I used Nuvo Deluxe Adhesive to adhere everything. Once completed diecut Double Stitched Rectangles to the panel. Distress the edges with Midnight Harmony Water Reactive Ink and then adhere to card using Nuvo Deluxe Adhesive.

Step 6 - Stamp Gill Friends sentiment and bubbles using Gina K Amalgam Ink.

Step 7 - Optional - Adhere randomly Nuvo Crystal Gems using Collage Medium and a Crystal Katana.


Spectrum Noir Colors Used:
Red Combo - DR5, DR1, CR7
Orange Combo - CR7, OR2, OR1
Turquoise Blue Combo - BT7, BT6, 1B3, 1B2
Green Combo - CG4, LG3


This card can be used for several occasions by changing the sentiment. The Spectrum Noir Markers and Inks can be purchased directly at Crafters Companion and they have free shipping over $75 or at Simon Says Stamp and save $5 using code FWR528. Below is a link to all the products used. Thank you for stopping by and have an awesome day!

Products Used:

Thursday, July 11, 2019

I Love You So Much Card With Spectrum Noir Tri-Blends

Hi everyone,
Today is a simple and clean card using the new Tri-Blends from Spectrum Noir and the ever adorable My Favorite Things Joyful Heart Bears Stamps. Below you will find the steps to create your own card.


Step 1 - Trim White Cardstock to 8 1/2" x 5 1/2", score at 4 1/4" and fold in half for a vertical side fold card. (A2 size)

Step 2 - Diecut Stitched Scallop using Neenah Desert Storm cardstock. Adhere to card using Nuvo Deluxe Adhesive.

Step 3 - Trim Black Cardstock to 3 5/8" x 4 7/8". Adhere to card using Nuvo Deluxe Adhesive.

Step 4 - Stamp Joyful Heart Bears images using Gina K Amalgam Ink. Use a heat tool to dry the ink or wait a while and let dry natural. Color in images using Tri-Blends Spectrum Noir. I used Earth Brown and Gold Brown for the bear. Dark Red for the heart. Citrus for the bees. Brown Grey for the wings.

Step 5 - Diecut Double Stitched Rectangle using the scene created from Step 4. Adhere to card using Nuvo Deluxe Adhesive.

Step 6 - Stamp Joyful Heart Bears sentiment using Versamark. Sprinkle White Embossing Powder and remove the excess. Heat set it with a heat tool. Trim the sentiment and adhere to card using foam tape.

Step 7 - Optional - For added interest adhere Red Heart Sprinkles using Collage Medium. Apply Glossy accents to the wings.


This card can be used for many occasions by changing the sentiment. Below is a link to all the products used. To order the Tri-Blends directly from Crafters Companion go here. Thank you for stopping by and have a wonderful day.

Products Used: