
It's been a while since I have used my Gansai Tambi watercolor paints. To be honest it's a large set and it's long to mix colors. I decided to create a palette beforehand using the Tim Holtz Ink Palette. I don't know why I didn't think of it sooner. The paints stay wet and vibrant inside the palette and I can take it out when i want and use it right away. All I did was add a lot of water to each paint, mixed it and dripped the excess into the palette. This saves lots of time. All I have to do now is dip my waterbrush into water and then dip it into the palette. If I want to mix a color I use the empty palette. Below you will find the steps to replicate my card as well as a link to all products used.

Before I show you the details for my card I just to remind you all that I have a Blog Giveaway going on. The contest will run until May 31 and the winner will be announced June 1st. All you have to do is Follow My Blog and Subscribe to my YouTube Channel. Don’t forget to click on the bell after you subscribe to get notifications. People who already follow me will automatically be entered. The prize is the beautiful Lantern Box Die from Elizabeth Craft Designs.

Finished card measures 4 1/4" x 5 1/2" folded

- Step 1 - Trim White Cardstock to 8 1/2" x 5 1/2", score at 4 1/4", fold in half for a horizontal side fold card (A2)
- Step 2 - Trim Water Color paper (I used Arches Hot Press) to 4 1/4" x 5 1/2". Temporarily tape down the paper to a hard surface using painters tape. The surface I used is a wood cutting board. Using a wide water brush thoroughly wet the paper. Using a smaller brush a light shades of paint to create a background. With the wet background you will get easy blending and coverage of paint. Dab darker areas with a paper towel. You can let it dry naturally or use a heat tool to speed things up.
- Step 3 - Remove the watercolor background. Place it in your stamp positioning tool. Use an Anti-Static Powder over the background. Stamp Even More Spring Flowers and Beautiful Day sentiment using Versamark. Sprinkle White Embossing Powder, remove excess, heat set it using a heat tool.
- Step 4 - Temporarily tape down the background to a hard surface using painters tape. Using a water brush add a little water inside the embossed areas. Start water coloring by adding paint to the image and see the paint spread. It's ok to paint outside the embossed areas. Let dry before going to Step 5. You might have some warping but this is ok. It will be gone when it is adhered to the card.
- Step 5 - Diecut Double Stitched Rectangles to the background. Adhere to card using fun foam. Trim fun foam smaller than background. Use collage medium to adhere to fun foam and to card front. Place an acrylic block on top to allow it to dry straight. This will fix the warping that may have occurred.


This card can be used for any occasion by changing the images, color and sentiment. Below are the links to all products used. Thank you for stopping by and have a wonderful day!
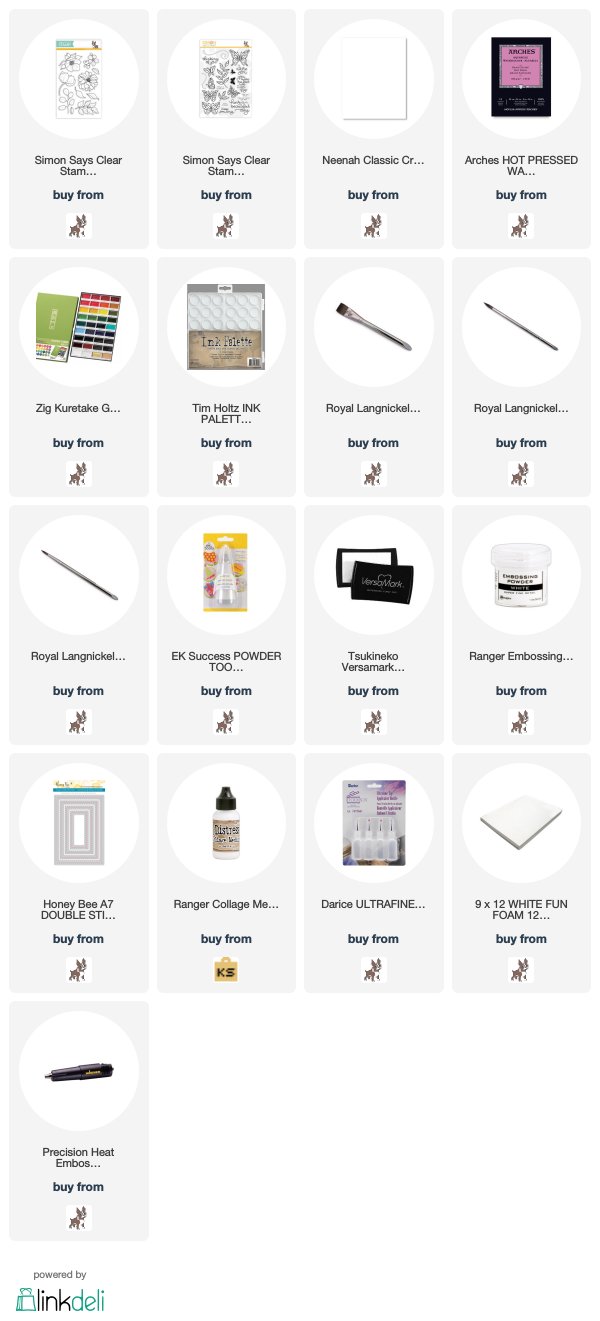
Simon Says Stamp Products Used:
Love the color combo on this beautiful card! So pretty!
ReplyDeleteBeautiful colouring Tina
ReplyDeleteI'm going to try this for sure! Thanks for the detailed instructions.
ReplyDelete