
Elizabeth Craft Designs has a Blog Post with a Group Post showing all the ways to create Holiday Projects. I chose to make a card using the Snowflakes die and the Silk Microfine Glitter. Below you will find the steps to creating your own Snowflake Glitter Inlay Card.

Step 1 - Trim White Soft Finish Cardstock to 8 1/2” x 5 1/2”, score at 4 1/4” and fold in half for a vertical side fold card (A2)
Step 2 - Diecut Snowflakes to the front of the card. The Diecut will be used for another card. Trim Red Cardstock to 5 1/2” x 4 1/4”. Trim a sliver more from one side length wise and one side width wise. Adhere inside left side of card so that the red is showing in the front of the card using 3mm Clear Double Sided Adhesive Tape.
Step 3 - Trim White Soft Finish Cardstock to 5 1/2” x 4 1/4”. Adhere Clear Double Sided Adhesive Sheets to the top. Smooth it out using a bone folder. Diecut Snowflakes. Remove all the excess pieces. Carefully remove the release sheet and sprinkle White Diamond Silk Microfine Glitter. Remove the excess. Use your finger tip in a circular motion to bring out the shine and set the glitter onto the adhesive. Add Kids Choice Glue to the backside and adhere inside the Diecut in the front of the card. This creates the inlay.
Step 5 - Stamp Classic Christmas sentiment into Red Cardstock using Versamark. Sprinkle White Embossing Powder and remove the excess. Heat set it with a heat tool. Diecut Fitted Fishtail using the sentiment created. I did it twice, one for each side. Adhere to center of snowflake using Foam Tape.
Step 6 - For added interest and sparkle randomly adhere White Jewels.


This technique can be used for any dies with a pattern. The possibilities are endless. Below you will find all the products used. Thank you for stopping by and have a wonderful day.
This technique can be used for any dies with a pattern. The possibilities are endless. Below you will find all the products used. Thank you for stopping by and have a wonderful day.
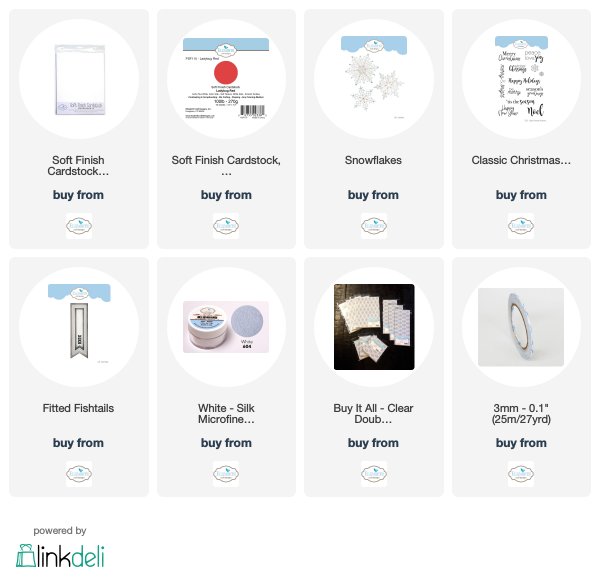
Products Used:
No comments:
Post a Comment