Hi Everyone,
Before I begin I would like to wish you all a Happy New Year! May 2021 bring happier days!
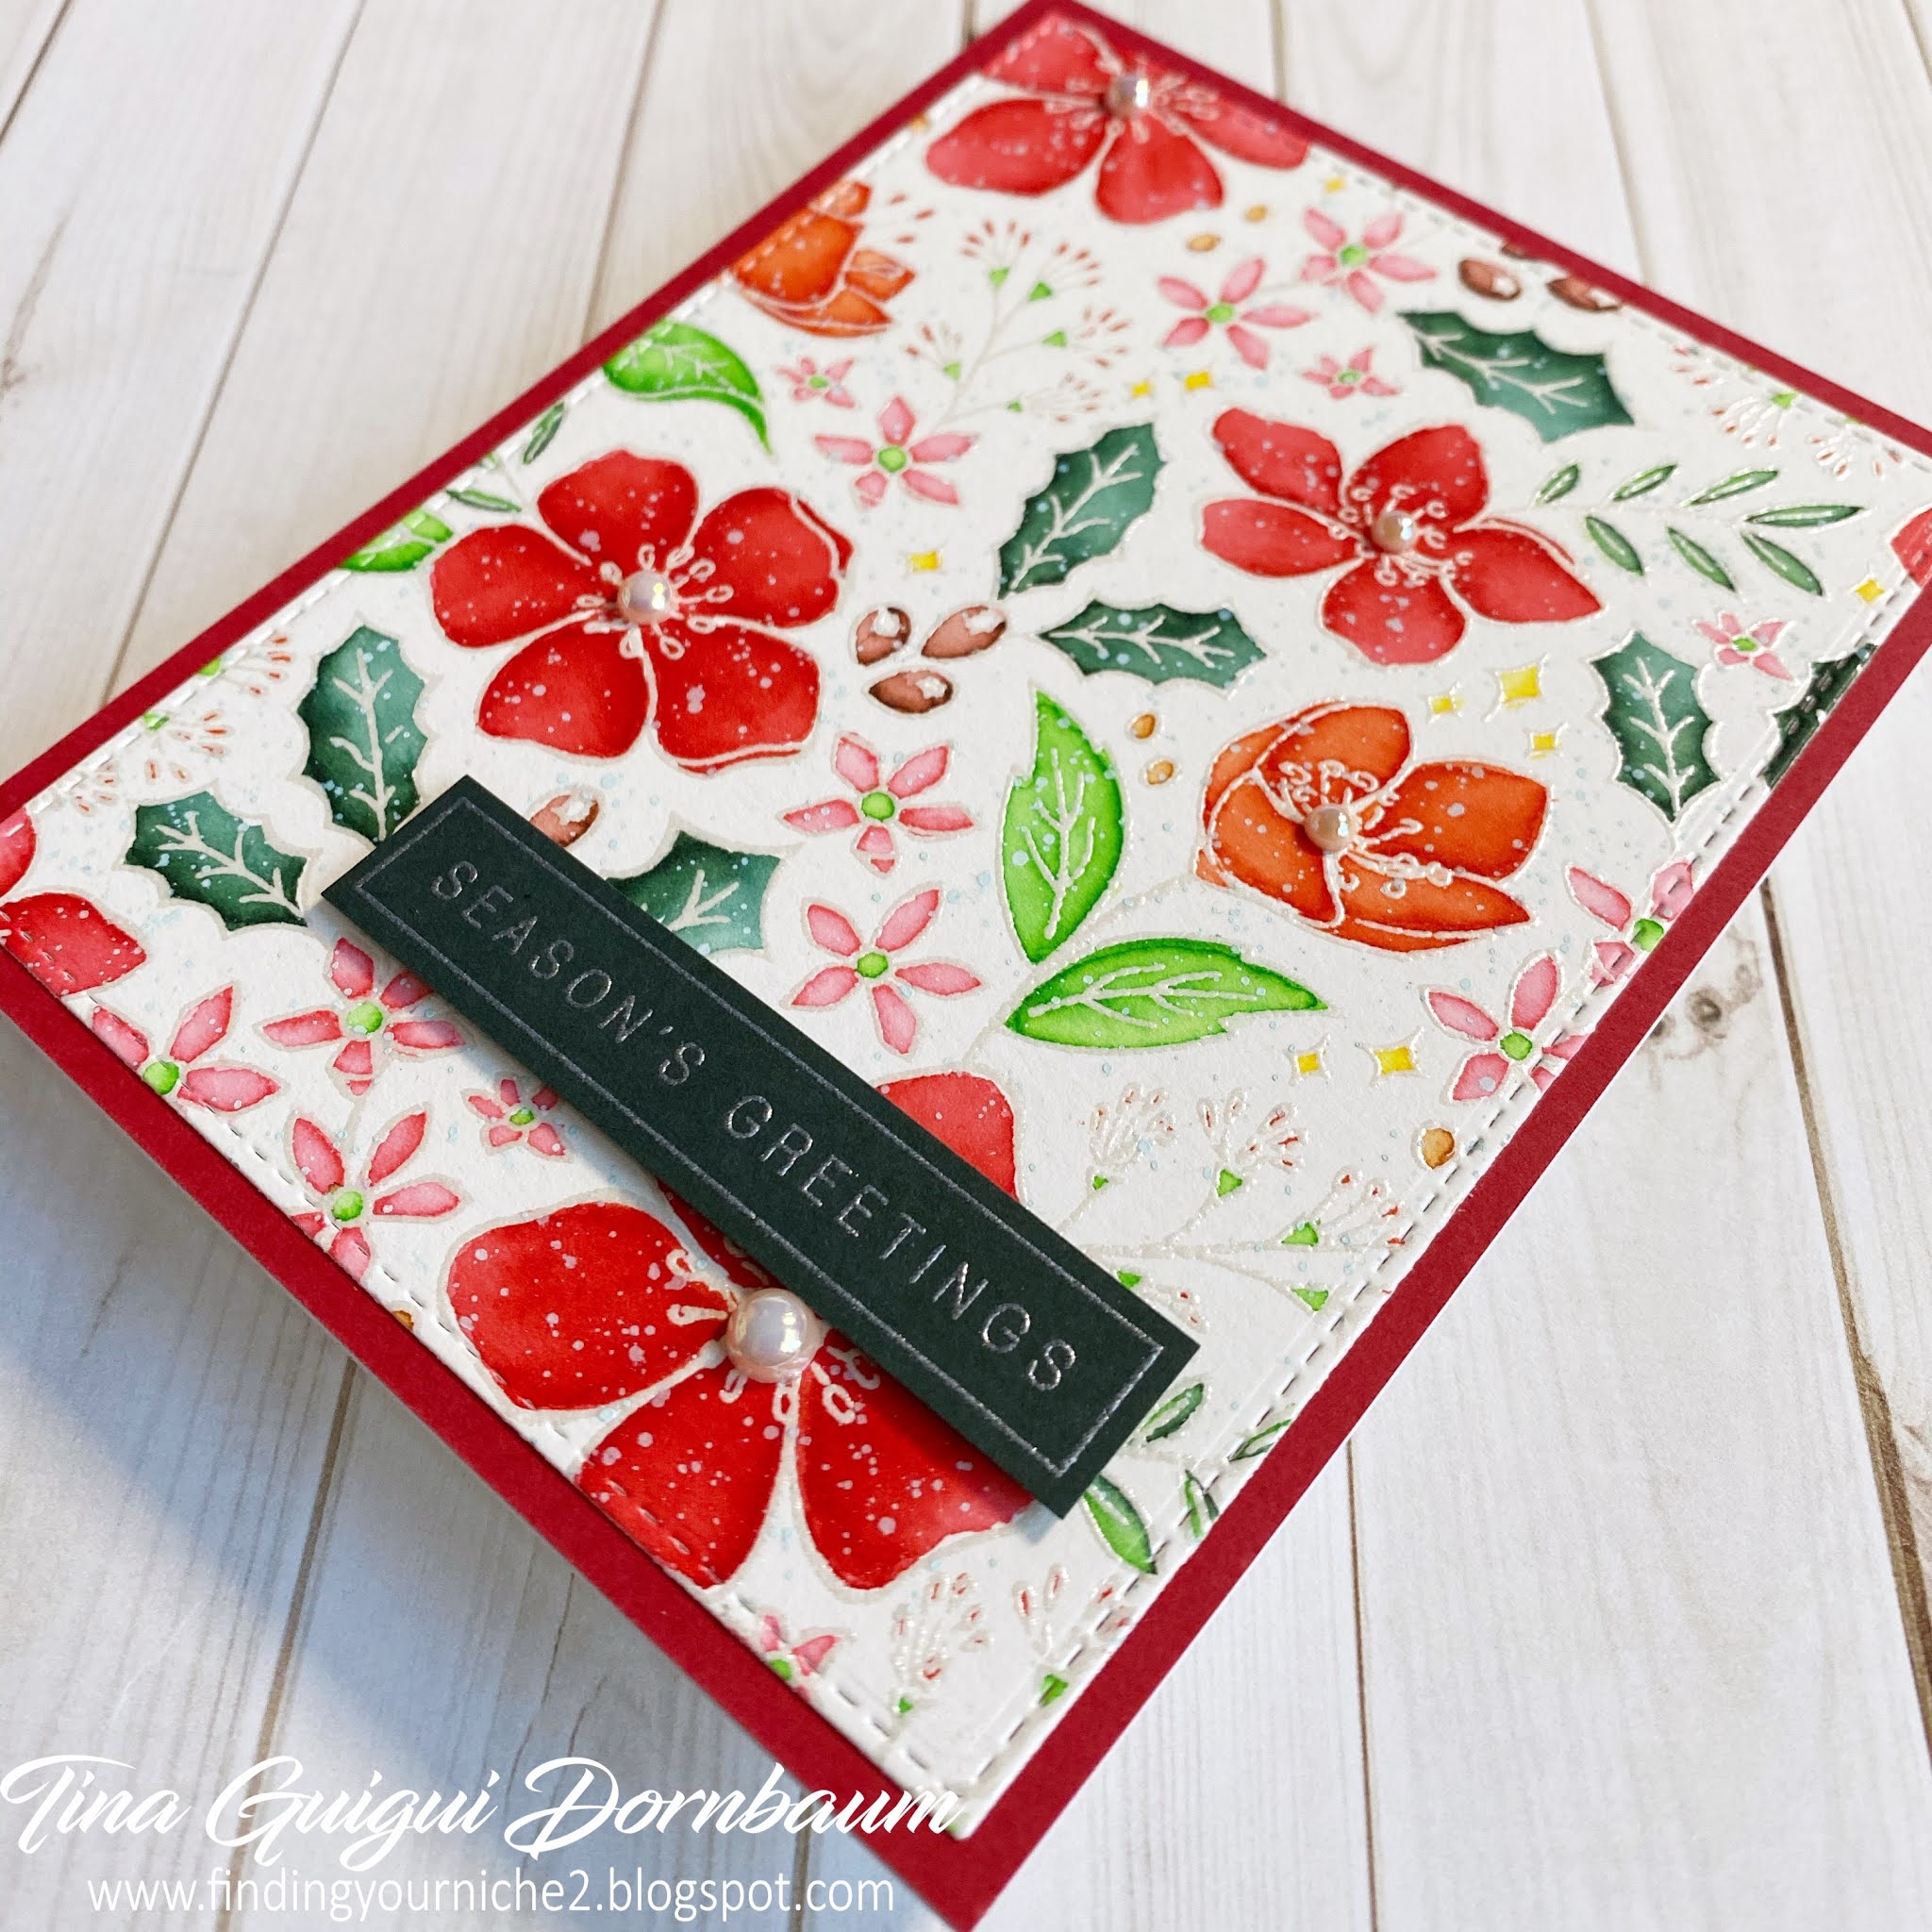
I have two cards to share using the Falling Leaves Layering Stencils. One is basic inking and the other I went a little trigger happy with White Iridescent Shimmer Spray. I had forgotten how stunning Distress Oxide Inks react on Black Cardstock. I am little late in posting them due to some personal issues. However, these cards can still be used for New Years as well as later get togethers if that is allowed in the area you live in. Below you will find the steps to create your own cards.
Warm Hugs Card

Step 1 - Trim White Cardstock to 11 x 4 1/4”, score at 5 1/2” and fold in half for a horizontal top fold card. (A2)
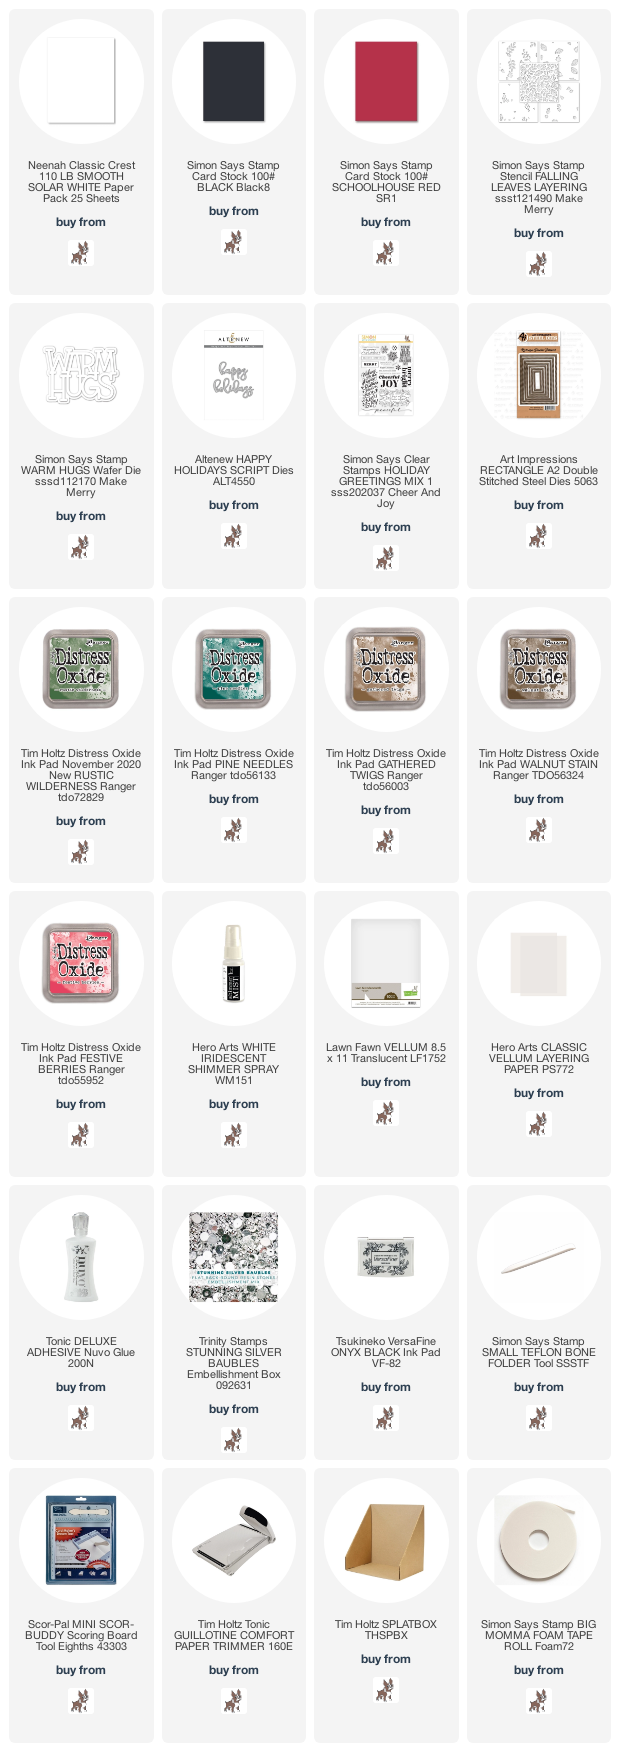
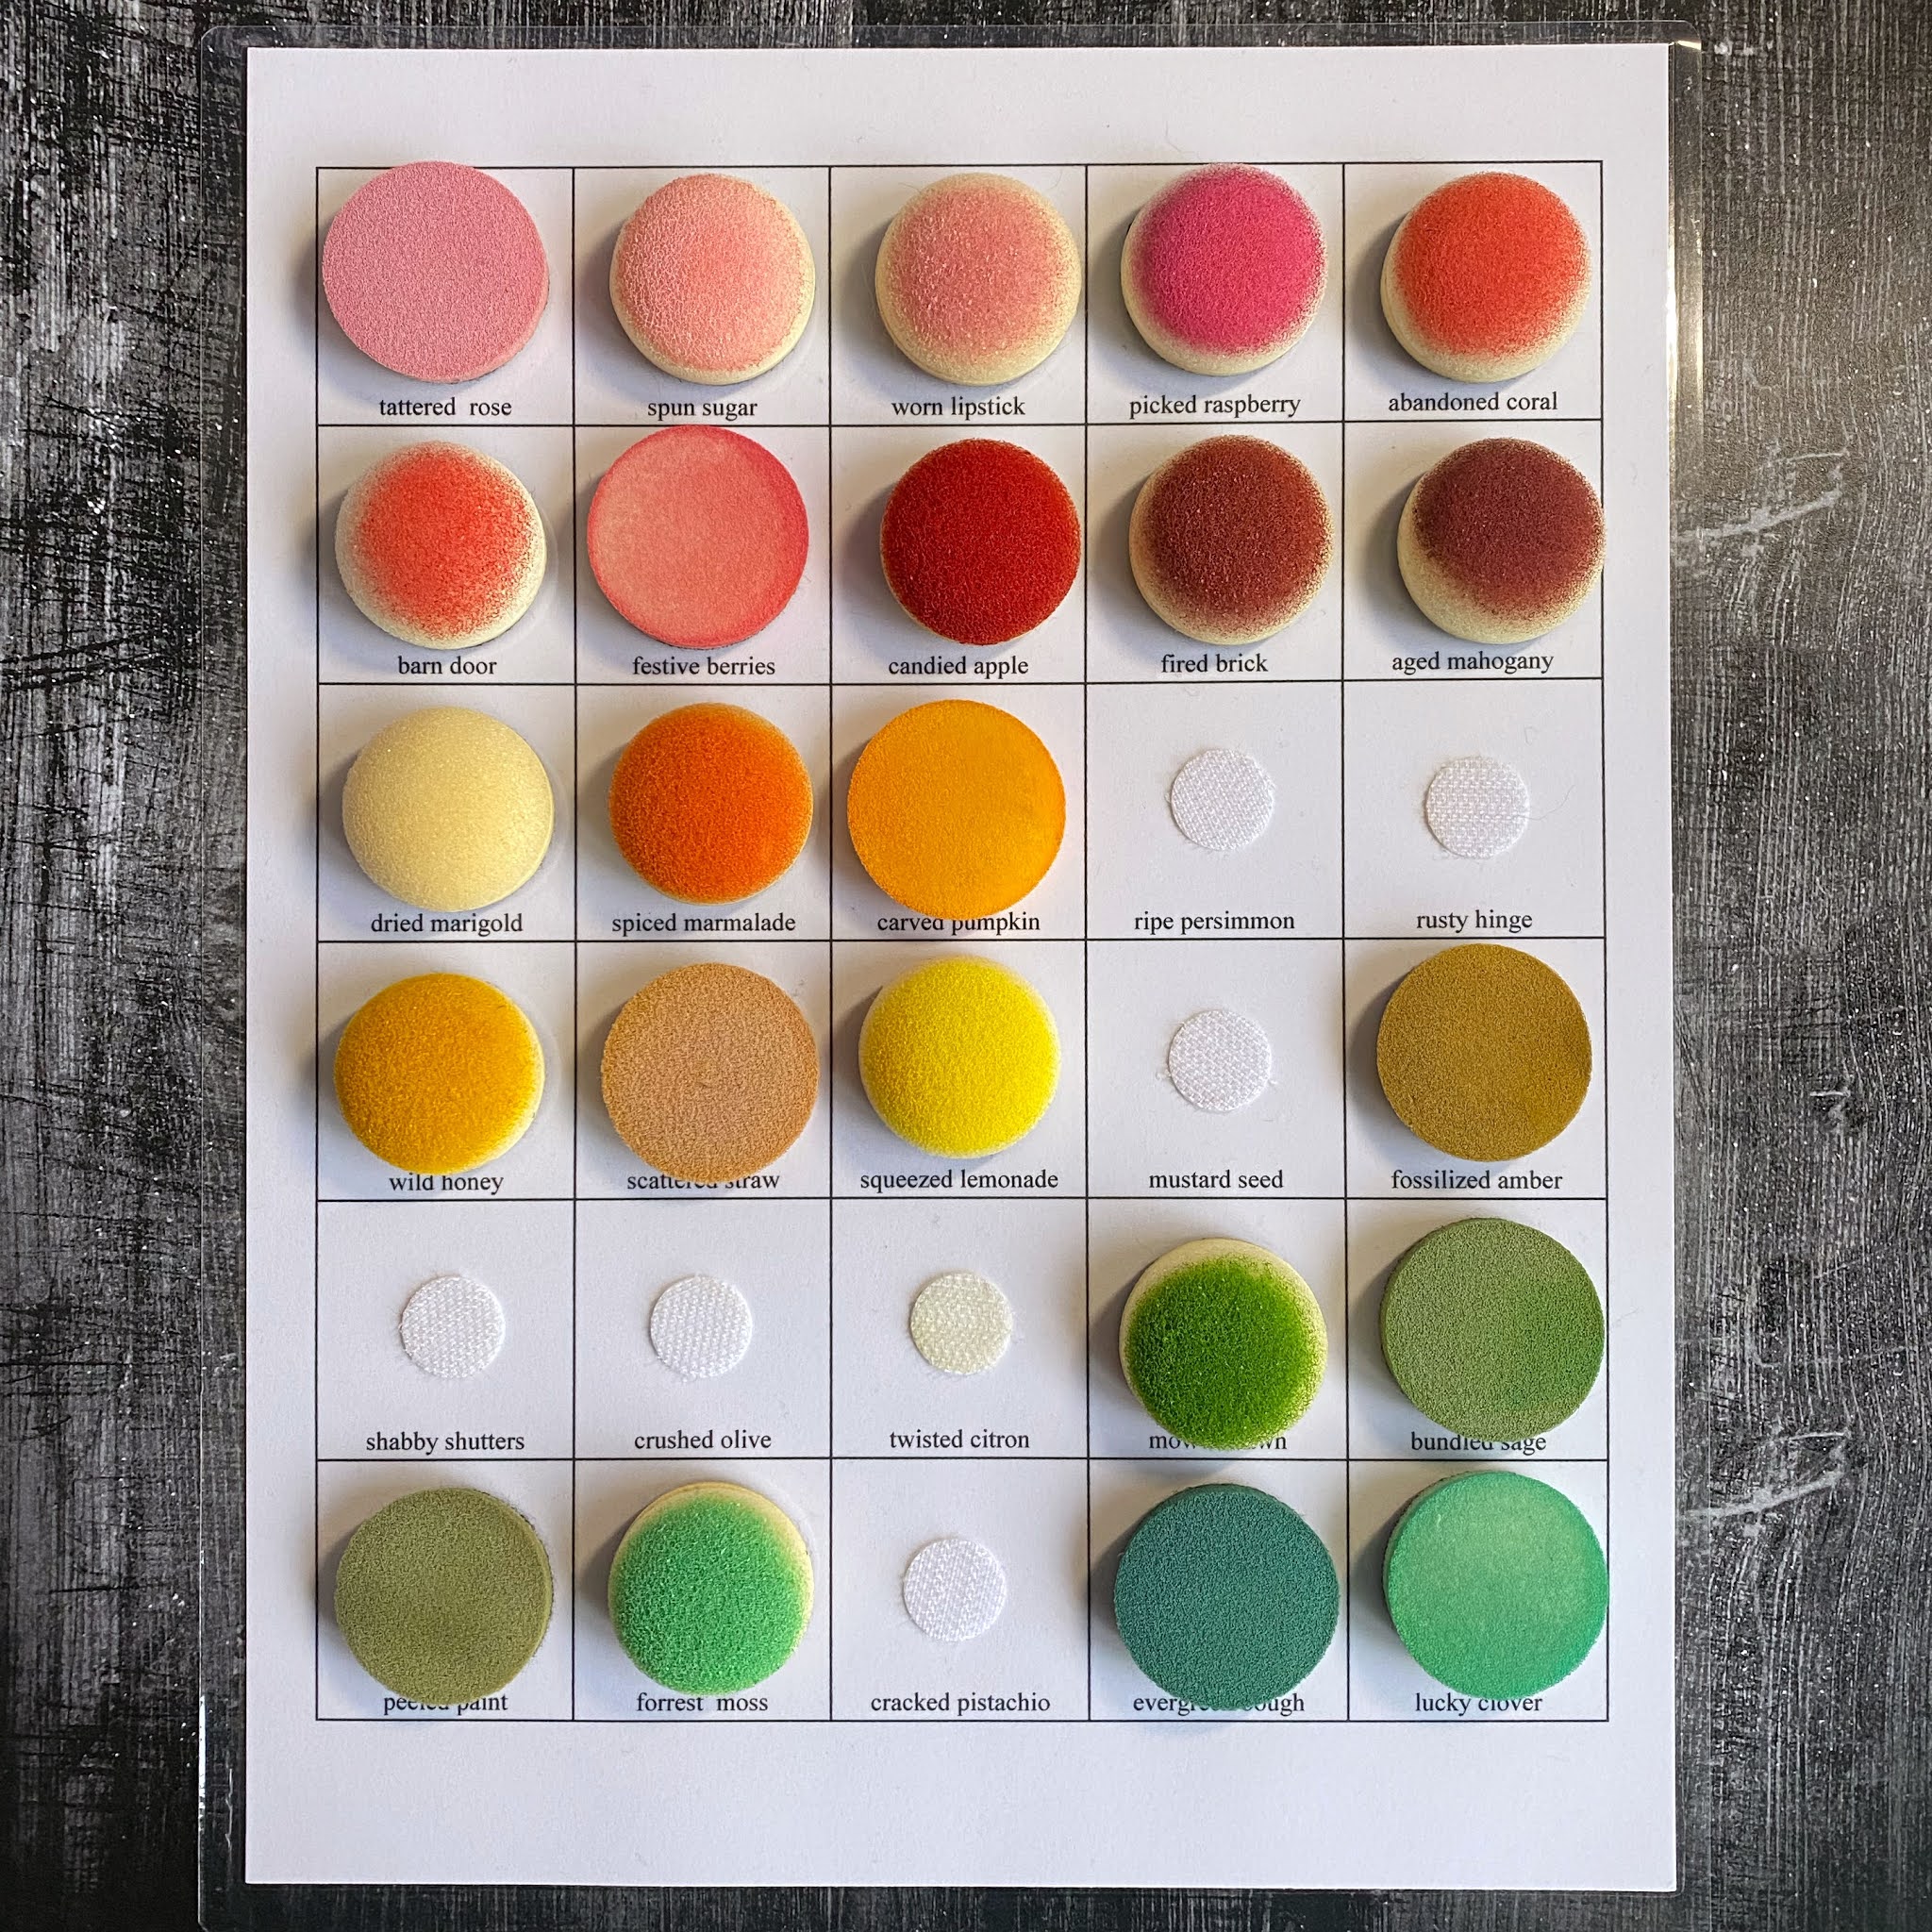
Step 2 - Trim Black Cardstock to 5 1/2” x 4 1/4”. Place the Falling Leaves Layering Stencil and using an Ink Applicator apply Distress Oxide Ink. I used one ink color for every layer except for the with the Pine Cones. The colors I used is Rustic Wilderness, Pine Needles, Gathered Twigs, Walnut Stain and Festive Berries.
Step 4 - Diecut Warm Hugs using Vellum for the shadow and White Cardstock x 3 for the word. Adhere each white layer with the shadow layer underneath, then adhere to card front using Nuvo Deluxe Adhesive.


Holiday Wishes Card

Step 1 - Trim White Cardstock to 11 x 4 1/4”, score at 5 1/2” and fold in half for a horizontal top fold card. (A2)
Step 3 - Place the panel created from Step 2 in a Splatbox and spray White Iridescent Shimmer. Once dry adhere to front of card using Nuvo Deluxe Adhesive.
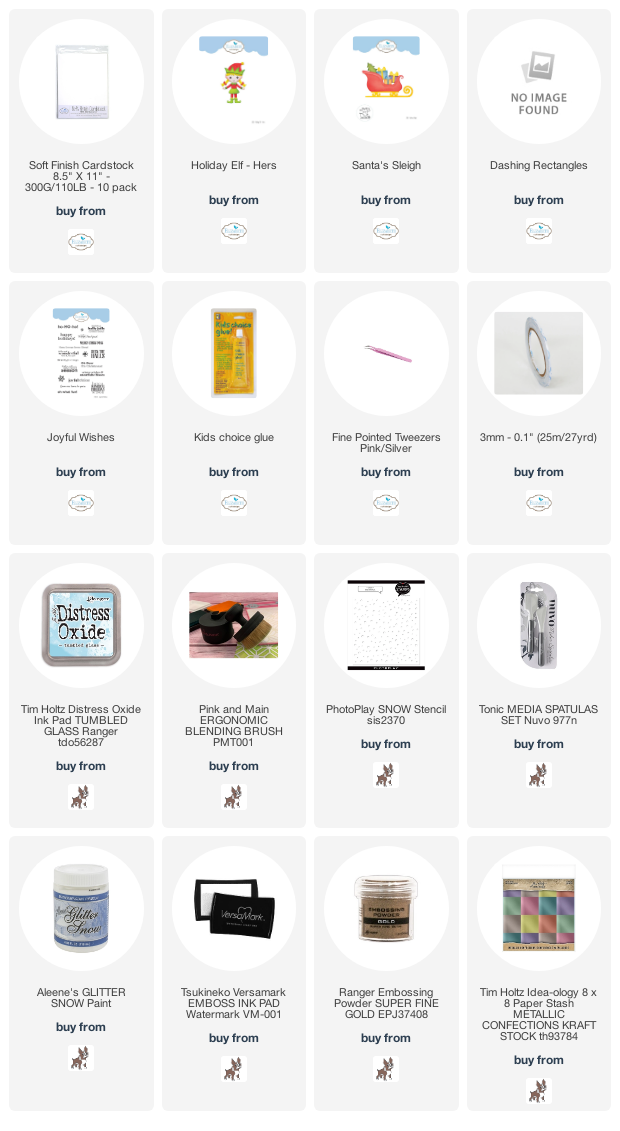
Step 4 - Diecut Holiday using Vellum for the shadow and White Cardstock x 3 for the word. (The dies are from the Gina K Designs Merry & Bright release from a few years ago. If you don’t have it then I linked below an alternative. Just trim off the s at the end.) Adhere each white layer with the shadow layer underneath, then adhere to card front using Nuvo Deluxe Adhesive.
Step 5 - Stamp Holiday Greeting Mix 1 (wishes) using Versafine Onyx Black Ink on White Cardstock. Trim out the sentiment and adhere to card using Foam Tape.
Step 6 - Optional - For added interest and sparkle randomly adhere Silver Baubles using an Embellishment Wand and Nuvo Deluxe Adhesive.


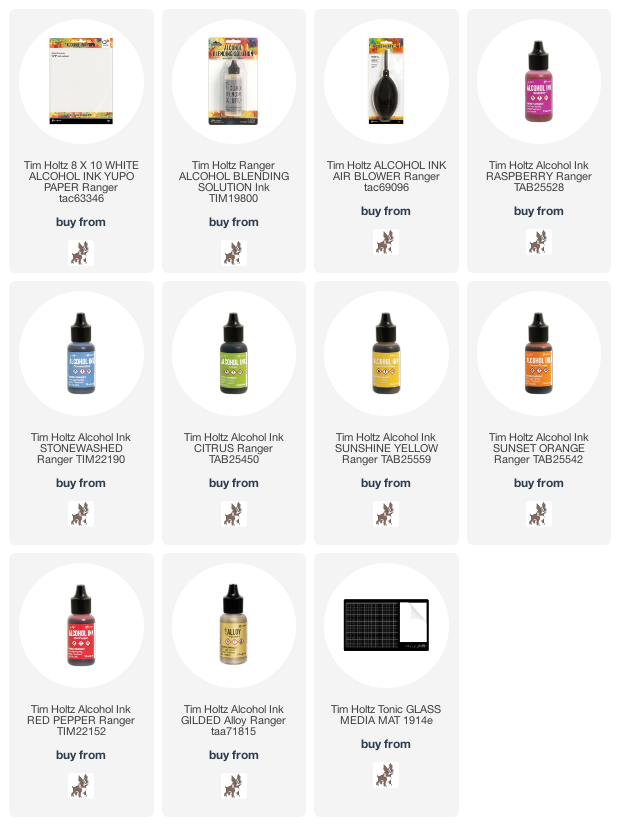
These cards can be used for many occasions by changing the colors and/or sentiment. Below is a link to all the products used. Thank you for stopping by and Happy Crafting!