Sunday, March 11, 2018

Happy 68 Eclipse Card

Hi Everyone,
A few days ago on the Kat Scrappiness Blog I posted a video tutorial for an Eclipse card using the new Condensed Uppercase Alpha Dies from Kat Scrappiness. After the video went live the dies were sold out and many people reached out to me to find out if there will be more coming.  I am happy to say that more are coming and you can now place an order to reserve them. On the blog post I mentioned the Condensed Number Dies would be great to make for a birthday or Anniversary. Today I am showing an Eclipse card I made for my Mother’s 68 birthday using the Condensed Number Dies. Below you will find the steps to replicate this card. Before we get started I have a Blog Giveaway going on.

Blog Giveaway
One lucky winner will receive five die sets. Spellbinders Labels Four, Foliage & Ribbon Banner and Die-namites Wet Tulips & Tulip Garden. The contest is easy. Click on follow my blog. How easy is that! If you are already following me you are automatically entered into the drawing. The contest ends on Friday March 16 and the winner will be announced on Saturday March 17. Good luck everyone!

Here is the prize


  • Step 1 - Cut White Cardstock to 8 1/2" x 5 1/2". Score and fold in half to form a vertical side-fold card base. Finished size: 4 1/4" x 5 1/2" (A2)
  • Step 2 - Trim White Cardstock to 4 1/4" x 5 1/2". Apply Distress Oxide onto a craft mat and spray water to activate the Distress Oxide. Dip the cardstock into the Distress Oxide. Dry with a heat tool before adding more layers of color. Once you reach the desired effect using a paintbrush gather the remaining ink and splatter. Let completely dry before moving onto the next step.
  • Step 3 - Optional - Place a stencil over the Distress Oxide panel and secure it using painters tape. Apply Texture Paste. Let dry.
  • Step 4 - Diecut Double Stitched Rectangles Die using the Distress Oxide panel.
  • Step 5 - Diecut Condensed Numbers Die using the Distress Oxide Panel. Adhere the panel to the card front using Clear Double Sided Adhesive Tape. The inside pieces of the Numbers must also be adhered to the card front. Apply Pop Ups or foam tape to the Numbers and adhere it to the card.
  • Step 6 - Stamp Everyday Brush Strokes sentiment using Distress Oxide. Once dry use the anti static magic pad then restamp using an Embossing Ink Pad. Sprinkle Clear Embossing Powder and heat it with a heat gun. Trim and adhere to the bottom area between the Numbers using Clear Double Sided Adhesive Tape.
  • Step 7 - Randomly place sequins for added interest using Multi Medium Glue.


Below is the video tutorial using the Condensed Uppercase Alpha Dies.


Below is a link to all products used for the Birthday Eclipse Card. Thanks for stopping by and have a wonderful day.

To receive 10% off your order at www.katscrappiness.com use TINA10 at checkout.

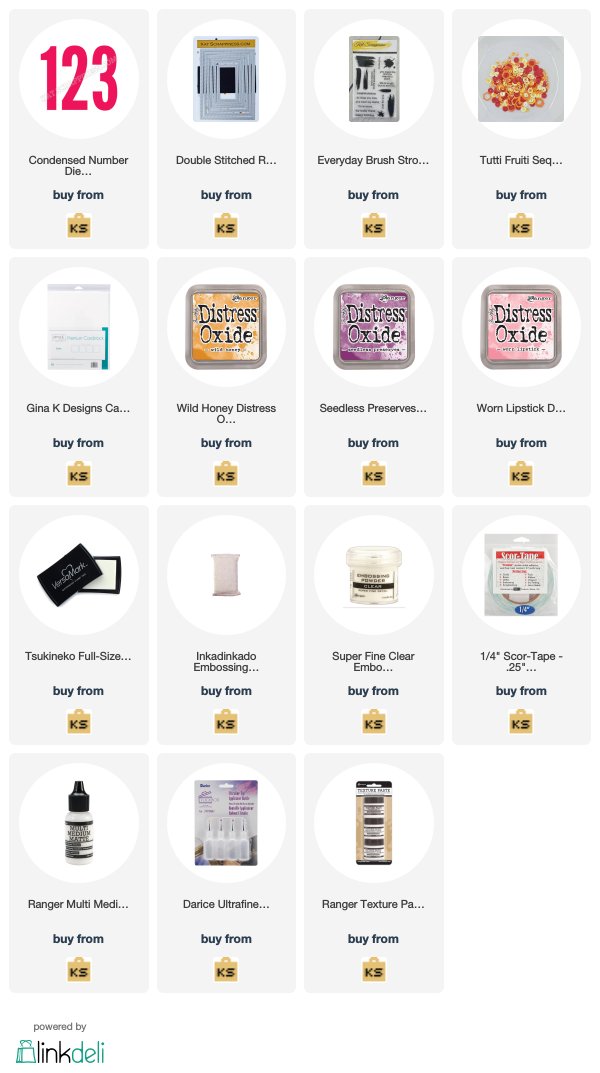
Kat Scrappiness Products Used:

Sunday, March 4, 2018

Mothers Day Card Using April Showers Stamp and Dies

Hi Everyone,
Today I have a card to share with you using the new Krista Schneider stamps from Elizabeth Craft Designs  At first I intended to make this an Easter card but when I added the 3 chicks it made me think of my mother so I changed it for a Mother’s Day card. Below you will find the easy steps to replicate this card but before we get started I have a blog giveaway. I have extended the deadline due to a busy schedule.

Blog Giveaway
One lucky winner will receive five die sets. Spellbinders Labels Four, Foliage & Ribbon Banner and Die-namites Wet Tulips & Tulip Garden. The contest is easy. Click on follow my blog. How easy is that! If you are already following me you are automatically entered into the drawing. The contest ends on Friday March 16 and the winner will be announced on Saturday March 17. Good luck everyone!

Here is the prize

Finished card measures 4 1/4” x 5 1/2” folded
  • Step 1 - Cut White Soft Finish Cardstock to 8 1/2" x 5 1/2". Score and fold in half to form a vertical side-fold card base. Finished size: 4 1/4" x 5 1/2" (A2)
  • Step 2 - Trim Black Soft Finish Cardstock to 4” x 5 1/4”. Adhere to card front using 3mm Clear Double Sided Adhesive Tape. 
  • Step 3 - Trim White Soft Finish Cardstock to 3 3/4” x 5”. On a kraft mat add Distress Oxide colors Broken China and Faded Jeans. Spray water to activate the ink. Dip the right bottom into the activated oxides. Dry using a heat tool. Repeat until you reach the desired effect. Place a stencil on top of the dried ink. Add Faded Jeans ink on an ink applicator and apply in a circular motion. Emboss Stitched Stars using the panel. Make sure you use the embossing mat in your Diecut machine. Adhere to the card front using 3mm Clear Double Sided Adhesive.
  • Step 4 - Diecut Stitched Stars using White Soft Finish Cardstock. Stamp April Showers (the raindrops) inside the star using Black Ink. Adhere to the card in the center of the embossed star using 3mm Clear Double Sided Adhesive. 
  • Step 5 - Stamp April Showers using Bristol Smooth Surface paper using Black Ink (for watercoloring) (Duck and chick 3 times). Color in watercolour medium of your choice. I used Zig Clean Color Real Brush. Once dry Diecut with the matching dies from April Showers. Adhere Duck to card using Foam Tape and the 3 chicks with Kids Choice Glue. 
  • Step 6 - Ink a Scrap piece of cardstock with Distress Oxide Broken China. Diecut Words 1 - Celebration (word Happy). Stamp it with an embossing ink and sprinkle Clear Embossing Powder. Heat set it with a heat tool. Repeat this step another 2 times. Adhere to card using Kids Choice Glue. 
  • Step 7 - Stamp sentiment in Embossing Ink using Black Soft Finish Cardstock. Sprinkle White Embossing Powder. Heat set with a heat tool. Adhere to card using Foam Tape. 


As mentioned above this card can be used for any occasion by changing the stamps and/or the sentiment. Below is a link for all the products used for your easy convenience. Thanks for stopping by. Have a wonderful day and see you again soon. 

Elizabeth Craft Designs Products Used: