Hello Everyone,
Today is Challenge Day at
Elizabeth Craft Designs! Every month there is a challenge with a chance to win a $20 Gift Certificate. May's Challenge is All That Glitters! All you have to do is leave a comment on the
Elizabeth Craft Designs Blog Post or
Facebook page answering this question....Which of the new Silk Microfine Glitter Palettes is your favorite: Earth, Beach or Bloom. Below you will find links to the products used as well as the steps to replicate this card.
Before I start a reminder I have a Blog Giveaway. The contest will run until May 31 and the winner will be announced June 1. All you have to do is
Follow My Blog and
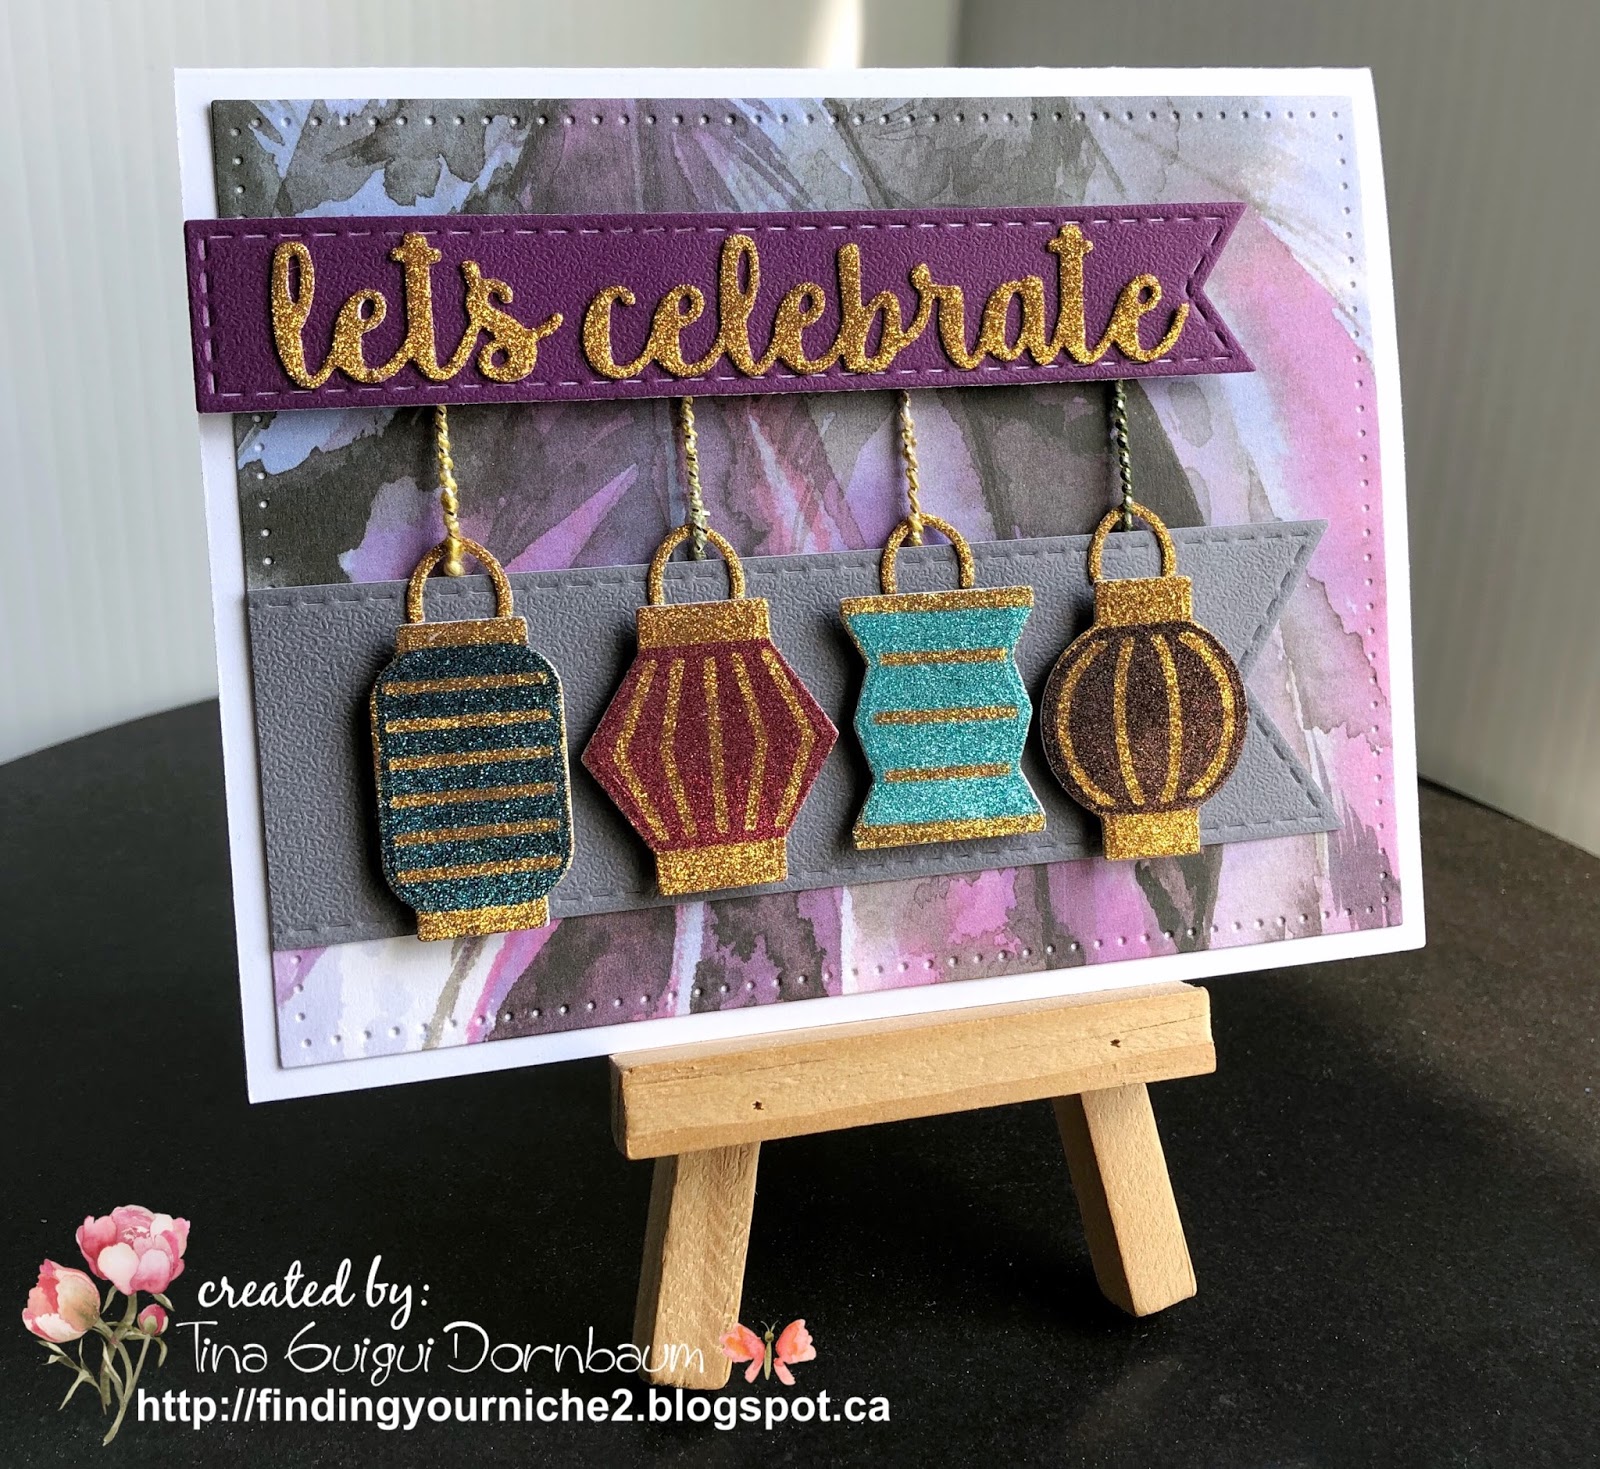
Subscribe to my YouTube Channel. Don’t forget to click on the bell after you subscribe to get notifications. People who already follow me will automatically be entered. The prize is the beautiful Lantern Box Die from Elizabeth Craft Designs.
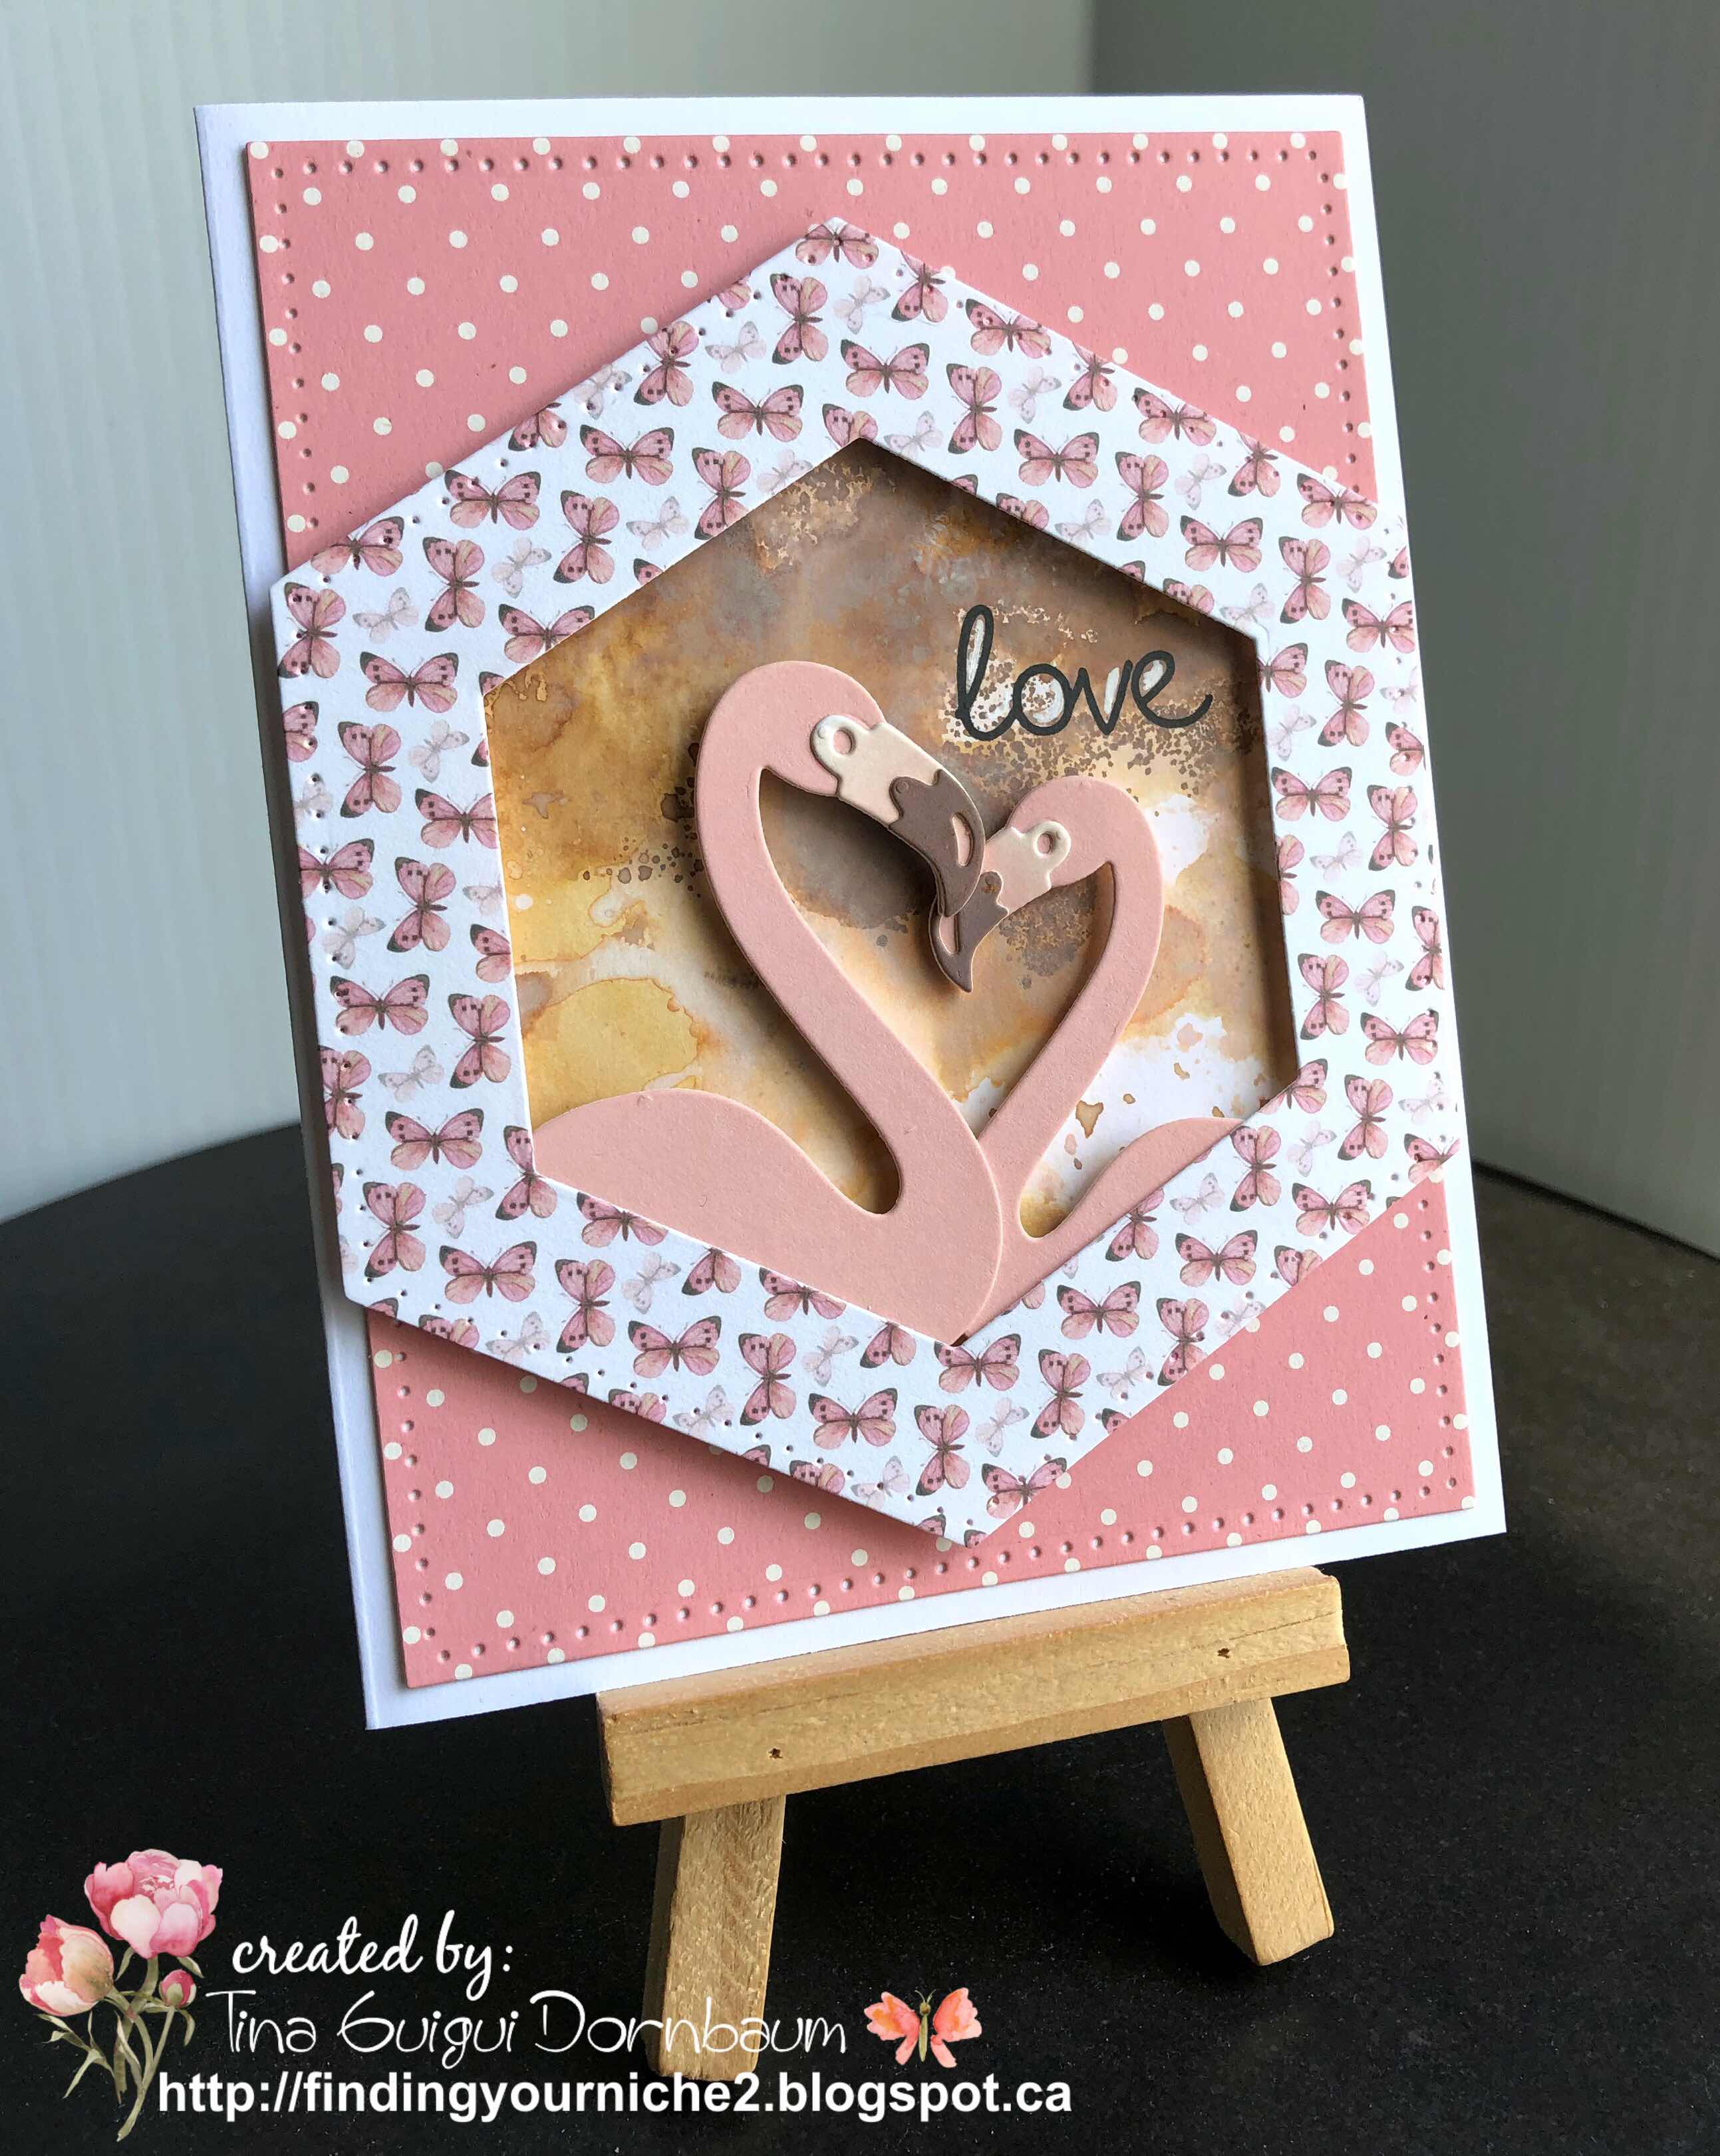
Finished card measure 4 1/4" x 5 1/2" folded

- Step 1 - Trim White Soft Finish Cardstock to 8 1/2" x 5 1/2", score at 4 1/4" and fold in half for a horizontal side fold card (A2)
- Step 2 - Diecut Stitched Rectangles using ModaScrap patterned paper Fly & Scrap. Adhere to front of card using 3mm Clear Double Sided Adhesive Tape.
- Step 3 - Apply Clear Double Sided Adhesive Sheet to front of White Soft Finish cardstock. Diecut Party Lanterns (solid die) with the Clear Double Sided Adhesive Sheet facing up. Diecut Party Lanterns (pattern die) using Clear Double Sided Adhesive Sheet. Remove all the center pieces. Remove the top release sheet to both the solid and pattern Diecut Els. Place the pattern on the solid Diecut. Make sure not to touch the solid Adhesive with your fingers. Sprinkle Silk Microfine Glitter. Remove excess with a brush. Use the tip of your finger to secure the glitter by moving in a circular motion. This will also bring out the sparkle. Repeat this step to all the lanterns. Remove the release sheet to apply your second Color using Silk Microfine Glitter using the same process by removing excess glitter with a brush and using your finger to set and activate the glitter.


- Step 4 - Diecut Stitched Fishtail Banner using Pewter Soft Finish cardstock. Adhere to bottom left of card front using Clear Double Sided Adhesive Tape. Adhere the lanterns on top of the Stitched Fishtail Banner using Foam Tape.
- Step 5 - Apply Clear Double Sided Adhesive Sheet to the top of a Scrap piece of White Soft Finish cardstock. Diecut Party Lanterns small piece that holds the lanterns. You need 4 of the 5. Peel off the release sheet and sprinkle on Silk Microfine Glitter. Remove excess with a brush and use your finger to set and activate the glitter. Adhere to card using Kids Choice Glue. Adhere string through each loop and secure the top piece with tape.
- Step 6 - Diecut Stitched Fishtail Banner using Soft Finish Cardstock. Adhere to card to top left side side using Clear Double Sided Adhesive Tape. This will cover the string secured with the tape.
- Step 7 - Apply Clear Double Sided Adhesive Sheet to the top of White Soft Finish cardstock. Diecut Words 1 - Celebration sentiment. Peel off the release sheet and sprinkle on Silk Microfine Glitter. Remove excess with a brush and use your finger to set and activate the glitter. Adhere to card using Kids Choice Glue.


It is hard to capture the sparkle in a photograph but IRL the glitter sparkles even under minimal lighting. This card can be used for any occasion by changing the sentiment, color and patterned paper. Below are links to all the Product Used. Thanks for stopping by and see you again soon
Elizabeth Craft Designs Products Used: