Tuesday, December 19, 2017

Elizabeth Craft Designs December Challenge Creating Backgrounds

Hi Everyone,
Welcome back to the last Elizabeth Craft Designs Challenge for 2017. Boy where did the time go. The challenge is Backgrounds - There are so many ways to create a background. You can use large background dies, smaller dies or stamps. Backgrounds can add so much interest to your card or home decor.


Before we get started did you know there is a chance for you to win a $20 gift card. Visit the Elizabeth Craft Designs Blog. Answer this question by leaving a comment on the Elizabeth Craft Designs BlogWhat Elizabeth Craft Designs dies or stamp sets would you use to create a background on something you were creating? 3 lucky winners will be chosen in a random drawing.


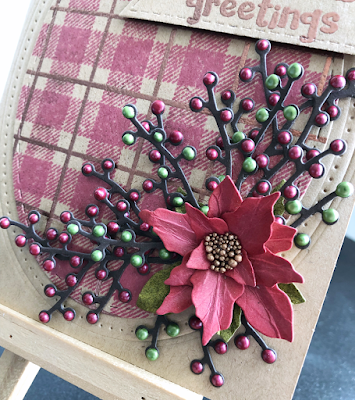
Below you will find the steps to replicate my card. 
  • Step 1 - Cut White Soft Finish Cardstock to 8 1/2" x 5 1/2". Score and fold in half to form a vertical side-fold card base. Finished size: 4 1/4" x 5 1/2" (A2)
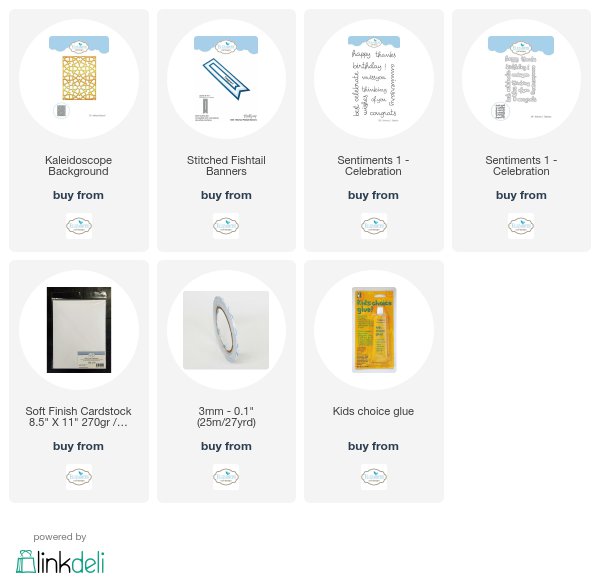
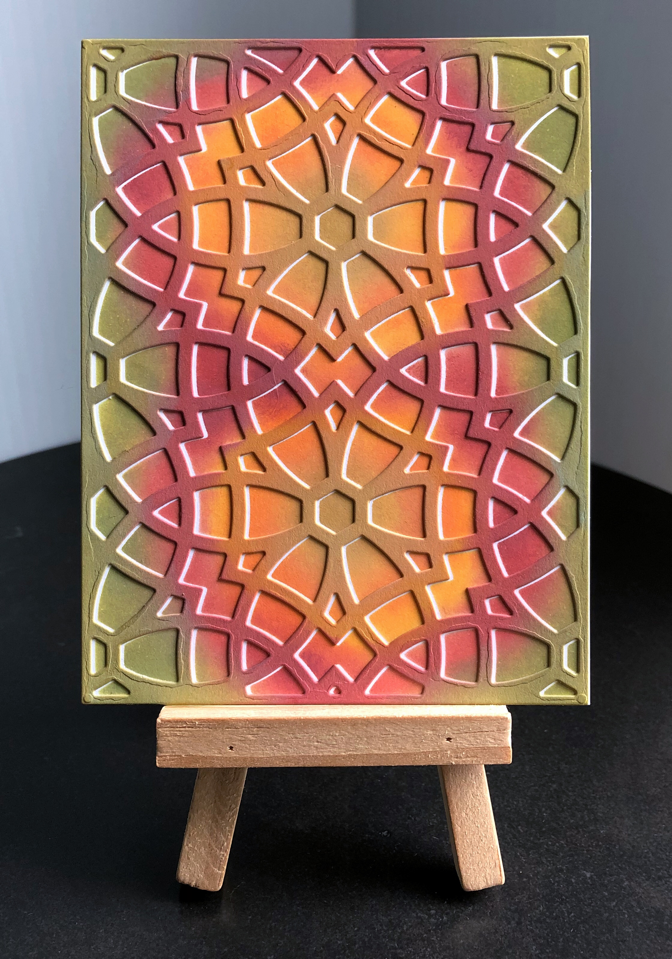
  • Step 2 - Diecut Kaleidoscope Background using a Scrap piece of cardstock to create a stencil. 

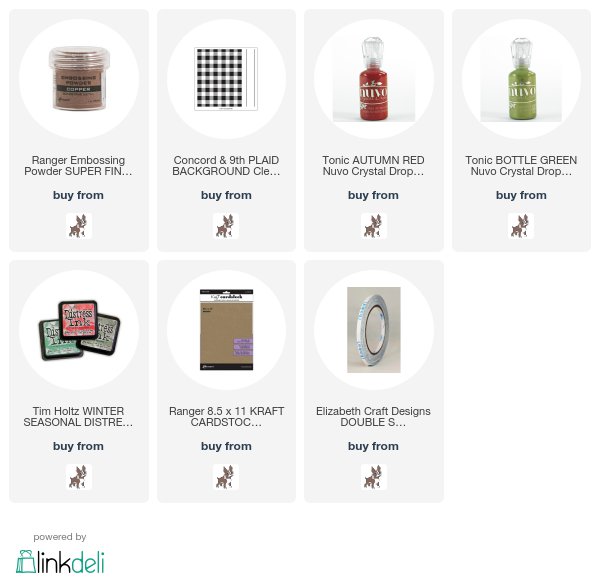
  • Step 3 - Trim White Soft Finish Cardstock to 4 1/4” x 5 1/2” and place the Kaleidoscope Stencil you created on top. Using a sponge dauber or ink applicator start to Color over the stencil. I used 4 colours in Distress Oxide Inks as they are easy to blend colours together. 
  • Step 4 - You can remove the stencil and use as below but I wanted less white showing. Using a strong glue on the back adhere the stencil to the background by offsetting it 1mm. See below for visual. Trim to 4” x 5 1/4” and adhere the whole background panel to the card using a sheet of fun Foam by using Clear Double Sided Adhesive sheets on both sides.  


  • Step 5 - Diecut Stitched Fishtail Banners using White Soft Finish Cardstock. Keep the die on top of the Diecut and ink inside. Again I used Distress Oxide Ink. 
  • Step 6 - Stamp Sentiments 1 - Celebration Clear Stamp in left side of Stitched Fishtail Banners Diecut with Black Ink. 
  • Step 7 - Stamp Sentiments 1 - Celebration Clear Stamp on White Soft Finish Cardstock with Black Ink.  Diecut the stamped image with matching Die. (Tip: Diecut a Scrap piece to use as a template. Use the negative piece to make sure the stamped area is inside the Diecut. Add a piece of masking tape to hold in place then pass through the Diecut machine.) Adhere to the right side of Stitched Fishtail Banner. Now adhere the whole banner to the card using Foam Tape. 


Thanks for stopping by. Below is a link of all Elizabeth Craft Designs Product Used for your easy convenience. 

Monday, December 18, 2017

Elizabeth Craft Designs Poinsettia Christmas Greetings card

Hi Everyone,
Below is a card that took little time to make and yet looks intricate. Below are the easy steps to replicate this card.


  • Step 1 - Cut Kraft Cardstock to 8 1/2" x 5 1/2". Score and fold in half to form a vertical side-fold card base. Finished size: 4 1/4" x 5 1/2" (A2)
  • Step 2 - Emboss the front of card using Stitched Ovals Die (you will not be diecutting but embossing with the embossing matte). This will give an embossed impression of the Stitched Oval.
  • Step 3 - Stamp Concord & 9th Plaid Background Clear Stamp on Kraft Cardstock with a Red Pigment Ink. Let dry or use Heat Gun to speed up the drying time. Once dry use an anti-static powder bag then stamp the Concord & 9th Plaid Background Clear Stamp double lines repeatedly with Embossing Ink. Sprinkle Ranger Copper Embossing Powder and heat with Heat Gun. See below photo for before and after.
  • Step 4 - Diecut Stitched Ovals (one smaller than the die you used for embossing) the Plaid Background and adhere to the center of card using 3mm Clear Double Sided Adhesive Tape.
  • Step 5 - Diecut Small Poinsettia in red cardstock & green cardstock (or ink Kraft Cardstock with Distress Ink Festive Berries & Evergreen Bough then let dry). Assemble the Poinsettia. If you need help with the assembly here is a video from Susan's Garden Club to help you out. Once assembled add Prills Third Place to the center. Adhere to bottom right of card using Kids Choice Glue.
  • Step 6 - Diecut Berry Branch 3 times in brown cardstock. Add Crystal Nuvo Drops of all the Berry (circles). 2 branches in Autumn Red and 1 branch in Bottle Green. You will need to let this dry completely. Once dry cut sections and begin adhering all around the Poinsettia. I used Kids Choice Glue.
  • Stamp on Kraft Cardstock with embossing ink the sentiment from Winter Sentiments Clear Stamp and sprinkle Copper Embossing Powder. Heat set with Heat Gun.
  • Diecut the sentiment with Stitched Fishtails Banner. Adhere to the card using foam tape or pop-ups.


The fun thing about this card is that it can also be used for any occasion by changing the plaid colors, the poinsettia to a flower as well as changing the sentiment. Thank you for stopping by.

Below are links to the Elizabeth Craft Designs Products Used & Simon Says Stamp Products Used for your easy convenience.


Thursday, December 14, 2017

Club Scrap Scandinavian Holiday Blog Hop And Linky Party

Hi Everyone,
It's the Club Scrap Scandinavian Holiday Linky Party.  I used the Digital Kit for my cards. I decided for a clean and simple look. All designs were printed on white cardstock and used like a paper kit. The base of the cards are 4 1/4” x 5 1/2” folded.


Thanks for stopping by! See you soon. 

Wednesday, December 6, 2017

A Night At The Met Digital Kit from Club Scrap With Case This Sketch #249

Hi Everyone,
Today I am showing you a card I made using 2 of my favorite crafting companies. Club Scrap and Elizabeth Craft Designs and combined their product using Sketch #249 from Case This Sketch. Below you will find the steps to replicate this card.


Finished card measures 4 1/4" x 5 1/2" folded

The base of card is using white cardstock from Club Scrap from the Paris Flea Market Kit. Using black cardstock from the same kit I diecut with Stitched Rectangles from Elizabeth Craft Designs. I adhered it to the front of card using 3mm Clear Double Sided Adhesive Tape. I trimmed the background from the A Night At The Met digital kit and adhered using 3mm Clear Double Sided Adhesive Tape. Using black cardstock I diecut Dotted Scallop Squares from Elizabeth Craft Designs and trimmed the bottom piece and adhered towards the bottom of the card. I trimmed a piece of the cut-a-part from the digital kit and adhered to the card leaving 1/4” of the Dotted Scallop Square. The sentiment is from the Sentimental set from Avery Elle.


Thank you for stopping by. Below you will find a link to all the Elizabeth Craft Designs Product used for your easy convenience.