Before we get started I have new Blog Giveaway. The contest will run until May 31 and the winner will be announced June 1. All you have to do is Follow My Blog and Subscribe to my YouTube Channel. Don’t forget to click on the bell after you subscribe to get notifications. People who already follow me will automatically be entered. The prize is Lantern Box Die from Elizabeth Craft Designs.

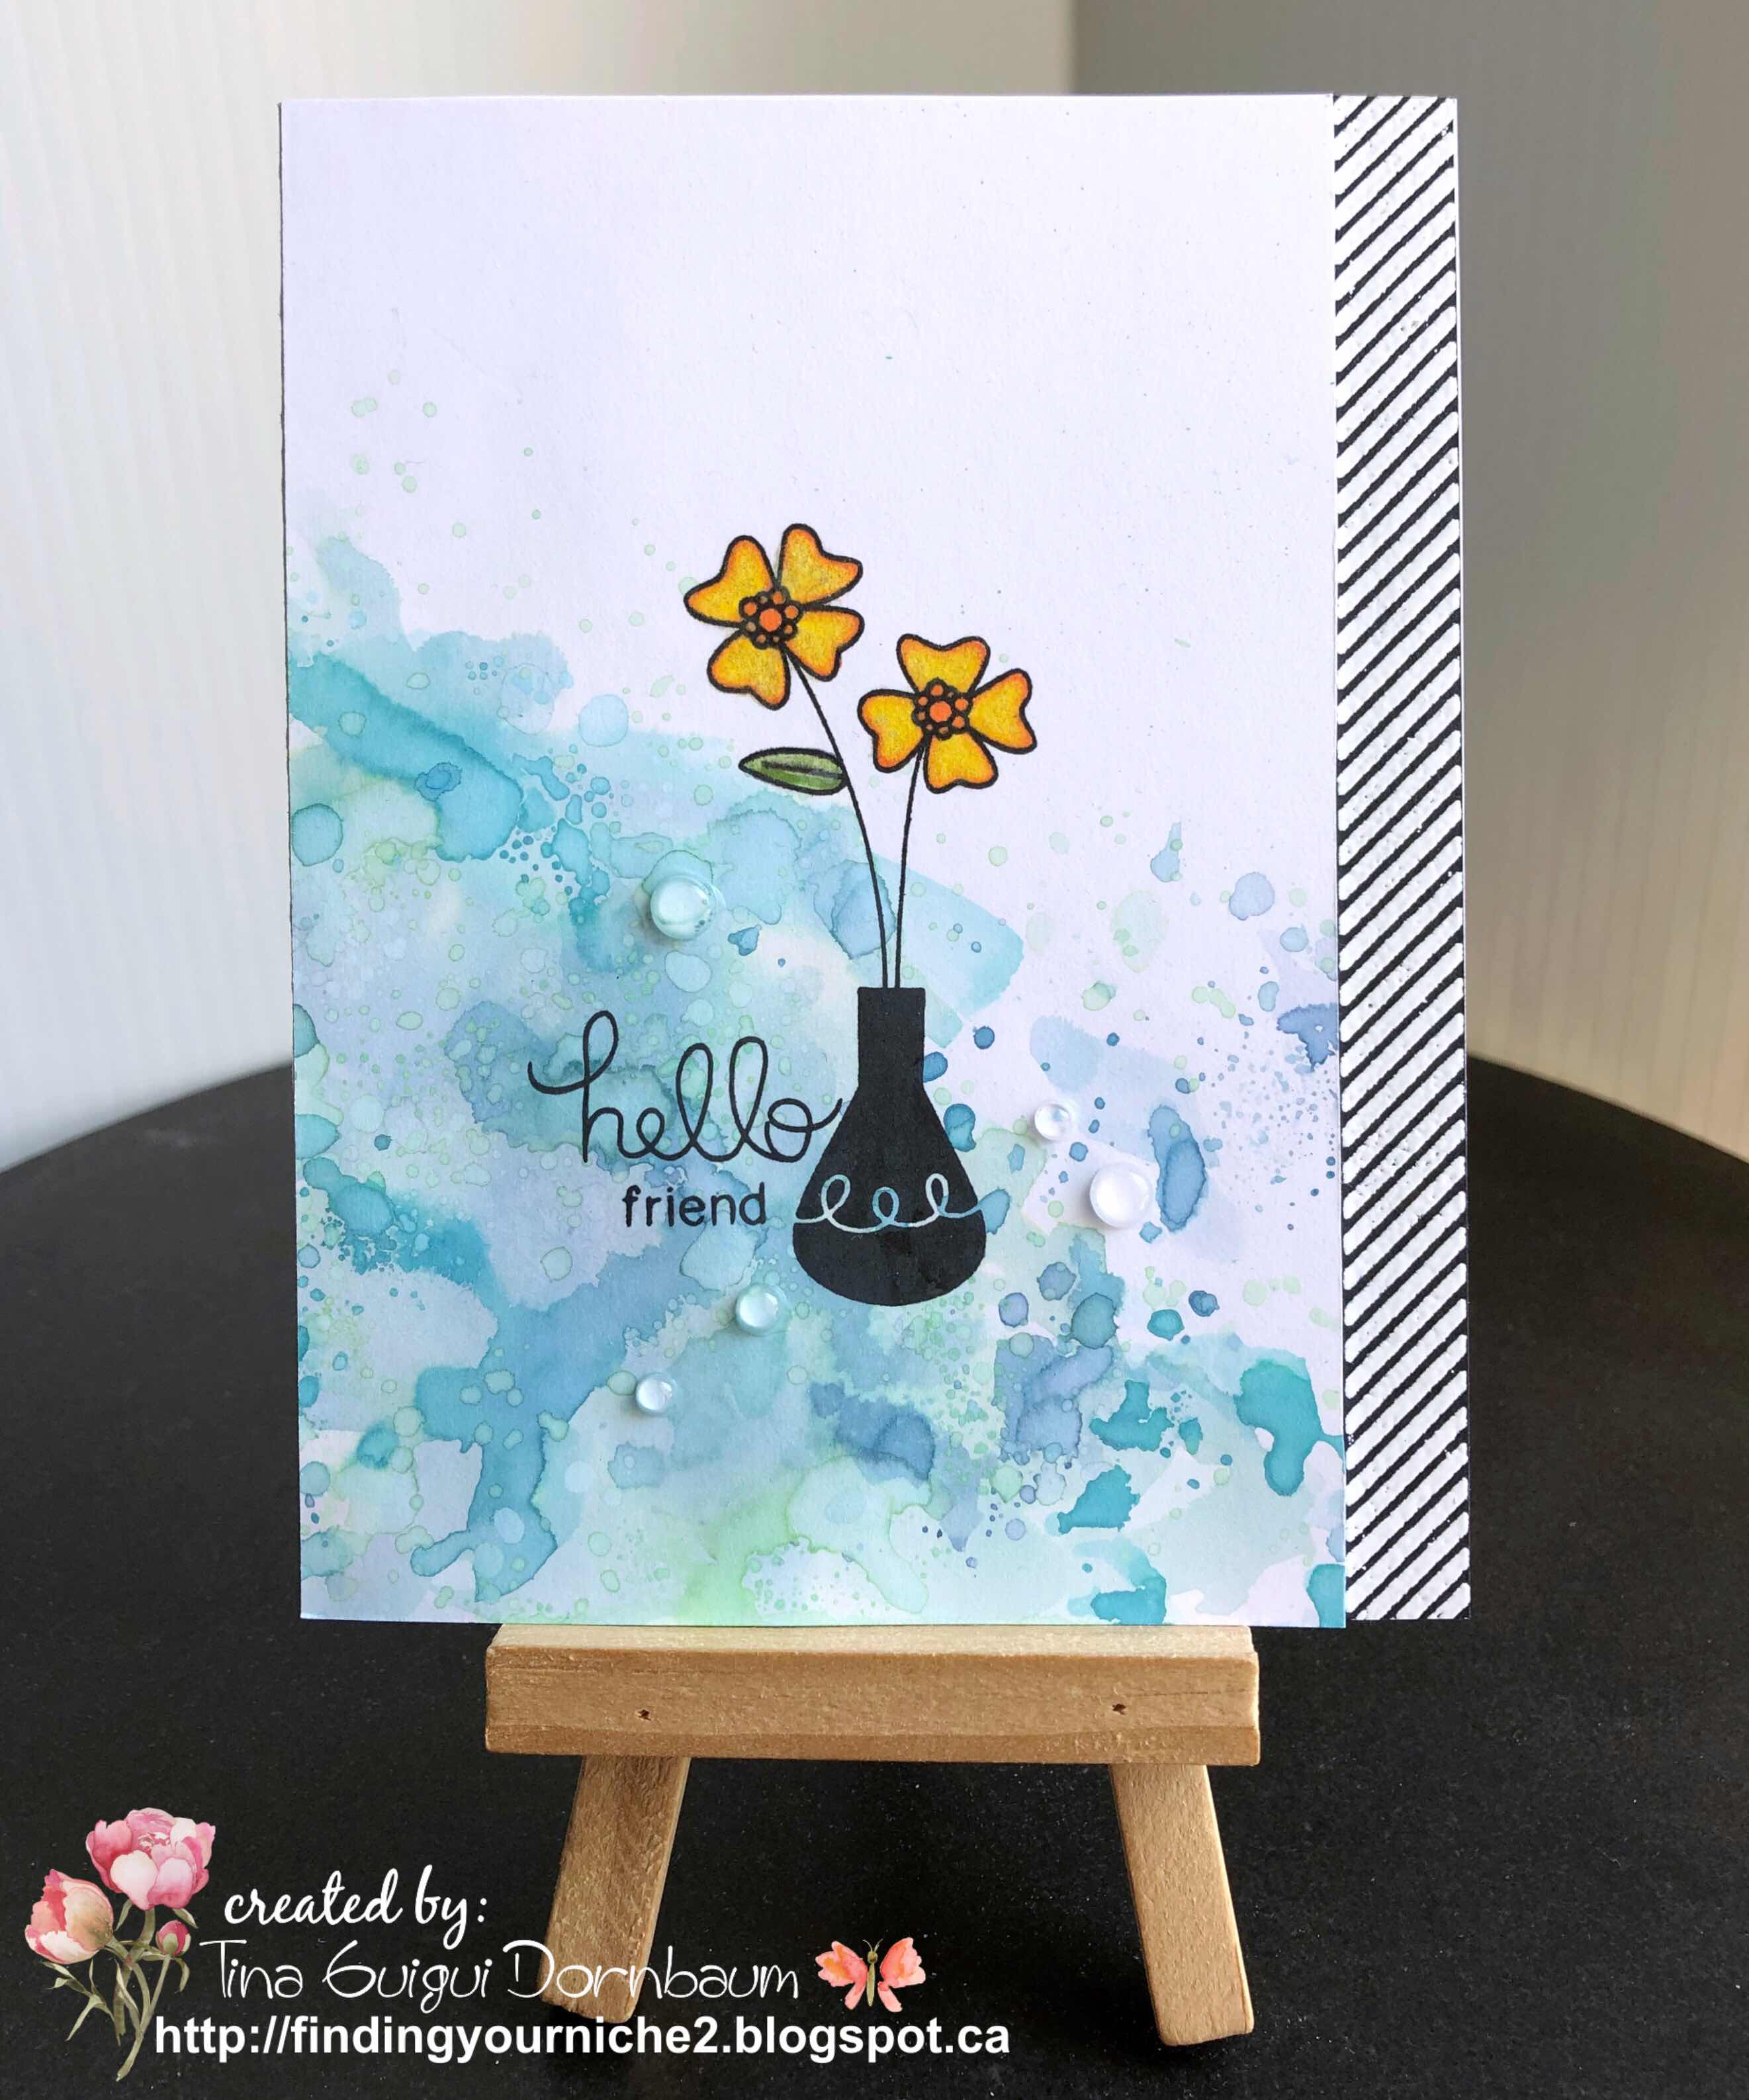
Finished card measures 4 1/4" x 5 1/2" folded

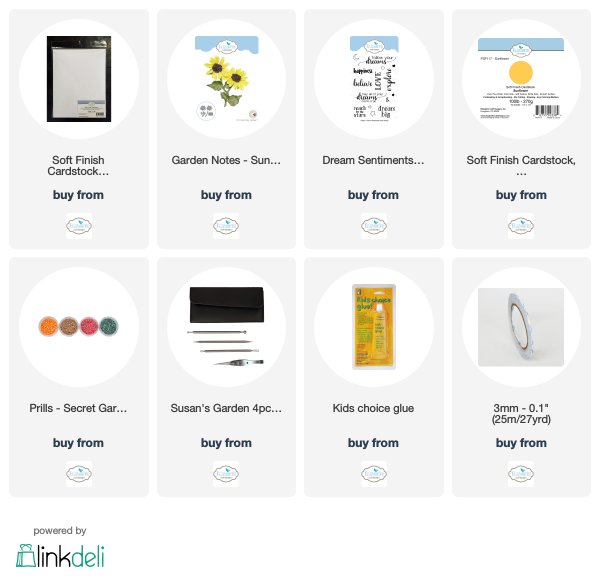
- Step 1 - Trim White Soft Finish Cardstock 5 1/2" x 8 1/2", score in half for a vertical side fold card (A2)
- Step 2 - Trim Sunflower Soft Finish Cardstock to 4" x 5 1/4", adhere to front card base using 3mm Clear Double Sided Adhesive Tape.
- Step 3 - Trim White Soft Finish Cardstock to 3 3/4" x 5". Create a Distress Oxide background by applying directly on White Soft Finish Cardstock using an Ink Applicator. I used colors Faded Jeans, Broken China and Cracked Pistachio. Starting darkest at the top to the lightest going down leaving the bottom white. I sprayed some water to create droplets. Once dry adhere to card using 3mm Clear Double Sided Adhesive Tape.
- Step 4 - Stamp Dream sentiment (Happiness) using Versamark Ink, sprinkle White Embossing Powder, heat set it with a heat tool.
- Step 5 - Diecut Garden Notes - Sunflowers 2 (yellow for the flower petals and green for the leaves and stem). You can use White Soft finish Cardstock and color using medium of your choice. Assemble the Sunflower using Susan's Garden 4pc All Metal Tool Set and Kids Choice Glue. For the center I used Prills instead of the diecut pieces. Adhere to the card using Kids Choice Glue. If you need help for the assembly of the flower visit Susan on YouTube, she has a video using the Garden Notes - Sunflower 1.
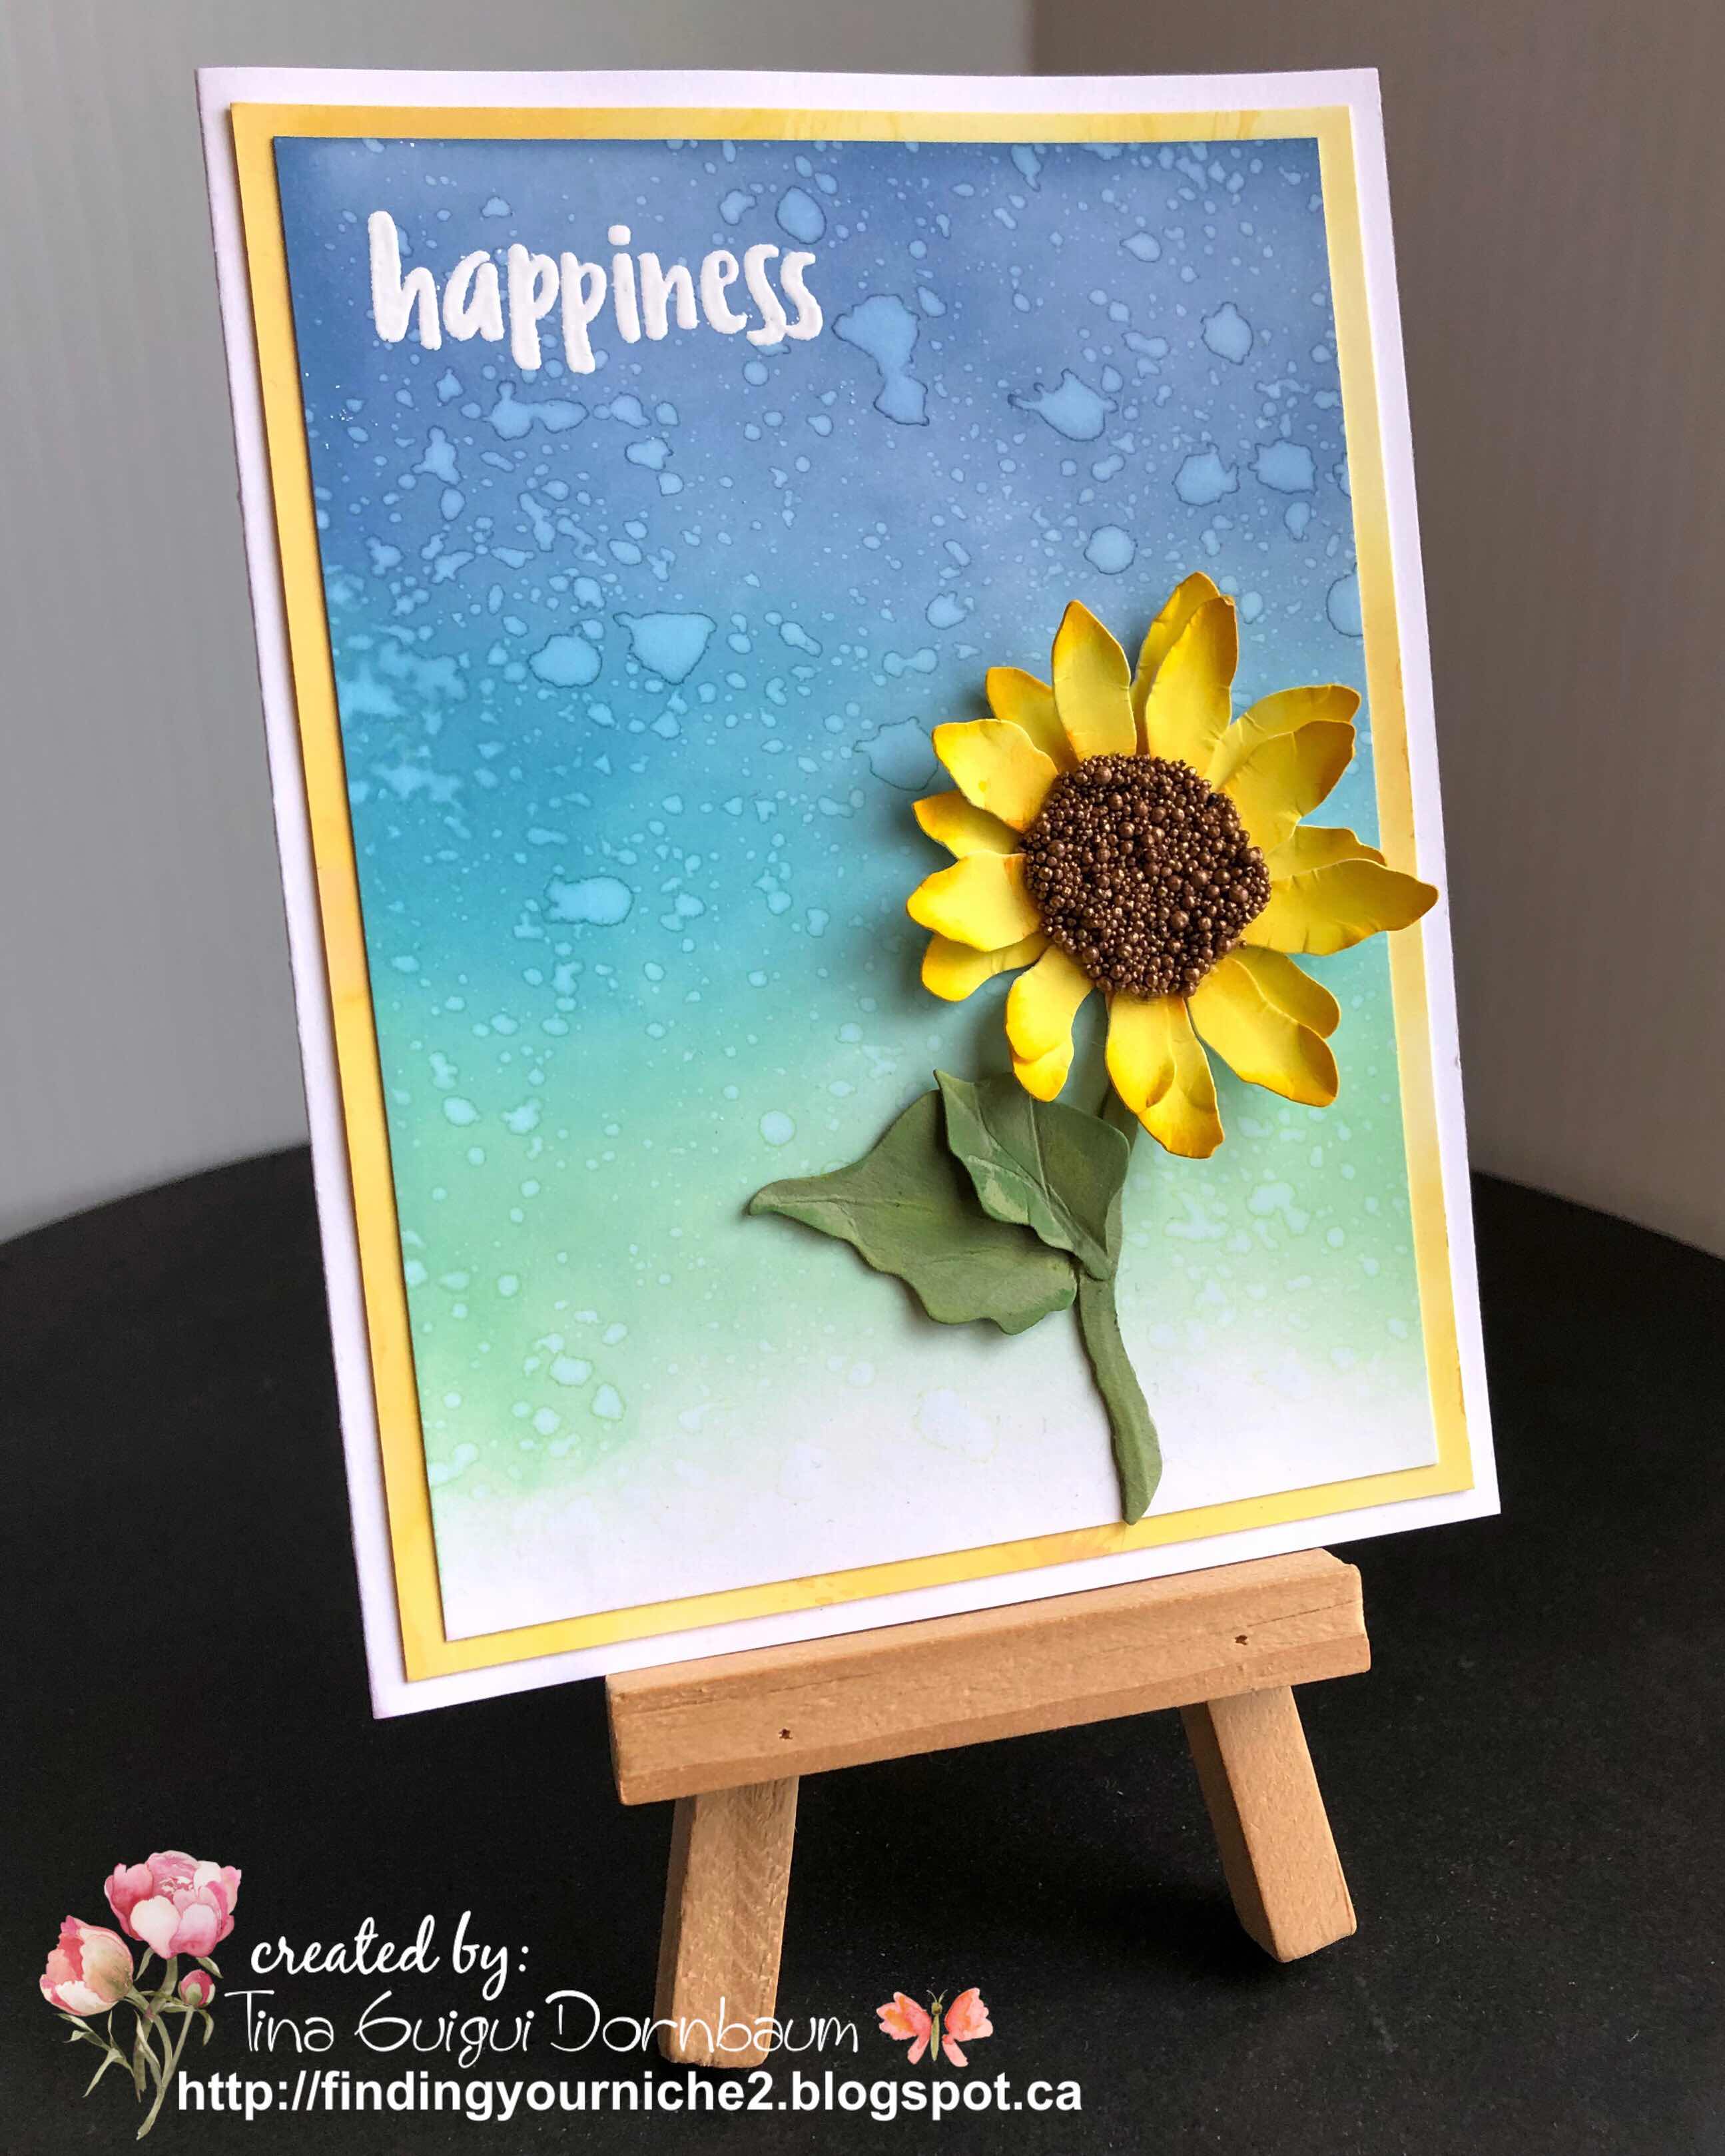


This card is so Cheery it can be used for many occasions, simply change the flower (colors) and/or the sentiment. Below is a link for all Elizabeth Craft Designs Products Used for this card. Thanks for stopping by and have a wonderful day!
Elizabeth Craft Designs Product Used: