Monday, February 8, 2021

Elizabeth Craft Designs February Group Post

Hi everyone,

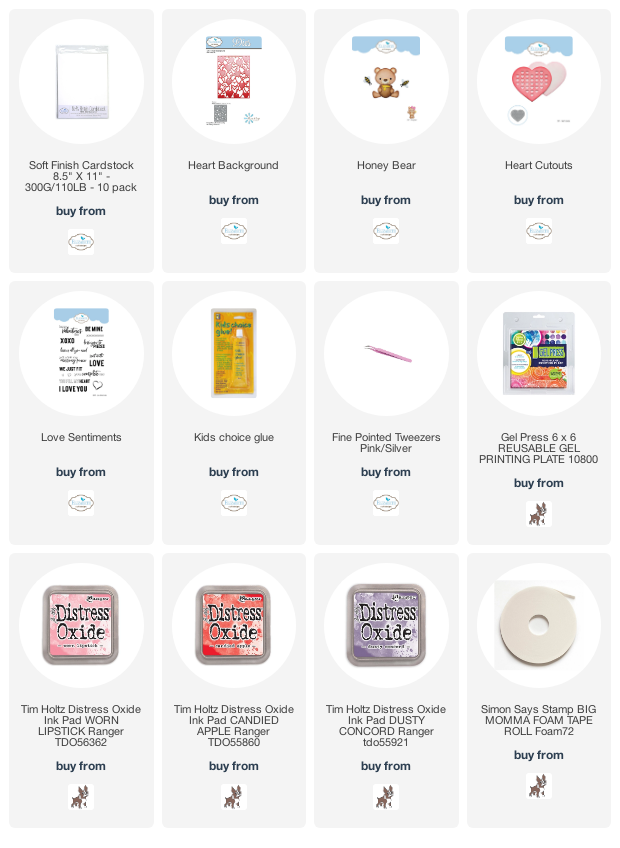
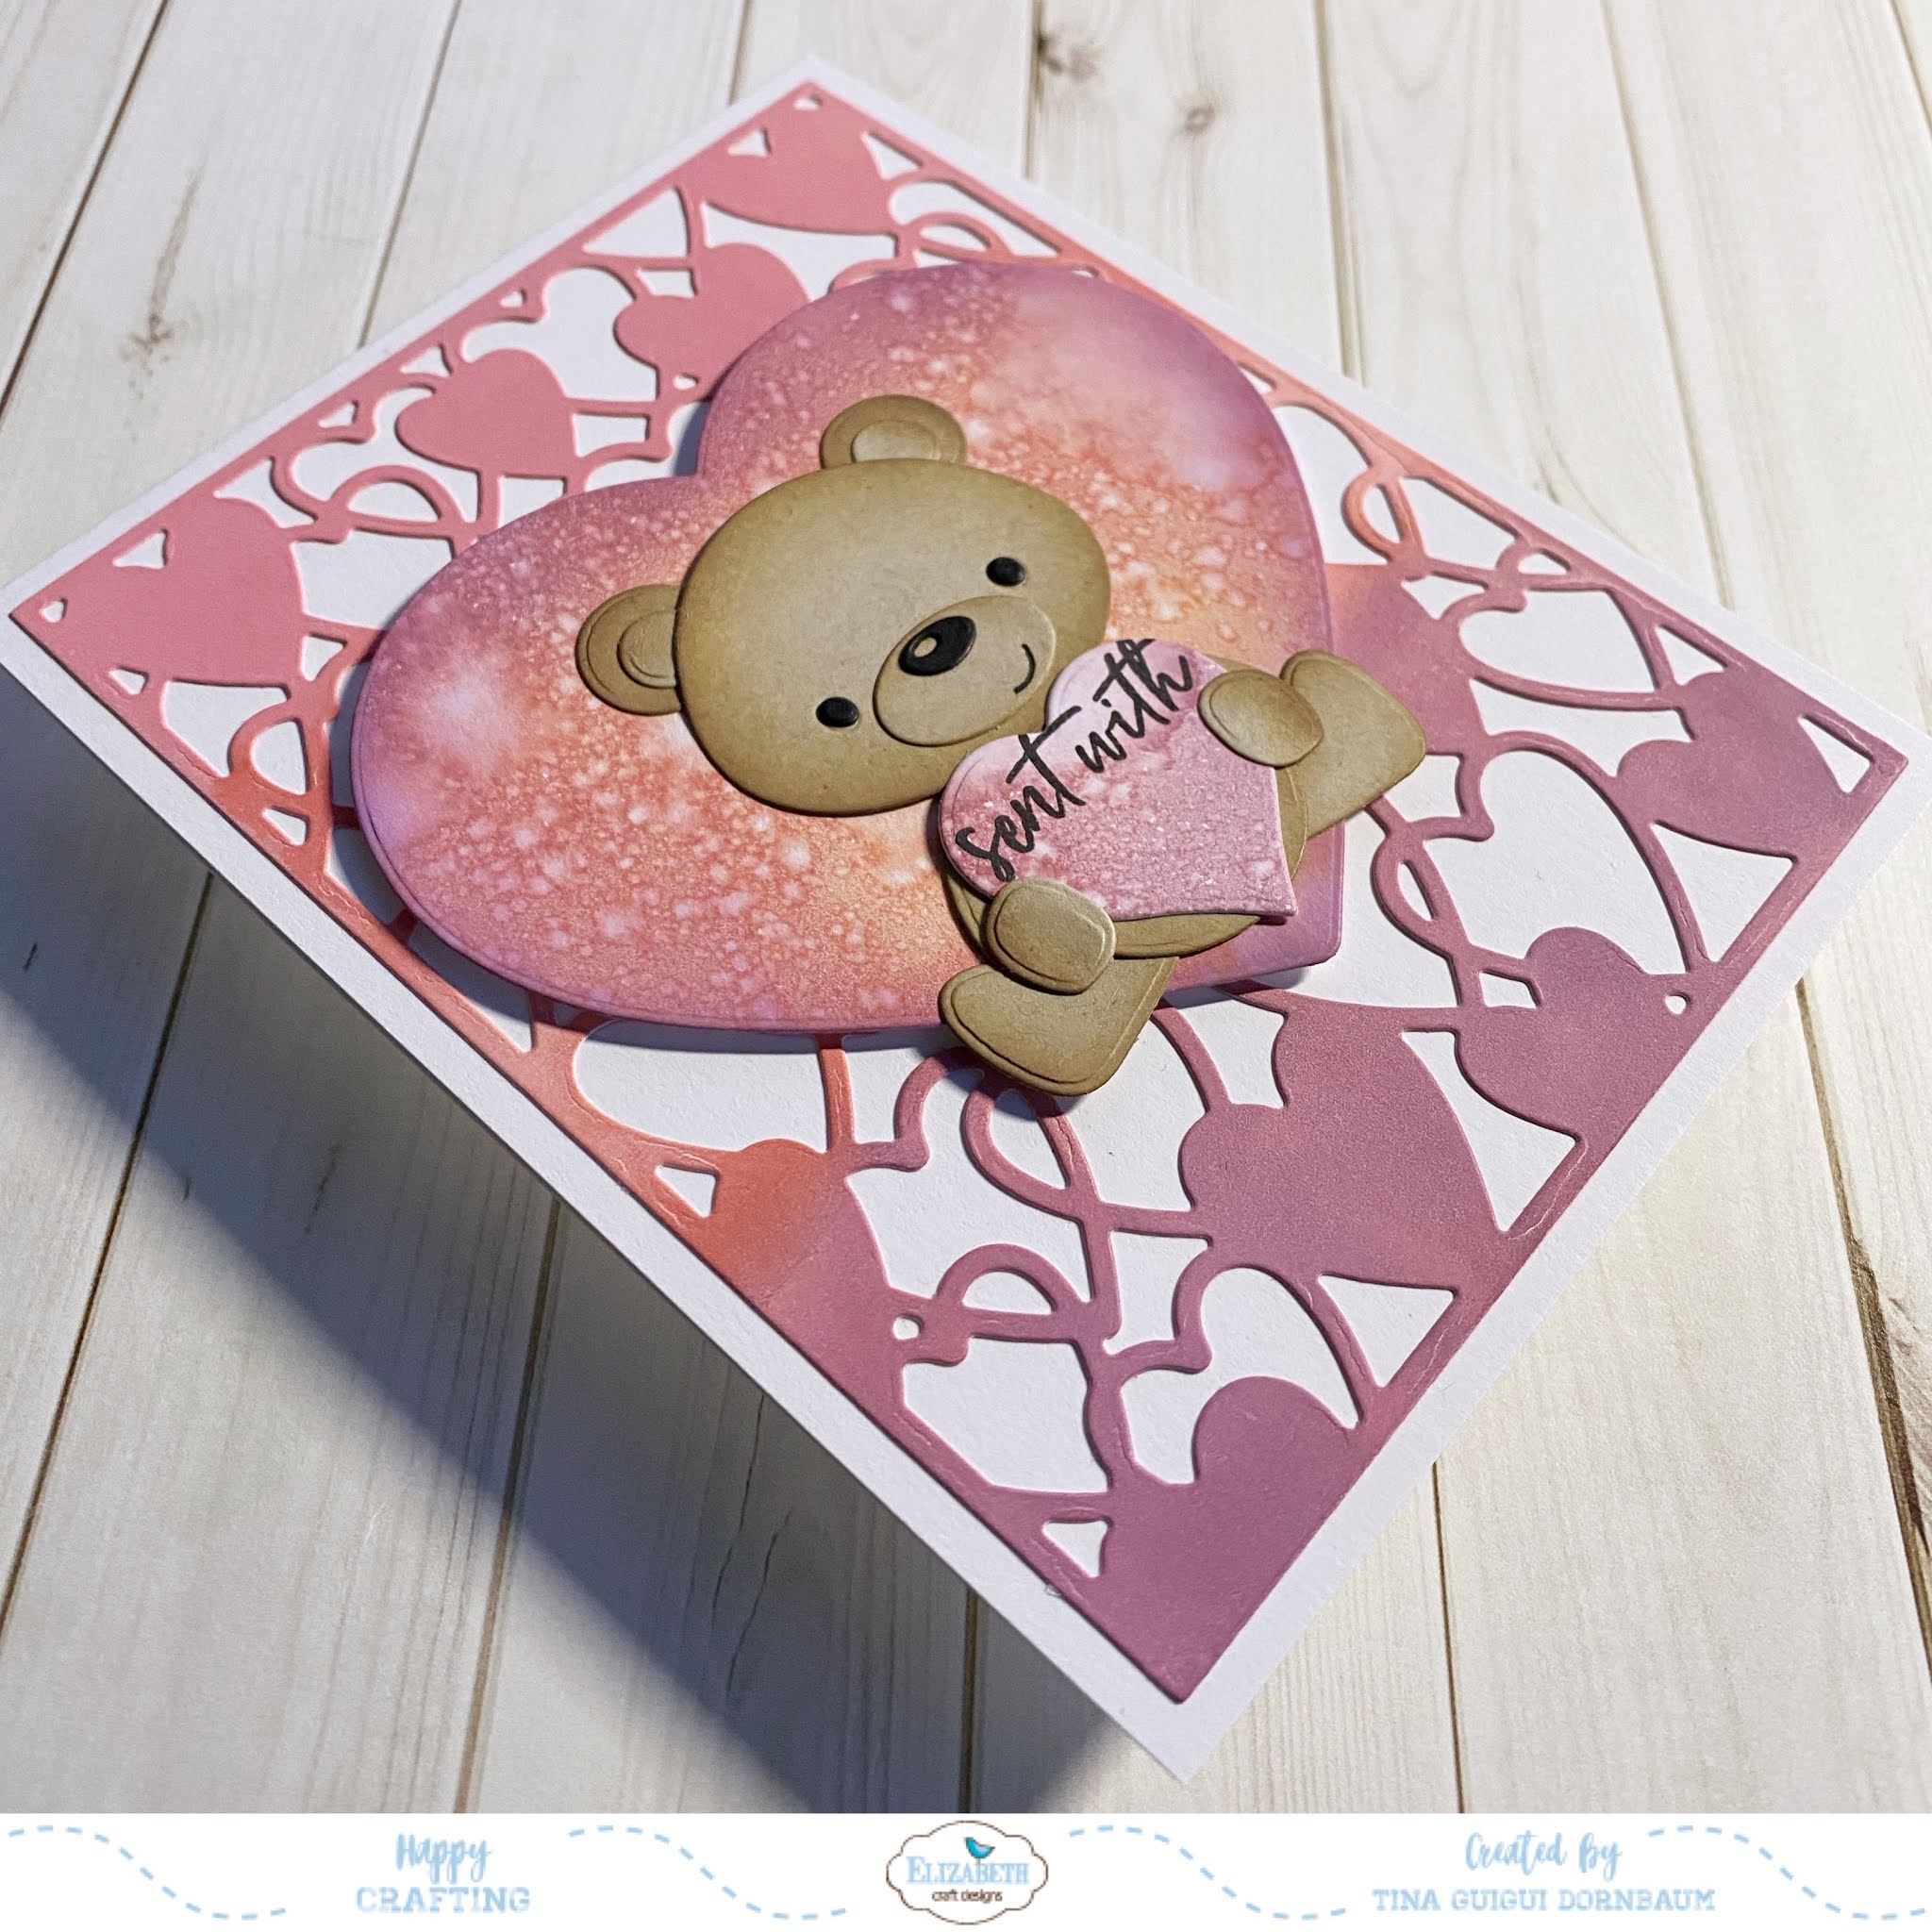
Welcome to the Elizabeth Crafts Designs February Group Post. The Group Post theme for this month is All About Our Loved Ones. I used Joset Designs Heart Background, Honey Bear and Heart Cutout dies to create a Sent With Love Card. Below you will find the steps to create your own card.


Step 1 - Trim White Soft Finish Cardstock to 11” x 4 1/4”, score at 5 1/2” and fold in half for a horizontal top fold card. (A2)

Step 2 - Trim White Soft Finish Cardstock to 5 1/2” x 4 1/4” (2 times). Apply various colors of Distress Oxide Inks onto a Gel Press using a brayer. I used Worn Lipstick, Candied Apple and Dusty Concord. Place the Blank Cardstock on top of the Gel Press, place a copy paper on top and rub to get the ink transferred. Remove the panel and let dry. Repeat Step with second Blank Cardstock.

Step 3 - Diecut Heart Background using the panel created from Step 2. Adhere to card using Kids Choice Glue.

Step 4 - Diecut Heart Cutouts using the second panel created from Step 2. Adhere to card using Foam Tape.

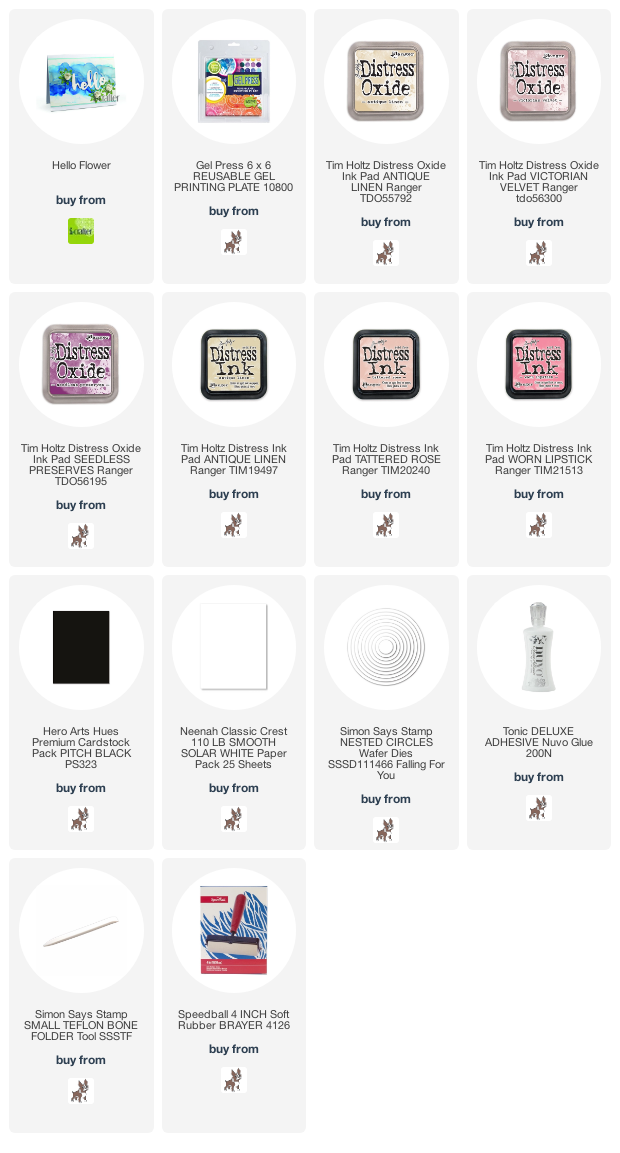
Step 5 - Diecut Honey Bear using Kraft Cardstock for the head and body parts and Black Cardstock for the eye and nose. Diecut Small Heart you have in your stash using the panel created from Step 2. If you do not have a Heart die then draw one and cut it out. Apply Distress Oxide Walnut Stain to all the Kraft coloured diecut pieces. Assemble the bear using Kids Choice Glue and tweezers and be sure to add the small heart. Adhere to card using Kids Choice Glue. 

Step 6 - Stamp Love Sentiments using Versafine Onyx Black Ink to the heart that the bear is holding.


This card can be used for several occasions by changing the sentiment. Below is a link to all the products used. Thank you for stopping by and Happy Crafting!

Products Used:

Monday, February 1, 2021

i-Crafter February Release

 Hi everyone, 

Happy February! It’s release time over at i-Crafter. This month’s release has flowers, unicorns and Easter rabbits. I used the Hello Flower dies to create a soft Floral Circle Card. Below you will find the steps to create your own card.


Step 1 - Diecut Circle using White Cardstock and another in Black Cardstock. Score 1/2” on the top of the White Circle and go over the fold with a bone folder. Apply Nuvo Deluxe Adhesive to the top of the fold and add the Black Circle on top. (4 1/2” Circle Card)

Step 2 - Create a DIY Background by adding various colors of ink onto a Gel Press. I used Distress Oxide Inks Antique Linen, Victorian Velvet and Seedless Preserves using a brayer. Spray some water to create some texture. Place a 6” x 6” White Cardstock on top and rub all over so that the ink will transfer onto the Cardstock. Remove and let dry.

Step 3 - Diecut Circle using the panel created from Step 2. Adhere to card front using Nuvo Deluxe Adhesive.

Step 4 - Create a panel by adding various colors of ink onto a Gel Press. I used Distress Inks Antique Linen, Tattered Rose and Worn Lipstick using a brayer. Spray some water to create some texture. Place a 6” x 6” White Cardstock on top and rub all over so that the ink will transfer onto the Cardstock. Remove and let dry.

Step 5 - Diecut Hello Flower (flower and leaf) 3 times each using the panel created from Step 4. Assemble the flower starting from the inside and twirling it tight. Adhere some Nuvo Deluxe Adhesive at the end and drop the twirled flower on top. Hold it tight for a few seconds. Adhere the leaf and flower then add to the card front using Nuvo Deluxe Adhesive.

Step 6 - Diecut Hello Flower (sentiment) x 3 using Black Cardstock. Adhere each layer and then add to the card front using Nuvo Deluxe Adhesive.


This card can be used for many occasions by changing the colors and sentiment. Below you will find a link to all the products used. Thank you for stopping by and Happy Crafting!

Products Used: