Saturday, March 27, 2021

Mini Slimline Happy Easter Bunny Card

Hi everyone,

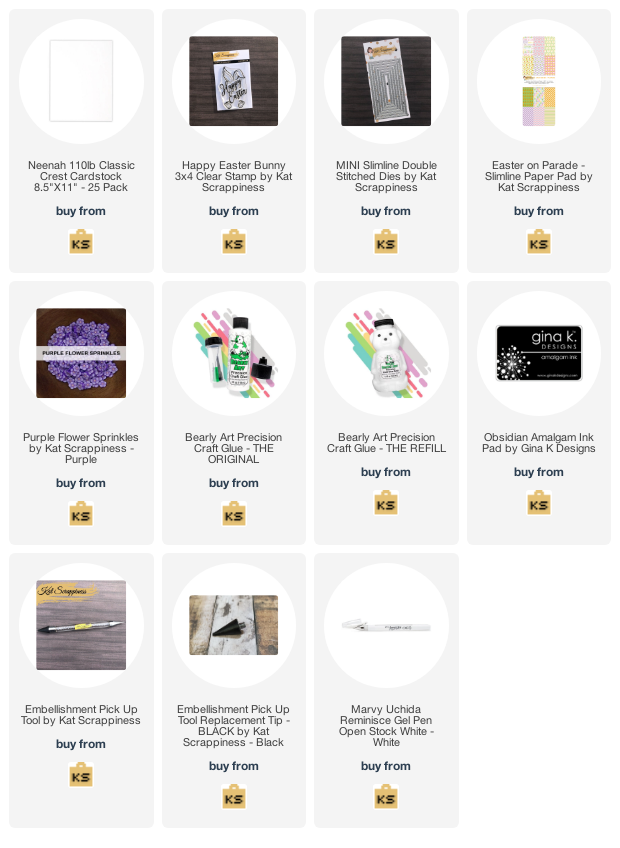
Can you believe Easter is a week away? I have a super quick and fun Easter Card using the Happy Easter Bunny Stamp and Slimline Easter On Parade Papers from Kat Scrappiness. Below you will find the steps to create your own card.


Step 1 - Trim White Cardstock to 7” x 6”, score at 3 1/2” and fold in half for a vertical side fold card. (Mini Slimline)

Step 2 - Trim Slimline Easter On Parade to 3 1/2” x 6”. Adhere to card front using Bearly Art Precision Glue.

Step 3 - Stamp Happy Easter Bunny using Gina K Amalgam Ink. Color in using any alcohol markers of your choice. I used Spectrum Noir Classique Markers. 

Step 4 - Diecut Mini Slimline Double Stitched using the panel created in Step 3. Adhere to card using Bearly Art Precision Glue.

Step 5 - For added interest randomly adhere Purple Flower Sprinkles using a Pick Up Tool and Bearly Art Precision Glue.


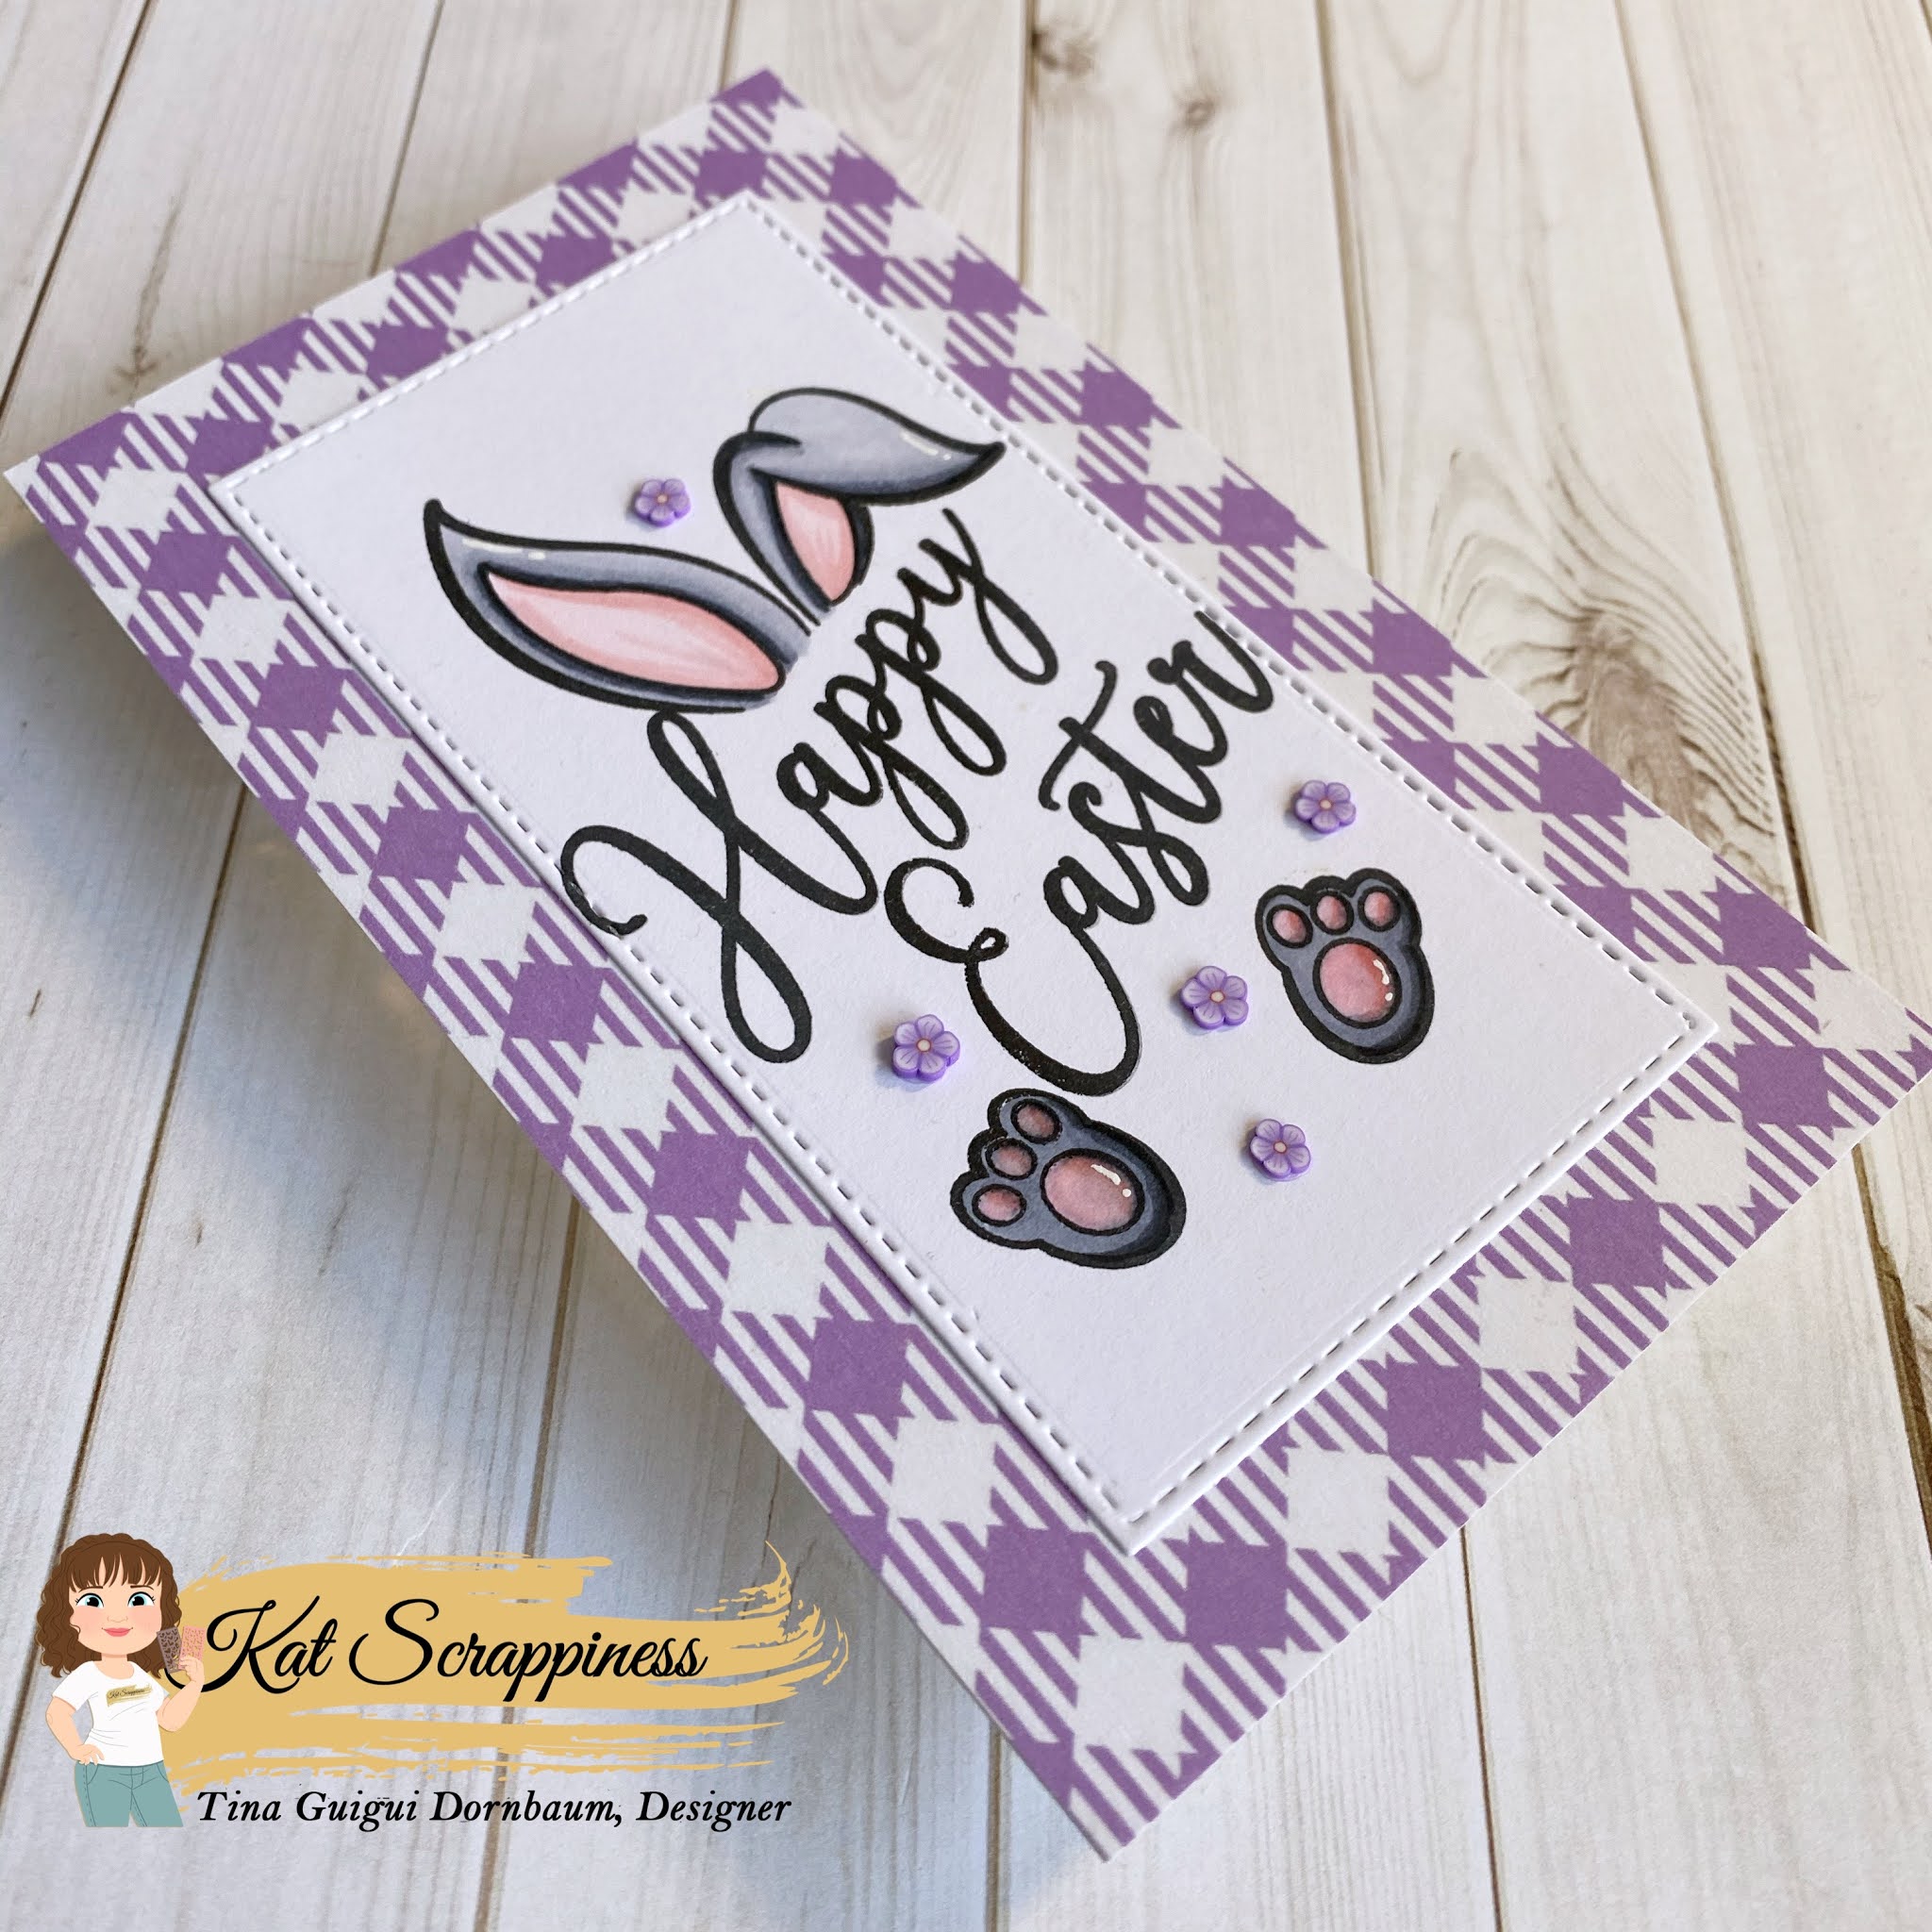
This card took little time to come together and is such a fun Easter Card with those adorable ears and feet sticking out. By the way I have been using the Bearly Art Precision Glue for a while now and I am loving it. I get the flow I want and it is very strong when dry. It also gives you a little time for wiggle room before it drys completely. Below you will find the link to all the products used. Thank you for stopping by and Happy Crafting!

Products Used:

Friday, March 19, 2021

Coffee Lovers Spring Summer Blog Hop

Hi everyone,

Kat Scrappiness is a super sponsor for the Coffee Lover’s Blog Hop for the Spring/Summer 2021.  The design team members including myself have all joined in to show you coffee themed cards we made using some of the Kat Scrappiness “Coffee” related products.  They currently have over 100 Coffee themed products available here! To go to the Kat Scrappiness Blog Post click here.

My card for the Blog Hop

EVERYTHING is 15% off from March 19-26th, at checkout use coupon code: COFFEEHOP2021 for 15% off your order.

Kat Scrappiness is also having a giveaway since they are a super sponsor! They will be giving away a $25.00 gift card to the store, PLUS a flash prize which is a surprise package of Kat Scrappiness products!


Below you will find the steps to create your own card.

Step 1 - Trim White Cardstock to 7" x 6", score at 3 1/2" and fold in half for a vertical side fold card. (Mini Slimline)

Step 2 - Diecut Coffee Time Background using scrap piece of Cardstock. Place on top of Patterned Paper. I used Honey Bee Stamps Love Letters 6 x 6 Paper Pad. Apply Distress Oxide Crackling Campfire using a Blender Brush. 

Step 3 - Diecut Mini Slimline Double Stitched using the background created from Step 2. Adhere to card using Nuvo Deluxe Adhesive.

Step 4 - Diecut Layered Coffee Cup using Patterned Paper. I used Honey Bee Stamps Love Letters 6 x 6 Paper Pad. Assemble and adhere to card using Nuvo Deluxe Adhesive.

Step 5 - Diecut Got Coffee (only coffee) using Black Cardstock. Adhere to card using Nuvo Deluxe Adhesive.

Step 6 - For added interest and sparkle randomly adhere Trix Mix II Sequins using a Pick Up Tool and Nuvo Deluxe Adhesive.


Below is a link to all the products used. Be sure to head on over to the Kat Scrappiness Blog to participate in the Blog Hop by clicking here. Thanks for stopping by and Happy Crafting!

Products Used:

Monday, March 8, 2021

Elizabeth Craft Designs March Group Post

Hi everyone,

Welcome to the March Group Post with Elizabeth Craft Designs. The theme this month is Spring. I chose the gorgeous Floral Burst Background die inked in the colors of the rainbow. It also makes 2 cards with one diecut. Below you will the steps for both cards.

Card #1


Card #2


Card #1
Step 1 - Trim White Soft Finish Cardstock to 8 1/2" x 5 1/2", score at 4 1/4" and fold in half for a vertical side fold card. (A2)

Step 2 - Trim White Soft Finish Cardstock to 5 1/2" x 4 1/4". Apply Distress Oxide Inks using an Ink Applicator in rainbow colors. I used Candied Red, Wild Honey, Squeezed Lemonade, Cracked Pistachio, Salty Ocean, Wilted Violet. Although my diecut didn't used the area with the Wilted Violet I ended up using that section for my sentiment. 


Step 3 - Diecut Floral Burst Background using the panel created from Step 2. Gently remove the diecut from the die trying to keep all the pieces together. Place Press 'N Seal on the front and put back any pieces that may have come loose. Flip the diecut and adhere Glue to the backside to the negative pieces. Then turn around and place it on the card front. Press it in and then carefully remove the Press 'N Seal. You could actually flip the positive diecut and call it a day but I wanted 2 cards so I used the positive piece for another card.


Example of flipping the positive. It makes a cool background.

Step 4 - Stamp Spring Sentiments using Versamark on Black Cardstock. Sprinkle White Embossing Powder and remove the excess. Heat set it with a Heat Tool. Diecut Fitted Fishtails and adhere to card using Glue.

Card #2
Step 1 - Trim White Soft Finish Cardstock to 8 1/2" x 5 1/2", score at 4 1/4" and fold in half for a vertical side fold card. (A2)

Step 2 - Adhere Glue to the backside of the positive diecut from Card #1 from Step 3 to the card front.

Step 3 - Stamp Spring Sentiments to the piece left over from the first card using Versamark. Sprinkle White Embossing Powder and remove the excess. Heat set it with a Heat Tool. Trim and adhere to card using Glue.


These cards can be used for any occasion by changing the sentiment. Below is a link to all the products used. Thank you for stopping by and Happy Crafting! 

Products Used:
style="clear: both; text-align: center;">


Monday, March 1, 2021

i-Crafter March Release

 Hi everyone,

Welcome back to an i-Crafter release. I am so excited with the new Alphabet Heather Upper and Numeric/Lower dies. I decided to make it my focal point for my card. Below you will find the steps to create your own card.


Step 1 - Trim White Cardstock to 7" x 6", score at 3 1/2" and fold in half for a horizontal top fold card. (Mini Slimline)

Step 2 - Trim Patterned Paper of your choice to 3 1/4" x 5 3/4". Adhere to card front using Nuvo Deluxe Adhesive.

Step 3 - Diecut Alphabet Heather Upper and Alpha Numeric/Lower dies using Patterned Paper of your choice and again using Fun Foam. Stack the diecuts and adhere to card using Nuvo Deluxe Adhesive.

Step 4 - Optional - For added interest and sparkle randomly adhere Confetti/Sequins using Nuvo Deluxe Adhesive.


This card can be used for all occasions by simply changing the sentiment to another word. Below is a link to the products used. Thank you for stopping by and Happy Crafting!

Products Used: