
Hi everyone,
Welcome to the March Group Post with Elizabeth Craft Designs. The theme this month is Spring. I chose the gorgeous Floral Burst Background die inked in the colors of the rainbow. It also makes 2 cards with one diecut. Below you will the steps for both cards.
Card #1

Card #2

Card #1
Step 1 - Trim White Soft Finish Cardstock to 8 1/2" x 5 1/2", score at 4 1/4" and fold in half for a vertical side fold card. (A2)
Step 2 - Trim White Soft Finish Cardstock to 5 1/2" x 4 1/4". Apply Distress Oxide Inks using an Ink Applicator in rainbow colors. I used Candied Red, Wild Honey, Squeezed Lemonade, Cracked Pistachio, Salty Ocean, Wilted Violet. Although my diecut didn't used the area with the Wilted Violet I ended up using that section for my sentiment.

Step 3 - Diecut Floral Burst Background using the panel created from Step 2. Gently remove the diecut from the die trying to keep all the pieces together. Place Press 'N Seal on the front and put back any pieces that may have come loose. Flip the diecut and adhere Glue to the backside to the negative pieces. Then turn around and place it on the card front. Press it in and then carefully remove the Press 'N Seal. You could actually flip the positive diecut and call it a day but I wanted 2 cards so I used the positive piece for another card.

Example of flipping the positive. It makes a cool background.

Step 4 - Stamp Spring Sentiments using Versamark on Black Cardstock. Sprinkle White Embossing Powder and remove the excess. Heat set it with a Heat Tool. Diecut Fitted Fishtails and adhere to card using Glue.
Card #2
Step 1 - Trim White Soft Finish Cardstock to 8 1/2" x 5 1/2", score at 4 1/4" and fold in half for a vertical side fold card. (A2)
Step 2 - Adhere Glue to the backside of the positive diecut from Card #1 from Step 3 to the card front.
Step 3 - Stamp Spring Sentiments to the piece left over from the first card using Versamark. Sprinkle White Embossing Powder and remove the excess. Heat set it with a Heat Tool. Trim and adhere to card using Glue.


These cards can be used for any occasion by changing the sentiment. Below is a link to all the products used. Thank you for stopping by and Happy Crafting!
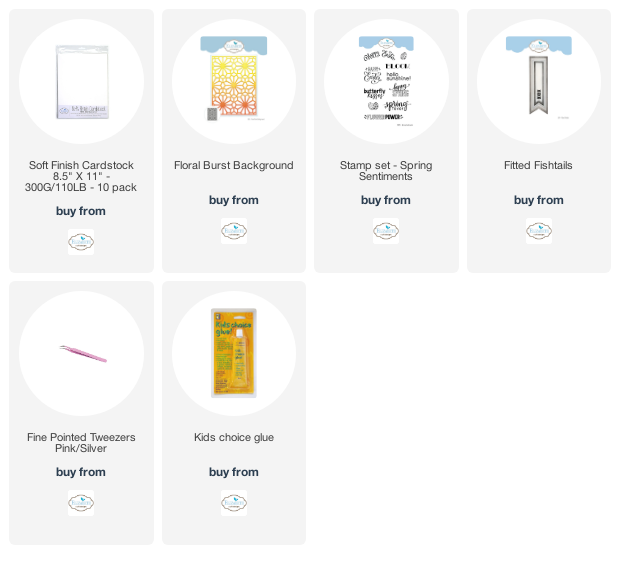
Products Used:
 style="clear: both; text-align: center;">
No comments:
Post a Comment