
Today I have a card to share with you using the stunning Floral Background from Elizabeth Craft Designs with colored pencils, gamsol and an alcohol ink blending pen. Below are the steps to create your own Floral Background card.

Step 1 - Trim White Soft Finish cardstock to 8 1/2” x 5 1/2”, score at 4 1/4” and fold in half for a horizontal side fold card (A2)
Step 2 - Stamp Floral Background using Versafine Clair Nocturne Ink. Pour some Gamsol in an Alcohol Ink Blending Pen. This will allow for easier blending with coloured pencils. Color image by applying coloured pencil then using the Alcohol Ink Blending pen to blend in the colors. This will also smooth out the colouring. A tip I saw from Jennifer McGuire and Simon Hurley.

Step 3 - Trim Black cardstock to 4” x 5 1/4” and adhere to card using Nuvo Deluxe Adhesive. Trim Background created from Step 2 to 3 3/4” x 5” and adhere to card using Nuvo Deluxe Adhesive.
Step 4 - Stamp Banner Sentiment using Versamark on Black cardstock, sprinkle White Embossing Powder, remove excess and heat set it with a heat tool.
Step 5 - Diecut Stitched Fishtail Banners to the sentiment created from Step 4. Adhere to card using Foam Tape.
Step 6 - Optional - Adhere left over Floral Background created from Step 2 to the inside of card using Nuvo Deluxe Adhesive. It measures 1 1/2” x 5 1/2”.
Step 7 - Optional - Stamp Banners Sentiment using Versafine Clair Nocturne Ink to the inside of the card above the Background Strip.


If you like colouring with pencils then the Alcohol Ink Blending Pen makes it easier and quicker. I highly recommend it. This can can be used for any occasion by changing the sentiment and colors. Below is a link to the products used. Thank you for stopping by and have a wonderful day.
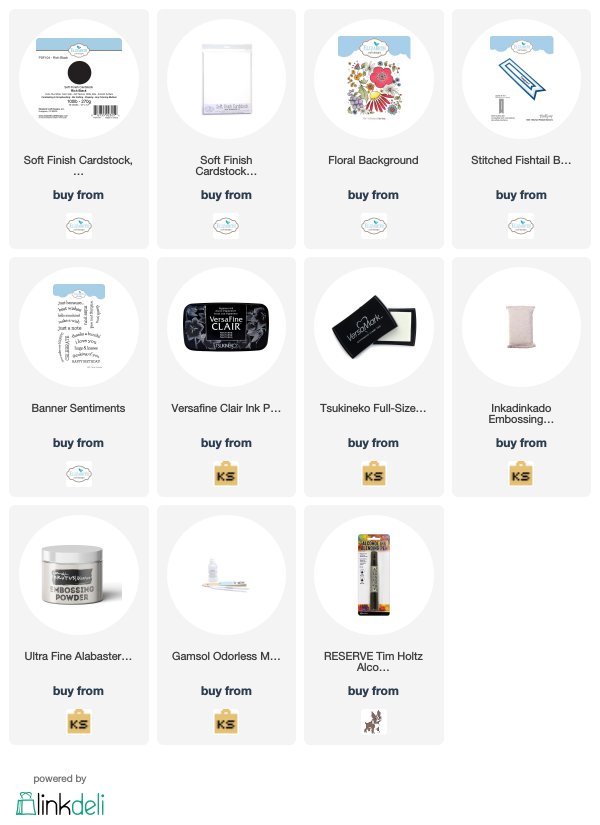
Products Used:
Beautifully colored, I really need to get one of these fillable blending pens!
ReplyDelete