Welcome back to my blog. Today I have 2 sweet cards to share with you using the Spectrum Noir Harmony Inks and Markers along with the MFT Watermelon Slice Die. The Harmony Inks were used to create a realistic watermelon and I absolutely love how they turned out. Below you will find the steps to create your own cards.
Before we get started we have a winner from last weeks Blog Giveaway. Congratulations Andre M. Please email me your mailing address.
The Blog Giveaway using Rafflecopter was a huge success that I decided to do another one. For everything you follow you are given a chance to win the gorgeous Distressed Edge Rectangle Dies from Kat Scrappiness. The contest ends Midnight June 30.
The prize: Distressed Edge Rectangle Dies
a Rafflecopter giveaway
Card #1
Card #2
Card #1
Card #2
Step 1 - For both cards trim White Cardstock to 8 1/2" x 5 1/2", score at 4 1/4" and fold in half for a vertical side fold card. (A2)
Step 2 - Apply Harmony Ink Chinese Red to White Cardstock using an ink applicator. Apply Harmony Ink Grasshopper to White Cardstock. Spray both with water to activate the ink and create texture. On the green one add some Harmony Ink Pine Tree to an acrylic block and add a little water. Pick it up with a waterbrush and splash the ink onto the cardstock. Let dry.
Step 3 - Diecut Watermelon Slice, 2 of each shape using the inked cardstock from Step 2. Largest outline using the green and smaller one using the red. The thin dies are in white and the watermelons seeds are in black. Assemble the watermelon slices. Optional use the die that creates a bite from the slice.
Step 4
Card#1 - Diecut Double Stitched Rectangles using White Cardstock. Stamp Everyday Brush Strokes using Harmony Ink Chinese Red. Adhere to card using Nuvo Deluxe Adhesive. Adhere 2 watermelon slices using Nuvo Deluxe Adhesive.
Card#2 - Diecut Double Stitched Rectangles using White Cardstock. Using an alcohol friendly Black Fine Tip Marker add diagonal lines to create a checker background. Color in the pattern using Alcohol Markers. I used Spectrum Noir Colouring System CR7, CR8 and CR11. Adhere the panel to a piece of Fun Foam and then the card front. Adhere the watermelon slices using Nuvo Deluxe Adhesive.
Step 5 - For both cards. Trim Black Cardstock to the size of sentiment die and run them through a Xyron Sticker Maker. If you don't have one you will have to adhere Nuvo Deluxe Adhesive to every layer. Diecut Big Love You using Black Cardstock (You die) 6 times. 3 for each card. Remove the release sheet and adhere each layer and then adding it to the card.
Step 6 - For both cards. Stamp Punny Snacks sentiment using Versamark on Black Cardstock. Sprinkle White Embossing powder, remove the excess and heat set with a heat tool. Adhere to card using foam tape.
Step 7 - For Card#1 for added interest diecut watermelons seeds and add to the top part of the card.
These cards can be used for many occasions by changing the sentiment. You can order the Harmony Inks and Spectrum Noir Markers from Crafter's Companion from the links at the top of this post. Or you can order below by clicking on the link. Thank you for stopping by and have a wonderful day.
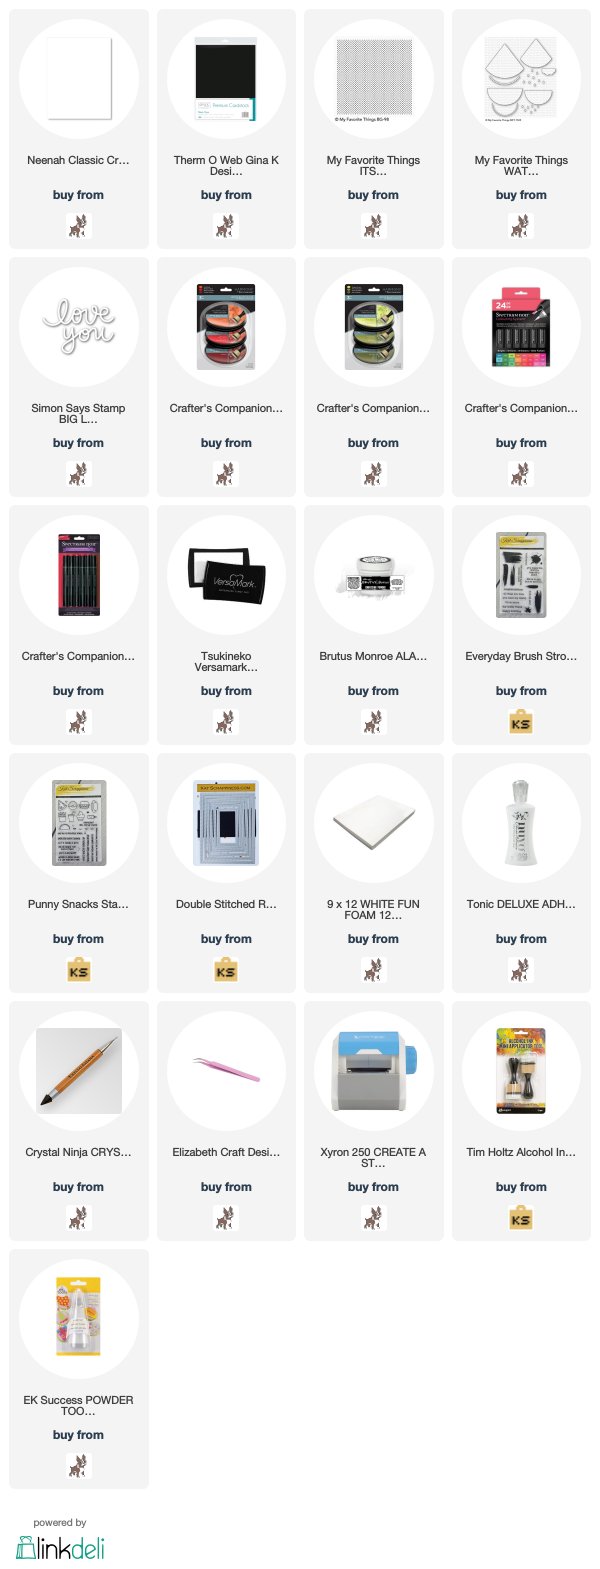
Products Used:


Pretty cards! Love those yummy looking watermelon slices! Awesome set of dies for your prize too! They look really fun!
ReplyDeletePerfect cards for the summer! The melons looks delish.
ReplyDeleteGreat cards! They look good enough to eat!
ReplyDelete