
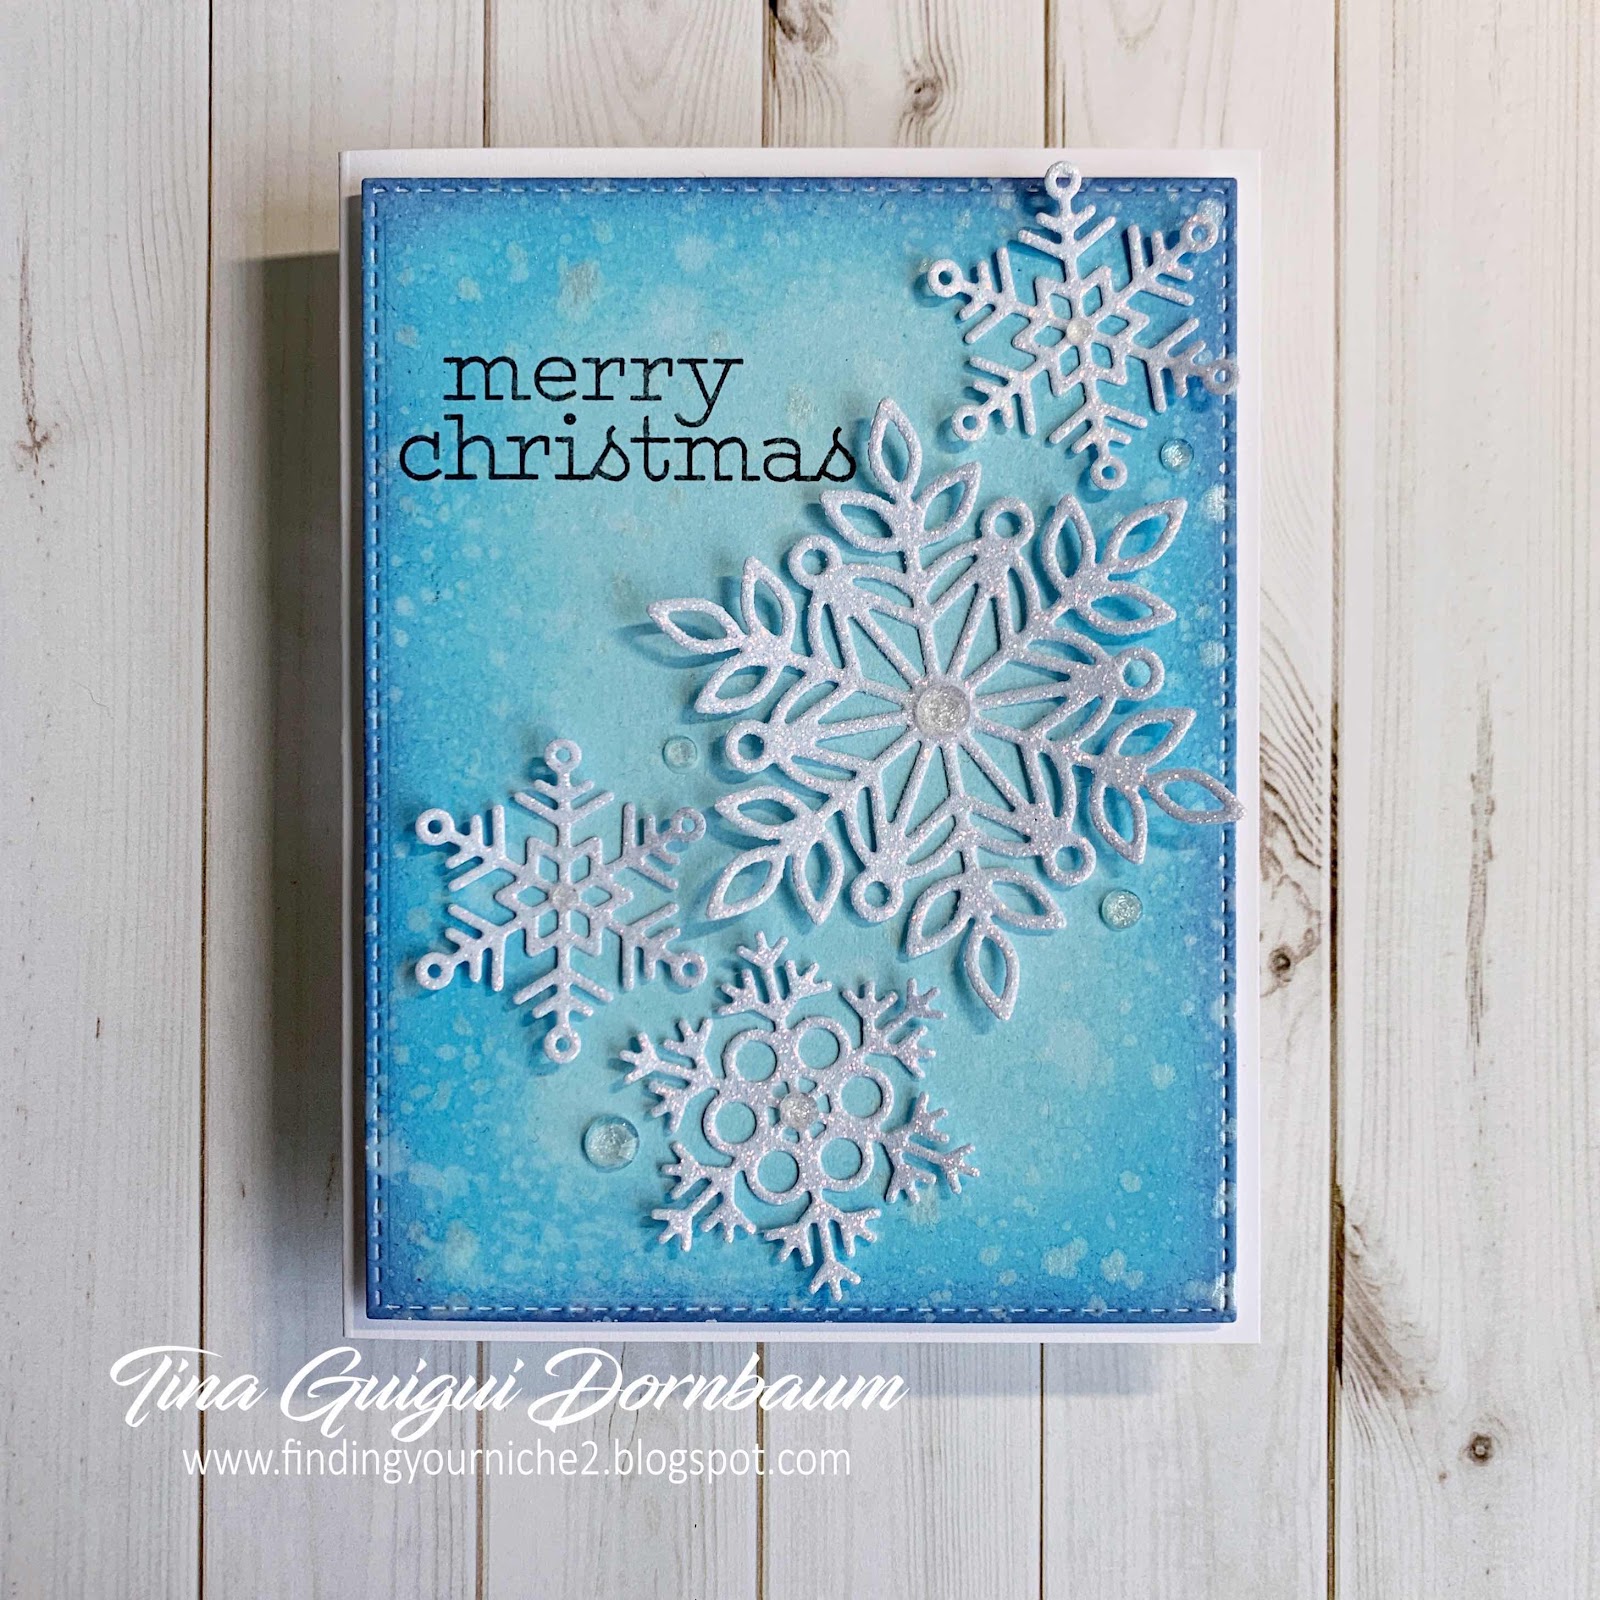
With the holidays just days away I thought I would share with you a quick and easy holiday card for those last minute cards. Below you will find the steps to create your own Snowflake Holiday card.
Step 1 - Trim White Cardstock to 8 1/2" x 5 1/2", score at 4 1/4" and fold in half for a vertical side fold card. (A2)
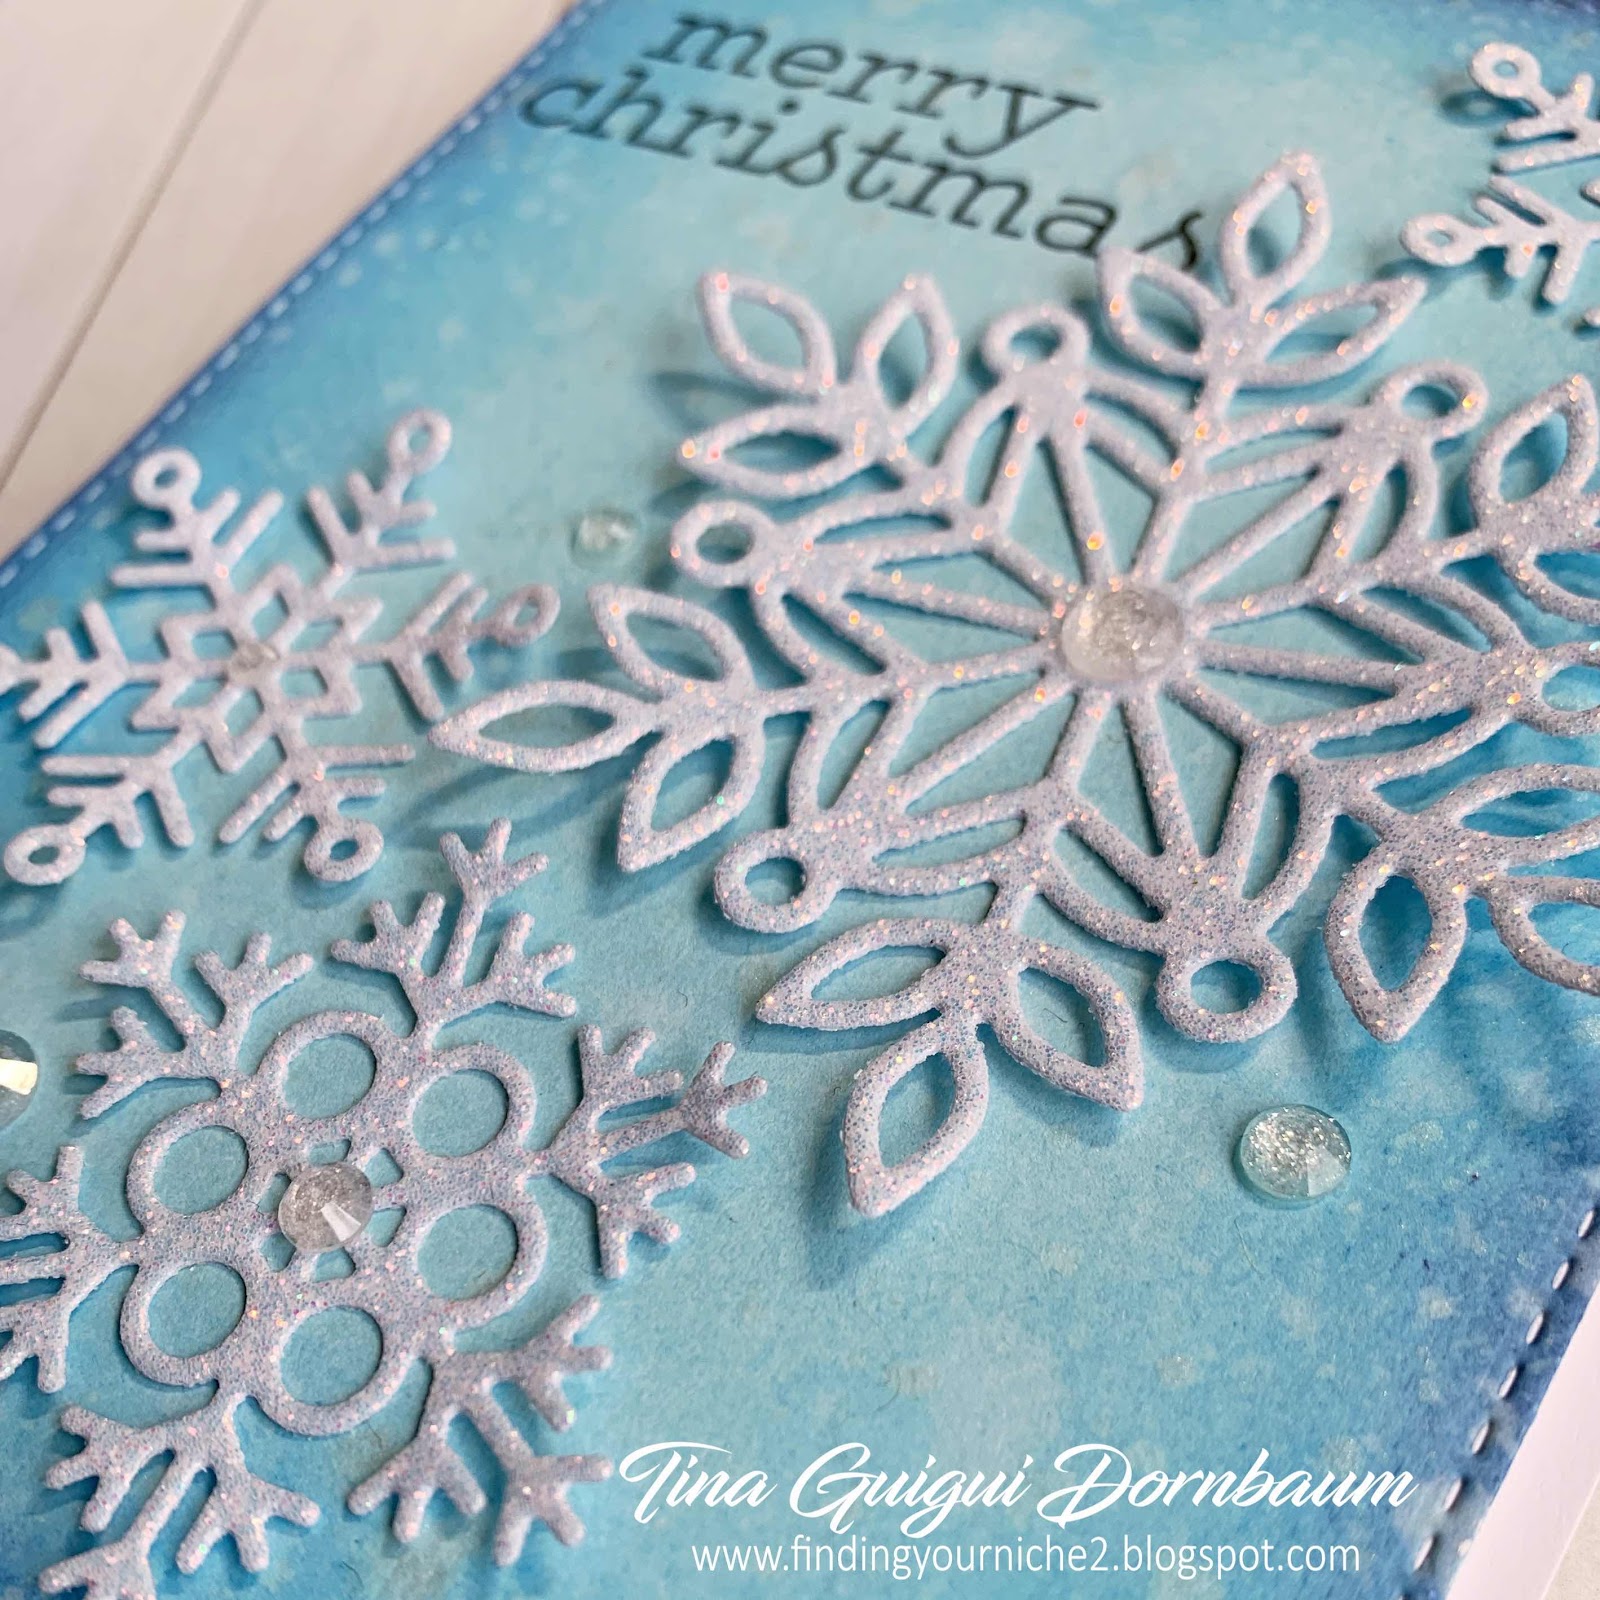
Step 2 - Trim White Cardstock to 5 1/2" x 4 1/4". Apply Distress Oxide Ink Tumbled Glass to the entire panel, then apply Salty Ocean to the edges (roughly up to 3/4" in), then apply Chipped Sapphire to the edges. Spray some water and then remove the excess using a Paper Towel. Place the panel in a Splatbox and Spray White Iridescent Shimmer. Let dry.
Step 3 - Diecut Double Stitched Rectangles to the panel created in Step 2.
Step 4 - Stamp Holiday Greetings Mix 1 sentiment to the panel created in Step 2 using Versafine Clair Nocturne Ink. Adhere to the card front using Fun Foam and Nuvo Deluxe Adhesive.
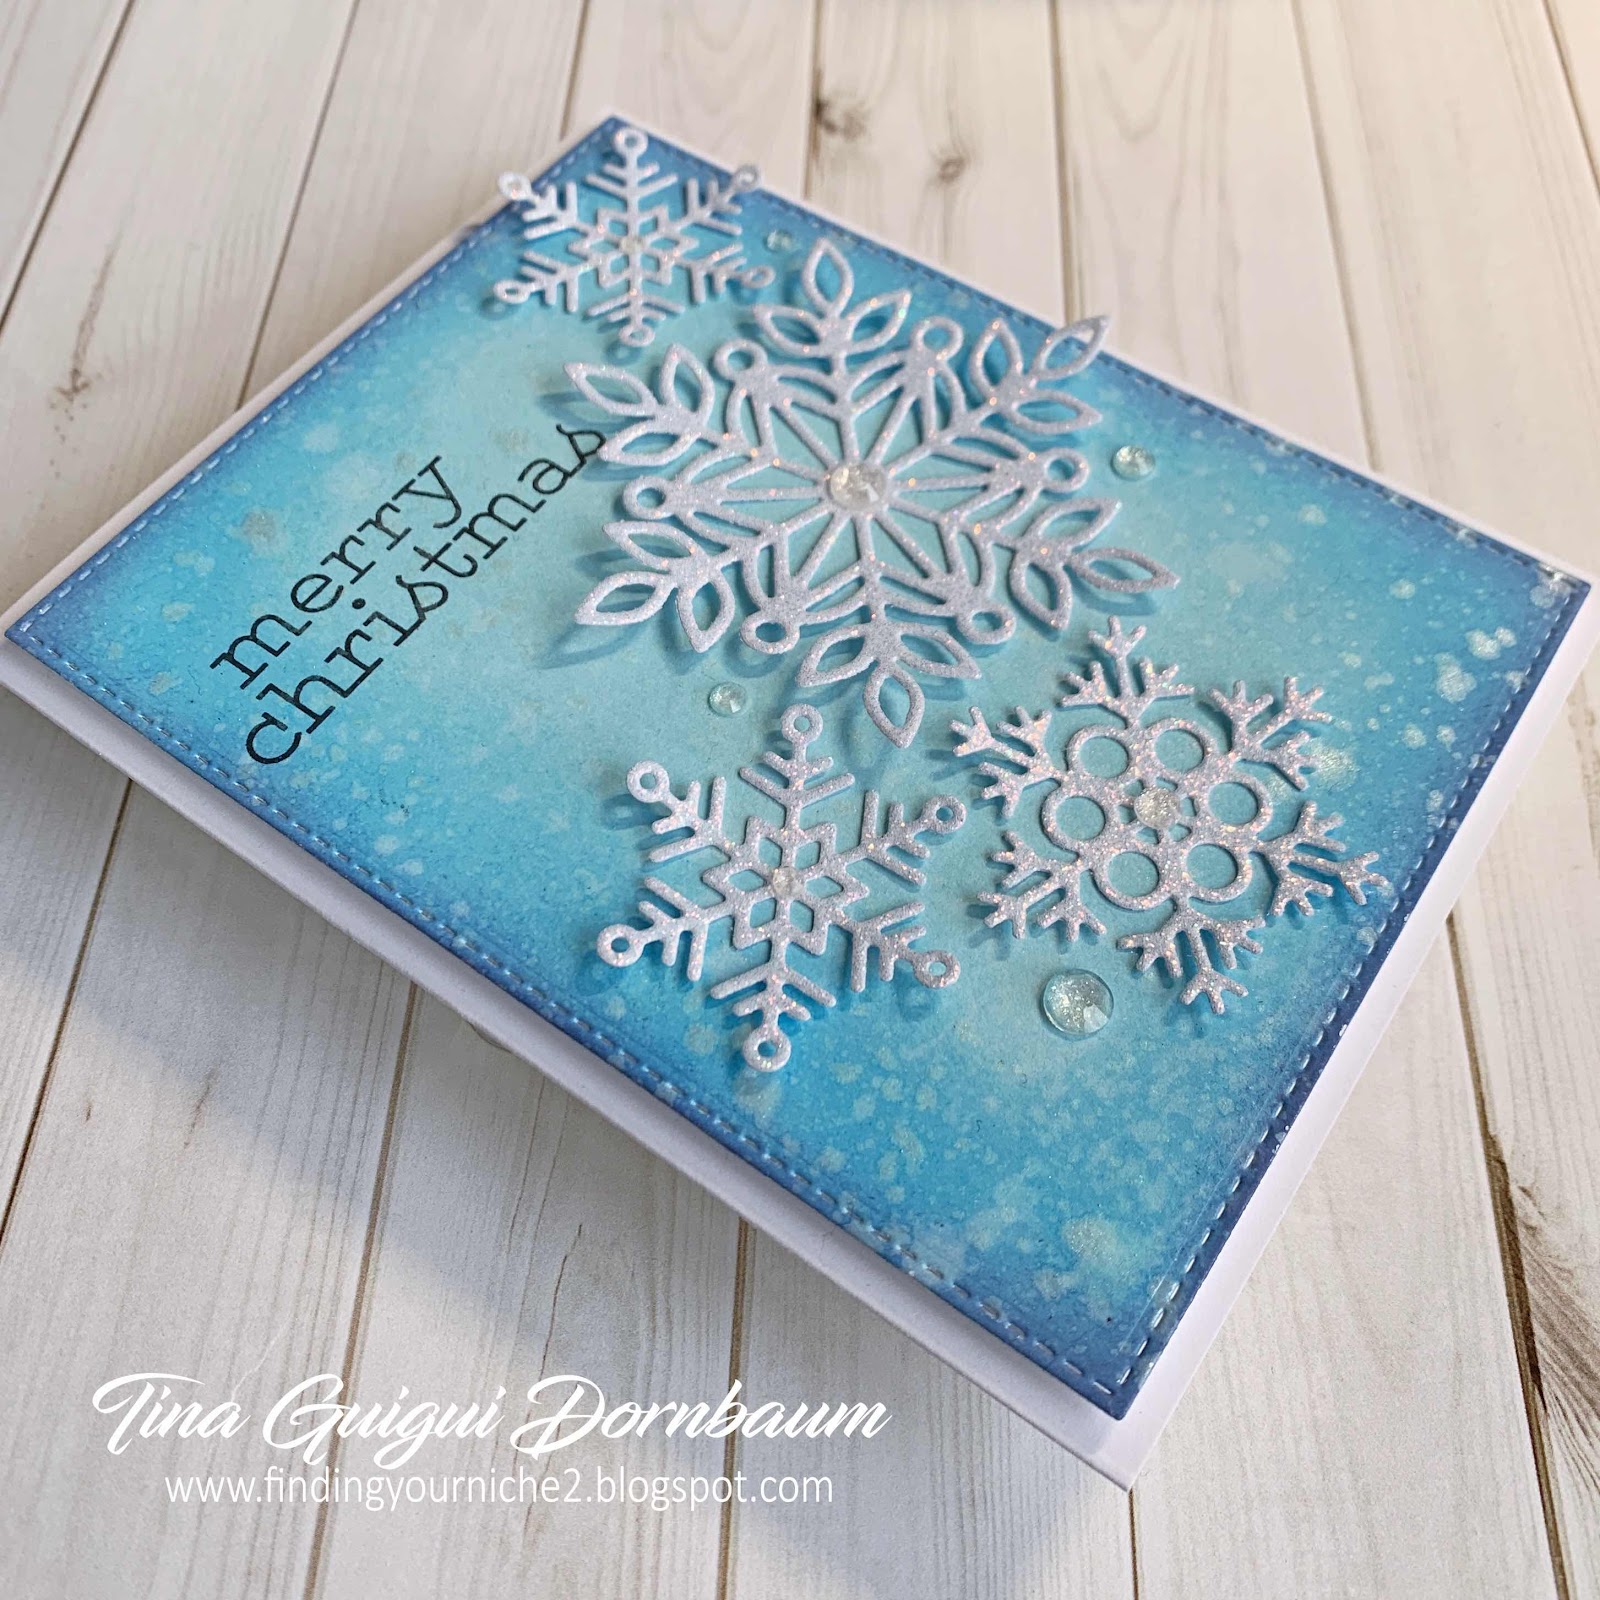
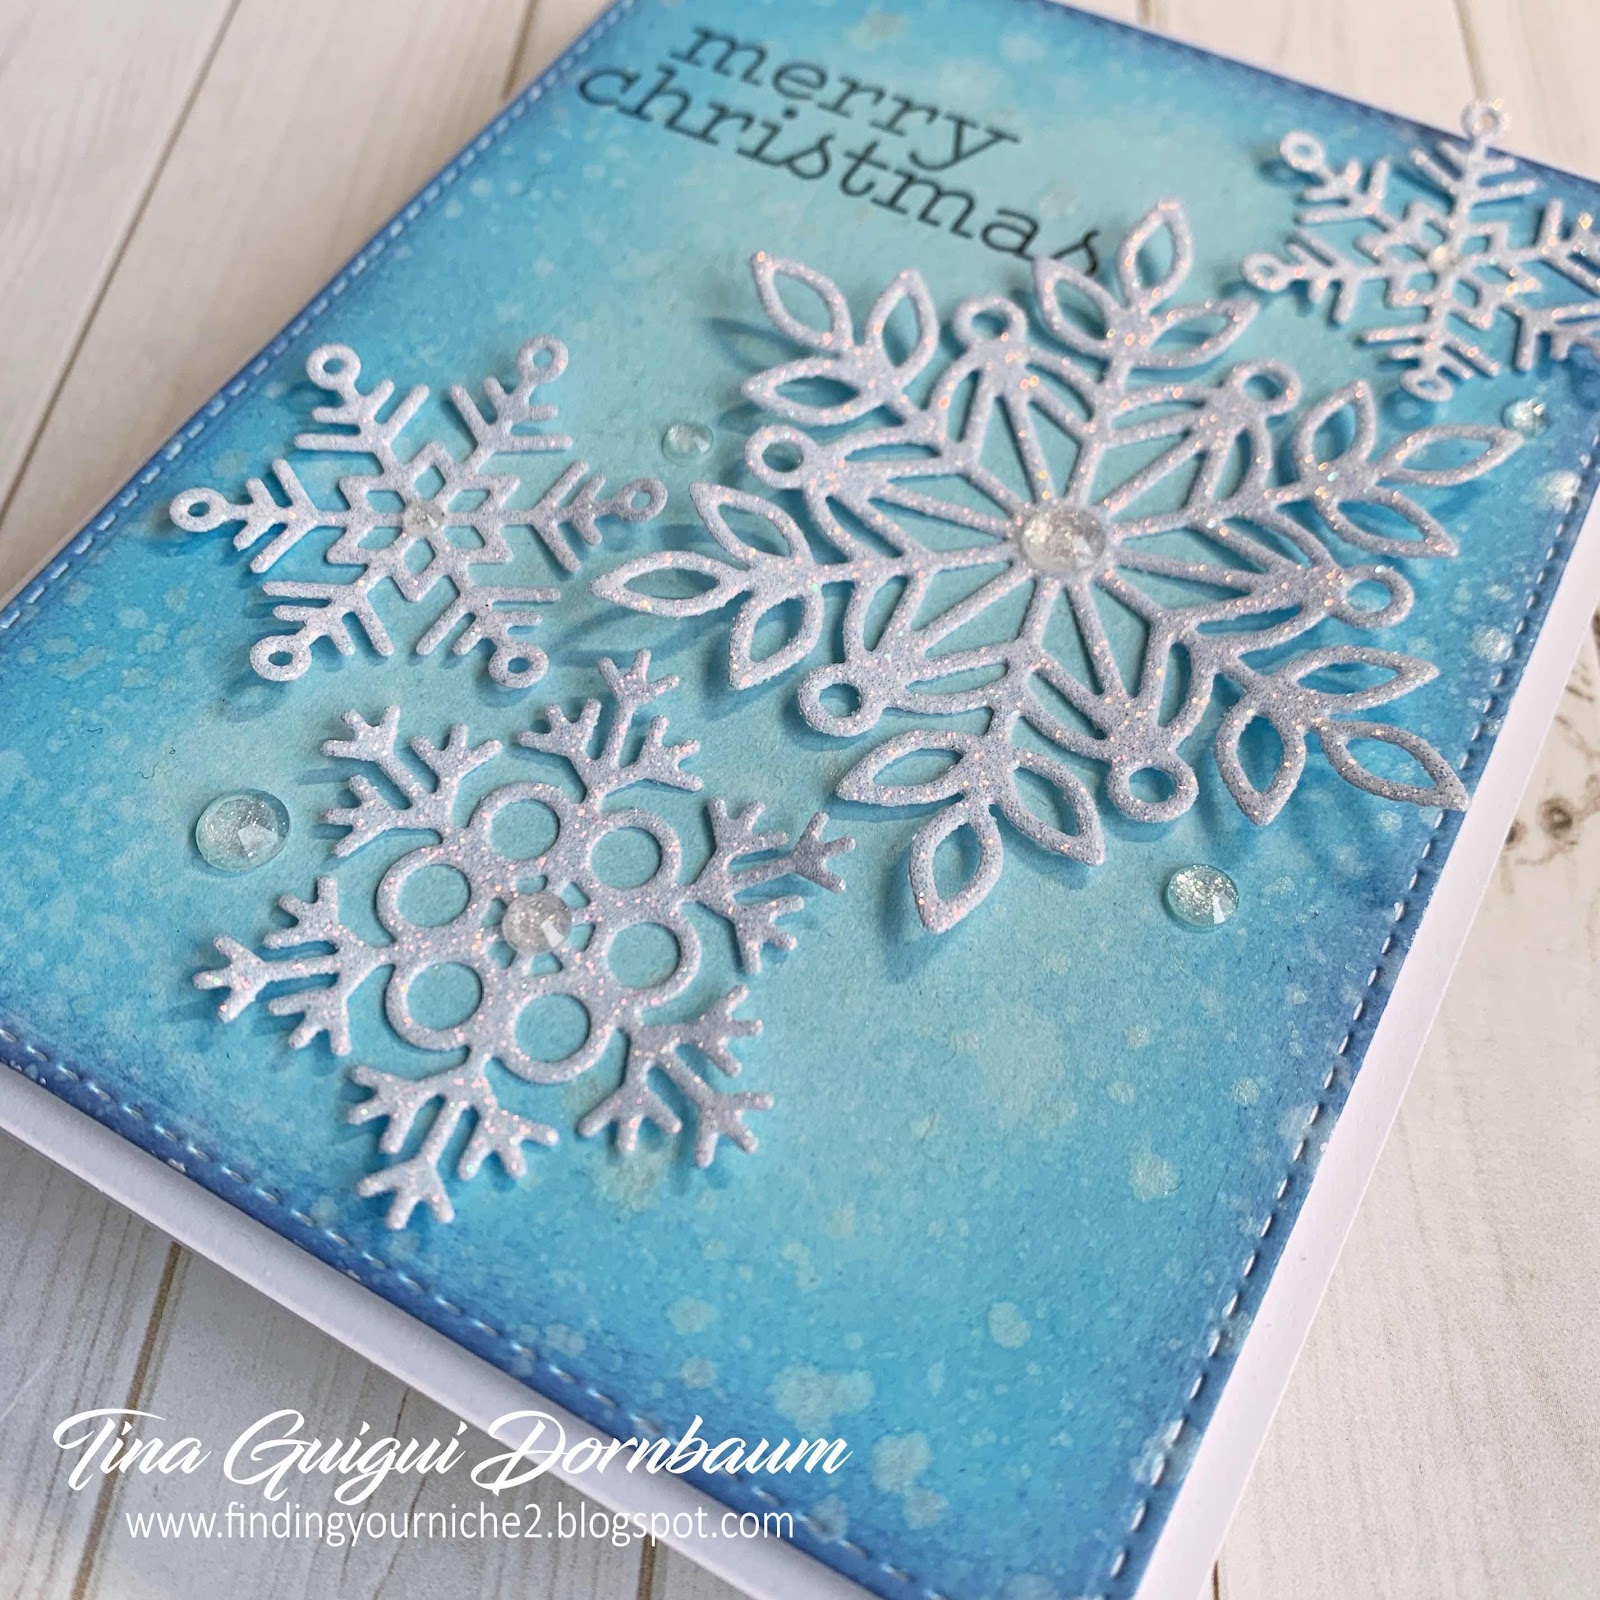
Step 5 - Diecut Marie Snowflake x1, Melody Snowflake x 1 and Maryanne Snowflake x 2 using Glitter White Cardstock. Adhere to card using Nuvo Deluxe Adhesive to the center leaving the edges unglued for dimension.
Step 6 - For added interest and sparkle adhere Icy Sparkle Crystals to the centers of the snowflakes and some randomly on the card front using a Crystal Katana and collage medium.
This card can be mass produced and you can create a different look each time by changing the colour combination and/or the placement of the snowflakes. Below is a list of all the products used. Thank you for stopping by and wishing you all Happy Holidays.
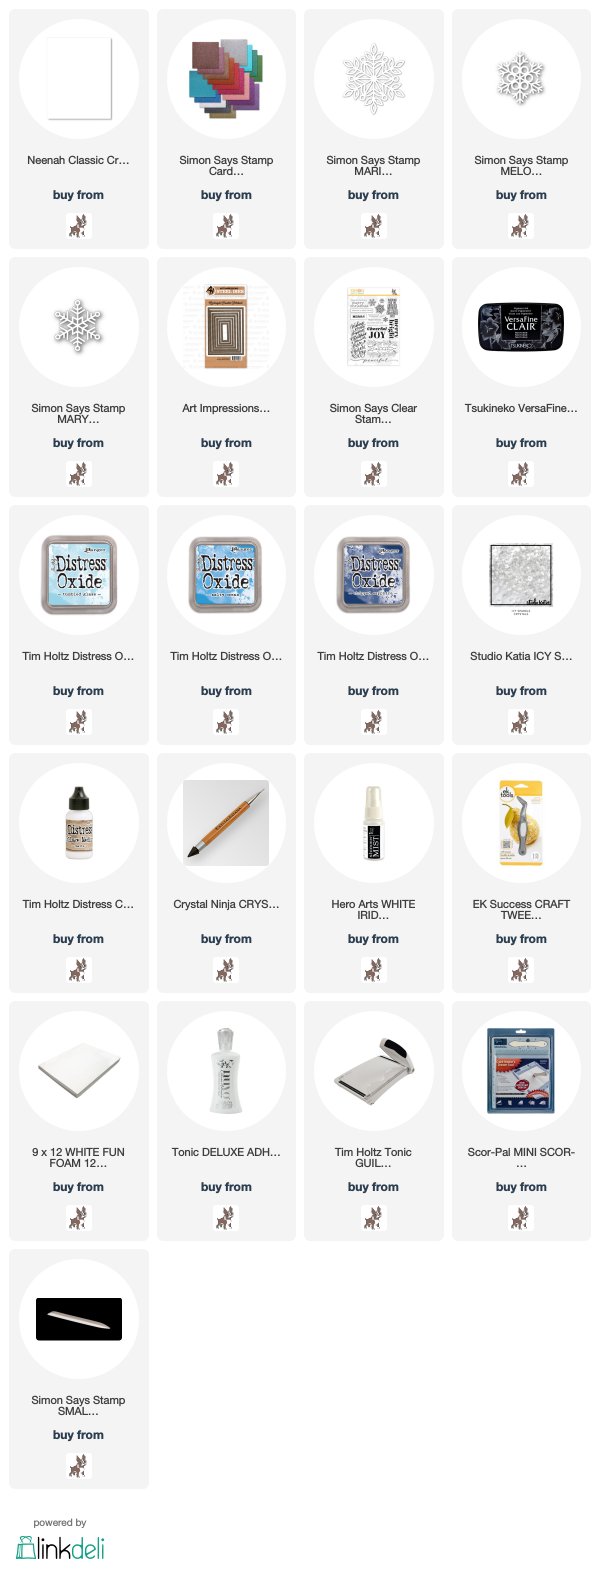
Products Used:
No comments:
Post a Comment