
Hi everyone,
Happy Easter to all who celebrate! I wanted to get one last Easter card before it’s time to pack up all Easter themes product. Right now Kat Scrappiness has an awesome 15% sale for all Easter and Spring Products until April 7. All you have to do is enter EASTER2021 at checkout. Below you will find the easy steps to create your own card.


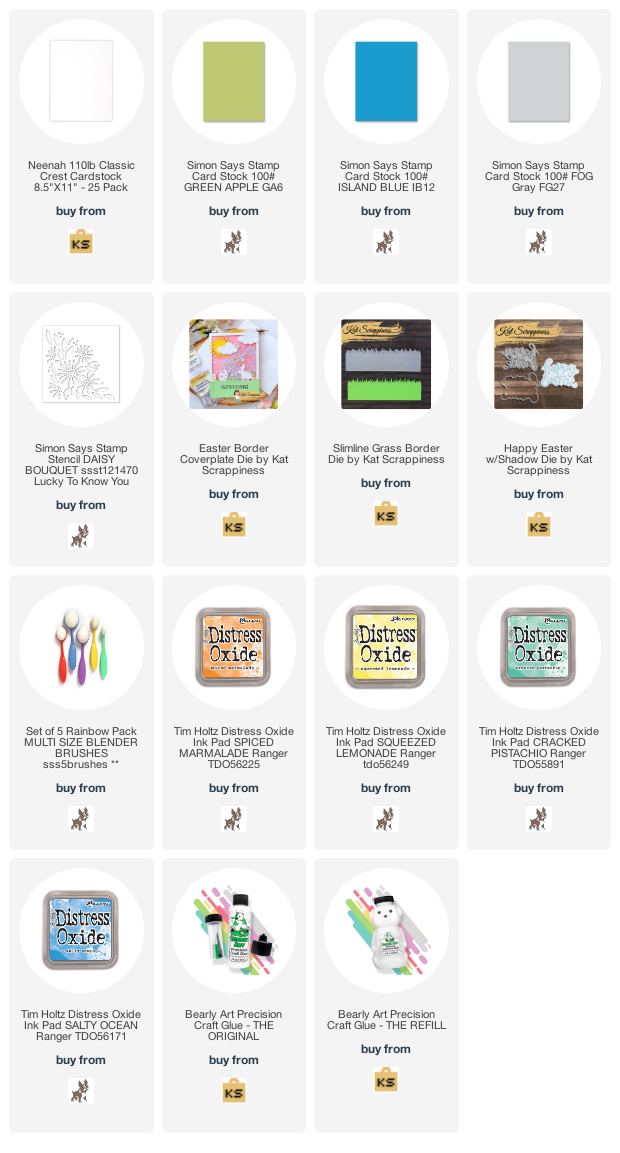
Step 1 - Trim White Cardstock to 7” x 6”, score at 3 1/2” and fold in half for a vertical side fold card. (Mini Slimline)
Step 2 - Trim White Cardstock to 3 1/4” x 5 3/4”. Place Daisy Bouquet Stencil on top and using a Blending Brush apply Distress Oxide Inks starting with Spiced Marmalade, Squeezed Lemonade, Cracked Pistachio, Salty Ocean making sure to blend between the colors. Adhere to card base using Bearly Art Precision Glue.
Step 3 - Diecut Easter Border Coverplate in Green Cardstock. Trim to 3 1/2” width and adhere to card front using Bearly Art Precision Glue. Diecut just the rabbit in Fog Cardstock and large egg in Island Cardstock. Trim out the shapes and adhere on top of the same shape.
Step 4 - Diecut Slimline Grass Border using Green Cardstock. Trim to 3 1/2” width and adhere to card front using Bearly Art Precision Glue.
Step 5 - Diecut Happy Easter With Shadow die (only the words) using White Cardstock and adhere to card using Bearly Art Precision Glue.


I love how this card came together by adding the colors of Spring to the Daisy Bouquet Stencil and the pairing it with the Easter Border Coverplate. Below is a link to all the products used. Thank you for stopping by and Happy Crafting!
Products Used:
No comments:
Post a Comment